manuals.online logo
Brands
  1. Home
  2. •
  3. Brands
  4. •
  5. Pentair
  6. •
  7. Industrial Equipment
  8. •
  9. Pentair AVID LP R2 User manual

Pentair AVID LP R2 User manual

1.0 MOUNTING INSTRUCTIONS
NOTE
All AVID LP switchboxes are factory equipped with
direct and NAMUR mounting.
1.1 Please refer to the figures 1 and 2 below
to determine the type of mounting that is
required.
Figure 1 indicates the conventional direct
mount and figure 2 details the NAMUR
option.
1.2 Operate the actuator to the fully closed
position.
1.3 Direct mount
1.3a Before mounting the AVID LP it will be
necessary to remove the cover.
1.3b To do this, loosen the 4 off M5 captive
screws with either a 8 mm A/F spanner /
socket drive or an appropriately sized flat
blade screwdriver.
1.3c Remove the cover assembly by lifting
the cover vertically. Keep the cover safe
taking care not to damage the cover seal
detail.
© 2014 Pentair Ltd. All Rights Reserved.
Figure 1 Figure 2
Installation and operating instructions for AVID LP R2 with SPDT V3 Microswitches,
V3 Inductive Proximity Sensors or T-Switches.
AVID LP R2
InstallatIon and operatIng InstructIons
www.pentair.com/valves VCIOM-02984-EN 14/08
The following document details the installation,
operation and maintenance instructions for the
AVID LP R2 (low profile) giving 360° visual and
electrical valve position.
1.4 NAMUR Mount
NOTE
Due to the mounting hole pattern of the AVID LP
housing being 93.5 x 41.3 mm equal about the center
of the shaft, a modified Namur bracket is required.
The modification can either be 4 off M5 tapped holes
or 4 off M5 clearance holes.
1.4a Secure the appropriately sized modified
Namur bracket to the actuator using
the screws / washers supplied with the
Namur kit finger tight only.
1.4b(1) For mounting brackets with 4 off M5
tapped holes, mount the LP switchbox
to the mounting bracket by engaging
the Namur shaft drive into the actuator
Namur pinion slot.
1.3d Mount the AVID LP switchbox to the
actuator by aligning the 11 x 16 mm shaft
adaptor to the actuator pinion coupler.
1.3e Ensure that the base of the AVID LP
housing sits flush with the top of the
actuator.
1.3f Locate and tighten the 4 off M5 captive
screws in the base of the housing with
either a 8 mm A/F socket drive or an
appropriately sized flat blade screwdriver.
1.3g Tighten the screws to a torque value of
18to 22 Lb/Ins.
AVID coupler 11 x 16 mm
Actuator namur slot
Namur
shaft drive
Bracket – customer supply
1.4b(2) Locate and tighten the 4 off M5 captive
screws in the base of the housing with
either a 8 mm A/F spanner / socket
drive or an appropriately sized flat blade
screwdriver.
1.4b(3) Tighten the screws to a torque value
of18 to 22 Lb/Ins.
1.4c(1) For mounting brackets that have 4 off
M5 clearance holes it will be necessary
to replace the 4 off M5 captive
LPhousing mounting screws with
M5 x 16 mm screws to be sealed with
new sealing caps.
1.4c(2) Tighten the screws to a torque value
of18 to 22 Lb/Ins.
2
AVID LP R2
InstallatIon and operatIng InstructIons
3.0 FIELD WIRING
ATTENTION
Before installing the conduit entry gland, please
ensure that it is the correct size and thread form.
An incorrect gland may affect the enclosure
ingress protection rating.
3.1 The terminal strip base has been
designed to offer easy access for wire
termination.
3.1a It is not necessary to remove the terminal
strip to connect the field wiring, but if
required, first remove the terminal strip
retaining screw and keep safe as this will
be required to secure the terminal strip
when complete.
3.1b Lift the terminal strip evenly off of the
two base pins and terminate the wiring
in accordance with the wiring diagram
which is located on the of the cover.
NOTE
For special builds of the AVID LP product it may be
necessary to have an additional A4 wiring diagram
placed in the packing box.
3.1c Position the terminal strip over the
two base pins and press evenly in the
direction of the pins.
3.1d Secure with the retaining screw removed
in step 3.1a.
4.0 EASIFIX CAM SETTING
4.1 To set the switch or sensor cam (Fig.3),
lift the bottom cam and turn until
switch / sensor is activated and then
release. The spring will push the cam
back onto the splined shaft.
4.2 Operate the actuator to the opposite
extreme, push down on the top cam
andturn until the upper switch / sensor
isactivated.
4.3 Operate the actuator from one extreme
to the other several times to ensure that
theswitches / sensors activate correctly.
5.0 COVER ASSEMBLY
5.1 Before assembling the cover assembly to
the AVID LP housing, check the cover seal
detail to ensure that it is not damaged
and free of debris.
5.1 Engage the shaft into the beacon bore
and rotate the cover assembly so that the
shaft drive flats fully engage.
5.2 Approximately align the cover with the
housing flange and secure using either
a 8 mm A/F spanner / socket drive or an
appropriately sized flat blade screwdriver.
5.3 Tighten the screws to a torque value of
18to 22 Lb/Ins.
6.0 READY FOR USE
6.1 The AVID LP switchbox is now ready
foruse.
6.2 If there are any un-used conduit entries,
please ensure that they are plugged using
correctly rated IP blanking plugs.
7.0 TECHNICAL DATA
Area classification - non hazardous.
Ingress protection - IP66 / 67
Switch / sensor options
Mechanical Switch – SPDT Form C,
Electricalrating -
24, 48, 110 & 240 VAC / 15Amps,
24 VDC / 15 Amps
48 VDC / 2.5 Amps
Alternative inductive proximity sensors;
P&F - NJ2-V3-N, NBB3-V3-Z4, NBB2-V3-E2
IFM - IS5026, IS5001, IS0003, IS5003, NS5002
Turck - Bi2-Q10S-AP6X, Bi2-Q10S-YOX
Telemecanique - XS7-H10PA340
Terminal strip –
Weco 302 HDS, 8 points or Klippon MK3,
6points.
Conduit options –
Up to 2 x M20 x 1.5p or ½”-14 NPT
Ambient Temperature Range –
Minus 20°C to +80°C
Figure 3
Top Cam (OPEN)
Push down, turn
and release.
Bottom Cam
(CLOSED). Lift, turn
and release.
3
1
2
3
4
17
10
18
16
11
12
6
8
15
7
14
9
5
13
41.3
[1.626]
93.5
[3.681]
150
[5.890]
144
[5.681]
94
[3.697]
87
[3.429]
78.3
[3.081]
25.0
[.984]
3.89
[.153]
A/F
Ä15.7
[.618]
AVID LP R2
InstallatIon and operatIng InstructIons
NOTE
For AVID LP switchbox wiring diagrams, please visit
www.pentair.com
Exploded view LP switchbox
PARTS LIST
Item Qty Description
1 1 LP B/W Cover assembly
2 1 LP Shaft assembly
3 1 LP Housing assembly 2 x M20
4 1 8pt Terminal Strip
5 1 LP Shaft coupler
6 1 Terminal stool
7 1 Housing / Cover Gasket
8 1 Internal earth 8-32 UNC
9 1 E'Clip
10 2Switch screws
11 1Terminal securing screw
12 1Terminal stool securing screw
13 1Shaft coupler securing screw
14 2IP Blanking plug
15 1Internal earth washer
16 1Switch spacer
17 1Switch stabilizing plate
18 1Top switch
19 1Bottom switch
OVERALL DIMENSIONS (mm)
M5 captive mounting
screws, 4 plc's
Plan view with cover removed
M5 captive cover
screws, 4 plc's
IP blanking plugs.
2 Plc's as std.
These installation and operating instructions are based on document TECHUK-74 specifically for the LP unit.

Other Pentair Industrial Equipment manuals

Pentair CodeLine 40E60 User manual

Pentair

Pentair CodeLine 40E60 User manual

Pentair EVERPURE EVERDRI User manual

Pentair

Pentair EVERPURE EVERDRI User manual

Pentair LINCOLN 82206 Owner's manual

Pentair

Pentair LINCOLN 82206 Owner's manual

Pentair PENTEK PPC7 Series User manual

Pentair

Pentair PENTEK PPC7 Series User manual

Pentair LINCOLN 85308 Owner's manual

Pentair

Pentair LINCOLN 85308 Owner's manual

Pentair LINCOLN 94804 User manual

Pentair

Pentair LINCOLN 94804 User manual

Pentair HYPRO 3430-0631 User manual

Pentair

Pentair HYPRO 3430-0631 User manual

Pentair PARAGON EZ REEL User manual

Pentair

Pentair PARAGON EZ REEL User manual

Pentair PLANCOFIX User manual

Pentair

Pentair PLANCOFIX User manual

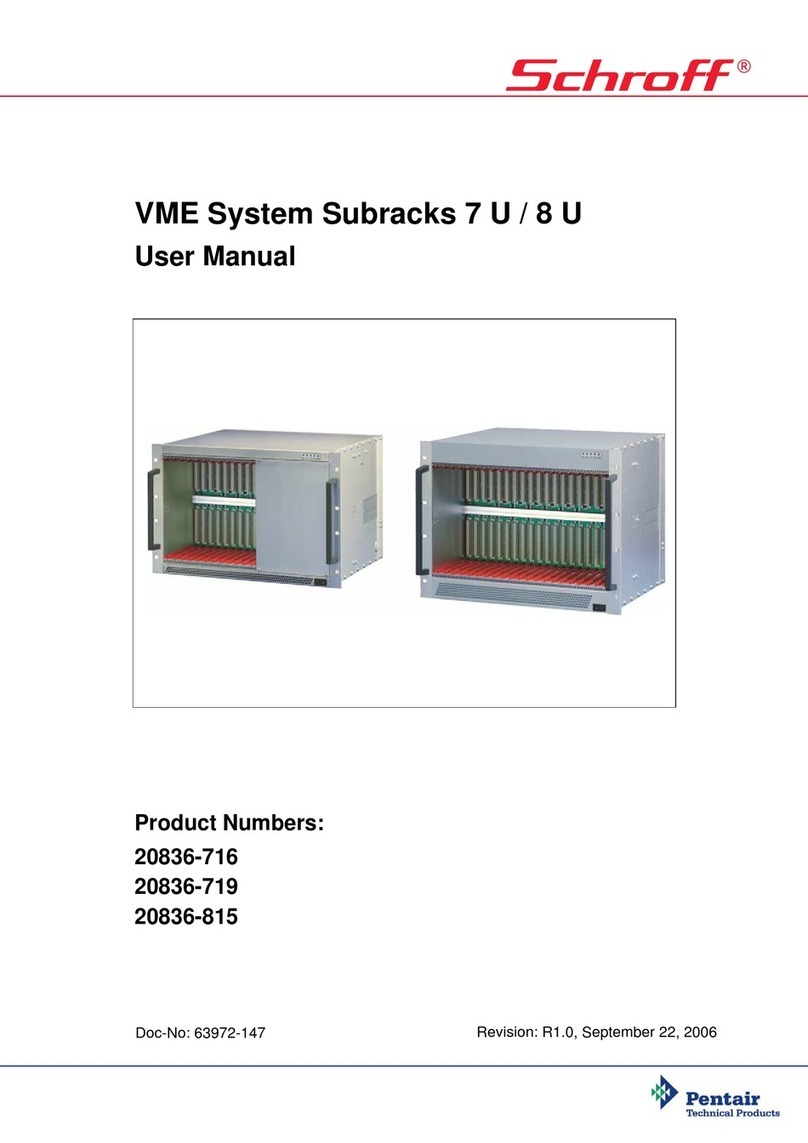
Pentair Schroff 20836-716 User manual

Pentair

Pentair Schroff 20836-716 User manual

Pentair Fleck 3200NT User manual

Pentair

Pentair Fleck 3200NT User manual

Pentair MYERS SRA-125 Manual

Pentair

Pentair MYERS SRA-125 Manual

Pentair Aurora 1080 Series Operating instructions

Pentair

Pentair Aurora 1080 Series Operating instructions

Pentair AURORA 1081BP Series Operating instructions

Pentair

Pentair AURORA 1081BP Series Operating instructions

Pentair VME System Subracks 7 U User manual

Pentair

Pentair VME System Subracks 7 U User manual

Pentair AURORA 1082PF Operating instructions

Pentair

Pentair AURORA 1082PF Operating instructions

Pentair Maestro SB-PF-ENS-002D User manual

Pentair

Pentair Maestro SB-PF-ENS-002D User manual

Pentair AURORA 04 Series Operating instructions

Pentair

Pentair AURORA 04 Series Operating instructions

Popular Industrial Equipment manuals by other brands

Avantco Backhoe 260 Operator's manual

Avantco

Avantco Backhoe 260 Operator's manual

Alfalaval Toftejorg MultiJet 25 instruction manual

Alfalaval

Alfalaval Toftejorg MultiJet 25 instruction manual

System air S-BM2 user manual

System air

System air S-BM2 user manual

CleaverBrooks CB-LE Series Operation, service and parts manual

CleaverBrooks

CleaverBrooks CB-LE Series Operation, service and parts manual

Outdoorchef Davos 570 Assembly instruction

Outdoorchef

Outdoorchef Davos 570 Assembly instruction

Delta DVP-ES2 Operation manual

Delta

Delta DVP-ES2 Operation manual

Strack PowerMax SN5650-PMO-0065 operating instructions

Strack

Strack PowerMax SN5650-PMO-0065 operating instructions

Wesco DM-800-HR-MDT Operating instructions and parts manual

Wesco

Wesco DM-800-HR-MDT Operating instructions and parts manual

woodmizer BMT100-2 Operation, parts & maintenance manual

woodmizer

woodmizer BMT100-2 Operation, parts & maintenance manual

Blue Technix Argos3D - P100 user manual

Blue Technix

Blue Technix Argos3D - P100 user manual

Master cool 91498 instruction manual

Master cool

Master cool 91498 instruction manual

SignalFire AI-6C user manual

SignalFire

SignalFire AI-6C user manual

EL-CELL ECD-3-nano user manual

EL-CELL

EL-CELL ECD-3-nano user manual

Oriental motor K II Series operating manual

Oriental motor

Oriental motor K II Series operating manual

Cold Jet PE50 PRE-INSTALLATION

Cold Jet

Cold Jet PE50 PRE-INSTALLATION

Alfalaval ALS Series instruction manual

Alfalaval

Alfalaval ALS Series instruction manual

Cold Jet i3 MICROCLEAN 2 manual

Cold Jet

Cold Jet i3 MICROCLEAN 2 manual

Green&Cool Mistral Operating & maintenance instructions

Green&Cool

Green&Cool Mistral Operating & maintenance instructions

manuals.online logo
manuals.online logoBrands
  • About & Mission
  • Contact us
  • Privacy Policy
  • Terms and Conditions

Copyright 2025 Manuals.Online. All Rights Reserved.