NOTE
Always remove and install element
in
the direction of feed flow. The
feed
end (upstream end)
is
the end plumbed
most directly
to
the p
ump.
When lubricating the vessel
chamfer
,
wear protective gloves or finger cots
t
o
prevent cuts or penetration
of
fiberglass.
Replacing
Element
s
The following procedures are provided for
inform-
ation only. Elements should
be
installed
in accord-
ance with the element manufacturer’s
recommend-
ations. Where conflicts exist, contact the element
manufacturer
or Pentair Water for clarification.
To
replace elements, proceed
as follows.
Removing
El
ements
4. Install adapter if required into one end plug.
At
downstream end of vessel, orient end
plug
ports into desired position and push plug
fully
into vessel. A sharp, forceful thrust may
be
needed to enter plug seal into the vessel
bore.
1.
Remove heads from both ends
of
vessels
as
described
in
Opening the
V
e
ss
e
l
.
2.
Push element out
of
vessel from the
upstream
end.
3.
For multi-element vessels, remove the
inter-
connectors and retain for
reinstallation.
Inserting E
lements
Installation of the End Plug Assembly
into the
vessel
5. Carefully insert retaining ring into its
groove.
This is done by inserting the lead end of
the
spiral retaining ring (end without bent tab)
into
the stainless steel retaining ring groove
located
in the shell, and slowly pushing the
remaining
turns into the
shell.
1. Ensure that heads are available in clean,
as-new
condition before proceeding. (If in doubt as
to
head condition see section on inspecting
parts,
page
9).
2. Check that all required elements are ready for assem-
bly, with no dings or other damage which could
scratch the inside of the vessel.
3. Check that the interior of the vessel is clean and free
o f b u r r s , s h a r p e d g e s o r o t h e r d a m a g e .
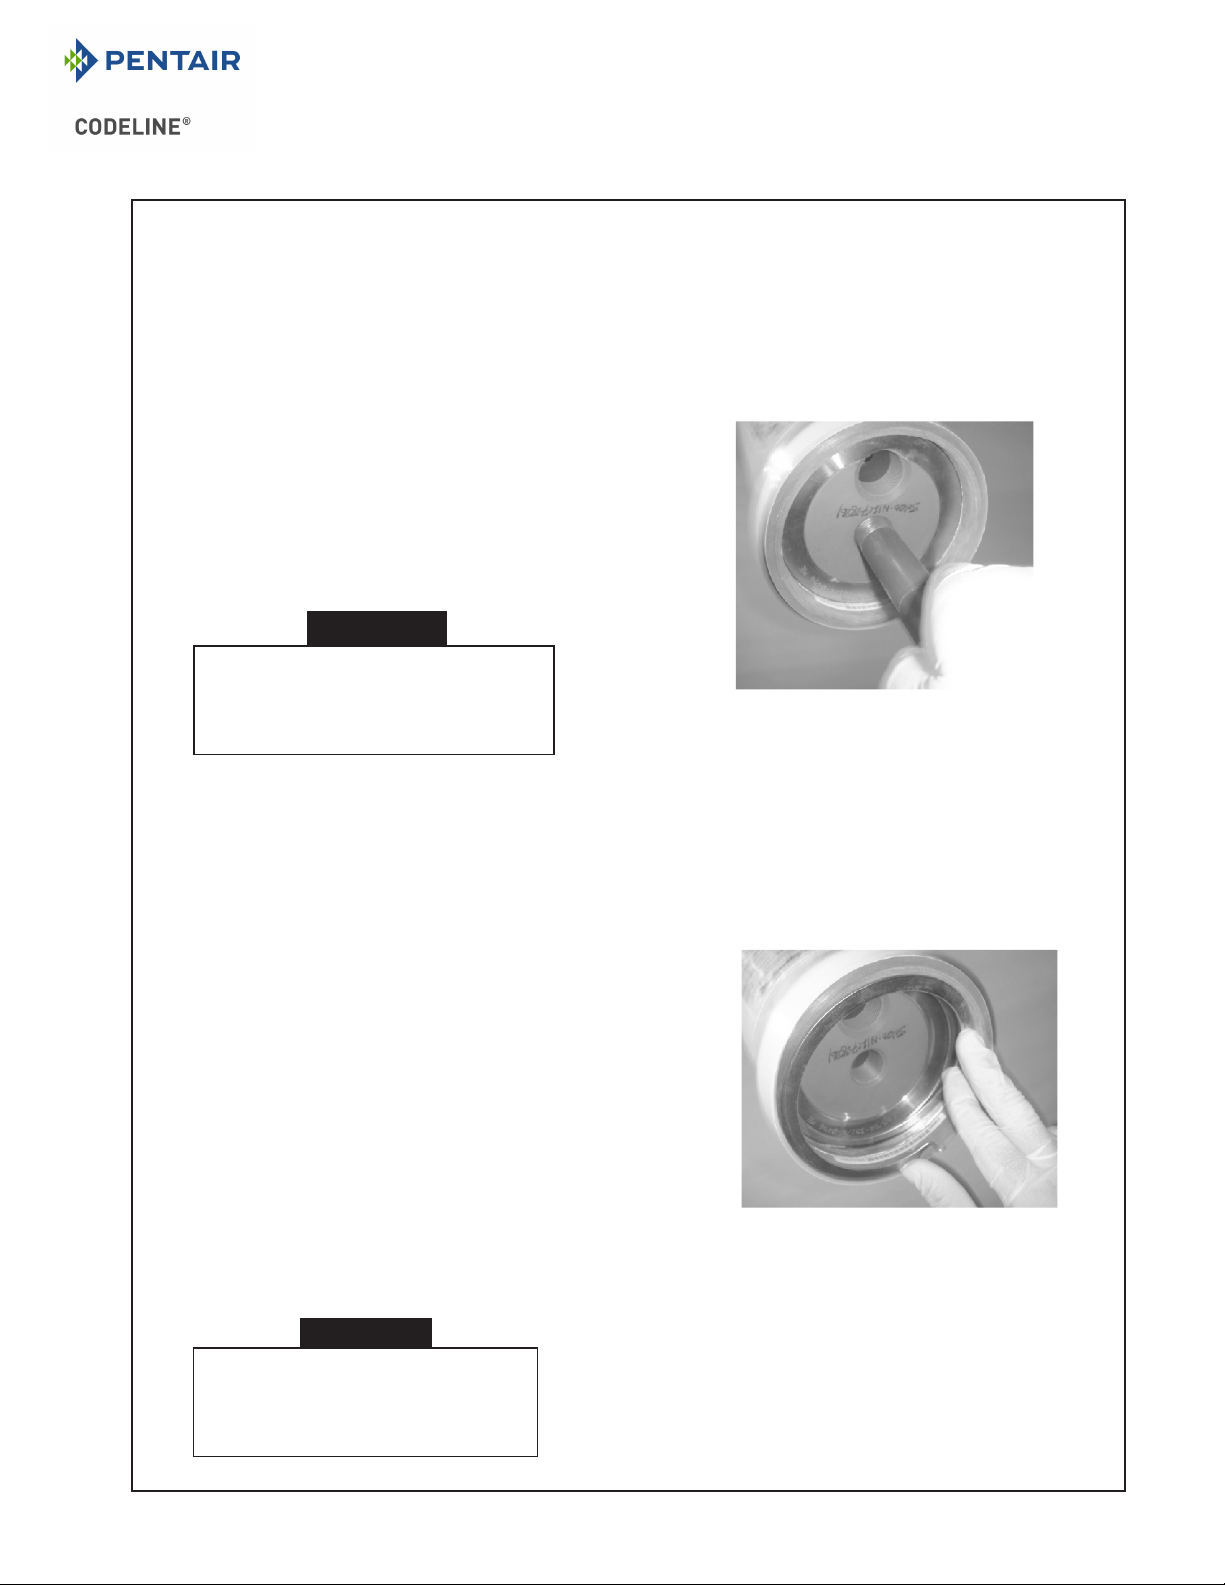
Remove any residual lubricant from the vessel bore
and work a fresh, thin film of Parker-Super O-Lube
TM
silicon lubricant into the lead-in chamfer and an area
approximately ½ inch in from the chamfer
Inserting Retaining Ring into the gr
oove
6. Check that the spiral retaining ring is fully seated
in the groove. If it is not, remove and check for
foreign material that is causing the spiral ring not
to sit into the groove.
Distributed by Applied Membranes, Inc. | www.appliedmembranes.com | (760) 727-3711 | USA