10
STOP
The pump must be stopped by powering off the motor.
Centrifugal pumps may be stopped with the adjustment valve either open or
closed; a non-return valve must be installed on the delivery piping, in order to
protect it from water hammer.
After stopping the pump also close any auxiliary shutter devices or other types of
external flushing.
Any cooling must only be interrupted after the pump has reached ambient tem-
perature.
In the event of prolonged stops, completely empty the pump to prevent freezing
issues during the cold season or corrosion due to possible chemical alteration of
the liquid standing in the pump.
4.2 • REGULATION AND OPERATION CONTROL
Below is a description of the main checks to be carried out after starting up the
pump.
HEAD
The delivered flow rate of the pump is a function of the head developed according
to the pump's operation curve.
After starting up ensure the head developed by the pump matches the rated one.
For the calculation read the values displayed by the pressure gauge on delivery
and vacuum gauge on intake and apply the following formula:
H = differential head (m)
Y = specific weight at pumping temperature (Kg/dm 3)
Pm= delivery pressure
Pa = intake pressure
In the event the pump head is lower than rated, slowly close the delivery regula-
tion valve until reaching the
correct value.
Pressure leaks greater than the design, result in a greater head developed by the
pump than the rated one. In this case, to obtain the correct head value, the plant
must be modified to reduce
the leaks.
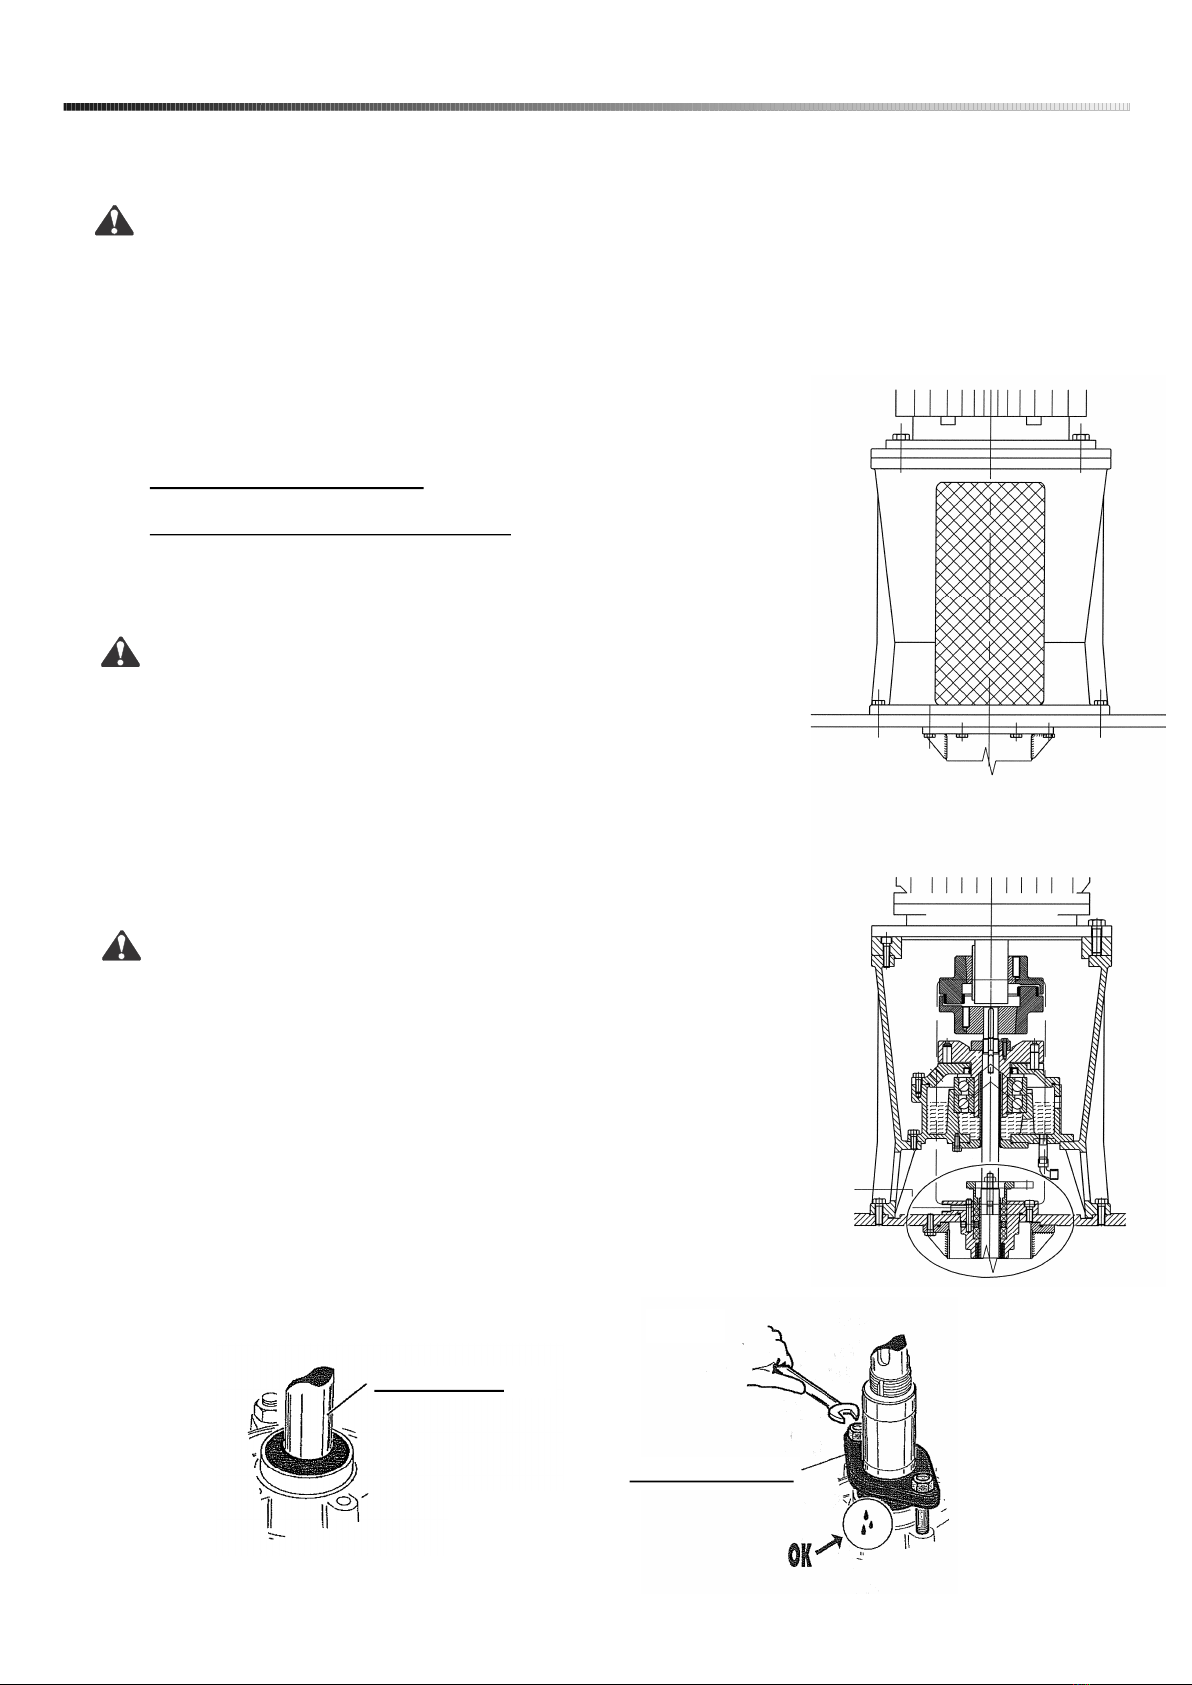
VIBRATIONS / NOISE
Operation at rated pump speed must take place without abnormal vibration or
noise. Should there be any, immediately stop the pump, seek the cause and elim-
inate it.
10,2 (Pm - Pa)
H = ————————-
Y
4. OPERATION AND USE
STOP
The pump must be stopped by powering off the motor.
Centrifugal pumps may be stopped with the adjustment valve either open or closed; a non
stalled on the delivery piping, in order to protect it from water hammer.
After stopping the pump also close any auxiliary shutter devices or other types of external flushing.
Any cooling must only be interrupted after the pump has reached ambient temperature.
In the event of prolonged stops, completely empty the pump to prevent freezing issues during the cold season or corro-
sion due to possible chemical alteration of the liquid standing in the pump.