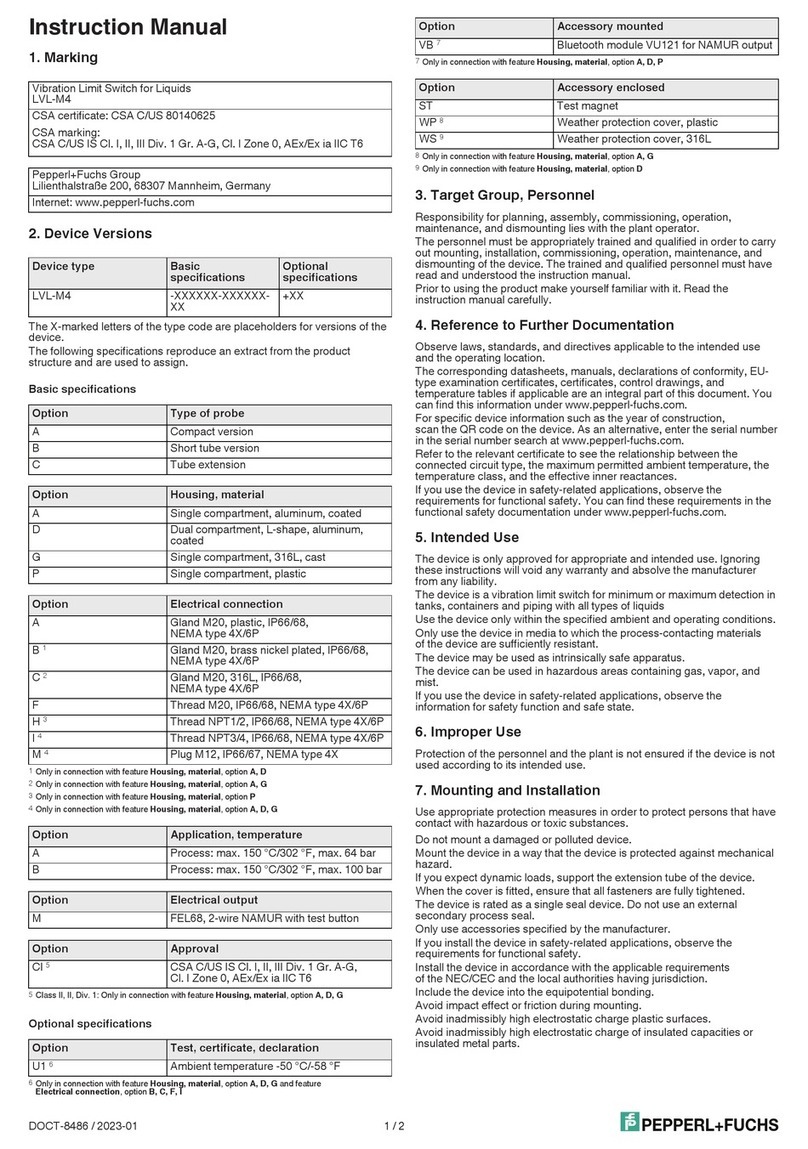
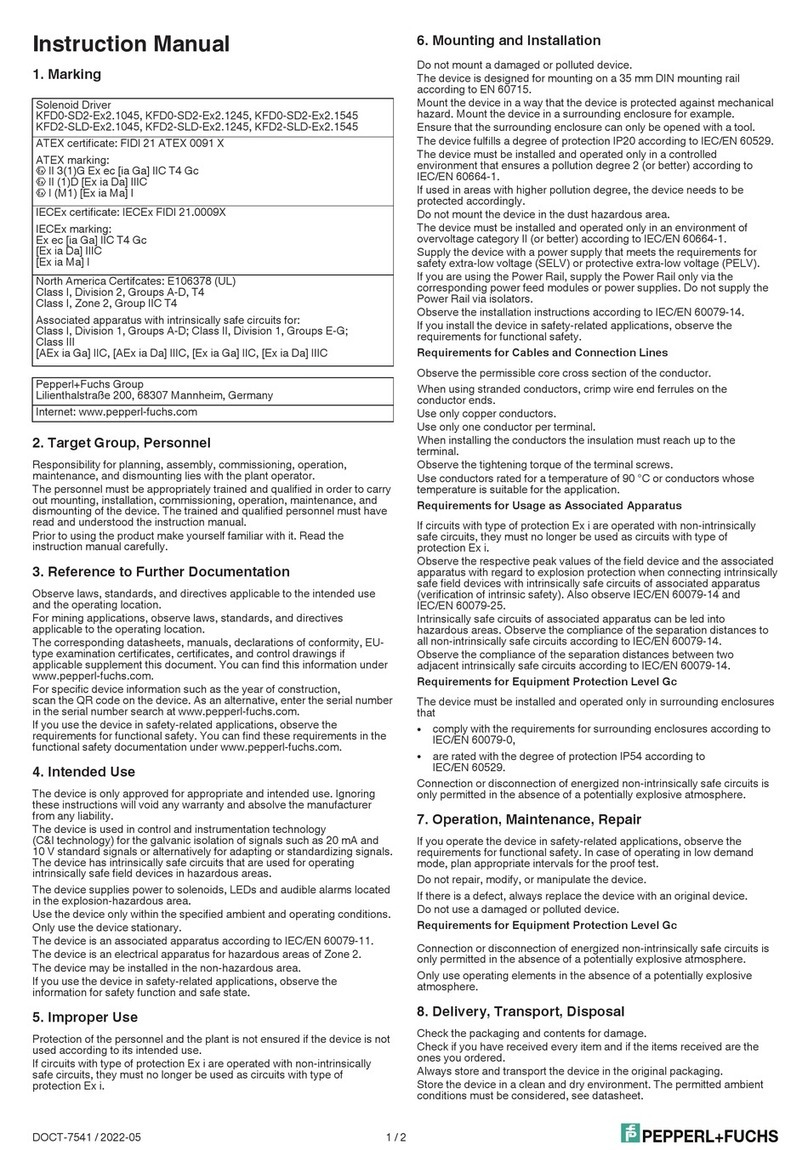
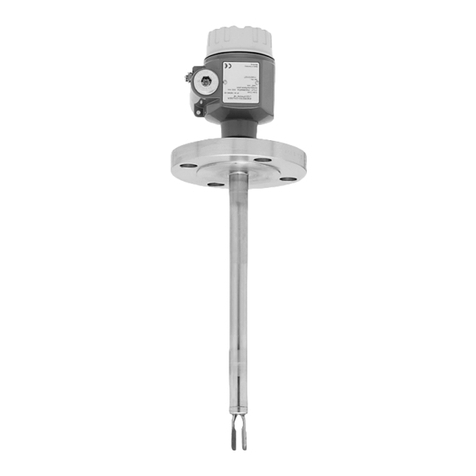
manuals.online logo
Brands
  1. Home
  2. •
  3. Brands
  4. •
  5. Pepperl+Fuchs
  6. •
  7. Switch
  8. •
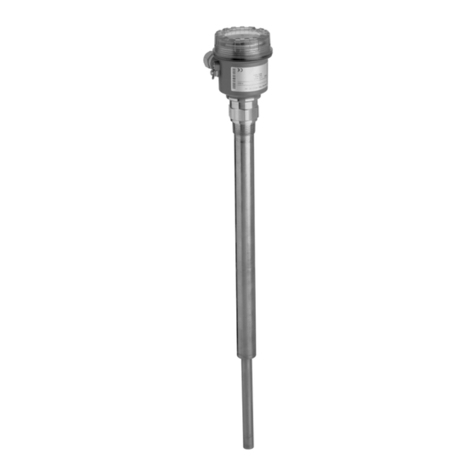
  9. Pepperl+Fuchs VISOLUX LD28/76a User manual

Pepperl+Fuchs VISOLUX LD28/76a User manual

alle Maße in mm
DimensionsAbmessungen
Technische Daten Technical data
Elektrischer Anschluss Electrical connection Adressen/Addresses
Deutschland: Pepperl+Fuchs GmbH, Königsberger Allee 87, 68307 Mannheim,
Tel. +49 (0) 621 776-1111, Fax +49 (0) 621 776-1000,
fa-info@de.pepperl-fuchs.com
Great Britain: Pepperl+Fuchs (GB) Ltd., 77 Riponden Road, OLDHAM OL1 4EL, Lancashire,
Tel. (161) 6 33 64 31, Telefax (161) 6 28 31 14,
[email protected]pperl-fuchs.com
USA: Pepperl+Fuchs Inc., 1600 Enterprise Parkway, Twinsburg, Ohio 44087,
Cleveland-USA,
Tel. (330) 4 25 35 55, Telefax (330) 4 25 93 85,
[email protected]pperl-fuchs.com
France: Pepperl+Fuchs SARL, 12 Avenue des Tropiques - Les Ulis, 91955
COURTABOEUF CEDEX,
Tel. (1) 60 92 13 13, Telefax (1) 60 92 13 25,
commercial@fr.pepperl-fuchs.com
España Pepperl+Fuchs S.A., Txori-Erri Etorbidea 46, Pol. Izarza, 48150 SONDIKA
(Vizcaya),
Tel. (4) 4 53 50 20, Telefax (4) 4 53 51 80,
[email protected]erl-fuchs.com
Italia Pepperl+Fuchs ELCON S.r.l., Via delle Industrie, 4, 20050 MEZZAGO (Milano),
Tel. (039) 6 29 21, Telefax (039) 6 29 22 40,
[email protected]rl-fuchs.com
Singapore Pepperl+Fuchs Pte Ltd., P+F Building, 18 Ayer Rajah Crescent,
Singapore 139942,
Tel. (65) 67 79 90 91, Telefax (65) 68 73 16 37,
[email protected]pperl-fuchs.com
For more contact-addresses refer to the catalogue or internet: http://www.pepperl-fuchs.com
Sicherheitshinweise:
• Vor der Inbetriebnahme Betriebsanleitung lesen
• Anschluss, Montage und Einstellung nur durch Fachpersonal
• Kein Sicherheitsbauteil gemäß EU-Maschinenrichtlinie, darf nicht für Personenschutz oder NOT-AUS-Funktion verwendet werden.
Security Instructions:
• Read the operating instructions before attempting commissioning
• Installation, connection and adjustments should only be undertaken by specialist personnel
• No safety compolltection of personnel or EMERGENCY-STOP functions.
all dimensions in mm
Empfindlichkeitseinsteller
LED-Anzeige
Betrieb
Hell-/Dunkel-Schalter
LED-Anzeige
Schaltzustand
LED-Anzeige
Schaltzustand
EmpfängerSender
Schwalben-
schwanz -
aufnahme
LED-Anzeige
rot
Ausrichthilfe
EmpfängerSender
interne
Verbindung
interne
Verbindung
DIP-Schalter
Zeiteinsteller
für GAB und IAB
Zeiteinsteller
für GAN
25,8
9,6
65,5
25
5
SW8
ø5
1624
66211
M12x1
9
63
882
1
4
3
2
5
26
"Z"
"Z"
5
4
3
2
1
8
7
6
5
4
3
2
1
8
7
6
GY
GY
GY
GY
BU
BU
OG
OG
BU
BU
OG
OG
Einweg-Lichtschranke
Single path light beam switch
LD28/LV28-Z-F1/76a/82b/110/112
Allgemeine Daten
Betriebsreichweite 0 ... 30 m
Grenzreichweite 40 m
Lichtsender LED, 660 nm
Zulassungen CE, cULus
Ausrichthilfe LED rot (in Empfänger-Optik)
leuchtet konstant bei Strahlunterbrechung,
blinkt bei Erreichen des Schaltpunktes,
aus bei Erreichen der Funktionsreserve
Sendefrequenz F1 = 25 kHz
Lichtart rot, Wechsellicht
Lichtfleckdurchmesser ca. 0,6 m bei 30 m
Öffnungswinkel Sender 1,2°,
Empfänger 5°
Fremdlichtgrenze 50000 Lux
Anzeigen/Bedienelemente
Betriebsanzeige LED grün
Funktionsanzeige LED gelb:
1. LED leuchtet konstant: Signal > 2 x Schaltpunkt (Funktionsreserve)
2. LED blinkt: Signal zwischen 1 x Schaltpunkt und 2 x Schaltpunkt
3. LED aus: Signal < Schaltpunkt
Bedienelemente Empfindlichkeitseinsteller (Einstellung bis < 25 % der Betriebsreichweite) , Hell-/Dunkel-Umschalter
Elektrische Daten
Betriebsspannung 10 ... 30 V DC
Welligkeit 10 %
Leerlaufstrom I0Sender:
≤
50 mA
Empfänger:
≤
35 mA
Eingang
Testeingang Senderabschaltung bei +UB(Imax. < 3 mA bei 30 V DC)
Ausgang
Vorausfallausgang 1 pnp-Transistor, kurzschlussfest, verpolsicher, offener Kollektor, Umax = 30 V DC, Imax = 0,2 A
Der Ausgang wird inaktiv, wenn das Signal für etwa 10 s die Funktionsreserve unterschritten hat
(gelbe und rote LED blinken).
Finden innerhalb dieser Zeit 4 Lichtstrahlungsunterbrechungen statt, wird der Ausgang sofort inaktiv.
Schaltungsart hell-/dunkelschaltend, umschaltbar (Dabei ist der eine H/D-Umschalter nur dann in Funktion, wenn
sich der jeweils andere in der Stellung "dunkelschaltend" befindet.)
Signalausgang 1 Gegentaktausgang, kurzschlussfest, verpolgeschützt
Schaltspannung max. 30 V DC
Schaltstrom max. 100 mA
Schaltfrequenz f 1000 Hz
Ansprechzeit 0,5 ms
Timerfunktion GAN, GAB, IAB, GAN-IAB, GAN-GAB, programmierbar, Einstellbereich 0,02 ... 1 s
Normenkonformität
Normen EN 60947-5-2
Umgebungsbedingungen
Umgebungstemperatur -40 ... 60 °C (233 ... 333 K)
Lagertemperatur -40 ... 75 °C (233 ... 348 K)
Mechanische Daten
Schutzart IP67
Anschluss Metallstecker M12, 5-polig, 90° umsetzbar
Material
Gehäuse Kunststoff ABS
Lichtaustritt Kunststoffscheibe
Masse 140 g (Sender und Empfänger)
LED indicator:
operation
LED indicator:
switching state
LED indicator:
switching state
Sensitivity adjuster
Light/dark switch
Receiver
Emitter
Dovetail mount
LED-indicator
red
alignment aid
Receiver
Emitter
Internal
connection
Internal
connection
DIP-switch
Time adjuster
for GAB and IAB
Time adjuster
for GAN
25.8
9.6
65.5
25
5
SW8
ø5
1624
66211
M12x1
9
63
882
1
4
3
2
5
26
"Z"
"Z"
5
4
3
2
1
8
7
6
5
4
3
2
1
8
7
6
GY
GY
GY
GY
BU
BU
OG
OG
BU
BU
OG
OG
01/13/2005
Date:
Option:
3
2
1
4
5
+UB
0 V
Q1
I/O
Q2
Alarm
/110
Sender
Test
General specifications
Effective detection range 0 ... 30 m
Threshold detection range 40 m
Light source LED, 660 nm
Approvals CE, cULus
Alignment aid LED red (in receiver lens)
illuminated constantly: beam is interrupted,
flashes: reaching switching point,
off: sufficient stability control
Transmitter frequency F1 = 25 kHz
Light type red, alternating light
Diameter of the light spot approx. 0,6 m at 30 m
Angle of divergence Emitter 1.2°,
Receiver 5°
Ambient light limit 50000 Lux
Indicators/operating means
Operating display LED green
Function display LED yellow:
1. LED lits constantly: signal > 2 x switching point (function reserve)
2. LED flashes: signal between 1 x switching point and 2 x switching point
3. LED off: signal < switching point
Operating elements sensitivity adjuster (Adjustment to < 25% of the effective operating range) , Light/dark switch
Electrical specifications
Operating voltage 10 ... 30 V DC
Ripple 10 %
No-load supply current I0emitter:
≤
50 mA
Receiver:
≤
35 mA
Input
Test input emitter deactivation at +UB(Imax. < 3 mA at 30 V DC)
Output
Output of the pre-fault indication 1 pnp transistor, short-circuit proof, protected from reverse polarity, open collector, Umax = 30 V DC,
Imax = 0.2 A
The output becomes inactive if the signal level has fallen below the function reserve for approx. 10 s
(yellow and red LEDs flash).
If the light beam is interrupted four times during this period, the output immediately becomes inac-
tive.
Switching type light/dark ON, switchable (Switchable, The light/dark switch is only activated if the other one is in
position 'dark ON'.)
Signal output 1 push-pull output, short-circuit proof, protected against reverse polarity
Switching voltage max. 30 V DC
Switching current max. 100 mA
Switching frequency f 1000 Hz
Response time 0,5 ms
Timer function GAN, GAB, IAB, GAN-IAB, GAN-GAB, programmable, adjustment interval 0.02 s ... 1 s
Standard conformity
Standards EN 60947-5-2
Ambient conditions
Ambient temperature -40 ... 60 °C (233 ... 333 K)
Storage temperature -40 ... 75 °C (233 ... 348 K)
Mechanical specifications
Protection degree IP67
Connection Metal connector M12, 5-pin, 90° convertible
Material
Housing Plastic ABS
Optical face Plastic lens
Mass 140 g (emitter and receiver)
!
= dunkellschaltend,
"= hellschaltend !
= dark on,
"= light on
Option:
3
2
1
4
5
+UB
0 V
Q1
I/O
Q2
Alarm
/110
Emitter
Test
U
®
DIN A3 -> DIN A7
Part. No.: 116630 45-0750B
Doc. No.:
Funktionsbeschreibung
Sicherheitshinweise
• Vor der Inbetriebnahme Betriebsanleitung lesen
• Anschluss, Montage und Einstellung nur durch Fachpersonal
• Kein Sicherheitsbauteil gemäß EU-Maschinenrichtlinie
Montagehinweise
Der Sensor kann über die Durchgangsbohrungen direkt befestigt werden oder über einen der Haltewinkel bzw. Klemmkörper
(diese sind nicht im Lieferumfang enthalten).
Die Untergrundfläche muss plan sein, um Gehäuseverzug beim Festziehen zu vermeiden. Es empfiehlt sich, die Mutter mit Fe-
derscheiben zu sichern, um einer Dejustierung des Sensors vorzubeugen.
Justage
Nach Anlegen der Betriebsspannung leuchtet die LED grün.
Sender und Empfänger gegenüber ausrichten bis die gelbe LED im Empfänger konstant leuchtet. Durch Schwenken der Sen-
soren kann man herausfinden, wann dieser Bereich verlassen wird. Dann blinkt die gelbe Leuchtanzeige bis sie bei weitern
Drehen ausgeht. In der Mitte zwischen beiden Stellungen liegt die exakte Justierung.
Die gelbe LED im Empfänger leuchtet konstant.
Ausrichthilfe (rote LED)
Zur besseren Ausrichtbarkeit bei großen Reichweiten befindet sich eine 2.LED (rot) im Optikteil des Empfängergerätes:
1)LED leuchtet konstant: Signal < Schaltpunkt
2)LED blinkt: Signal zwischen 1 x Schaltpunkt und 2 x Schaltpunkt
3)LED aus: Signal ³ 2 x Schaltpunkt (Funktionsreserve)
Einstellung der Zeitfunktionen
Die gewünschte Zeitfunktion ist über die DIP-Schalter einstellbar
Reinigung
Wir empfehlen in regelmäßigen Abständen den Lichtaustritt zu reinigen und Verschraubungen, sowie die Steckverbindungen
zu überprüfen.
Öffnen des Klemmraums
1)Um den Klemmraum zu öffnen wird ein flacher Schraubendreher benötigt. Der Klemmraum befindet sich hinter dem schwar-
zen bedruckten Deckel. Setzen Sie das Schraubendreher-Blatt in die Mittelkerbe unter dem LED Fenster. Schieben Sie den
Schraubendreher vollständig bis zum Anschlag in diese Kerbe ein.
2)Drücken Sie nun den Schraubendreher-Griff nach oben in Richtung zur Richtung des LED Fensters.
3)Der bedruckte Deckel öffnet sich nach außen und außerhalb und gibt den Klemmraum frei. Um den Klemmraum zu schlie-
ßen, drücken Sie einfach den Deckel in seine Ausgangsstellung zurück bis er einrastet.
Function description
Security Instructions
• Read the operating instructions before attempting commissioning
• Installation, connection and adjustments should only be undertaken by specialist personnel
• No safety component in accordance with EU machine guidelines
Mounting instructions
The sensor can be fastened over the through-holes directly or with one of the support angles or clamping components (this are
not contained in the scope of supply).
The base surface must be flat to avoid distorting the housing during mounting. It is advisable to secure the bolts with washers
so that the sensor does not become misaligned.
Adjustment
Connect the sensor to operating voltage, the LED green lights up constantly.
Emitter and receiver align to opposite: Yellow LED (receiver) lights up constantly.
By paining the sensors, both horizontally and vertically, one can determine when the sensor is aligned correctly. When the yel-
low LED starts flashing the light beam is on the edge of the useful alignment zone, and when the Led is off , then there is no
alignment. The correct adjustment is with the light beam in the center of these two extremes in both the horizontal and vertical
modes. The yellow LED is permanently on.
Alignment aid (red LED)
For the better adjustment with large ranges a 2.LED (red) is in the optic of the
receiver device:
1)LED lights up constantly: Signal < switching point
2)LED flashes: Signal between 1 x switching point and 2 x switching point
3)LED out: Signal > 2 x switching point (function reserve)
Timer functions
The desired timer function is adjustable by DIP-switch
Maintenance
We recommend that you frequently clean the optical surfaces and check the electrical connections and mechanical fixations.
Opening the terminal compartment
1)A flat-head screwdriver is needed to open the terminal compartment. Insert the screwdriver into the center notch under the
LED window next to the printed black door with the blade all the way to back of this notch.
2)Push the screwdriver upward toward the direction of the LED.
3)The hinged door with printing will pivot outward, exposing the terminal compartment. To close, simply push the hinged door
to its original position so that it snaps back into position.
Ausführung Beschreibung Bemerkungen
-Z Zeitglied „Abfallverzögerung“, (GAB) Zeitbereich einstellbar 0,02 s ... 1 s
Impulsmäßiges Zeitglied „Abfallverzögerung“, (IAB)
Zeitglied „Anzugsverzögerung“, (GAN)
Doppelzeitglied „Anzugs-/Abfallverzögerung“, (GAN/GAB)
Doppelzeitglied „Anzugs-Impulsmäßige/Abfallverzögerung“, (GAN/IAB)
Zeitfunktion
Ohne
GAB
Dunkel
Hell
Dunkel
Hell
Dunkel
Hell
Schaltungsart
Empfänger belichtet
Empfänger dunkel
EIN
AUS
EIN
AUS
EIN
AUS
EIN
AUS
EIN
AUS
GAN
IAB Dunkel
Hell
EIN
AUS
EIN
AUS
tAN
tAN tAN tAN
tAB
tAB
tIAB
tIAB tIAB tIAB
tIAB tIAB
tAB tAB
Die Zeit tAN, tAB und tIAB sind von 0,02 - 1 Sekunden einstellbar.
Der H/D-Schalter (Schalter links außen) ist in Stellung Dunkelschaltung dargestellt.
Type Description Notes
-Z Timer stage "OFF-delay", (GAB) Time interval adjustable 0.02 s ... 1 s
Timer stage "output pulse length", (IAB)
Timer stage "ON-delay", (GAN)
Double timer stage "ON-/OFF-delay, (GAN/GAB)
Double timer stage "ON-delay/output pulse length", (GAN/IAB)
Timer function
Without
GAB
Dark
Light
Dark
Light
Dark
Light
Switching type Receiver exposed
Receiver dark
ON
OFF
ON
OFF
ON
OFF
ON
OFF
ON
OFF
GAN
IAB Dark
Light
ON
OFF
ON
OFF
tON
tON tON tON
tOFF
tOFF
tIOFF
tIOFF tIOFF tIOFF
tIOFF tIOFF
tOFF tOFF
Time tON, tON and tIOFF are adjustable from 0.02 to 1 seconds.
The H/D Switch (Left, outer switch) is shown in the "Dark ON" position.

This manual suits for next models

7

Other Pepperl+Fuchs Switch manuals

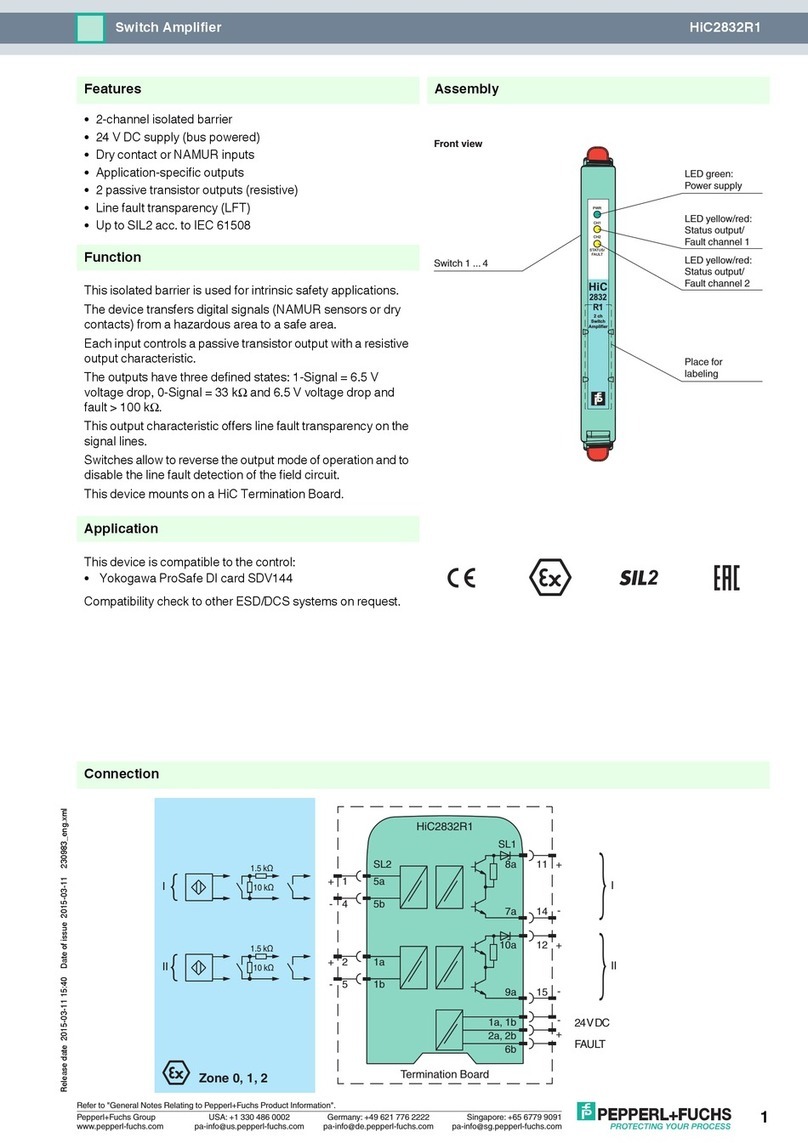
Pepperl+Fuchs HiC2832R1 User manual

Pepperl+Fuchs

Pepperl+Fuchs HiC2832R1 User manual

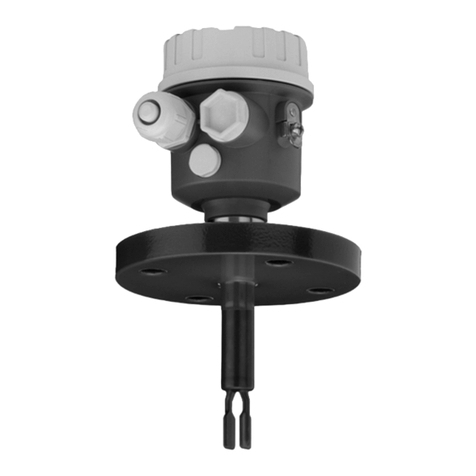
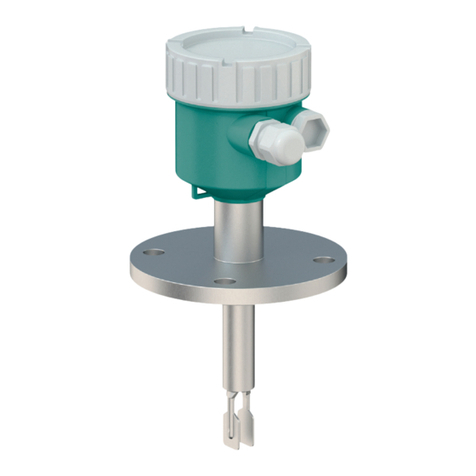
Pepperl+Fuchs Vibracon LVL-M1H User manual

Pepperl+Fuchs

Pepperl+Fuchs Vibracon LVL-M1H User manual

Pepperl+Fuchs Vibracon LVL-M1 User manual

Pepperl+Fuchs

Pepperl+Fuchs Vibracon LVL-M1 User manual

Pepperl+Fuchs LKL-P1 User manual

Pepperl+Fuchs

Pepperl+Fuchs LKL-P1 User manual

Pepperl+Fuchs Ethernet-APL Series User manual

Pepperl+Fuchs

Pepperl+Fuchs Ethernet-APL Series User manual

Pepperl+Fuchs Vibracon LVL-M1 User manual

Pepperl+Fuchs

Pepperl+Fuchs Vibracon LVL-M1 User manual

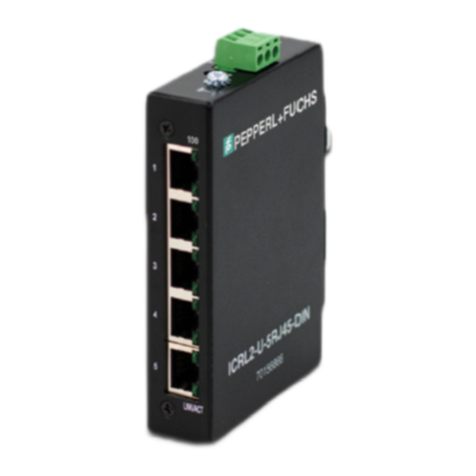
Pepperl+Fuchs RocketLinx ICRL2-U-5RJ45-DIN User manual

Pepperl+Fuchs

Pepperl+Fuchs RocketLinx ICRL2-U-5RJ45-DIN User manual

Pepperl+Fuchs LVL-M4 User manual

Pepperl+Fuchs

Pepperl+Fuchs LVL-M4 User manual

Pepperl+Fuchs LVL-M4 User manual

Pepperl+Fuchs

Pepperl+Fuchs LVL-M4 User manual

Pepperl+Fuchs Vibracon LVL-A7 User manual

Pepperl+Fuchs

Pepperl+Fuchs Vibracon LVL-A7 User manual

Pepperl+Fuchs Vibracon LVL-M Series User manual

Pepperl+Fuchs

Pepperl+Fuchs Vibracon LVL-M Series User manual

Pepperl+Fuchs LVL-M4 Reference guide

Pepperl+Fuchs

Pepperl+Fuchs LVL-M4 Reference guide

Pepperl+Fuchs LVL-M4 User manual

Pepperl+Fuchs

Pepperl+Fuchs LVL-M4 User manual

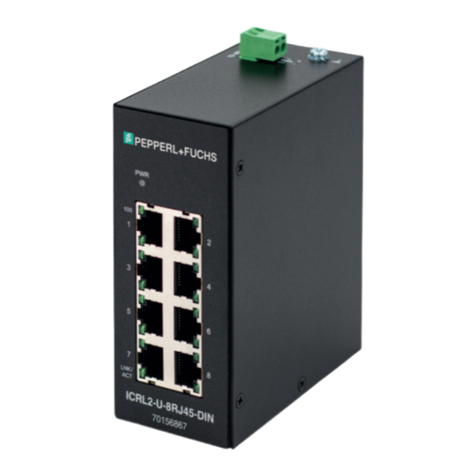
Pepperl+Fuchs RocketLinx ICRL2-U-8RJ45-DIN User manual

Pepperl+Fuchs

Pepperl+Fuchs RocketLinx ICRL2-U-8RJ45-DIN User manual

Pepperl+Fuchs PROFINET IO Power Hub User manual

Pepperl+Fuchs

Pepperl+Fuchs PROFINET IO Power Hub User manual

Pepperl+Fuchs RocketLinx ICRL-U-5RJ45-G-DIN User manual

Pepperl+Fuchs

Pepperl+Fuchs RocketLinx ICRL-U-5RJ45-G-DIN User manual

Pepperl+Fuchs LVL-M4 Manual

Pepperl+Fuchs

Pepperl+Fuchs LVL-M4 Manual

Pepperl+Fuchs Vibracon LVL-M H Series User manual

Pepperl+Fuchs

Pepperl+Fuchs Vibracon LVL-M H Series User manual

Pepperl+Fuchs LCL1 User manual

Pepperl+Fuchs

Pepperl+Fuchs LCL1 User manual

Pepperl+Fuchs LVL-M4 User manual

Pepperl+Fuchs

Pepperl+Fuchs LVL-M4 User manual

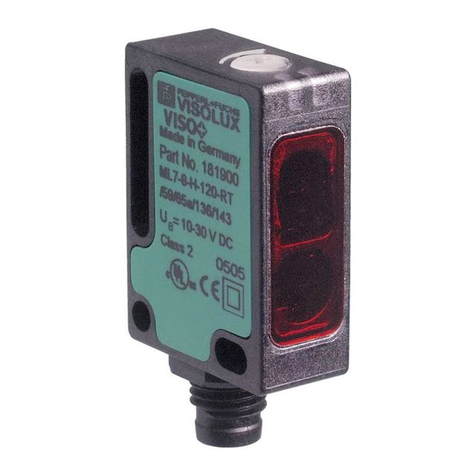
Pepperl+Fuchs VISOLUX ML7-55 User manual

Pepperl+Fuchs

Pepperl+Fuchs VISOLUX ML7-55 User manual

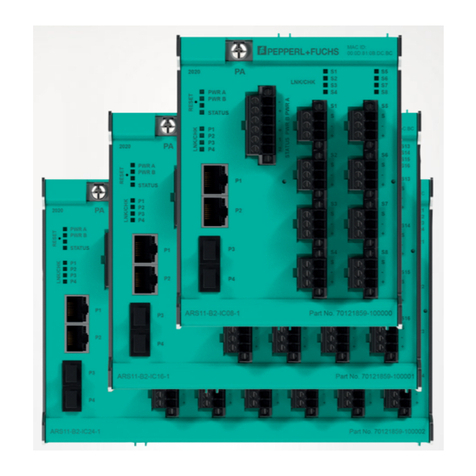
Pepperl+Fuchs ARS B2 IC Series User manual

Pepperl+Fuchs

Pepperl+Fuchs ARS B2 IC Series User manual

Pepperl+Fuchs LCL2 Reference guide

Pepperl+Fuchs

Pepperl+Fuchs LCL2 Reference guide

Pepperl+Fuchs SI00114O-H User manual

Pepperl+Fuchs

Pepperl+Fuchs SI00114O-H User manual

Popular Switch manuals by other brands

ATEN ALTUSEN SN0108 quick start guide

ATEN

ATEN ALTUSEN SN0108 quick start guide

Indu-Sol PROmesh U16 Quick start user guide

Indu-Sol

Indu-Sol PROmesh U16 Quick start user guide

Conrad Electronic 64 64 43 operating instructions

Conrad Electronic

Conrad Electronic 64 64 43 operating instructions

ANTAIRA LMP-1600G Series Quick installation guide

ANTAIRA

ANTAIRA LMP-1600G Series Quick installation guide

Linksys ProConnect SVIEW08 v2 user guide

Linksys

Linksys ProConnect SVIEW08 v2 user guide

Kindermann Multimatrix 8 operating instructions

Kindermann

Kindermann Multimatrix 8 operating instructions

Tektronix Keithley 3700A Series user manual

Tektronix

Tektronix Keithley 3700A Series user manual

MS Electronics RTDS3 Product guide

MS Electronics

MS Electronics RTDS3 Product guide

Key Digital KD-HDMI2X8P Specifications

Key Digital

Key Digital KD-HDMI2X8P Specifications

M-system 18KYV instruction manual

M-system

M-system 18KYV instruction manual

LevelOne PLI-4251 user manual

LevelOne

LevelOne PLI-4251 user manual

HP 6125XLG installation guide

HP

HP 6125XLG installation guide

Leviton Decora Smart DG3HL Getting started guide

Leviton

Leviton Decora Smart DG3HL Getting started guide

Kramer VS-81H user manual

Kramer

Kramer VS-81H user manual

EtherWAN EX48050-00B quick start guide

EtherWAN

EtherWAN EX48050-00B quick start guide

Opencockpits B737 Installation & user manual

Opencockpits

Opencockpits B737 Installation & user manual

Digitus DS-13202 user manual

Digitus

Digitus DS-13202 user manual

Digitus DN-651160 Quick installation guide

Digitus

Digitus DN-651160 Quick installation guide

manuals.online logo
manuals.online logoBrands
  • About & Mission
  • Contact us
  • Privacy Policy
  • Terms and Conditions

Copyright 2025 Manuals.Online. All Rights Reserved.