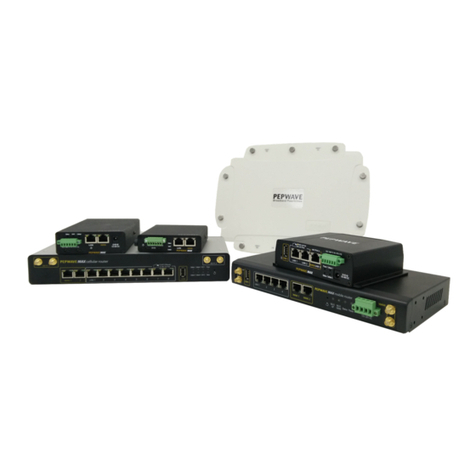
Pepwave Peplink User manual
Other Pepwave Network Router manuals

Pepwave
Pepwave Mesh Connector 225-DX User manual
Pepwave
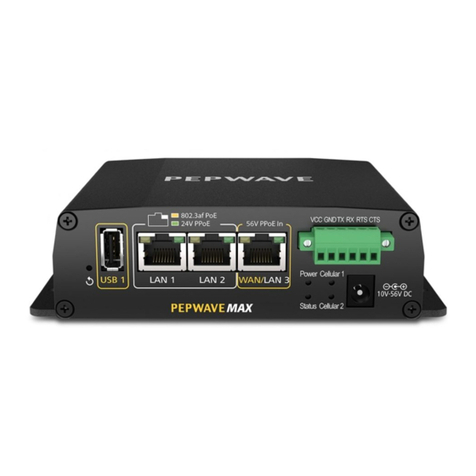
Pepwave Peplink MAX Series User manual
Pepwave
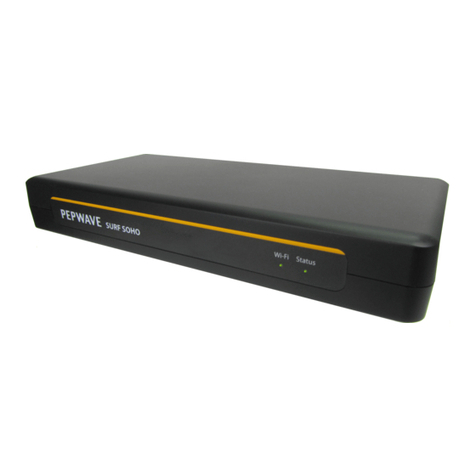
Pepwave Surf SOHO User manual
Pepwave
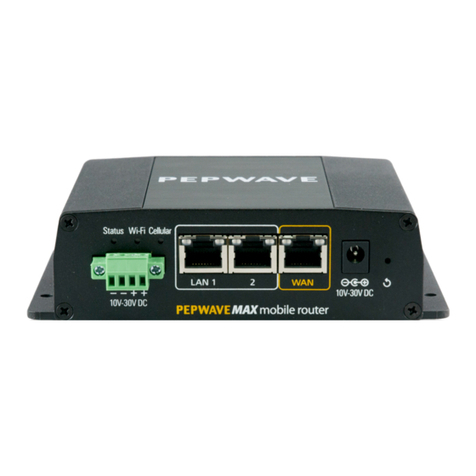
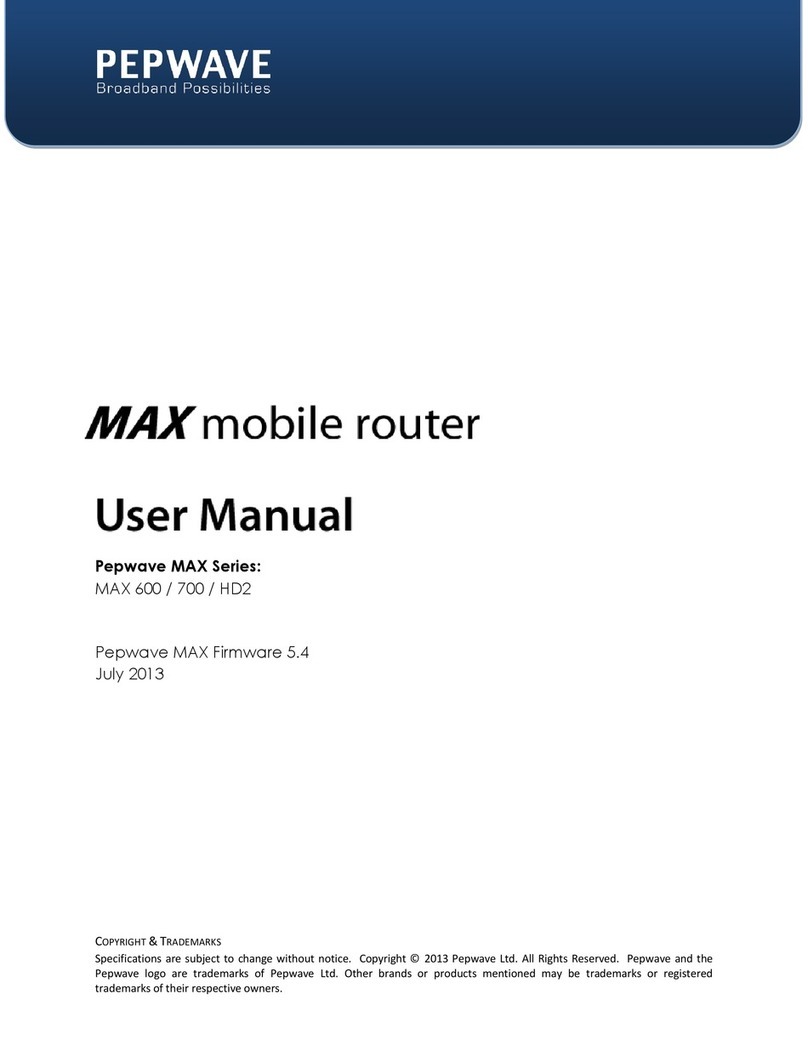
Pepwave MAX 700 User manual
Pepwave
Pepwave MAX User manual

Pepwave
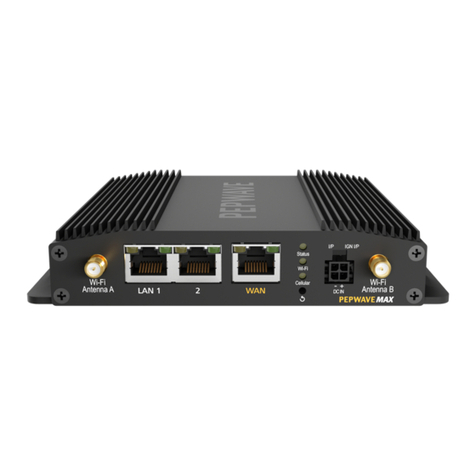
Pepwave HD2 LTE User manual
Pepwave
Pepwave MAX BR1 Pro 5G User manual

Pepwave
Pepwave Surf On-The-Go User manual

Pepwave
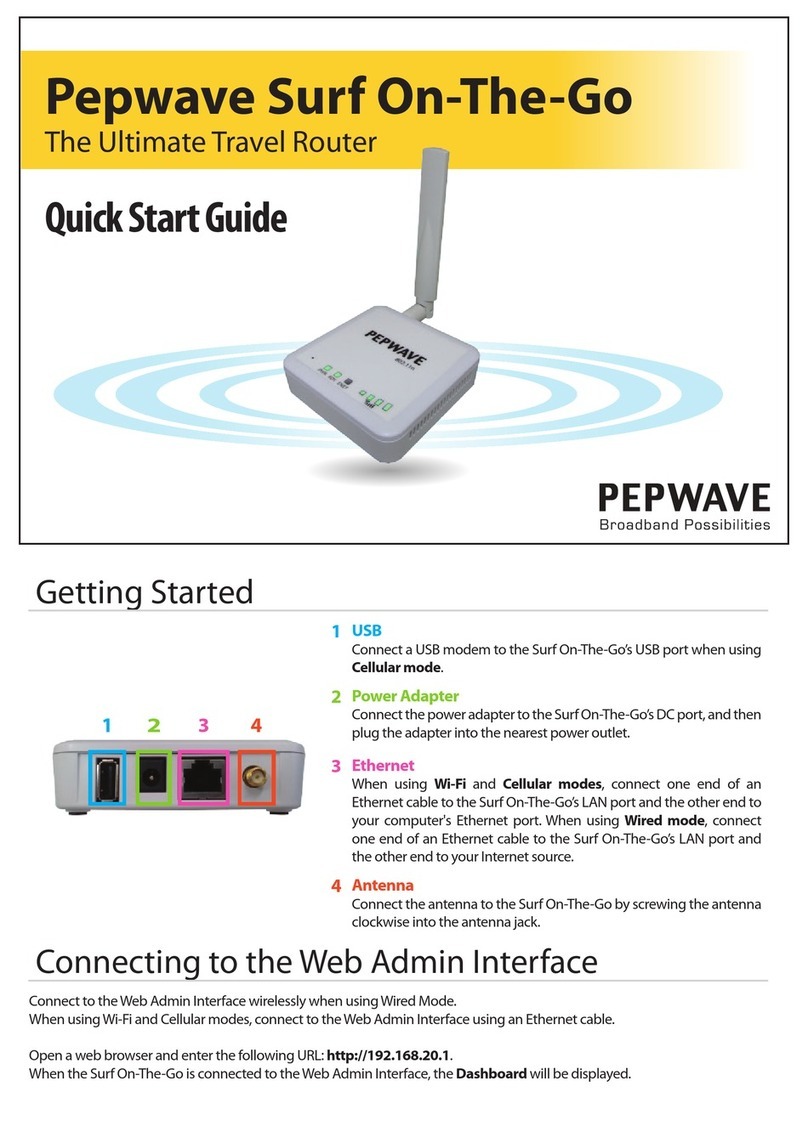
Pepwave Surf SOHO User manual
Pepwave
Pepwave Surf On-The-Go User manual
Popular Network Router manuals by other brands

TRENDnet
TRENDnet TEW-435BRM - 54MBPS 802.11G Adsl Firewall M Quick installation guide

Siemens
Siemens SIMOTICS CONNECT 400 manual

Alfa Network
Alfa Network ADS-R02 Specifications

Barracuda Networks
Barracuda Networks Link Balancer quick start guide

ZyXEL Communications
ZyXEL Communications ES-2024PWR Support notes

HPE
HPE FlexNetwork 5510 HI Series Openflow configuration guide
