Instruction Version A Perdelle-Néo
2
/
15
1. IMPORTANT
1. READ THE ENTIRE MANUAL BEFORE INSTALLATION
2. The user is responsible if Perdelle-Néo is not used for its intended purpose.
3. Do not odify the device.
4. The ele ent on which the cla p is fixed ust be stable and solid.
5. When the operator's ar s are at rest in the ar bands, the underside of the ar bands ust
always be below the level of the work surface.
6. Change the pair of elastic bands if any are worn or da aged.
7. Check the tightness of the cla p and the 3 screws after a few hours of use, then once a week
for 2 weeks, then once a onth.
8. Do not force the cla p levers. Lock the with just the right a ount of force!
9. There are two pairs of ar bands in the box for two different operators. You can order as
any ar bands as there are users.
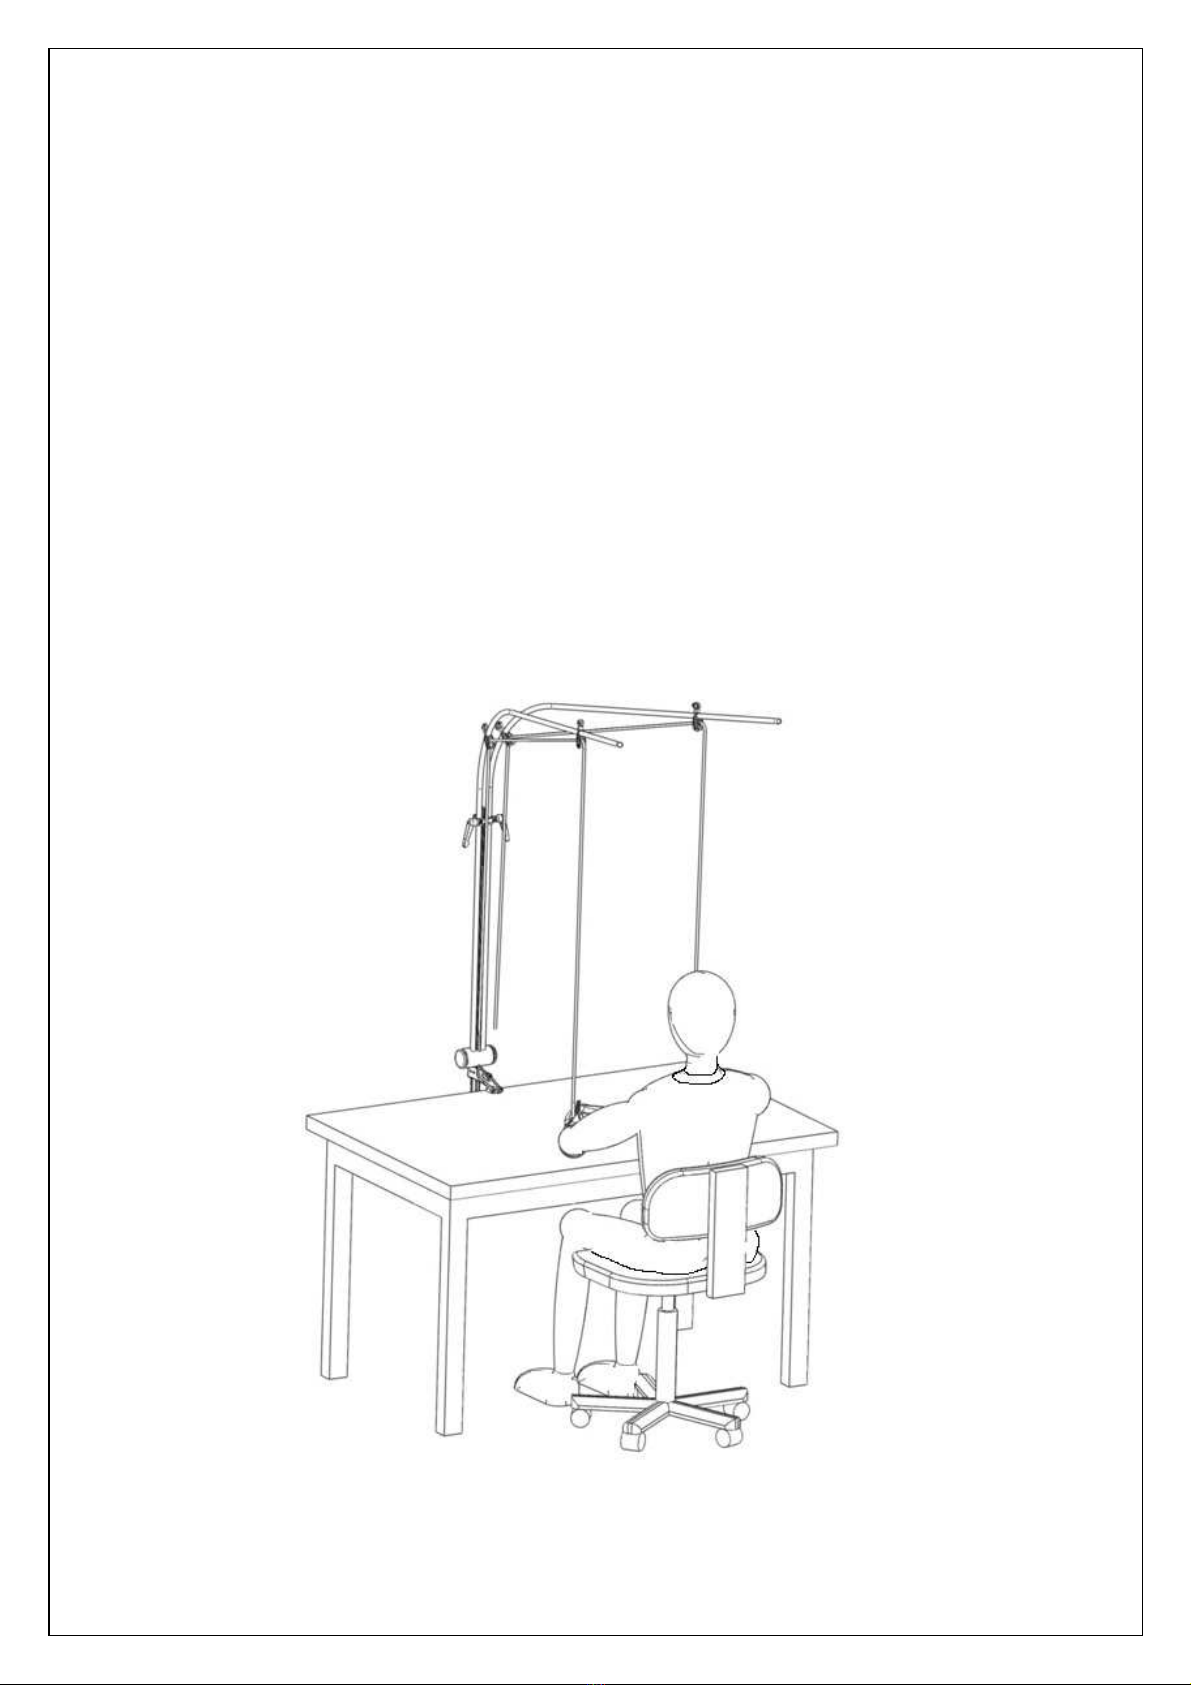
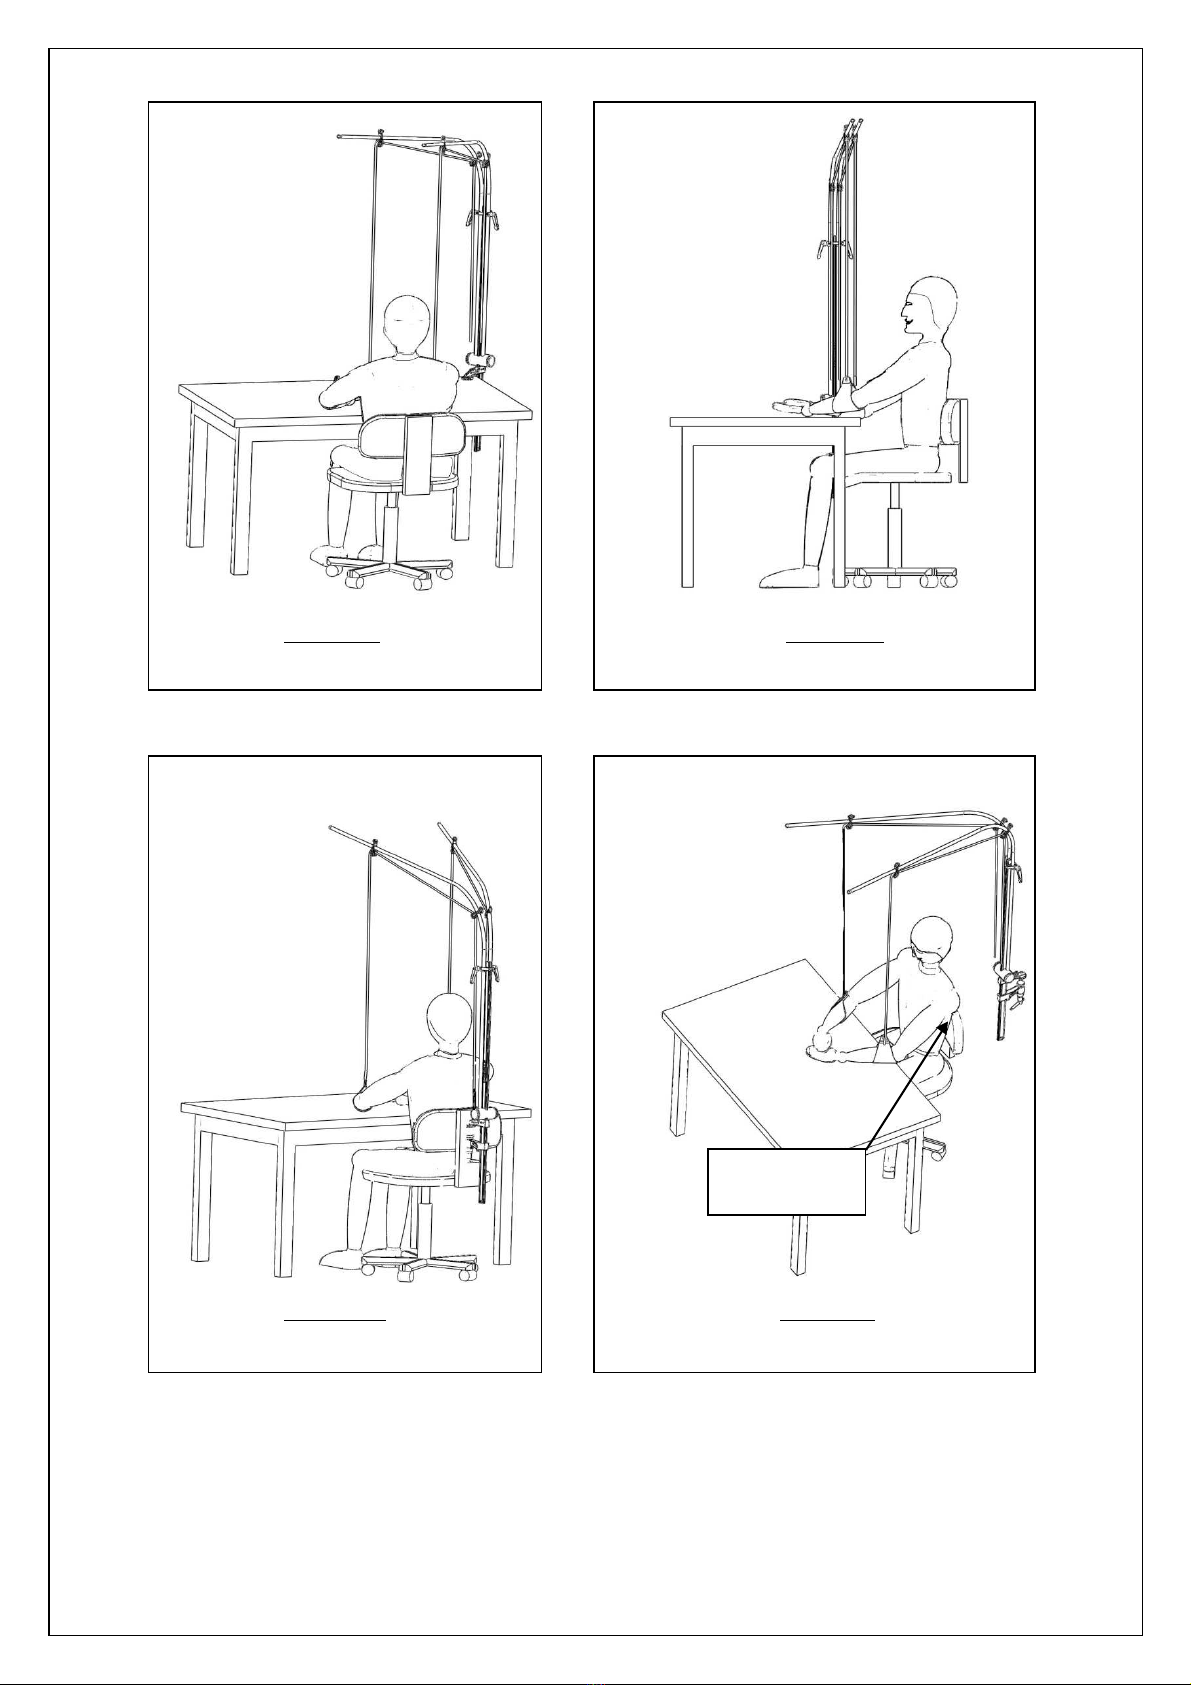
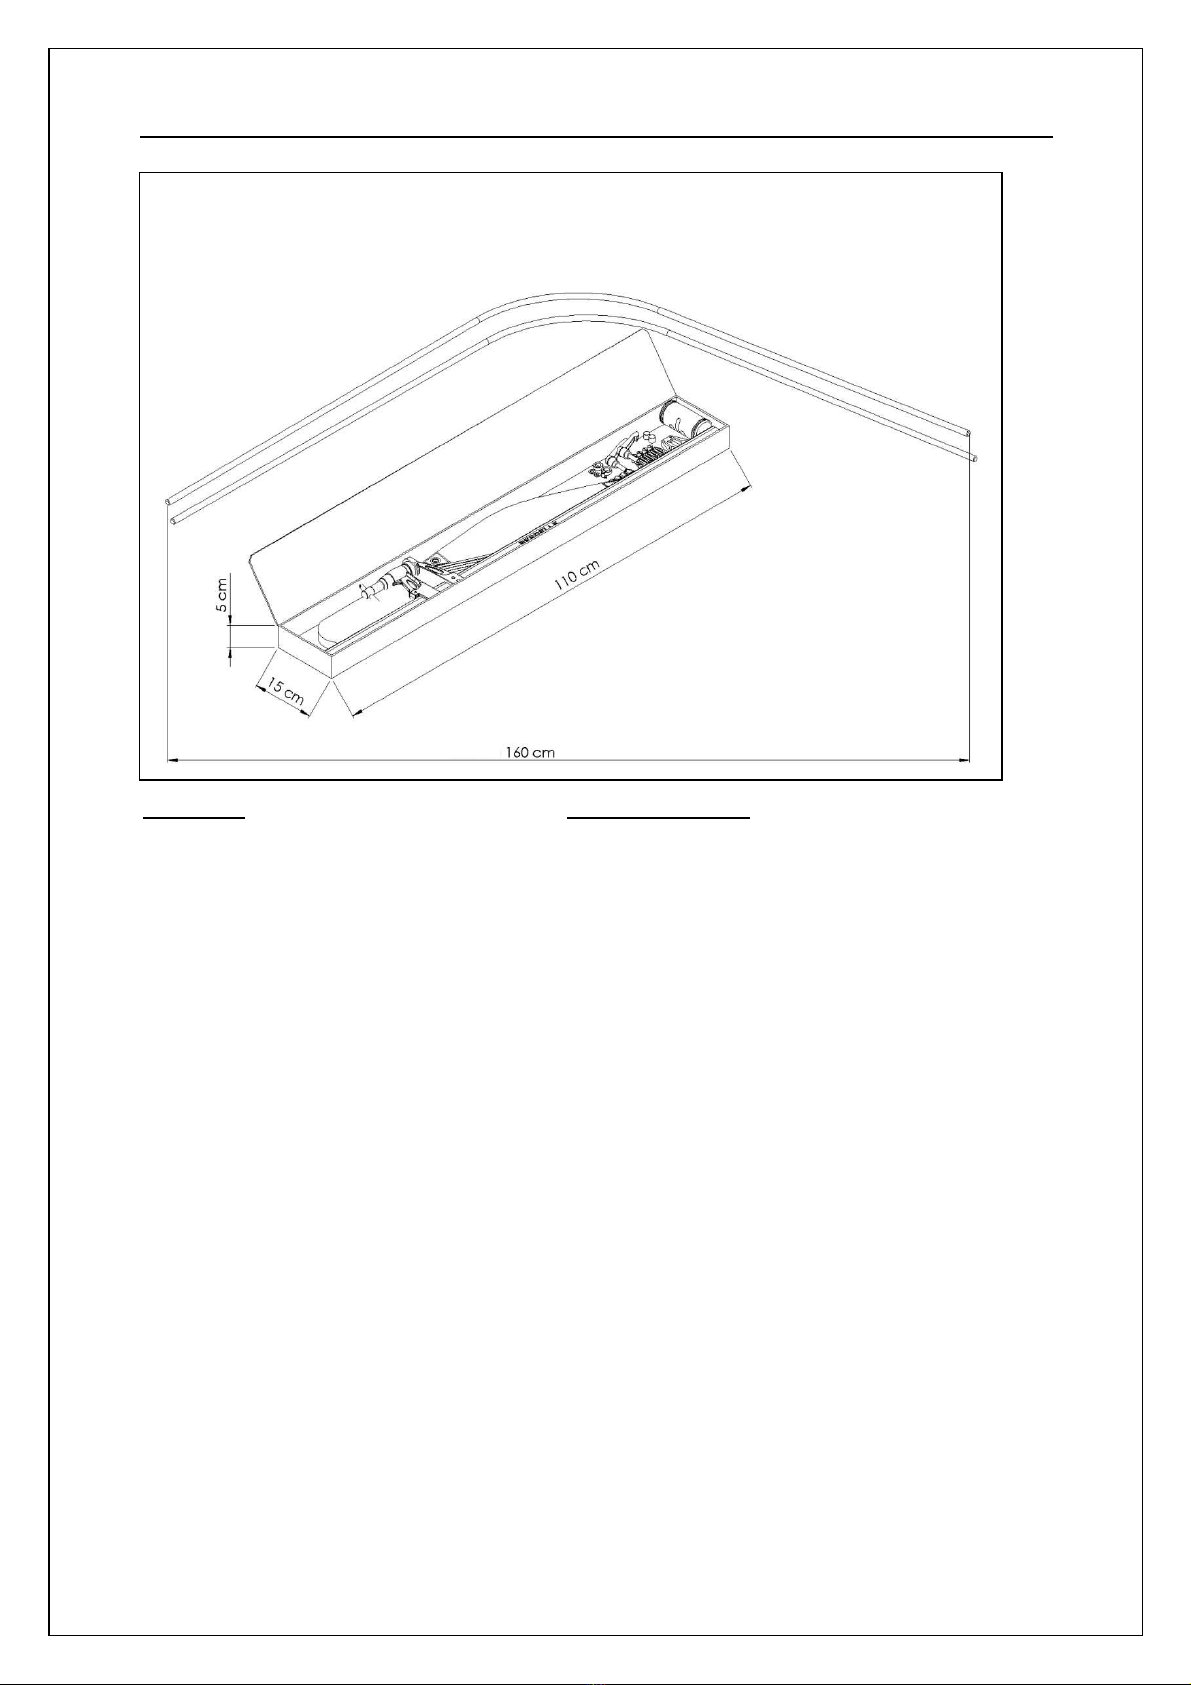
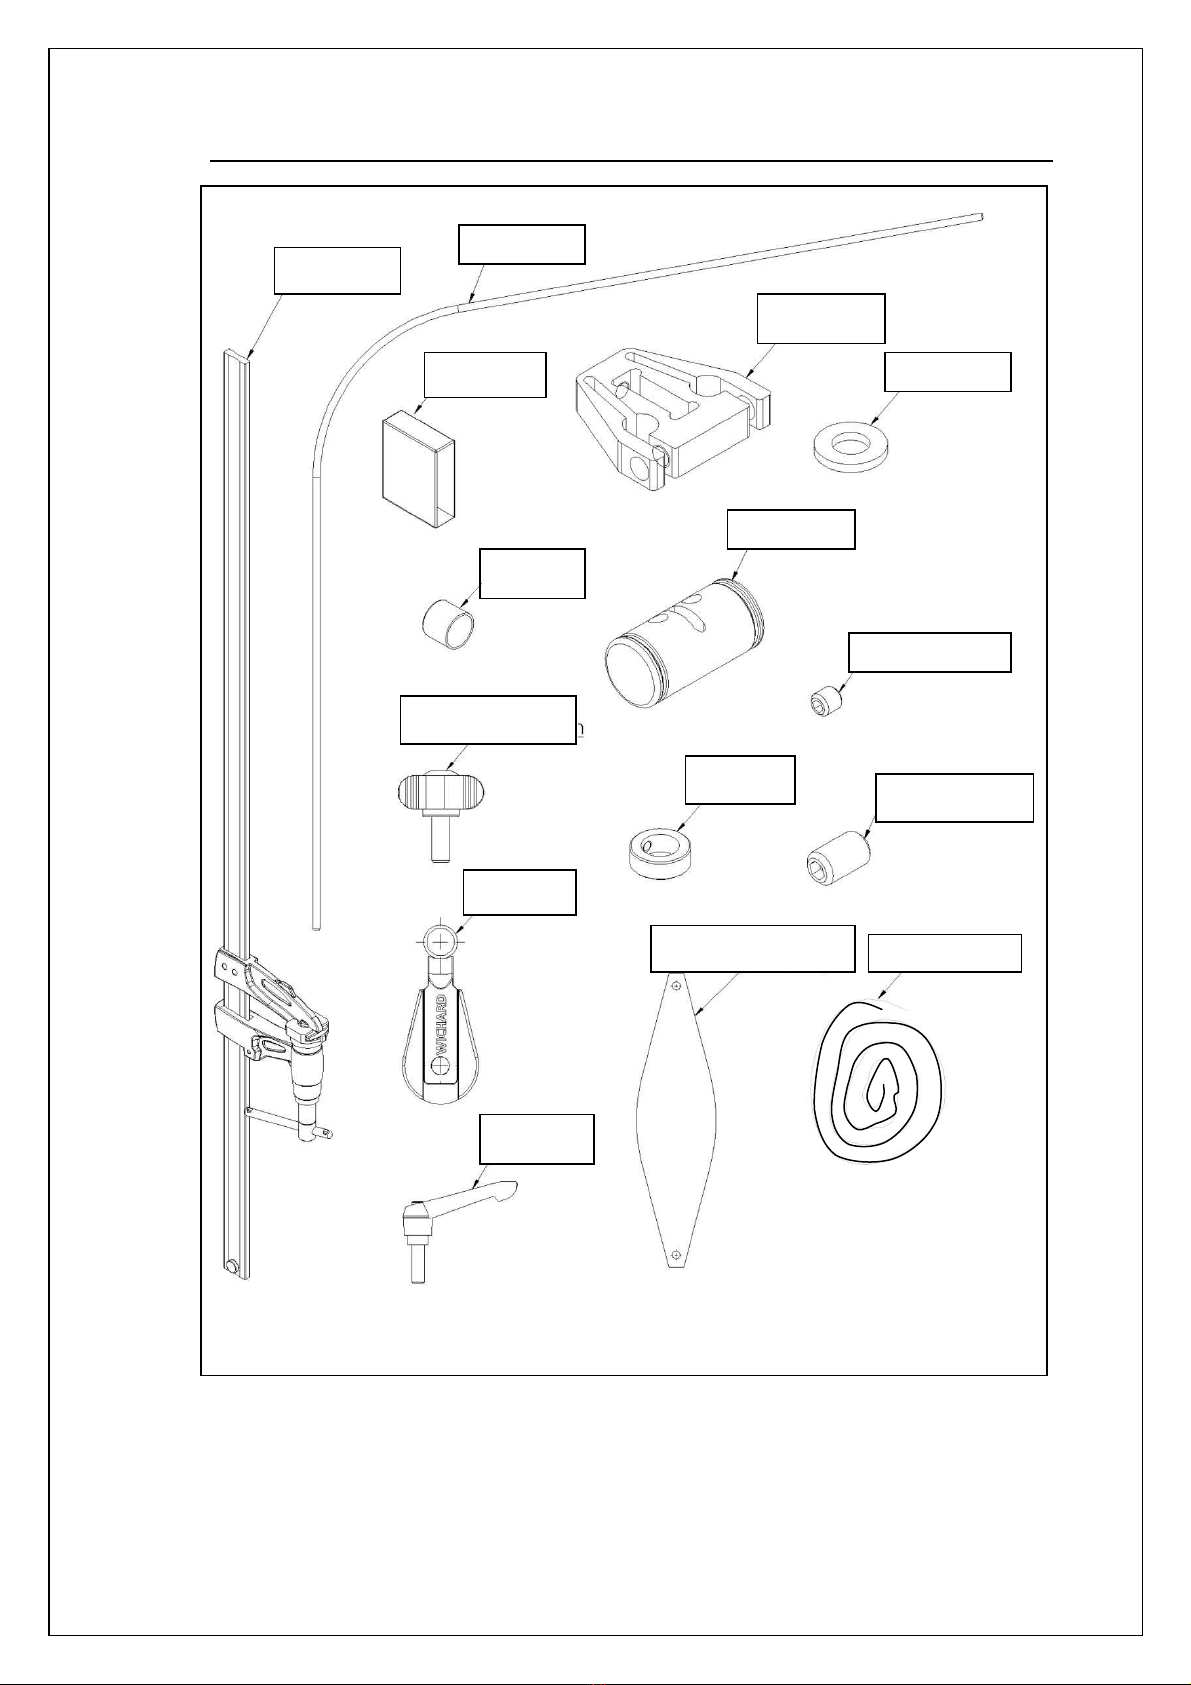
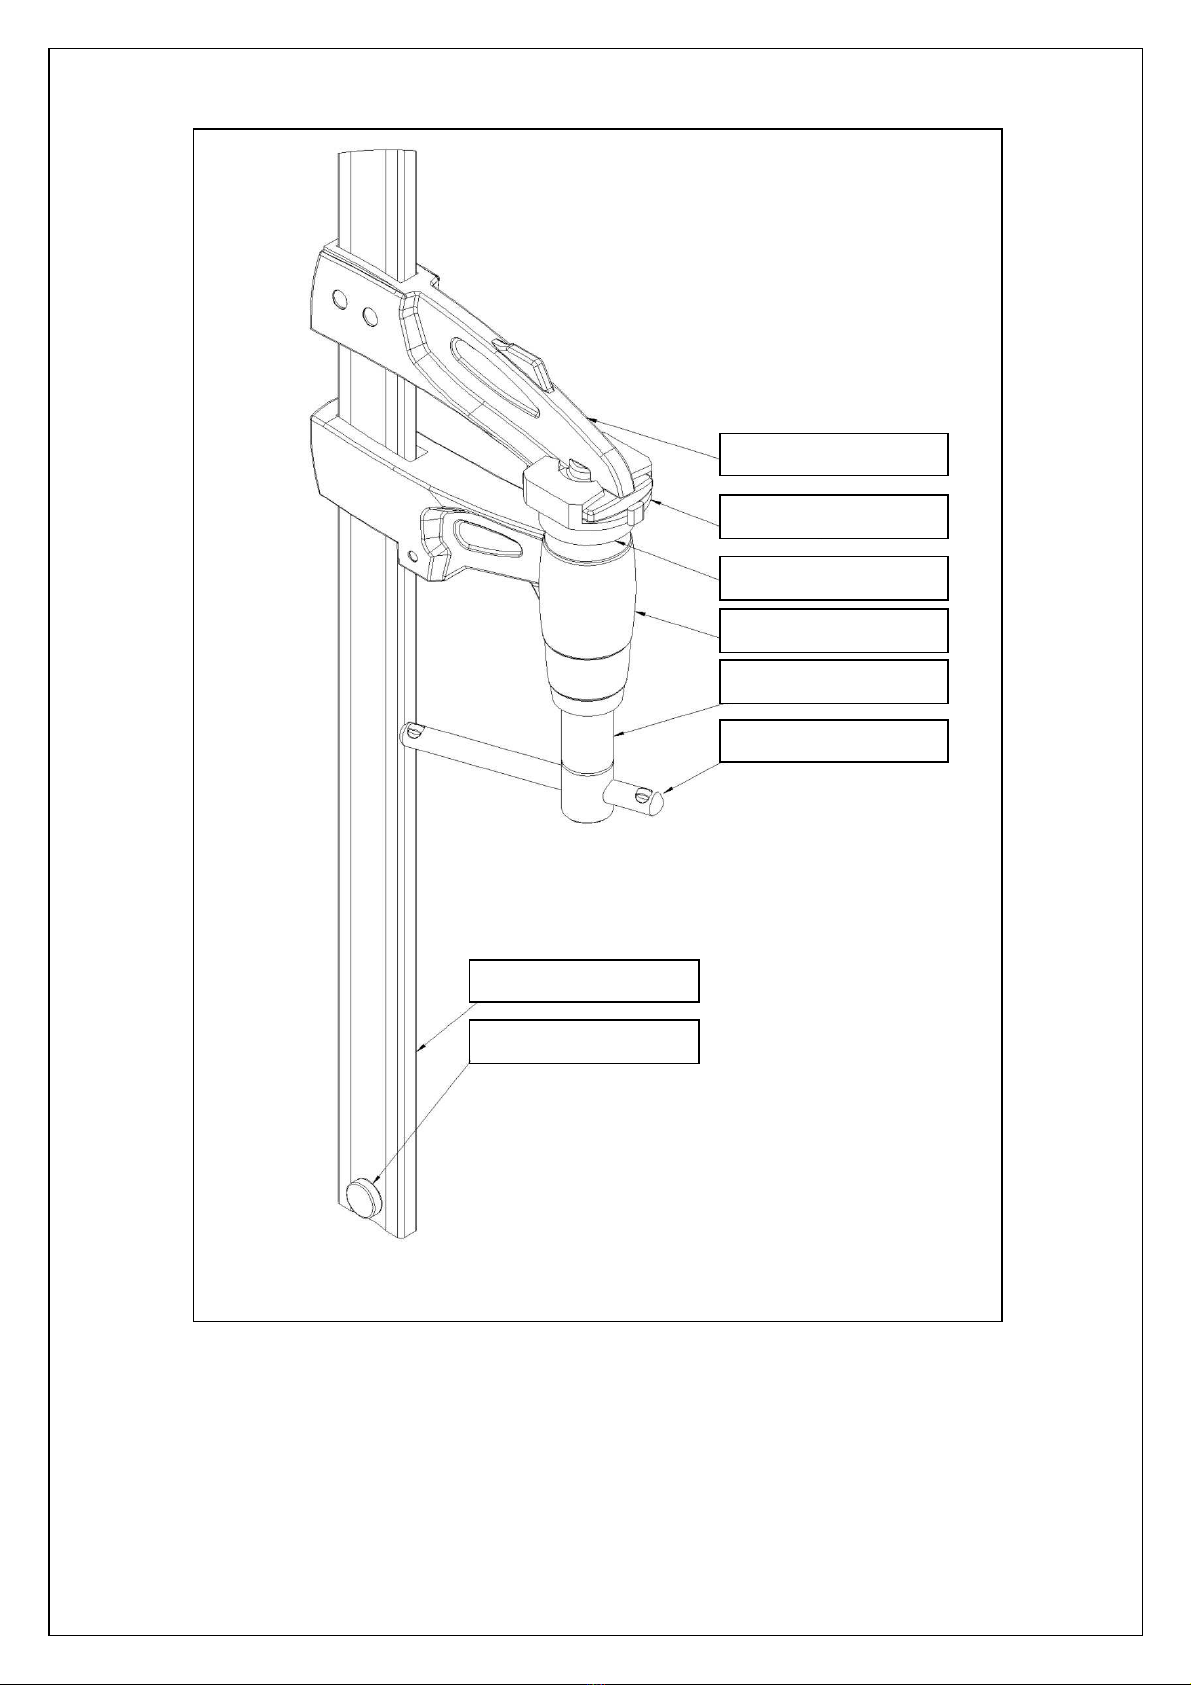
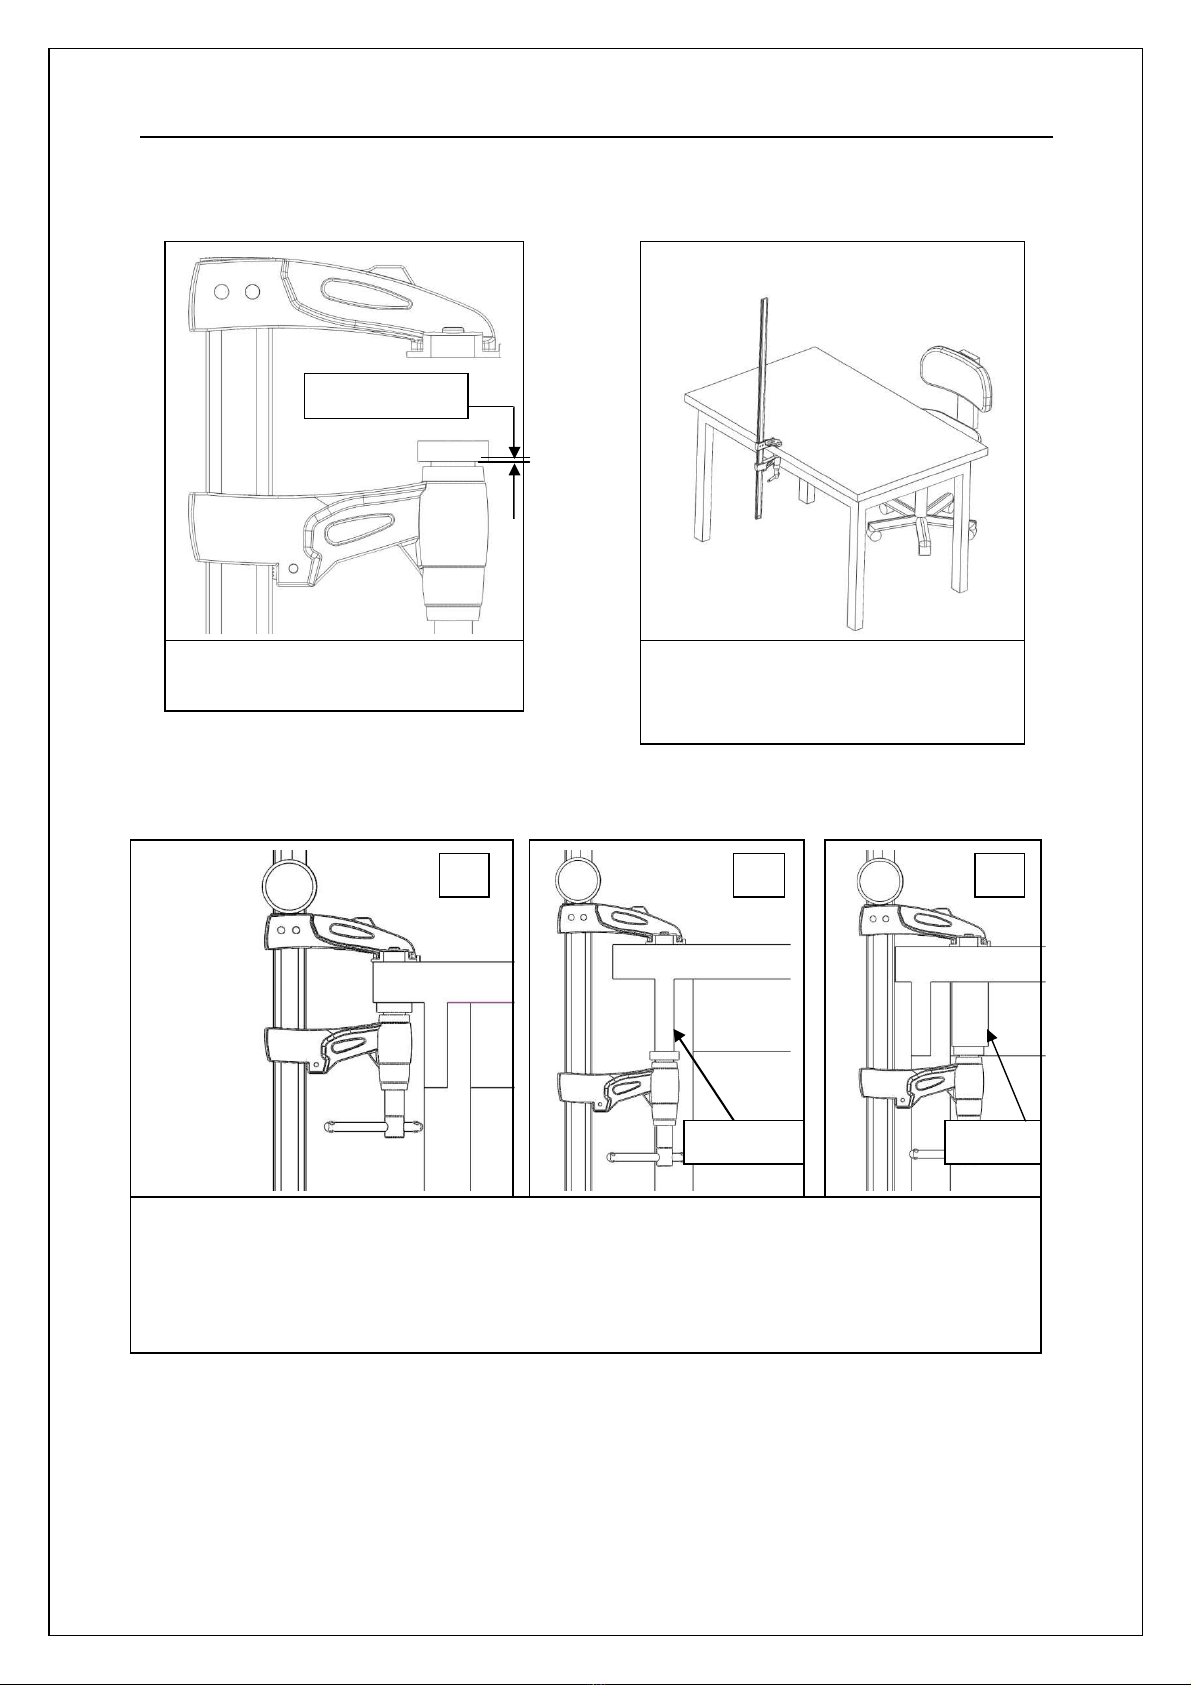
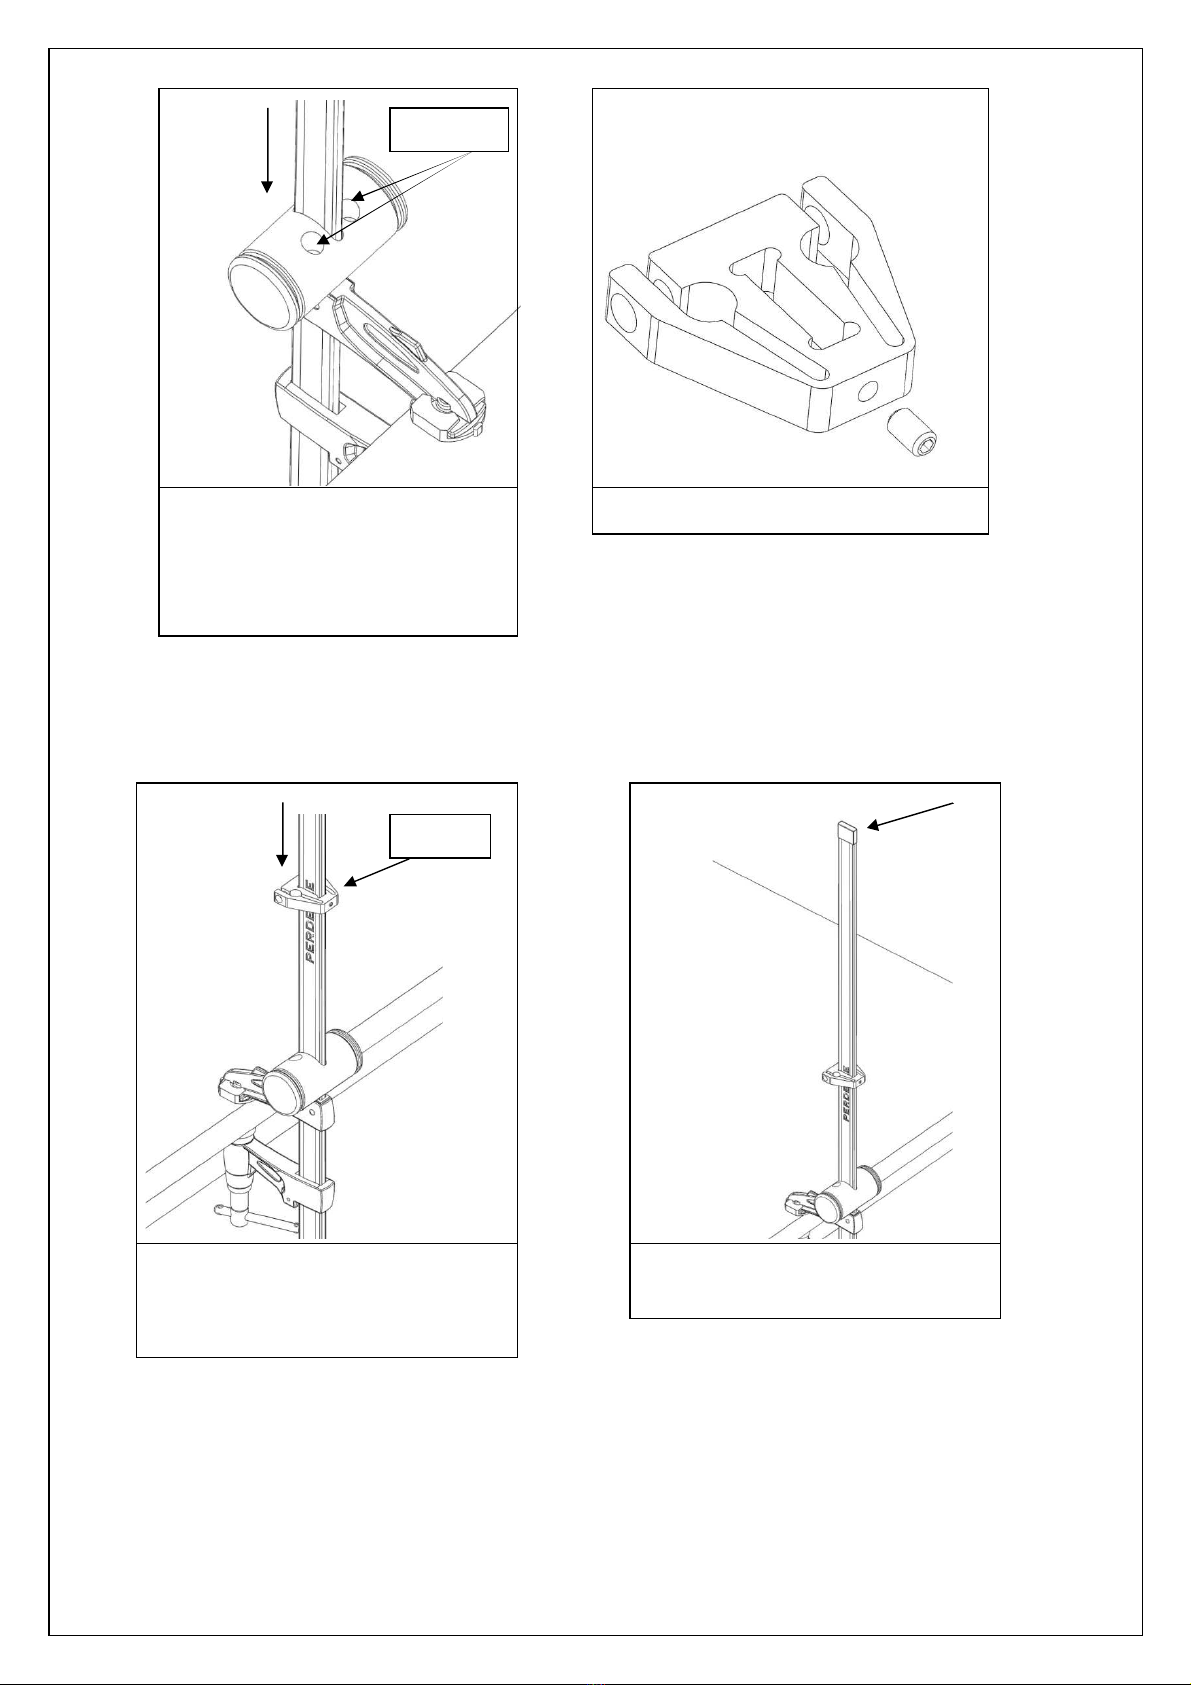
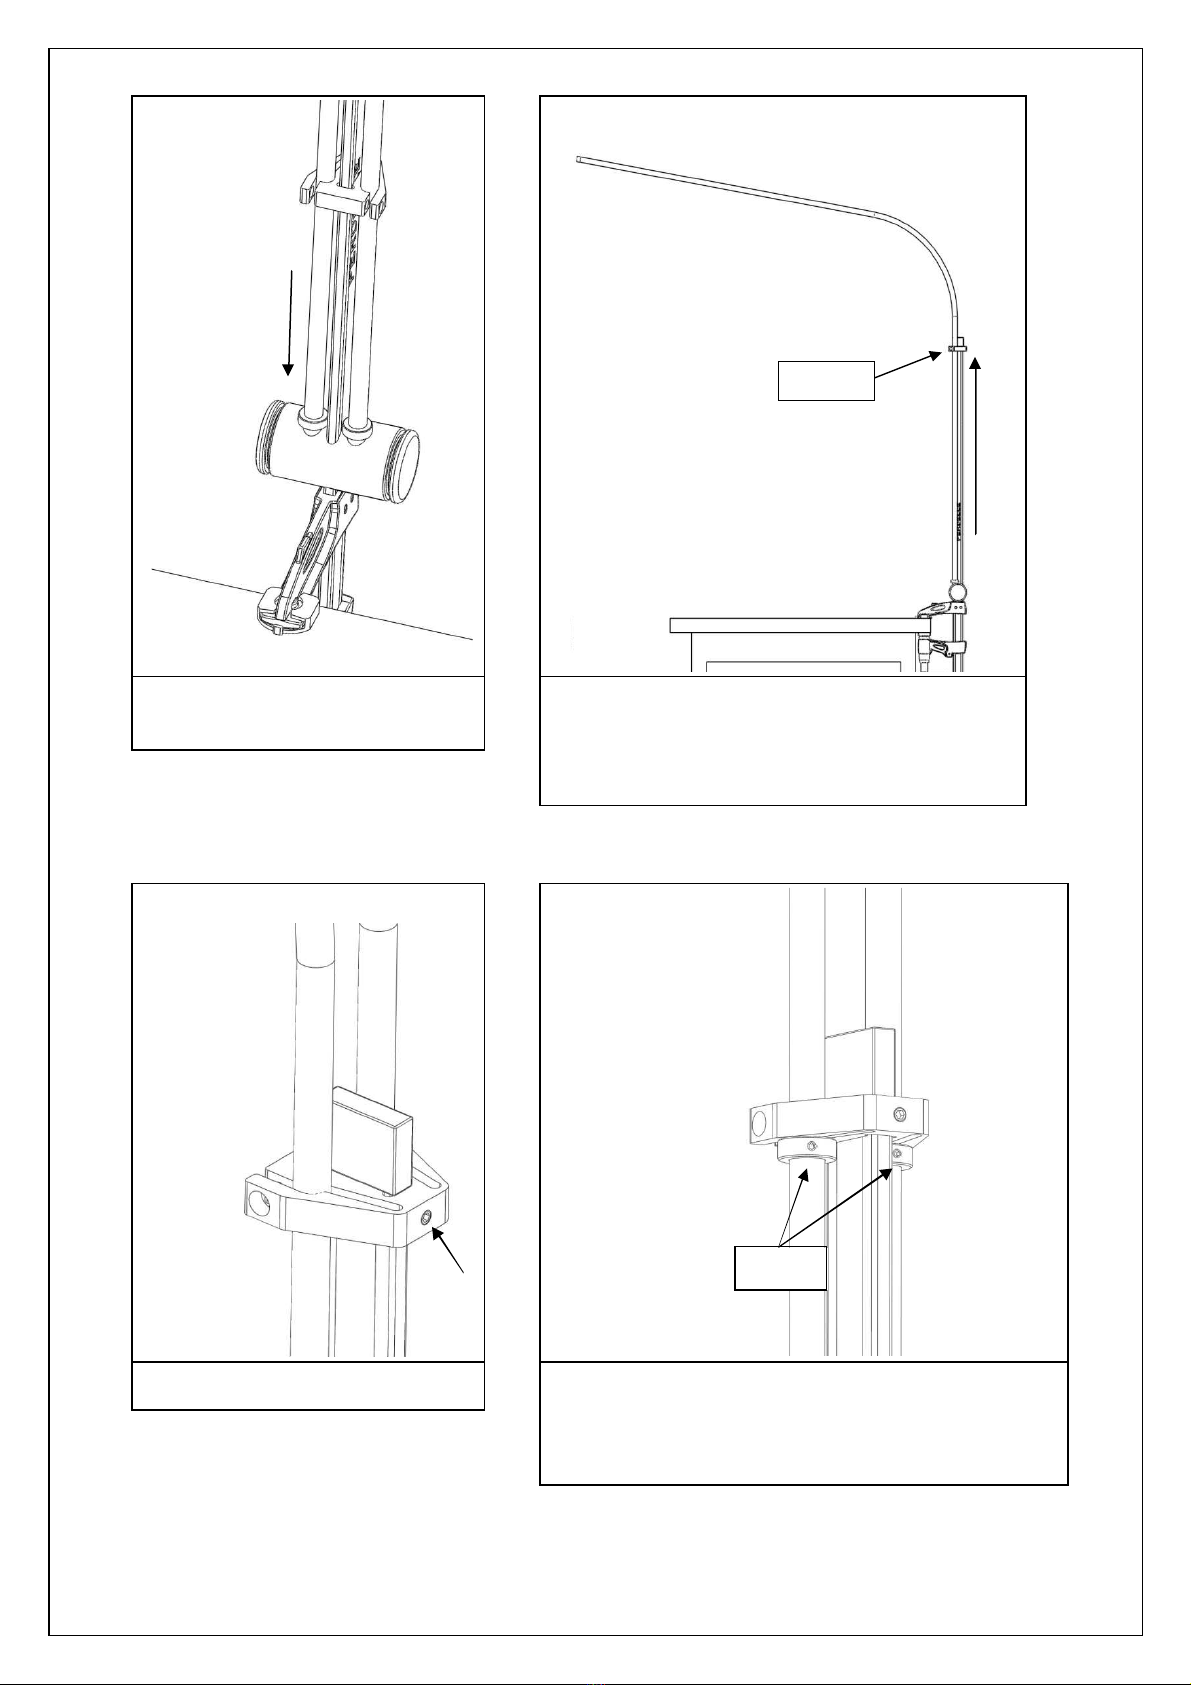
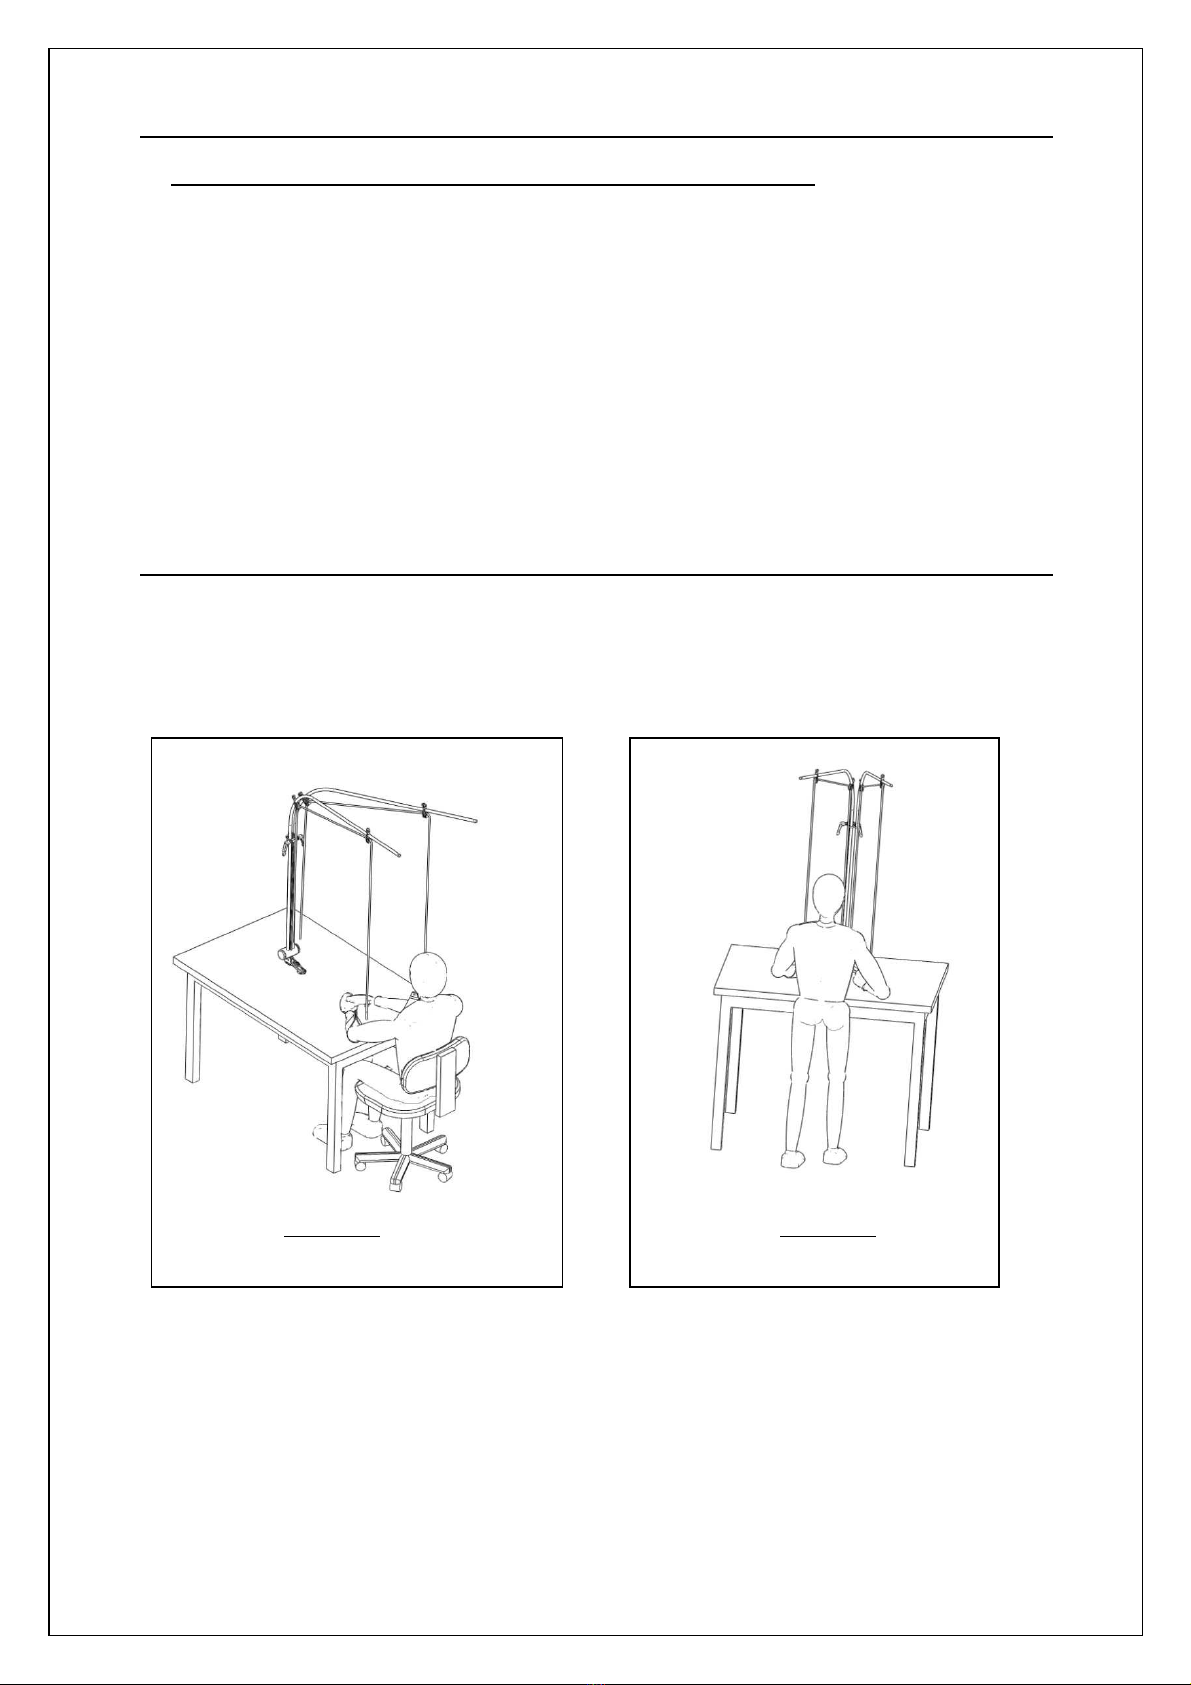
2. POSSIBLE ASSEMBLY
Perdelle-Néo is a device that i proves the working conditions of repetitive ove ents, whether
standing or sitting. This device can be installed on any solid and stable support or on the
operator's chair with an adaptation. The configurations below are exa ples of how Perdelle-Néo
can be adapted to your environ ent.
Picture A Picture B