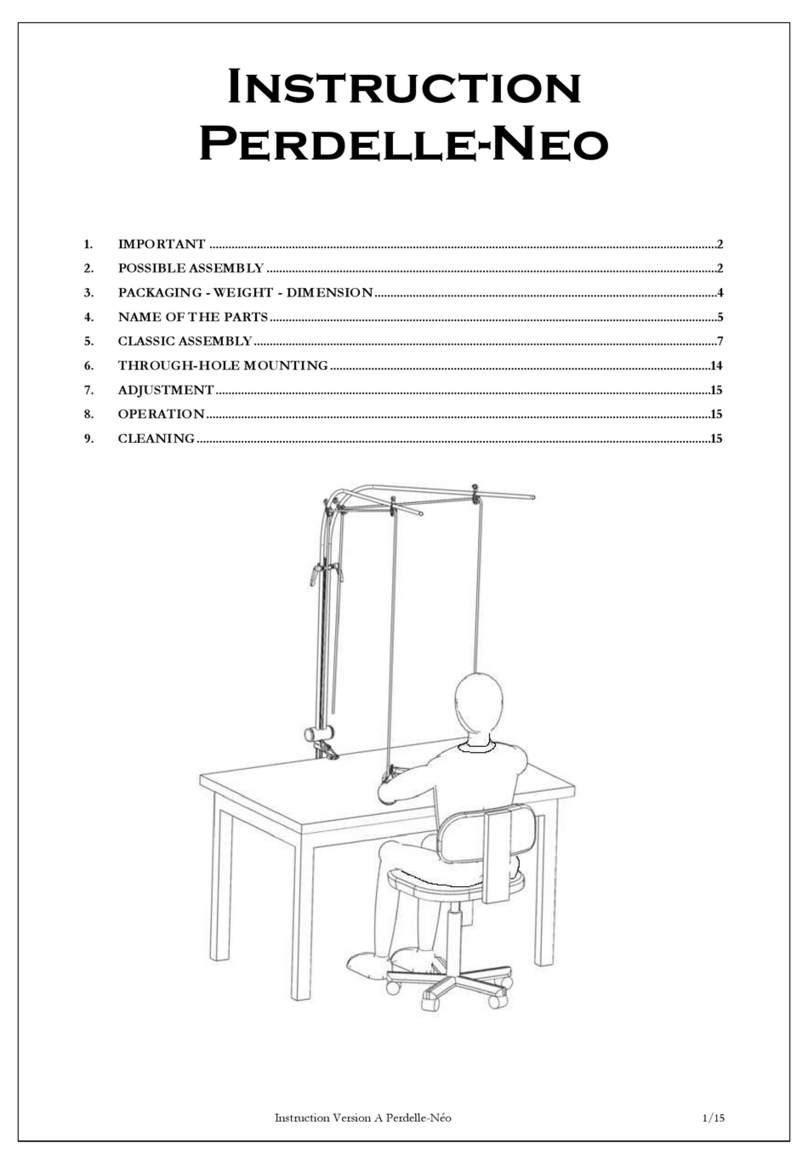
Perdelle Swan User manual

Perdelle - Swan Assembly
Instructions
Image 1
Perdelle - Swan Assembly Instructions /191

1. TABLE OF CONTENTS
1. TABLE OF CONTENTS …………………………………………………………………………………………. 2
2. IMPORTANT ………………………………………………………………………………………………………. 3
3. PACKAGING - WEIGHT - DIMENSIONS ……………………………………………………………………… 4
4. PARTS DESIGNATION …………………………………………………………………………………………… 5
5. ASSEMBLY …………………………………………………………………………………………………….……. 6
6. ADJUSTING THE POSITION OF THE PULLEYS …………………………………………………………… 16
7. ADJUSTING THE ELASTIC BANDS' TENSION ………..…………………………………………………… 17
8. USAGE ……………………………………………………………………………………………………………… 19
9. MAINTENANCE - CARE - CLEANING ………..……………………………………………………………… 19
Perdelle - Swan Assembly Instructions /192

2. IMPORTANT
-READ THIS MANUAL COMPLETELY BEFORE ASSEMBLY.
-The user is responsible for ensuring that Perdelle-Swan is used for its intended purpose.
-Perdelle-Swan and its accessories are not assembled by a technician, the user bears sole
responsibility in the event of breakage, damage, or a device falling due to improper
assembly, and Perdelle cannot be held liable. If in doubt, the technician should contact
Perdelle.
-Do not modify the Perdelle-Swan device.
-The seat to be equipped must be original and not modified. Any seat that has
undergone modifications before the installation of Perdelle-Swan will void the Perdelle
warranty.
-Check the assembly after a few hours of use, then once a week for 2 weeks, and
thereafter regularly once a month.
-Check the two dimensions below to ensure Perdelle-Swan can be installed.
Image 2
Perdelle - Swan Assembly Instructions /193
5 cm
7 cm

3. PACKAGING - WEIGHT - DIMENSIONS
During delivery, you will receive two packages:
-1 carton weighing approximately 4.5 kg
-1 pair of bows weighing approximately 2.5 kg
Perdelle - Swan Assembly Instructions /194
110 cm
120 cm

4. PARTS DESIGNATION
Image 3
Perdelle - Swan Assembly Instructions /195
Arches
Interface
Plastic ring
Seat bar
Drum
Handle
Pair of
elastics
Ring +
butterfly
Ring
Cap
Plugs (x2)
Flange
Screw
Pulley
barrel
button
Pulley
Arm band (x2)

5. ASSEMBLY
The assembly is carried out by a technician.
Required tools:
• 2 hex keys (Allen wrenches) size 2.5 and size 3
• 2 wrenches size 10
• 2 wrenches size 17
• 2 pliers (flat-nose pliers)
• 1 cutting pliers
• 1 lighter
• 1 meter (measuring tape)
• 1 colored marker
Perdelle - Swan Assembly Instructions /196
Image 4: To facilitate assembly, raise
the seat to its highest position.
Image 5: View of the upper part.

Perdelle - Swan Assembly Instructions /197
Image 6 : The first step is to install
the interface on the cylinder body. To
do this …
Image 7 : … slide the plastic ring onto
the cylinder rod, and then …
Image 8 : … spread the ring by hand (or
with pliers) to fit it over …
!
Interface
Cylinder rod
Cylinder body
Cylinder body
Image 9:…the body of the cylinder.

Perdelle - Swan Assembly Instructions /198
Stop
Image 10 : By hand, roughly align the
slot in the plastic ring with one leg of
the seat.
Foot aligned with the
ring slot.
Image 11 : Lower the interface until its
stopper contacts the cylinder body. The
slot in the plastic ring and the slot in the
interface should be opposite each other.
Image 12: Using the bolts, tighten the
interface until it is moderately locked
in rotation. Check that the seat can
still move up and down. If the seat
no longer rises, loosen the bolts
slightly.
Cylinder body
Image 13 : Place the nut covers.
ring slot.
The slot of the intermediate
ring is at the back.

Perdelle - Swan Assembly Instructions /199
Image 14 : Assemble the clamping
bar using the two large bolts.
Image 16 : Screw in the small bolt.
Image 15 : Place the nut covers.
Image 17 : Place the nut covers.
Bolt

Perdelle - Swan Assembly Instructions /1910
Image 18 : Slide the drum, with the two
holes facing backward.
Image 19 : Place the washers into the
two holes, ensuring that they are flat.
Image 20: Slide the collar, push in
the white cap firmly, and raise the
collar by 2mm. Tighten the collar
screw securely. Screw in the
handles without tightening them.
Environ 2mm
Image 21: Slide one of the bows into
the collar, all the way into the hole of
the drum, while also passing a ring as
shown in image 22. The bow should
rest at the bottom of the hole. Tighten
the handle slightly to prevent the bow
from rotating freely.
Flange
Bolt

Perdelle - Swan Assembly Instructions /1911
Image 24
Image 23 : Assemble the second bow
and the second ring as shown in
image 24. Tighten the handle of the
second bow slightly.
Image 22 : Do not tighten the ring
for now.
Image 25 : Slide the rings up against
the collar and tighten them. These
safety rings prevent the bows from
rising and coming out of the holes in
the drum in case of mishandling. The
handles are indexable. Once locked, it
is possible to orient them by pulling on
them.

Perdelle - Swan Assembly Instructions /1912
Image 26 : By pinching the pulleys, slide
them approximately as shown in the
image.
Image 27 : Slide the rings and butterfly
screws as shown in image 28 ...
Image 29 : … then slide the pulleys
and place the two small white caps.
Image 30 : Assembly of the barrel
button on the elastics. For this …

Perdelle - Swan Assembly Instructions /1913
Image 31 : … slide the barrel button
to 40 cm from the tilting end.
Image 32 : Pass the white end back
through the loop.
Image 33 : Ensure that both lengths
are identical. The assembly is ready to
be installed.
Image 33 : Pass the elastics through
the pulleys, with the barrel buttons
against the pulleys.

Perdelle - Swan Assembly Instructions /1914
Image 34 : Pass the elastics through
the first pin, and then …
Image 35 : … through the second pin
located below it.
Image 36 : Make 2 full loops (do not
pass through the lower pin for a third
time), and then …
Image 37 : … secure the elastic in the
groove of the drum designated for
this purpose.

Perdelle - Swan Assembly Instructions /1915
Image 38 : Thread the tilting end
through the eyelets of the sports bras,
and then …
Image 40 : Optionally, cut 80 cm from
the trailing part of the elastic and burn
the end to prevent fraying. Be careful to
ensure that the heat generated poses no
danger.
Image 41: Place the usage label
visibly. Perdelle-Swan is ready to be
used.
Coupe de 80 cm
Image 39:…tilt the end. The arm
band is installed.

6. ADJUSTING THE POSITION OF THE PULLEYS
Perdelle - Swan Assembly Instructions /1916
Image 42 and Image 43 : Position the
front pulleys above the elbow area
(approximately vertical elastics). To
do this, use the rotation of the bows
and slide the pulleys along the bows.
Image 43

7. ADJUSTING THE ELASTIC BANDS' TENSION
Perdelle - Swan Assembly Instructions /1917
Image 46
Image 44 : In the assembled
configuration, Perdelle-Swan
provides approximately 1.5 kg of
support per arm.
Image 45: If you wantmore force, remove
the elastic from its groove,slide the elastic
down afew centimeters, place the elastic
back in its groove(Image 46), andtest the
comfort again. Repeat the process until the
user's comfort is achieved. Please note that
during adjustment, the user should remove
the arm band.

-Test Perdelle-Swan for a few moments.
-
Perdelle - Swan Assembly Instructions /1918
Image 47
Image 48
Image 49 : Once the adjustment is
done, use a colored marker to mark
the position. Multiple colored lines
can be made in case multiple people
use the device.
IMPORTANT :When at rest in the arm band, the arms should never be abovethe working
level as shown in Image 47. Use the adjustment to achieve the position shown in Image 48.

8. USAGE
-ATTENTION: Only put on and remove the sports bras when seated. Do not put on the
sports bras while standing.
-Perdelle-Swan is not a handle! Do not pull on it to move the seat.
-The user will quickly become accustomed to the comfort provided by Perdelle-Swan. Within a few
hours, the user will find the fine-tuned adjustment that suits them.
-
-
-If multiple operators use Perdelle-Swan, it is possible to use one pair of sports bras per user. There
are two pairs in the delivered box.
9. MAINTENANCE - CARE - CLEANING
•ATTENTION: Check the assembly after a few hours of use, then once a week for 2 weeks,
and thereafter regularly once a month.
•Replace the pair of elastics if one is worn or damaged.
•Perdelle-Swan does not require special maintenance. Dusting with a soft cloth is sufficient. Do not
use chemicals. Any damage caused by the use of chemicals is not covered by the warranty. If in
doubt, contact Perdelle.
Perdelle - Swan Assembly Instructions /1919
The sports bras are generally placedat elbow level. The elbow tip fits into the slot of the sports bra
to reduce sliding alongthe arms. The arm band can also be placedalongthe forearms depending
on individual comfort. Clamps can be added if necessary to tightenthe sports bras on the arms.
During use, check thatin the high and low seat positions, no component collides with the interface
or anypart of Perdelle-Swan.
Table of contents
Other Perdelle Medical Equipment manuals