manuals.online logo
Brands
  1. Home
  2. •
  3. Brands
  4. •
  5. Perfect Choice
  6. •
  7. Outdoor Furnishing
  8. •
  9. Perfect Choice CL150N User manual

Perfect Choice CL150N User manual

ASSEMBLY INSTRUCTIONS
CL150N Single Glider
Tools Not Included but Required:
7/16” wrench, either a power tool, hand driver or ratchet wrench that will accept a 1/4” hex drive bit
Tools Included: #2 Square Drive Bit, 4mm Driver Bit
Back
Step 1
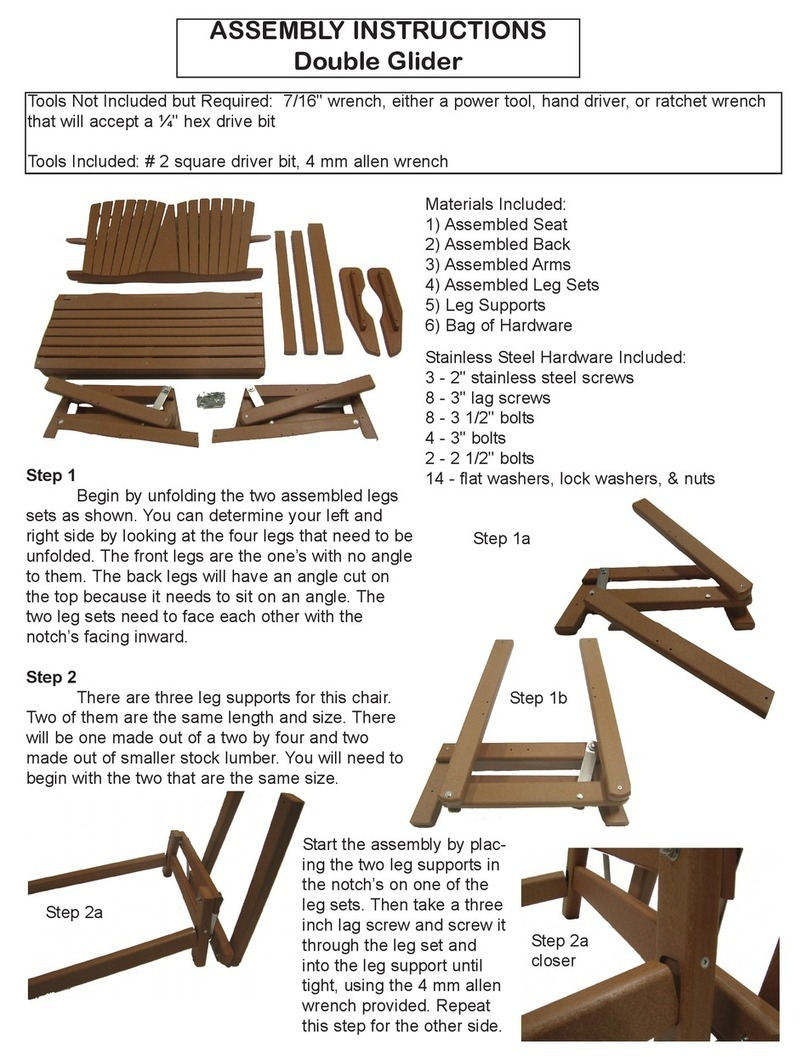
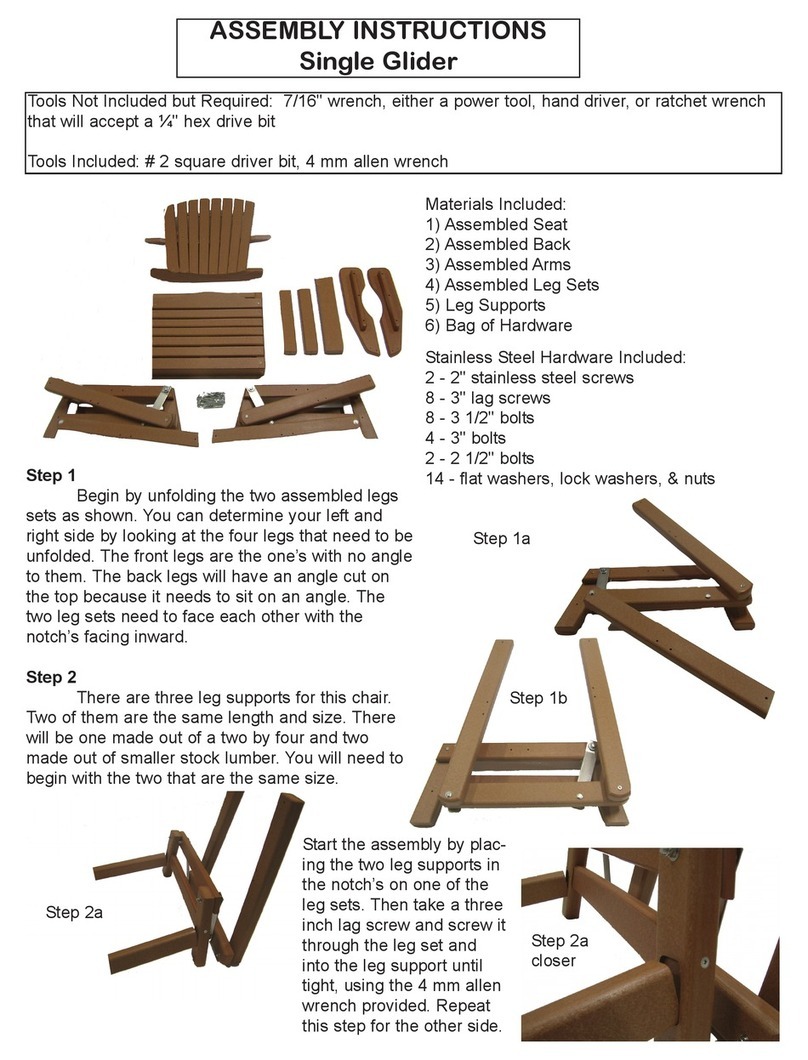
1. First you will assemble the base. Unfold the two assembled leg
sections and connect to each other with the two connecting braces
and the four 3" lag screws.
Parts Included:
1 - Seat
1 - Back
2 - Arms (Left & Right)
2 - Assembled Leg Sets
2- Connecting Braces
1- Bag of Hardware
Step 2
Stainless Steel
Hardware Included:
8 - 3 1 /2" bolts
4 - 2 3/4" bolts
2 - 2 1/2" bolts
4 - 3" lag screws
2 - 2" deck screws
14 - flanged lock nuts
Seat Assembled Leg Sets
Arms Connecting
Braces
Bag of
Hardware
2. Attach the seat using the eight 3-1/2" bolts. Start by placing
the seat in position on top of the assembled lower frame. The
front of the seat is the straight edge and the front of the lower
frame is the side with the straight legs. Once in position, align
the holes from the legs with the holes in the seat supports and
place a 3-1/2" bolt through from the outside to inside. It is
easiest if you start with a front leg on one side and then move to
the front leg on the other side and then do the back legs in the
same manner. Once you have a bolt in all the eight holes, place
a flanged lock nut on each bolt. ONLY HAND TIGHTEN for now.
477 Vogt Lane • Chilton,WI 53014 • 800-817-8833
www.backyardnatureproducts.com
Your outdoor furniture is guaranteed
for 20 years to never crack, split or
fade.To clean, wash with soap and
water. For tough stains, use a
solution with water and soft scrub or
try our furniture cleaner.
Step 3
Step 4
3. Attach the arms next. The arm support under each arm should be on the outside edge of each leg. Start by
placing a 2-3/4" bolt through the top holes in the legs from the inside of the chair outwards. Line up the holes
in the arm support under each arm with the tips of the bolts you just inserted. Once you have each bolt started
in the proper hole, you may now push them all the way through and place a flanged lock nut onto each bolt.
HAND TIGHTEN ONLY.
5. Now place a 2-1/2" bolt from the top
of the arm down through the holes in
the upper back support. Once you have
the both bolts through the holes, place
a flanged lock nut onto each bolt and
tighten securely.
4. Attach the back to the seat using the 2" deck screws. Start by holding the chair back in position against the
back of the seat and between the back legs of the chair. Using the number two square head driver bit
provided, drive a 2" deck screw through the lower support of the chair back and into the seat making sure to
press the back tightly against the seat.
6. Go back through and tighten all
of the flanged lock nuts. Enjoy your
Perfect Choice single glider!
Step 5

Other Perfect Choice Outdoor Furnishing manuals

Perfect Choice Double Glider User manual

Perfect Choice

Perfect Choice Double Glider User manual

Perfect Choice Single Glider User manual

Perfect Choice

Perfect Choice Single Glider User manual

Popular Outdoor Furnishing manuals by other brands

Solaris KWSP025F manual

Solaris

Solaris KWSP025F manual

Sunjoy D-GG038PST Assembly instructions

Sunjoy

Sunjoy D-GG038PST Assembly instructions

Outsunny 860-020 Assembly & instruction manual

Outsunny

Outsunny 860-020 Assembly & instruction manual

Extremis Manille Assembly instructions

Extremis

Extremis Manille Assembly instructions

Erommy XWG-092 instruction manual

Erommy

Erommy XWG-092 instruction manual

Forums  + Surfaces VECTOR SEATING SYSTEM instructions

Forums + Surfaces

Forums + Surfaces VECTOR SEATING SYSTEM instructions

VEVOR QBLZ-4in-2 instructions

VEVOR

VEVOR QBLZ-4in-2 instructions

VonHaus 2500508 Assembly instructions

VonHaus

VonHaus 2500508 Assembly instructions

YOTRIO Target Latigo FRS50477BST Assembly instructions

YOTRIO

YOTRIO Target Latigo FRS50477BST Assembly instructions

Merco Zala 150 Extra instructions

Merco

Merco Zala 150 Extra instructions

Lifetime 538116 Assembly instructions

Lifetime

Lifetime 538116 Assembly instructions

Kettler EGO 0105314 Assembly & operating instructions

Kettler

Kettler EGO 0105314 Assembly & operating instructions

Palram Verona 5000 Carport Assembly instructions

Palram

Palram Verona 5000 Carport Assembly instructions

Suncast BMWB5000 Assembly instructions

Suncast

Suncast BMWB5000 Assembly instructions

AOODOR 800-206 Assembly & instruction manual

AOODOR

AOODOR 800-206 Assembly & instruction manual

RioOutdoors 4P-WSC installation instructions

RioOutdoors

RioOutdoors 4P-WSC installation instructions

BENITO Basculante PA623P Anchoring instructions

BENITO

BENITO Basculante PA623P Anchoring instructions

BENITO Urban Pilona flexible HflexLEDsolMi Anchoring instructions

BENITO

BENITO Urban Pilona flexible HflexLEDsolMi Anchoring instructions

manuals.online logo
manuals.online logoBrands
  • About & Mission
  • Contact us
  • Privacy Policy
  • Terms and Conditions

Copyright 2025 Manuals.Online. All Rights Reserved.