Sales: +44 (0) 1903 538 488 Email: sales@pestx.co.uk 5
Installation Guide
Hawk Kite Visual Bird Scarer
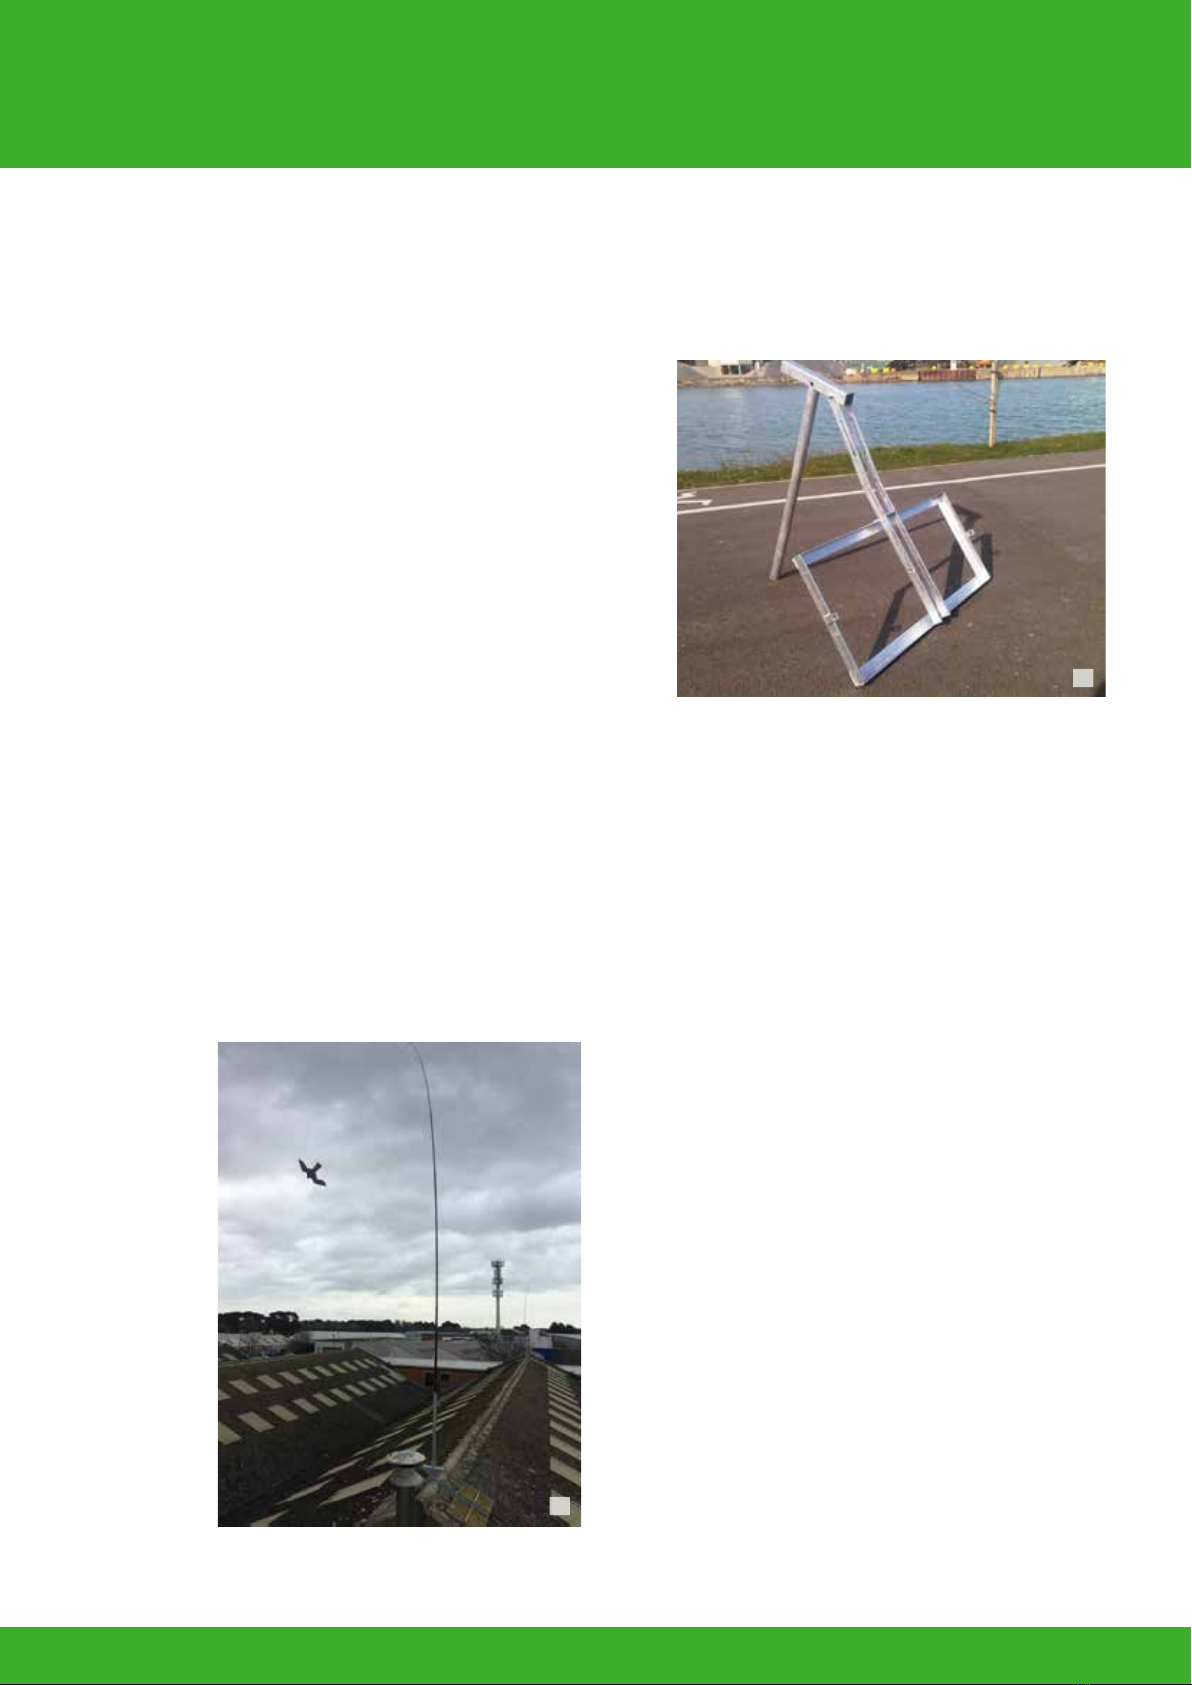
Slide the left side of the T-bar box section
between the cranked arms of the righthand tray.
Using a 100mm M10 bolt and 20mm washer
connect the left hole in the T-bar box section to
the top of the right-hand tray arms as shown.
5.3
Slide one 20mm washer over the protruding
threaded end of the M10 bolt and then secure
nger-tight using an M10 nut.
Offer-up the second tray and feed the cranked
arms through the arms of the rst tray to
create an “X” shape (see g. 5.5 overleaf).
5.4
5.5
5.6
5.7
5.8
Slide a 20mm washer onto the other M10 100mm
bolt and then use this to secure the right side of
the T-bar box section to the top of the arms of the
left-hand tray.
Slide one 20mm washer over the protruding
threaded end of the M10 bolt and then secure
nger-tight using an M10 nut.
Prior to inserting the paving slabs, with the
help of an assistant place the mount in the
desired position on the roof. This will be a lot
easier without the weight of the paving slabs!
The kite must be located in the centre of
a 10m square area that is free from any
obstructions that the kite would otherwise
strike and become damaged. Pay particular
attention to any overhead cables and
position the kite well away from any overhead
obstructions.
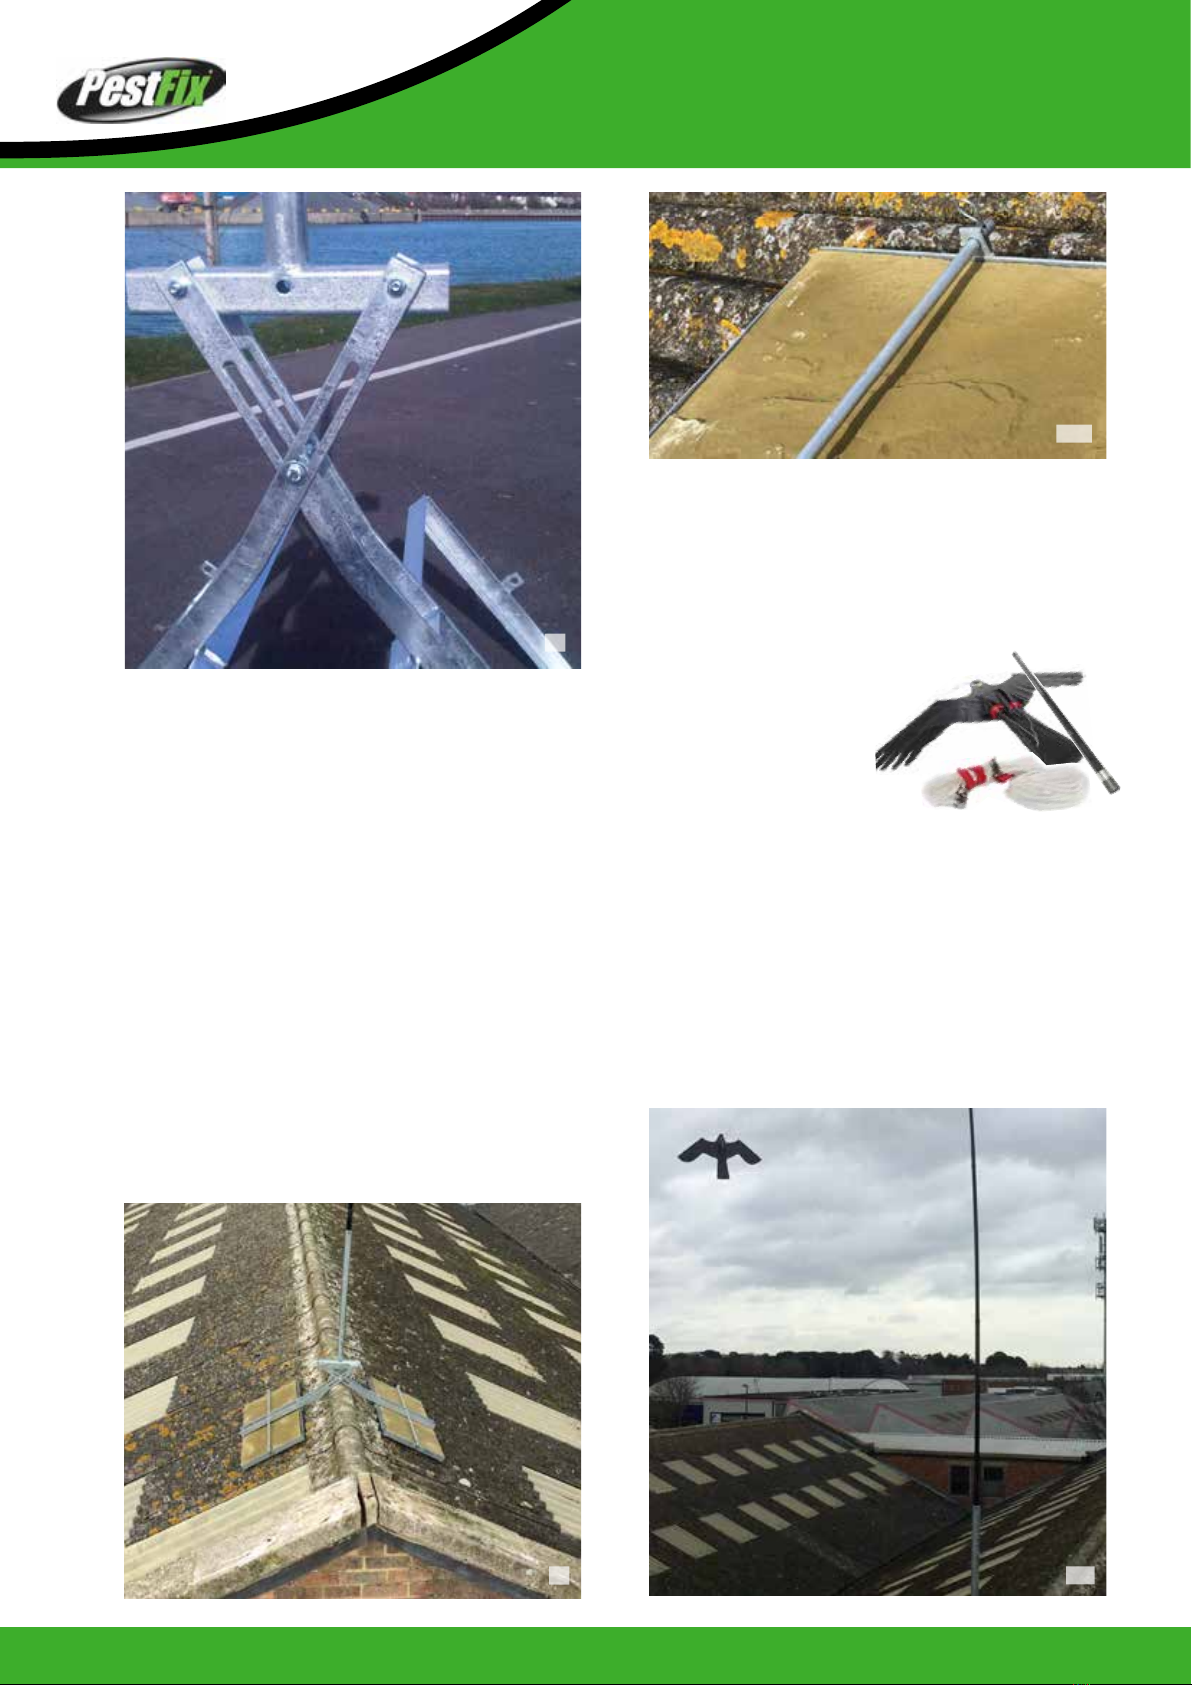
At the point where the two pairs of cranked arms
intersect you will note some long slots in the
arms (see g. 5.5 overleaf). Using the two 45mm
M10 bolts and 30mm plain washers, secure each
pair of arms together so the nut is on the outside
of each pair of arms. Secure in place nger-tight
using the last two M10 nuts.
5.3
5.1
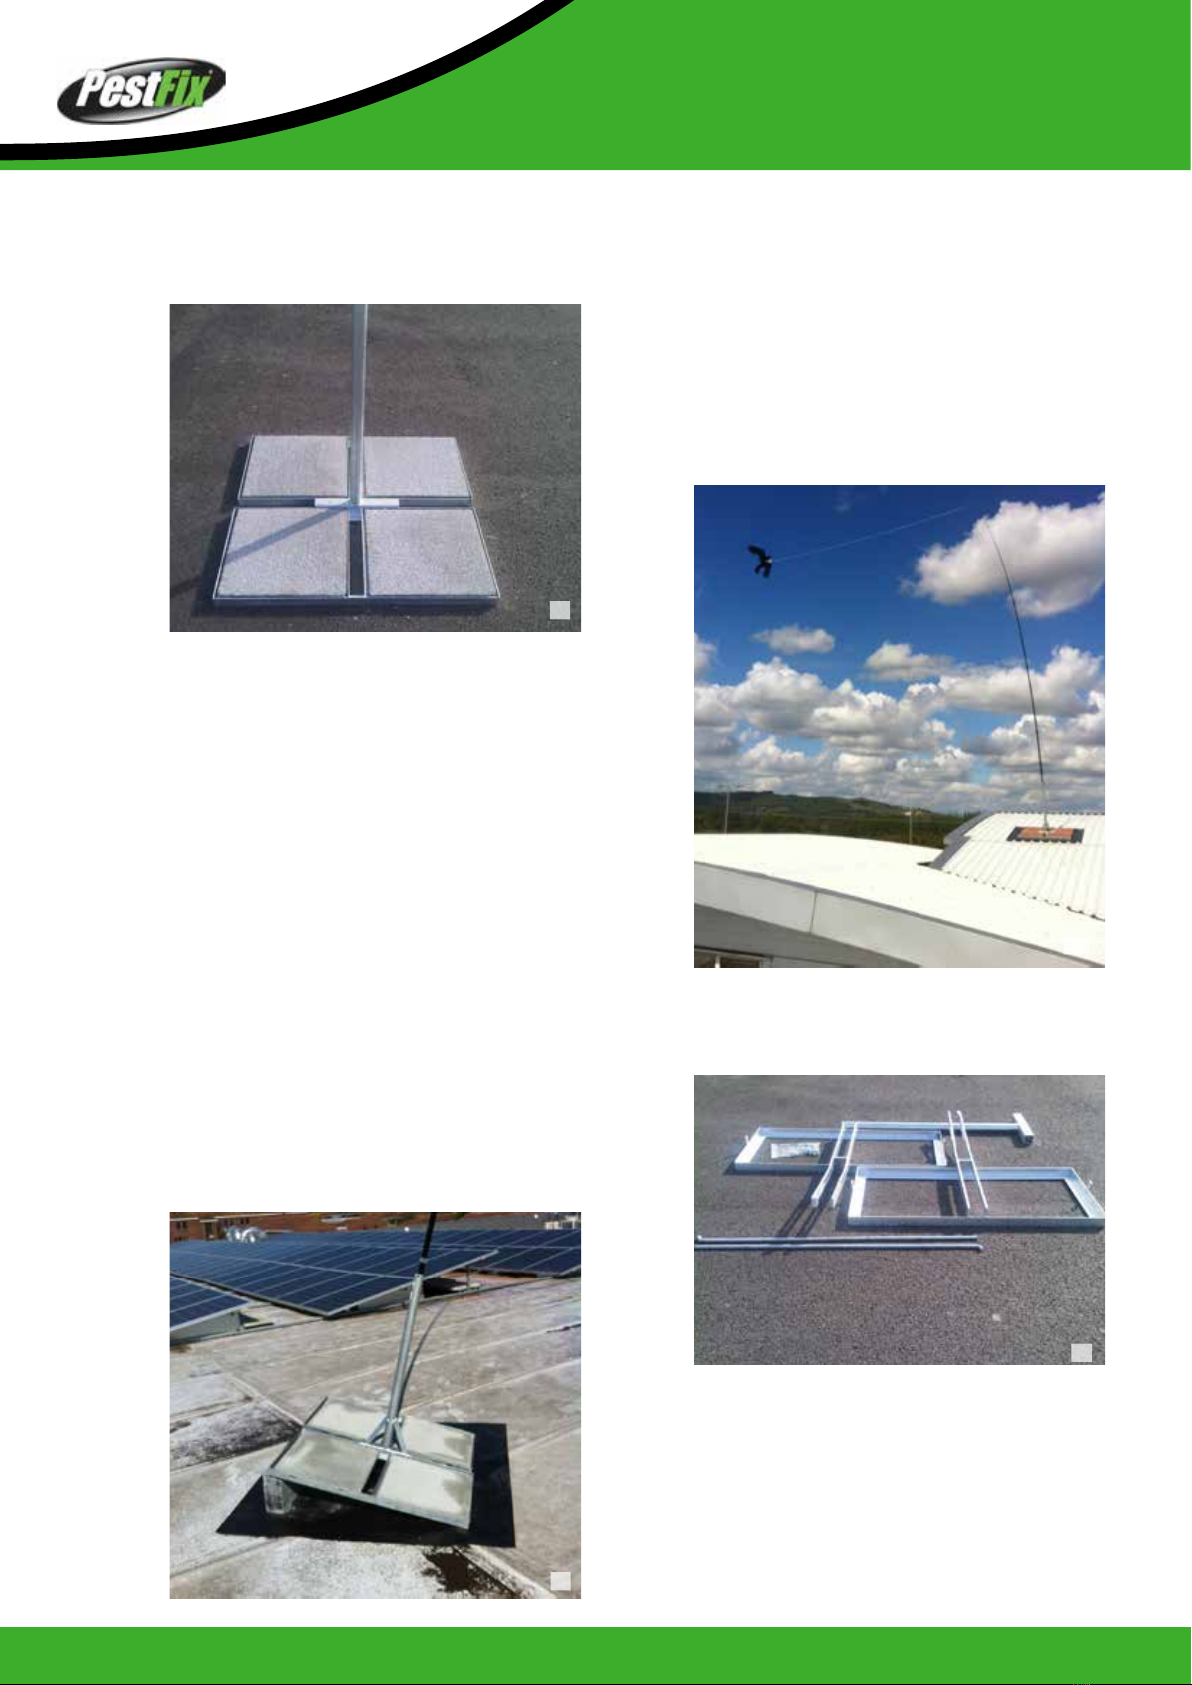
Prior to assembly ensure that the roof area
where the kite is to be placed is free from all
foreign objects, to prevent the mount forcing
such items through the roof membrane, if it were
to be placed on top of said debris.
A protective rubber mat is also available to afford
protection to sensitive roof surfaces (NF310 -
Non-Piercing Roof Mount Protective Mat 140cm
x 140cm).
5.2
5.2
This mount can be used on steel sheet, asbestos
sheet, single membrane, lead and tiled roofs.
Before you start work check the contents of
each Hawk Kite Free Standing Mount Kit.
Each kit comes with:
2 x 2-slab Base tray with cranked arms
1 x T-shaped centre pole 1m
2 x M10 x 100mm bolts
2 x M10 x 45mm bolts
4 x M10 Nuts
4 x M10 x 20mm O.D. Plain Washers
4 x M10 x 30mm O.D. Plain Washers
2 x Locking bars
2 x Cotter pins
In addition to the kit you will also need
1 x VD351 - Hawk Kite Kit
2 x 17mm spanners
4 x (450mm x 450mm) paving slabs