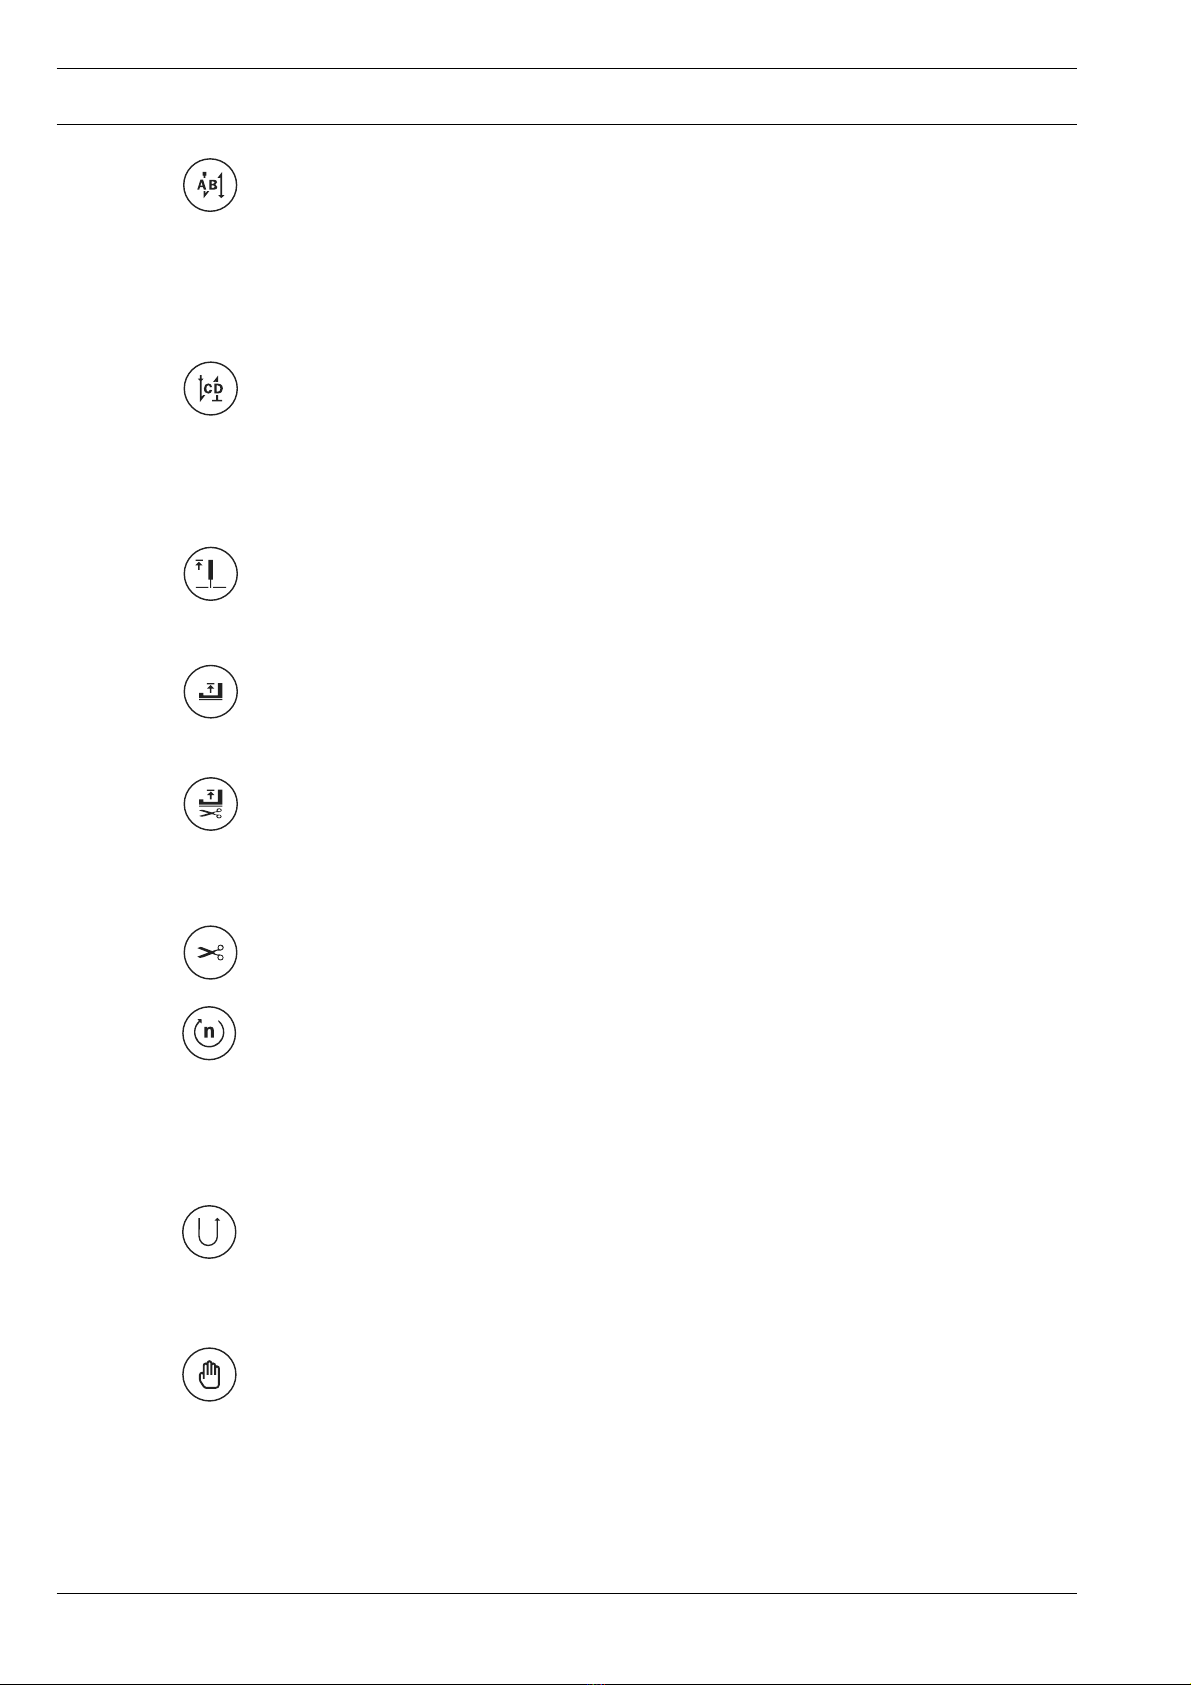
Pfaff EcoDrive P40 ED User manual

296-12-18 627/002
Betriebsanleitung engl. 06.09
INSTRUCTION MANUAL
Part 2
Control panel BDF S2
EcoDrive P40 ED
P70 ED

The reprinting, copying or translation of PFAFF Instruction Manuals, whether in whole or
in part, is only permitted with our previous authorization and with written reference to the
source.
PFAFF Industriesysteme
und Maschinen AG
Hans-Geiger-Str. 12 - IG Nord
D-67661 Kaiserslautern

Contents
Contents ............................................................................... Chapter - Page
1Operating elements of the S2 control panel ................................................................. 1
1.01 Screen displays ................................................................................................................. 1
1.02 Function keys .................................................................................................................... 1
1.03 Entering the start and end backtacks ................................................................................ 4
1.04 Setting the stitch count function for controlling the amount of bobbin thread .................. 5
1.05 Bobbin thread control on the sub-class -926/06 (optional) ................................................. 5
2Sewing ............................................................................................................................. 6
2.01 Manual sewing .................................................................................................................. 6
2.02 Programmed sewing ......................................................................................................... 7
2.03 An example of programmed sewing ................................................................................. 8
2.03.01 Programming by entering the number of stitches ............................................................. 8
2.03.02 Programming with the "teach function" ........................................................................... 11
2.04 Error messages ...............................................................................................................14
2.05 Explanation of the error signals ....................................................................................... 14
2.06 Parameter settings .......................................................................................................... 15
2.06.01 Selecting the user level ................................................................................................... 15
2.06.02 Selecting and altering parameters (only in the "manual sewing" mode) ........................... 16
3Adjustment .................................................................................................................... 17
3.01 Hardware-test ................................................................................................................. 17
3.01.01 Carrying out the hardware test ....................................................................................... 18
3.01.02 Test block 1 – inputs ....................................................................................................... 18
3.01.03 Test block 2 – outputs ..................................................................................................... 18
3.01.04 Test block 3 – speed control unit .................................................................................... 18
3.01.05 Test block 4 – actual value transmitters .......................................................................... 18

Contents
Contents ............................................................................... Chapter - Page
3.01.06 Test block 5 –light barrier ................................................................................................ 19
3.01.07 Test block 6 – thread monitor (only on subclass -926/06) ................................................ 19
3.02.08 Test block 7 – data transfer ............................................................................................. 19
3.03 Reset / Cold start ............................................................................................................ 20
3.04 Internet update of the machine software ........................................................................ 21

1
Controls
11 10
PM
1 Operating elements of the S2 control panel
The control panel is used to create and alter seam programs, enter parameter values and
read error messages and service settings.
The control panel consists of display 1and the function keys described below. Display 1
consists of a two-row, alpha-numerical display with 16 symbols per row. The special
symbols 3and texts 4
show the respective status of the function keys and the operating
modes of the machine.
During the power-on phase the control panel automatically switches on all LCD segments
and the horn. The number of the version of the installed software then appears on the
display, until the higher-ranking control unit sends commands to the control panel.
1.01 Screen displays
●Activated functions are displayed with a triangular marking 2below or next to the
respective function key.
●In the sewing mode all relevant sewing data is displayed and these can be changed
directly, depending on the status of the machine, see also Chapter 2 Sewing.
●During the parameter input the selected parameter number with the corresponding value
is displayed, see Chapter 2.06 Parameter settings.
1.02 Function keys
The function keys described below are used basically to switch machine functions on and
off.
If a corresponding value has to be set for the activated function, this is carried out with the
corresponding +/- key. For example, by pressing and holding the +/- key 5, the numerical
value 6shown above the key is changed slowly to begin with. If the +/- key 5
is held down
longer, the numerical value 6is changed more quickly.
5
1
2 4
3
6

2
Controls
Start backtacks
●If this key is pressed, the backtacks at the beginning of the seam (start backtacks) are
switched on or off. The number of forward stitches (A) or reverse stitches (B) for the start
backtacks can be changed by pressing the +/- key underneath. To convert from double
backtack to single backtack set the number of stitches for the corresponding seam
section at zero.
End backtacks
●If this key is pressed, the backtacks at the end of the seam (end backtacks) are switched
on or off. The number of reverse stitches (C) or forward stitches (D) can be changed by
pressing the +/- key underneath. To convert from double backtack to single backtack set
the number of stitches for the corresponding seam section at zero.
Needle position
●If this key is pressed the "needle raised after sewing stop" function is switched on or off.
When the function is switched on, the needle positions at t.d.c. after sewing stops.
Foot position after stop
●If this key is pressed the "foot raised after sewing stop" function is switched on or off.
When the function is switched on, the presser foot is raised after sewing stops.
Foot position at end of seam/or after a seam segment (in programmed sewing)
●If this key is pressed the „Foot position raised at the end of a seam“ function is switched
on or off. When the function is switched on, the presser foot is raised at the end of a
seam.
Thread trimmer
●If this key is pressed the thread trimming function is switched on or off.
Speed (only in programmed sewing)
●If this key is pressed the corresponding function is switched on or off. In programmed
sewing the speed is not pedal-controlled. When the function is switched on, the speed
cannot be controlled by pedal. The machine only sews at the set maximum speed.
●When the function is switched off, the speed is controlled up to the maximum speed by
pedal
Reverse sewing (only in programmed sewing)
●If this key is pressed the corresponding function is switched on or off. When the function
is switched during programmed sewing, the corresponding seam section is sewn in
reverse.
Manual seam end (only in programmed sewing)
●If this key is pressed the corresponding function is switched on or off. When the function
is switched on, the move to the next seam section is not carried out by stitch counting or
sensor, but manually with the use of the pedal (position "-2").

3
Controls
Programmed stop
(only in programmed sewing)
●If this key is pressed the corresponding function is switched on or off. When the function
is switched on, in programmed sewing the machine stops automatically at the end of the
seam section.
Photocell
●In manual sewing the number of compensating stitches from the point where the
photocell is light to the end of the seam can be set under parameter 111, and in
programmed sewing directly.
Stitch counting (only in programmed sewing)
●If this key is pressed the corresponding function is switched on or off. When the function
is switched on, in programmed sewing the machines switches to the next sewing
section after the number of stitches entered have been sewn.
TE/Speed
●If this key is pressed once while the machine is in the sewing mode, the input menu for
the maximum speed is selected. If no input is made within 5 seconds, the sewing mode
is selected again.
●If this key is pressed twice (within 5 seconds) while the machine is in the sewing mode,
the machine switches to parameter input.
●If this key is pressed once while the machine is in the parameter input mode, the altered
values are stored and the sewing mode is selected.
Scrolling
●If this key is pressed, the machine scrolls between the sub-menus in the program.
PM
●If this key is pressed the programmed sewing function is switched on or off. When the
function is switched on, the letters "PM" appear on the display of the control panel. The
parameters related to the program are shown in the alpha-numerical part of the display.
F1
Press this key to sew a single stitch (only with control unit P70 ED)
F2
Piece counter (only with control unit P70 ED)
When this key is pressed the first time, the piece counter is displayed for 3 sec.
If pressed again during the display period, the piece counter is reset.
The piece counter only counts when the "thread trimming" function is
activated.
F3
No function
F4
No function

4
Controls
1.03 Entering the start and end backtacks
●Switch on the machine.
A
B
C
D
●By pressing the corresponding +/- key ("A")
select the desired value for the number of
forward stitches (A) of the start backtack.
●By pressing the corresponding +/- key ("B")
select the desired value for the number of
reverse stitches (B) of the start backtack.
●By pressing the corresponding +/- key ("C") select the desired value for the number of
reverse stitches (C) of the end backtack.
●By pressing the corresponding +/- key ("D") select the desired value for the number of
forward stitches (D) of the end backtack.
A B C D
3 3 3 3

5
Controls
No VAL
760 5
TE
1.04
Setting the stitch count function for controlling the amount of bobbin thread
●Switch on the machine.
●Press the TE/Speed key twice to call up the parameter input function.
●Select the parameter "760" by pressing the corresponding +/- key.
No
●Press the corresponding +/- key to set the number of remaining stitches, which can still
be sewn after recognition by the bobbin thread control function.
The selected value is multiplied by 10* or 200** and the result is the number of stitches.
Example display 5 x 200** = 1000 stitches. The setting depends among other things on
the thread strength.
●If the TE/Speed key is pressed, the value is taken over and the machine changes into the
sewing mode.
The bobbin thread rest counter can only be used, if parameter "660" is set at
value "1" or "2".
*If for parameter 660 the value is "1", the multiplier is 10
** If for parameter 660 the value is "2", the multiplier is 200
VAL
2x
No VAL
101 ON
TE
A
A
1.05 Bobbin thread control on the sub-class -926/06 (optional)
Setting the bobbin thread control function, see the instruction manual for
-926/06.

Sewing
6
2 Sewing
In the sewing mode, all relevant settings for the sewing operation are shown on the display
and can be altered directly. Functions can be switched on or off by pressing a key.
In this mode a difference is made between manual sewing and programmed sewing. To
change from manual to programmed sewing, press the PM key. In programmed sewing the
text "PM" appears on the display.
2.01 Manual sewing
After switching on the machine and pressing the TE/Speed key, the max. speed can be set
with the corresponding +/- key.
Further functions in manual sewing, also see Chapter 1.02 Function keys:
Start backtacks on/off Foot position at end of seam on/off
End backtacks on/off Thread trimming on/off
Needle position raised on/off Photocell on/off
Presser foot raised on/off
4000
Speed

Sewing
7
2.02 Programmed sewing
In programmed sewing 99 programs, each with 9 seam segments and 999 stitches, can be
programmed.
The seam segments can be programmed by entering the number of stitches or by using the
"Teach" function (sewing a seam segment).
Fixed programs are used for the quick and convenient production of seams with a different
number of stitches.
After switching on the machine and selecting the programmed sewing mode with the PM
key, the display appears for selecting program number, seam section and the number of
stitches.
Functions in programmed sewing, also see Chapter 1.02 Function keys:
Start backtacks on/off Seam section speed on/off
End backtacks on/off Reverse sewing direction on/off
Needle position raised on/off Manual seam end on/off
Presser foot raised on/off Stop on/off
Foot position at end of seam Photocell on/off
on/off
Stitch count on/off
Thread trimming on/off
1000 5 0
PM
11 13
PM
Further menus for entering start and end backtacks, as well as maximum speed
can be called up in the appropriate seam sector by operating the scroll key.
current
program number
current seam segment number of stitches
speed
in current
seam segment
number
of seam segments
program number
of linked program

Sewing
8
2.03 An example of programmed sewing
2.03.01 Programming by entering the number of stitches
seam segment 4
seam segment 3
seam segment 2
seam segment 1
program 1
●Switch on the machine.
●Press the PMPM
PMPM
PM key to select the enter program function.
The text "PM" must appear on the display.
Example:
Seam segment 1, 20 stitches,
Functions: Start backtacks, programmed stop and raising foot at the end of the seam,
Seam segment 2, 10 stitches,
Functions: Programmed stop and raising foot at the end of the seam,
Seam segment 3, 20 stitches,
Functions: Programmed stop and raising foot at the end of the seam,
Seam segment 4, 10 stitches,
Functions: End backtacks, programmed stop, raising foot at the end of the seam and
thread trimming.
●Select the program number "1" with the corresponding +/- key.
●Press the scroll key.
11 20
PM

Sewing
9
1000 4 0
PM
●With the corresponding +/- key, set the program with 4
seam segments.
●By entering the value "0" with the corresponding +/- key, stipulate that no program linking
will take place.
●Press the scroll key twice.
●With the corresponding +/- key, select the seam segment "1".
●With the corresponding +/- key, enter the value "20" for the number of stitches.
●Press the start backtacks key to switch on the backtacking stitch function at the
beginning of the seam.
●Press the programmed stop key to switch on the function.
●By pressing the raise foot after seam segment
key, switch on the function.
11 20
PM
●With the corresponding +/- key, select the seam segment "2".
●With the corresponding +/- key, enter the value "10" for the number of stitches.
●Press the programmed stop
key to switch on the function.
●By pressing the raise foot after seam segment
key, switch on the function.
12 10
PM
2x

Sewing
10
Sewing a test seam
●Press the PM key twice to move to the beginning of the program.
The previously created program appears on the display with seam segment 1.
2x
●With the corresponding +/- key, select the seam segment ""
""
"3""
""
".
●With the corresponding +/- key, enter the value "20" for the number of stitches.
●Press the programmed stop
key to switch on the function.
●By pressing the raise foot after seam segment
key, switch on the function.
●With the corresponding +/- key, select the seam segment "4".
●With the corresponding +/- key, enter the value "10" for the number of stitches.
●Press the end backtacks
key to switch on the backtacking stitch function at the end of
the seam.
●Press the programmed stop
key to switch on the function.
●By pressing the raise foot after seam segment
key, switch on the function.
●Press the thread trimming
key to switch on the function.
The program end is recognized automatically through the thread trimming
function.
●Sew the test seams by using the pedal functions.
13 20
PM
14 10
PM
11 20
PM

Sewing
11
2.03.02 Programming with the "teach function"
seam segment 3
seam segment 2
seam segment 1
●Switch on the machine.
●Press the PM
key to select the enter program function.
The text "PM" must appear on the display.
●Press the TE/Speed key to call up the "teach function".
Example:
Seam segment 1
Functions: Programmed stop and raising foot at the end of the seam,
Seam segment 2
Functions: Programmed stop and raising foot at the end of the seam,
Seam segment 3
Functions: Programmed stop, raising foot at the end of the seam and thread trimming
●Select the program number "2" with the corresponding +/- key.
●Press the scroll key.
program 2
1000 3 0
PM
●With the corresponding +/- key, set the program with 33
33
3
seam segments.
●By entering the value "0" with the corresponding +/- key, stipulate that no program linking
will take place.
●Press the scroll key.
TEACH
21 49
PM
2x

Sewing
12
●With the corresponding +/- key, select the seam segment "1".
●Press the programmed stop key to switch on the function.
●By pressing the raise foot after seam segment
key, switch on the function.
●Sew seam segment "1".
The number of stitches is shown on the display.
TEACH
●With the corresponding +/- key, select the seam segment "2".
●Press the programmed stop
key to switch on the function.
●By pressing the raise foot after seam segment
key, switch on the function.
●Sew seam segment "2".
The number of stitches is shown on the display.
TEACH
TEACH
21 49
PM
TEACH
2 2 102
PM

Sewing
13
●With the corresponding +/- key, select the seam segment "3".
●Press the programmed stop
key to switch on the function.
●By pressing the raise foot after seam segment
key, switch on the function.
●Press the thread trimming
key to switch on the function.
The program end is recognized automatically through the thread trimming
function.
●Sew seam segment "3".
The number of stitches is shown on the display.
TEACH
TEACH
23 49
PM
●Press the TE/Speed key.
The machine carries out a thread trimming operation automatically and changes to the
beginning of the program.
The previously created program appears on the display with seam segment 1.
21 49
PM
Sewing a test seam
●Sew the test seams by using the pedal functions.

Sewing
14
2.05 Explanation of the error signals
2.04 Error messages
If a fault occurs, the text "ERROR" appears on the display, together with an error code
and short instructions. An error message is caused by incorrect settings, faulty elements or
seam programs as well as by overload conditions.
The error code numbers are explained below.
●Correct the error.
●Reset the program by pressing the TE/Speed key or switching the machine on/off.
ERROR
9
PRESS TE-SPEED
Signal Description
E001 Pedal not in neutral position
E009 Start inhibitor during standstill
E010 Incorrect machine class
E050 Cable break speed control unit
E062 Short circuit 24V
E063 Overload mains supply circuit
E064 Network monitoring
E065 Extint low in operation
E066 Short circuit
E067 Network off
E068 Extint low in operation
E069 No increments
E070 Motor blocking
E071 No incremental connector
E074 External transmitter for synchronisation marker missing
E088 RAM defective
E092 Start inhibitor when motor running
E173 Start error
E254 Internal error
E255 Internal error

Sewing
15
2.06 Parameter settings
2.06.01 Selecting the user level (only in the "manual sewing" mode)
●Switch on the machine.
●Press the TE/Speed key twice to call up the parameter input function.
●Call up parameter "798" by pressing the corresponding +/- key.
No
●Call up the parameter group "700" by pressing the corresponding +/- key.
No
No VAL
798 1
TE
●By pressing the corresponding +/- key select the desired user level.
"0" = Operator level A
"1" = Mechanic level B
"11" = Service level C
The respective level is displayed on the screen (see arrow).
●Change to the sewing mode by pressing the TE/Speed key.
VAL
B
2x
No VAL
798 0
TE
A
No VAL
101 0
TE
A

Sewing
16
2.06.02 Selecting and altering parameters (only in the "manual sewing" mode)
●Switch on the machine.
●Press the TE/Speed key twice to call up the parameter input function.
●By pressing the corresponding +/- key, select the parameter, e.g. "660" for bobbin thread
monitoring.
No
No VAL
660 1
TE
●Change to the sewing mode by pressing the TE/Speed key.
●By pressing the corresponding +/- key, set the desired value for the selected parameter,
e.g. "2" for the "remaining bobbin thread counter on" function.
No VAL
660 2
TE
VAL
2x
No VAL
101 0
TE
A
A
A
Other manuals for EcoDrive P40 ED
1
This manual suits for next models
1
Table of contents
Other Pfaff DC Drive manuals
Popular DC Drive manuals by other brands

Tridonic
Tridonic SELFTEST Series manual

BONFIGLIOLI
BONFIGLIOLI 300 Series Installation, operation and maintenance manual

Lenze
Lenze L-force 9400 Important notes

WEG
WEG CFW900 installation guide

elero
elero RolTop D+ 868/915 Operating and installation instructions

Bosch
Bosch Active Line series Original operating instructions