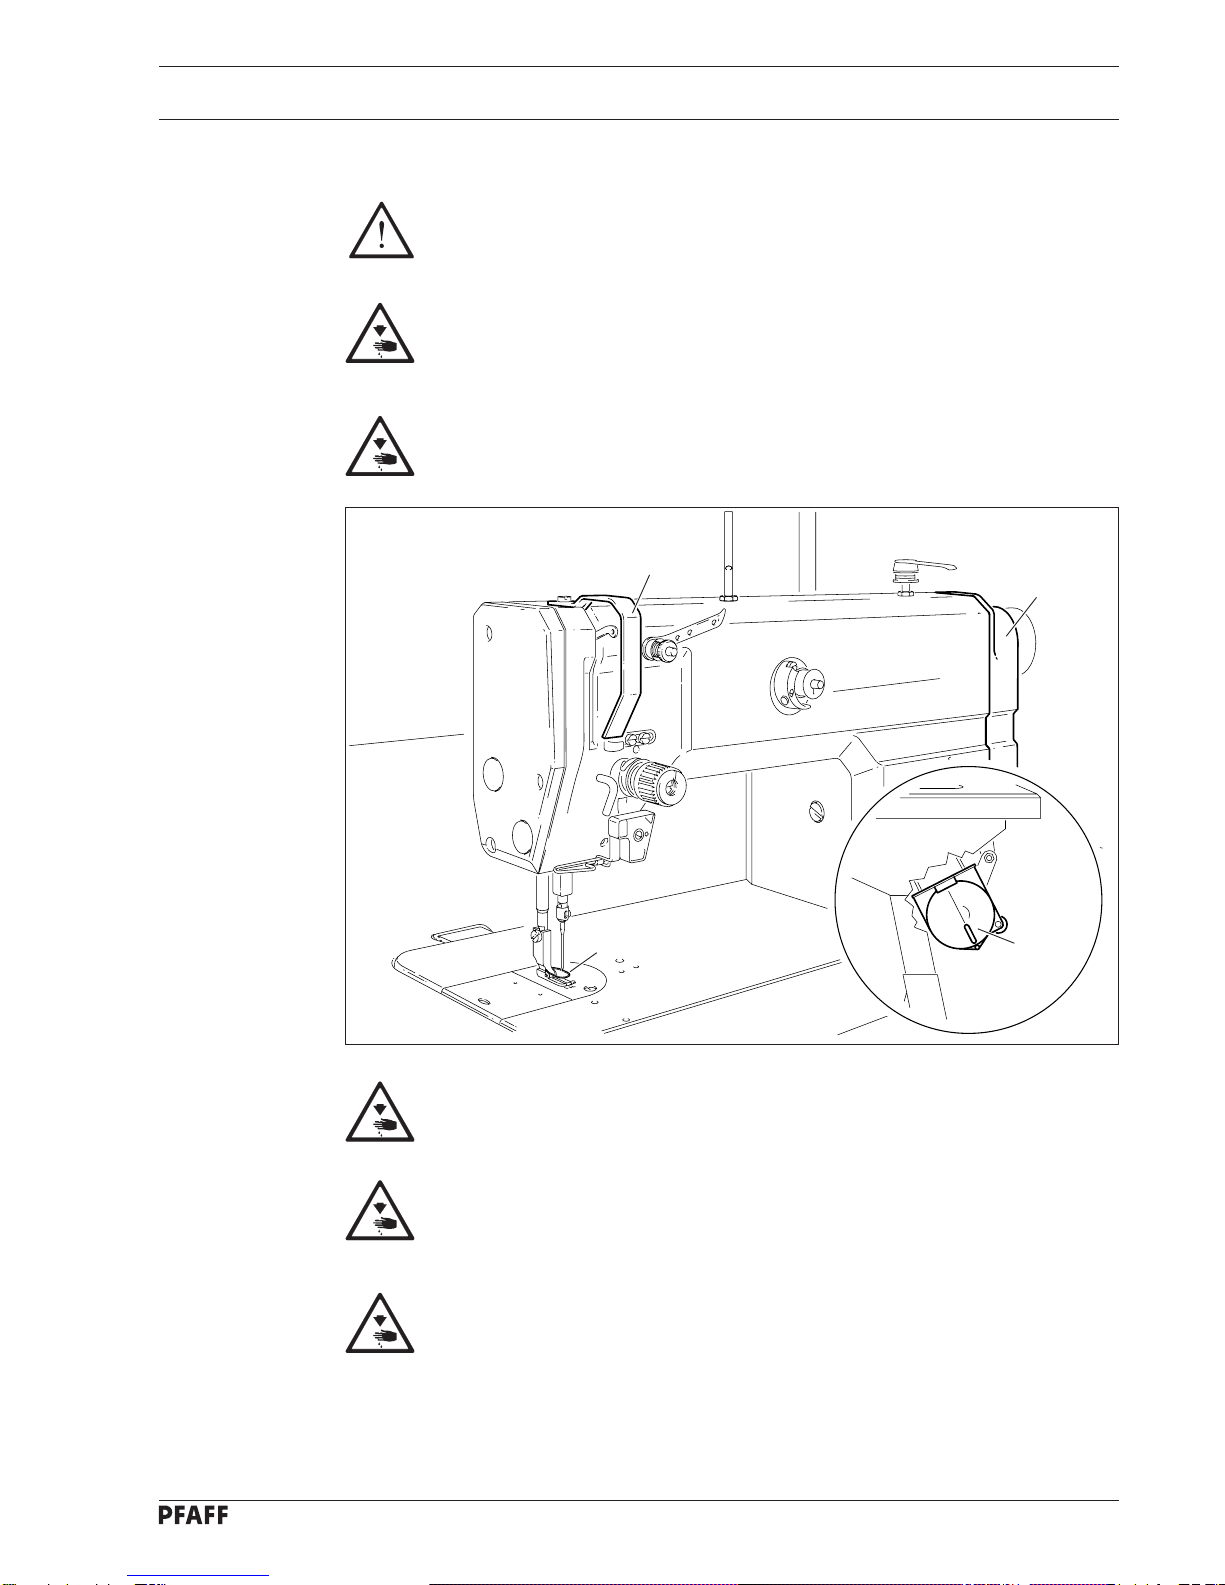
Pfaff 1051 User manual

296-12-18 192
Betriebsanleitung engl. 08.99
Instruction Manual
1051
1053
1181
1183

The reprinting, copying or translation of PFAFF Instruction Manuals, whether in whole or in
part, is only permitted with our previous authorization and with written reference to the
source.
G.M. PFAFF
Aktiengesellschaft
Postfach 3020
D-67653 Kaiserslautern
Königstr. 154
D-67655 Kaiserslautern
Editing / Illustrations
HAAS-Publikationen GmbH
D-53840 Troisdorf
This Instruction Manual is valid for all models and subclasses listed in the
chapter " Specifications ".

Contents
Contents...............................................................................Chapter - Page
1Safety ........................................................................................................................ 1 -1
1.01 Directives...................................................................................................................1- 1
1.02 General notes on safety............................................................................................. 1 - 1
1.03 Safety symbols .......................................................................................................... 1 - 2
1.04 Important points for the user ..................................................................................... 1 - 2
1.05 Operating and specialist personnel ............................................................................ 1 - 3
1.05.01 Operating personnel .................................................................................................. 1 - 3
1.05.02 Specialist personnel ................................................................................................... 1 - 3
1.06 Danger .......................................................................................................................1- 4
2Proper use ................................................................................................................ 2 - 1
3Specifications ........................................................................................................... 3 - 1
3.01 PFAFF 1051, PFAFF 1053, PFAFF 1181, PFAFF 1183 ............................................... 3 - 1
3.02 Models and subclasses.............................................................................................. 3 - 2
4Disposal of the machine .......................................................................................... 4 - 1
5Transport, packaging and storage .......................................................................... 5 - 1
5.01 Transport to the customer ......................................................................................... 5 - 1
5.02 Transport within the customer’s premises ................................................................ 5 - 1
5.03 Disposal of the packaging .......................................................................................... 5 - 1
5.04 Storage ......................................................................................................................5- 1
6Explanation of the symbols..................................................................................... 6 - 1
7Controls .................................................................................................................... 7 - 1
7.01 On/off switch ............................................................................................................. 7 - 1
7.02 Keys on the machine head......................................................................................... 7 - 1
7.03 Pedal .......................................................................................................................... 7 - 2
7.04 Lever for lifting the presser foot ................................................................................ 7 - 2
7.05 Feed regulator disk .................................................................................................... 7 - 3
7.06 Reverse feed lever..................................................................................................... 7 - 3
7.07 Knee lever.................................................................................................................. 7- 4
7.08 Switch for thread wiper -909/04 ................................................................................ 7 - 4
8Mounting and commissioning the machine .......................................................... 8 - 1
8.01 Mounting ................................................................................................................... 8 -1
8.01.01 Adjusting the table-top height .................................................................................... 8 - 1
8.01.02 Adjusting the V-belt tension ....................................................................................... 8 - 2
8.01.03 Mounting the upper V-belt guard ............................................................................... 8 - 2
8.01.04 Mounting the lower V-belt guard ............................................................................... 8 - 3
8.01.05 Mounting the spool holder and the sewing lamp....................................................... 8 - 3
8.02 Commissioning the machine...................................................................................... 8 - 4
8.03 Turning the machine on/off........................................................................................ 8 - 4

Contents
Contents ...............................................................................Chapter - Page
9Preparation ............................................................................................................... 9 - 1
9.01 Inserting the needle ................................................................................................... 9 - 1
9.02 Winding the bobbin thread/ adjusting the thread tension .......................................... 9 - 2
9.03 Removing/Inserting the bobbin case.......................................................................... 9 - 3
9.04 Inserting the bobbin case / Adjusting the bobbin thread tension ............................... 9 - 3
9.05 Threading the needle thread / Adjusting the needle thread tension........................... 9 - 4
9.06 Adjusting the stitch length ......................................................................................... 9 - 5
10 Care and maintenance........................................................................................... 10 - 1
10.01 Cleaning the machine .............................................................................................. 10 - 1
10.02 Filling the oil reservoir (PFAFF 1181 and 1183 only) ................................................ 10 - 2
11 Adjustment ............................................................................................................. 11 - 1
11.01 Notes on adjusting ................................................................................................... 11 - 1
11.02 Tools, gauges and other accessories for adjusting .................................................. 11 - 1
11.03 Abbreviations ........................................................................................................... 11 - 1
11.04 Checking and adjusting aids..................................................................................... 11 - 2
11.05 Adjusting the basic machine ................................................................................. 11 - 3
11.05.01 Basic position of the machine drive ......................................................................... 11 - 3
11.05.02 Preadjusting the needle height ................................................................................ 11 - 4
11.05.03 Bottom feed neutral position ................................................................................... 11 - 5
11.05.04 Neutral position of the needle feed (only on PFAFF 1051 and 1181) ....................... 11 - 6
11.05.05 Bottom feed lifting motion ....................................................................................... 11 - 7
11.05.06 Bottom feed dog height........................................................................................... 11 - 8
11.05.07 Feed dog motion of bottom feed dog ...................................................................... 11 - 9
11.05.08 Feeding motion of needle feed (only on PFAFF 1051 and 1181) ............................. 11 -10
11.05.09 Needle in needle hole center (only on PFAFF 1053 and 1183) ................................ 11 -11
11.05.10 Needle to needle hole centre (on PFAFF 1051 and PFAFF 1181) ............................ 11 -12
11.05.11 Synchronous strokes of needle- and drop feed
(only on PFAFF 1051 and PFAFF 1181) ..................................................................... 11 -13
11.05.12 Hook shaft bearing and backlash ............................................................................. 11 -14
11.05.13 Hook lubrication (only for PFAFF 1181 and 1183) .................................................... 11 -15
11.05.14 Needle rise, hook-to-needle clearance, needle height and bobbin case
position finger .......................................................................................................... 11 -16
11.05.15 Thread check spring and slack thread regulator ....................................................... 11 -17
11.05.16 Position of knee lever .............................................................................................. 11 -18
11.05.17 Knee lever stop ........................................................................................................ 11 -19
11.05.18 Bobbin winder.......................................................................................................... 11 -20
11.05.19 Limiting the stitch length ......................................................................................... 11 -21
11.05.20 Presser foot pressure .............................................................................................. 11 -22
11.05.21 Modifying the needle bar stroke .............................................................................. 11 -23
11.06 Adjusting the thread trimmers -900/24................................................................. 11 -24
11.06.01 Magnet setting......................................................................................................... 11 -24
11.06.02 Lateral alignment of the thread catcher ................................................................... 11 -25
11.06.03 Knife position ........................................................................................................... 11 -26

Contents
Contents...............................................................................Chapter - Page
11.06.04 Front point of reversal of the thread catcher............................................................ 11 -27
11.06.05 Manual trimming check ........................................................................................... 11 -28
11.06.06 Thread tension release............................................................................................. 11 -29
11.06.07 Readjusting the control cam .................................................................................... 11 - 30
11.07 Adjusting the thread wiper -909/04....................................................................... 11 -31
11.07.01 Thread wiper movement.......................................................................................... 11 - 31
11.07.02 Thread wiper position .............................................................................................. 11 -32
11.08 Adjusting the automatic presser foot lift -910/06................................................. 11 -33
11.09 Adjusting the backtacking mechanism -911/37.................................................... 11 -34

1 - 1
Safety
1 Safety
1.01 Directives
This machine is constructed in accordance with the European regulations contained in the
conformity and manufacturer’s declarations.
In addition to this Instruction Manual, also observe all generally accepted, statutory and
other regulations and legal requirements and all valid environmental protection regulations!
The regionally valid regulations of the social insurance society for occupational accidents or
other supervisory organizations are to be strictly adhered to!
1.02 General notes on safety
●This machine may only be operated by adequately trained operators and only after having
completely read and understood the Instruction Manual!
●All Notes on Safety and Instruction Manuals of the motor manufacturer are to be read
before operating the machine!
●The danger and safety instructions on the machine itself are to be followed!
●This machine may only be used for the purpose for which it is intended and may not be
operated without its safety devices. All safety regulations relevant to its operation are to
be adhered to.
●When exchanging sewing tools (e.g. needle, roller presser, needle plate and bobbin),
when threading the machine, when leaving the machine unattended and during
maintenance work, the machine is to be separated from the power supply by switching
off the On/Off switch or by removing the plug from the mains!
●Everyday maintenance work is only to be carried out by appropriately trained personnel!
●Repairs and special maintenance work may only be carried out by qualified service staff
or appropriately trained personnel!
●Work on electrical equipment may only be carried out by appropriately trained personnel!
●Work is not permitted on parts and equipment which are connected to the power supply!
The only exceptions to this rule are found in the regulations EN 50110.
●Modifications and alterations to the machine may only be carried out under observance
of all the relevant safety regulations!

Safety
1 - 2
●Only spare parts which have been approved by us are to be used for repairs! We
expressly point out that any replacement parts or accessories which are not supplied by
us have not been tested and approved by us. The installation and/or use of any such
products can lead to negative changes in the structural characteristics of the machine.
We are not liable for any damage which may be caused by non-original parts.
1.03 Safety symbols
Danger!
Points to be observed.
Danger of injury for operating and specialist personnel!
1.04 Important points for the user
●This Instruction Manual is an integral part of the machine and must be available to the
operating personnel at all times.
●The Instruction Manual must be read before operating the machine for the first time.
●The operating and specialist personnel is to be instructed as to the safety equipment of
the machine and regarding safe work methods.
●It is the duty of the user to only operate the machine in perfect running order.
●It is the obligation of the user to ensure that none of the safety mechanisms are
removed or deactivated.
●It is the obligation of the user to ensure that only authorized persons operate and work
on the machine.
Further information can be obtained from your PFAFF agent.

1 - 3
Safety
1.05 Operating and specialist personnel
1.05.01 Operating personnel
Operating personnel are persons responsible for the equipping, operating and cleaning of
the machine as well as for taking care of problems arising in the sewing area.
The operating personnel is required to observe the following points and must:
●always observe the Notes on Safety in the Instruction Manual!
●never use any working methods which could adversely affect the safety of the machine!
●not wear loose-fitting clothing or jewelery such as chains or rings!
●also ensure that only authorized persons have access to the potentially dangerous area
around the machine!
●always immediately report to the person responsible any changes in the machine which
may limit its safety!
1.05.02 Specialist personnel
Specialist personnel are persons with a specialist education in the fields of electrics,
electronics and mechanics. They are responsible for the lubrication, maintenance, repair and
adjustment of the machine.
The specialist personnel is obliged to observe the following points and must:
●always observe the Notes on Safety in the Instruction Manual!
●switch off the On/Off switch before carrying out adjustments or repairs, and ensure that
it cannot be switched on again unintentionally!
●wait until the luminous diode on the control box is no longer blinking or on before
beginning adjustment or repair work.
●never work on parts which are still connected to the power supply! Exceptions are
explained in the regulations EN 50110.
●replace the protective coverings and close the electrical control box afer all repairs or
maintenance work!

Safety
1 - 4
1.06 Danger
A working area of 1 meter is to be kept free both in front of and behind the
machine while it is in operation so that it is always easily accessible.
Never reach into the sewing area while sewing! Danger of injury by the needle!
Never leave objects on the table while adjusting the machine settings! Objects
can become trapped or be slung away! Danger of injury!
Fig. 1 - 01
Do not operate the machine without its take-up lever guard 1!
Danger of injury due to the motion of the take-up lever!
Do not operate the machine without the finger guard 2!
Danger of injury by the needle!
If an external motor is used, do not operate the machine without the belt
guards 3and 4!
Danger of injury by the drive belt!
3
1
4
2

Proper use
2 Proper use
The PFAFF 1051 is an oil-free single-needle high-speed seamer with compound feed
The PFAFF 1053 is an oil-free single-needle high-speed seamer with drop feed
The PFAFF 1181 is an oil-free single-needle ultra-high-speed seamer with compound feed
The PFAFF 1183 is an oil-free single-needle ultra-high-speed seamer with drop feed
These machines are used in the industry for sewing lockstitch seams.
Any and all uses of this machine which have not been approved of by the
manufacturer are considered to be inappropriate! The manufacturer cannot be
held liable for any damage caused by the inappropriate use of the machine!
The appropriate use of the machine includes the observance of all operational,
adjustment, maintenance and repair measures required by the manufacturer!
2 - 1

Specifications
3 - 1
3 Specifications
3.01 PFAFF 1051, PFAFF 1053, PFAFF 1181, PFAFF1183 ▲
Stitch type:.................................................................................................. 301 (lockstitch)
Needle system:............................................................................................. DBx1 or 134R
Needle size (NM) in 1/100 mm:
Subclasses -8/11, -8/12, -8/31: ............................................................................... 60 to 90
Subclasses -8/33 and -8/44: ............................................................................... 100 to 120
Effective balance wheel dia.: ................................................................................... 65 mm
Fabric clearance: ...............................................................................................9 to 13 mm
Clear workspace width: ......................................................................................... 260 mm
Clear workspace height: ........................................................................................ 125 mm
Bedplate dimensions ................................................................................... 476 x 177 mm
Sewing head dimensions:
Length:...................................................................................................... approx. 550 mm
Breadth: .................................................................................................... approx. 180 mm
Height: ...................................................................................................... approx. 300 mm
Max. stitch length:
Subclasses -8/11, -8/12, -8/31: ................................................................................ 4.5 mm
Subclasses -8/33, -8/44: .......................................................................................... 5.1 mm
Max. speed:
PFAFF 1051/1053: ........................................................................................4,000 s.p.m. ◆
PFAFF 1181/1183: ........................................................................................5,500 s.p.m. ◆
PFAFF 1053-8/44, 1183-8/44: ....................................................................... 3,000 s.p.m. ◆
Needle bar stroke:........................................................................................... 32 or 36 mm
Power connection:
Operating voltage:....................................................... 190 - 240 V 50/60 Hz., single-phase
Max. input................................................................................................................400 VA
Fuse: ............................................................................................................. 1 x 16 A, inert
Ambient noise levels:
Workplace noise level at corresponding speeds
(noise measurement according to DIN 45636-48-A-1)
PFAFF 1051 at 3,200 r.p.m.: ..................................................................................76 dB(A)
PFAFF 1053 at 3,200 r.p.m.: ..................................................................................76 dB(A)
PFAFF 1081 at 4,400 r.p.m.: ..................................................................................81 dB(A)
PFAFF 1083 at 4,400 r.p.m.: ..................................................................................81 dB(A)
Net weight of sewing head............................................................................approx. 30 kg
Gross weight of sewing head ........................................................................approx. 38 kg
▲Subject to technical alterations
◆3,800 s.p.m. at 36 mm needle bar stroke

Specifications
3 - 2
3.02 Versions and subclasses
PFAFF 1051/1151:
Subcalss -8/11............................................... for sewing light materials (standard part set)
Subclass -8/12........................................... for sewing light materials (bridge-type part set)
PFAFF 1053/1183:
Subclass -8/31............................................................................. for sewing light materials
Subclass -8/33.............................................................for sewing medium-heavy materials
Subclass -8/44............................... for sewing medium-heavy leathers or similar materials
Work aids:
Subclass -900/24..........................................................................................thread trimmer
Subclass -909/04............................................................................................. thread wiper
Subclass -910/06..................................................................................... automatic foot lift
Subclass -911/37..................................................................................automatic back tack

Disposal of machine
4 - 1
4 Disposal of machine
●The proper disposal of the machine is the responsibility of the customer.
●The materials used in the machines are steel, aluminium, brass and various plastics.
The electrical equipment consists of plastics and copper.
●The machine is to be disposed of in accordance with the locally valid environmental
protection regulations. If necessary, a specialist is to be commissioned.
Special care is to be taken that parts soiled with lubricants are separately
disposed of in accordance with the locally valid pollution control regulations!

Transport, packaging and storage
5 Transport, packaging and storage
5.01 Transport to the customer’s premises
Within Germany, machines with a table are delivered without packaging. Machines without
a table (sewing head only) and machines which are to be exported are packaged.
5.02 Transport within the customer’s premises
The manufacturer bears no liability for transport within the customer’s premises or to the
individual locations of use. Make sure that the machines are always transported upright.
5.03 Disposal of the packaging
The packaging of these machines consists of paper, cardboard and VCE fiber. The proper
disposal of the packaging is the responsibility of the customer.
5.04 Storage
The machine can be stored for up to 6 months if not in use. During this time it should be
protected from dust and moisture.
For longer storage the individual parts of the machine, especially the moving parts, must be
protected from corrosion, e.g. by a film of oil.
5 - 1

Explanation of the symbols
6 - 1
6 Explanation of the symbols
In the following section of this Instruction Manual, certain tasks or important pieces of
information are accentuated by symbols.
The symbols used have the following meanings:
Note, information
Cleaning, care
Lubrication, greasing
Servicing, repairing, adjustment, maintenance
(only to be carried out by specialist personnel)

Controls
7 - 1
7 Controls
7.01 On/Off switch
●Turn the machine on/off by pressing the
On/Off switch 1.
●LED 2is for monitoring the machine
controller.
Switch 1 on:
LED ON = controller
operative
LED blinking = malfunction
Switch 1 off:
LED blinking = controller will
remain live for
approx. 4 seconds
LED off = controller off
●The machine speed can be adjusted via
potentiometer 3.
Fig. 7 - 02
7.02 Keys on the machine head
●The following functions are triggered by
pressing the corresponding keys.
Key 1: When sewing is interrupted, the
needle can be either raised or
lowered as required.
Key 2: reverse sewing
Key 3: Prevent automatic start backtack
or finish backtack.
1
2
3
Fig. 7 - 01
1
2
3

Controls
7 - 2
7.03 Pedal
0= Machine stop
1= Sew
2= Raise presser foot (for
machines with -910/06)
3= Trim thread
(for machines with -900/24)
Fig. 7 - 03
0
1
23
7.04 Lever for lifting the presser foot
●The presser foot is raised by turning
lever 1.
Fig. 7 - 04
1

Controls
7 - 3
7.05 Feed regulator disk
●The stitch length can be set by
simultaneously applying pressure to
disk 1and turning it to the desired
setting.
7.06 Reverse feed lever
●For reverse sewing press lever 1.
Fig. 7 - 06
1
Fig. 7 - 05
1

Controls
7 - 4
I
Fig. 7 - 08
7.07 Knee lever
●By pressing the knee lever 1in the
direction of the arrow, the presser foot is
raised.
7.08 Switch for thread wiper -909/04
●By moving switch 1, the thread wiper
can be switched on or off.
Position l: aggregate is on
Position 0: aggregate is off
1
Fig. 7 - 07
1

Mounting and commissioning the machine
8 - 1
8 Mounting and commissioning the machine
The machine must only be mounted and commissioned by qualified
personnel! All relevant safety regulations are to be observed!
If the machine is delivered without a table, be sure that the frame and the
table top which you intend to use can hold the weight of the machine and the
motor. It must be ensured that the supporting structure is sufficiently sturdy,
even during sewing operations.
8.01 Mounting
The necessary electricity supply must be available at the machine’s location. Also, a
stable and horizontal surface as well as adequate lighting are required at the location.
Depending on the type of table, the method of packaging used may require
that the table top be lowered for transport. The following is a description of
how to adjust the height of the table top.
8.01.01 Adjusting the table-top height
●Loosen screws 1and 2and set the desired table-top height
●Tighten screws 1well.
●Adjust the pedal to the desired position and tighten screw 2.
Fig. 8 - 01
121
Other manuals for 1051
1
This manual suits for next models
3
Table of contents
Other Pfaff Sewing Machine manuals

Pfaff
Pfaff 480 Series User manual

Pfaff
Pfaff 918 User manual

Pfaff
Pfaff 84 User manual

Pfaff
Pfaff ambition essential 1.0 User manual

Pfaff
Pfaff hobbymatic extra 874 User manual

Pfaff
Pfaff 3371-10 series User manual

Pfaff
Pfaff 467 User manual

Pfaff
Pfaff 28 User manual

Pfaff
Pfaff SZA-645F User manual

Pfaff
Pfaff select 1520 User manual