HD7870/20 /21 /22
6-11
Volume adjustment
The PCB circuit board makes it possible to adjust the
volume output by means of pushing the one-cup and two-
cup user controls. How to adjust the volume output:
1. Make sure the boiler is lled properly, otherwise
perform ll procedure see DFU for instructions.
2. Switch appliance on and wait until the unit is ready to
brew.
3. Make sure a pod holder is placed, but without a Coffee
POD. (Only adjusting with plain water)
4. Place a cup on the drip tray cover and push the one-
cup button.
5. When the appliance has nished it is stabilized to
perform the volume adjustment.
6. Empty the cup, pod holder and push again for one cup
setting, measure the volume output with a graduated
beaker. In the table you can nd the requirements for
the minimum / maximum volume output cc/mL values
depending from the country version:
One-cup setting, Including Pod holder, water spec.
(Without Coffee pod)
Min. water
cc/mL
Max. water
cc/mL
French / Spanish version 101 121
General version 123 143
7. Unplug the appliance from the mains.
8. Press the 1- and 2 cup button simultaneously and plug
the mains on.
9. When above step succeeded the LED will turn on
continuously.
10. Depending if the volume has to de- or increase you
have to push the one- or two cup button. Every time
you push the 1- or 2 cup button the LED will turn
off for 0.5 second (feedback to user) and the pump
time will be shortened or lengthened for 0.5 seconds
depending which button was pushed.
Pushing 1 cup button pump, time will be shorten
with 0.5 sec is approximately − 3.5 cc/mL (less coffee).
Pushing 2 cup button pump, time will be lengthen
with 0.5 sec is approximately + 3.5 cc/mL (more
coffee).
When the volume has to increase with 10 cc for
example, push the 2 cup button 3 times. The new value
will be stored when you switch the appliance off by
pushing the main switch (LED will turn off).
11. Turn appliance on again and brew one cup, measure the
volume. In case the volume is not within specication
repeat steps 6 - 11.
Note:
Changing a newly installed PCBA (by default delivered with
General version settings) into a French or Spanish setting
requires a decrease of the pump time by 2,5 seconds
(or ve pushes of the 1-cup button).
SENSOR AND LED TEST
To validate the assembly and electrical correctness of an
appliance, especially during testing and debugging phase,
a sensor and LED test is very useful. Please keep in mind
that it is not an automated test and only intended as
indication.
Service-step 0 Entry to test mode:
1. Connect mains;
2. After 0.5 second and before 1.5 second operate the
2-cup button.
3. Release all switches.
4. All LEDs will be ON for 1.0 seconds and after that
switch to OFF again.
Service-step 1 Sensor identication:
1. Manually operate a button or sensor.
The related LED - refer to the table on p.4 -
will be ON.
2. Release the button or sensor.
The related LED - refer to the table on p.4 -
will be OFF.
Service-step 2 End test
1. Disconnect mains end test program
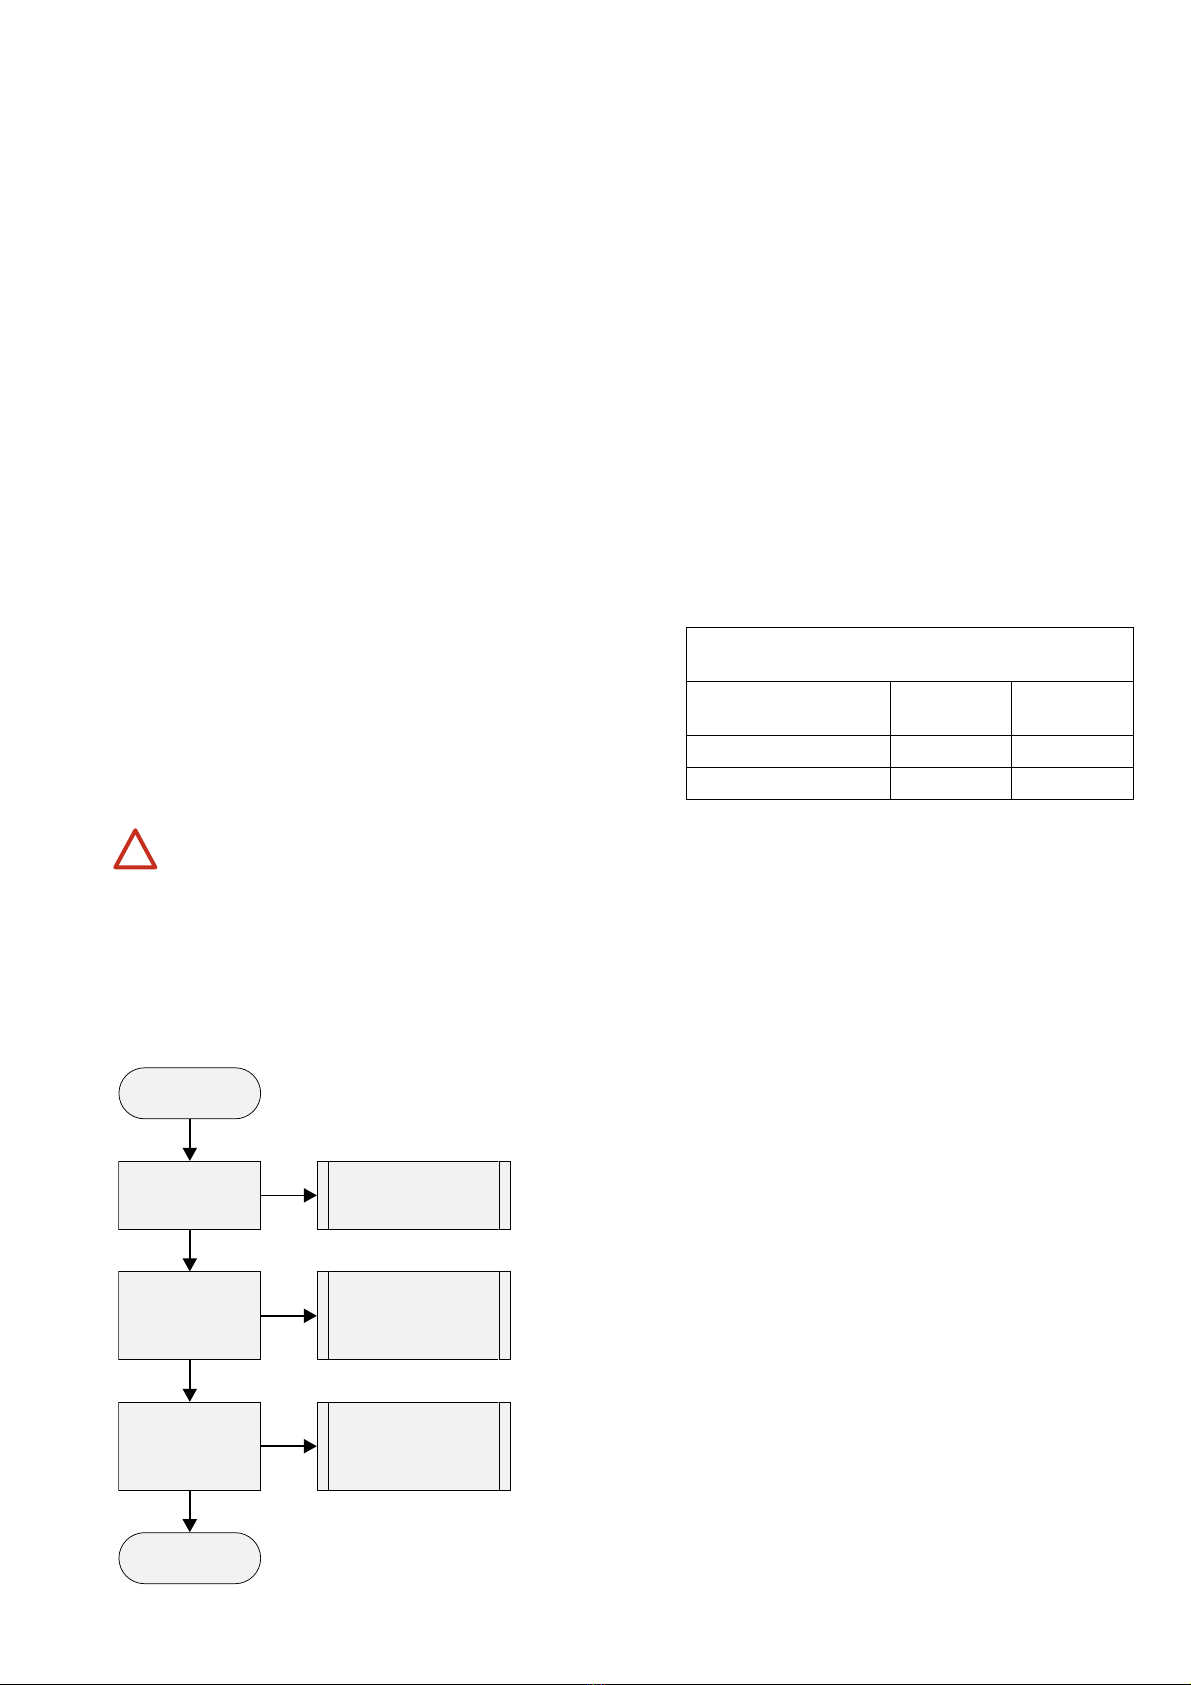
PCBA REPLACEMENT
When there is the need for a PCBA replace-
ment the default setting of the PCBA will be:
• Boiler empty flag = SET
• ME/HE selection = Mid end
• Country selection = General version
Please follow below way of working.
Start
End
Manual pump
calibration
(see previous page)
Country
selection
(see previous page)
ME / HE
selection
(see previous page)
(HD7872 / HD7873 only)
*) you can enable the Personal coffee
memory function on a HD7870
appliance, but the LED on the User
Interface will not be visible.
Sets the default
Regular coffee cup
volume
Sets the
corresponding
Strong coffee cup
volume
Enables the Personal
coffee memory
function*
!
REPAIR INSTRUCTION