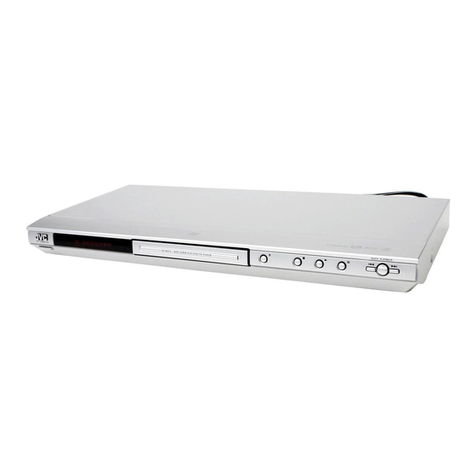
4 Apply Upgrade to your Set
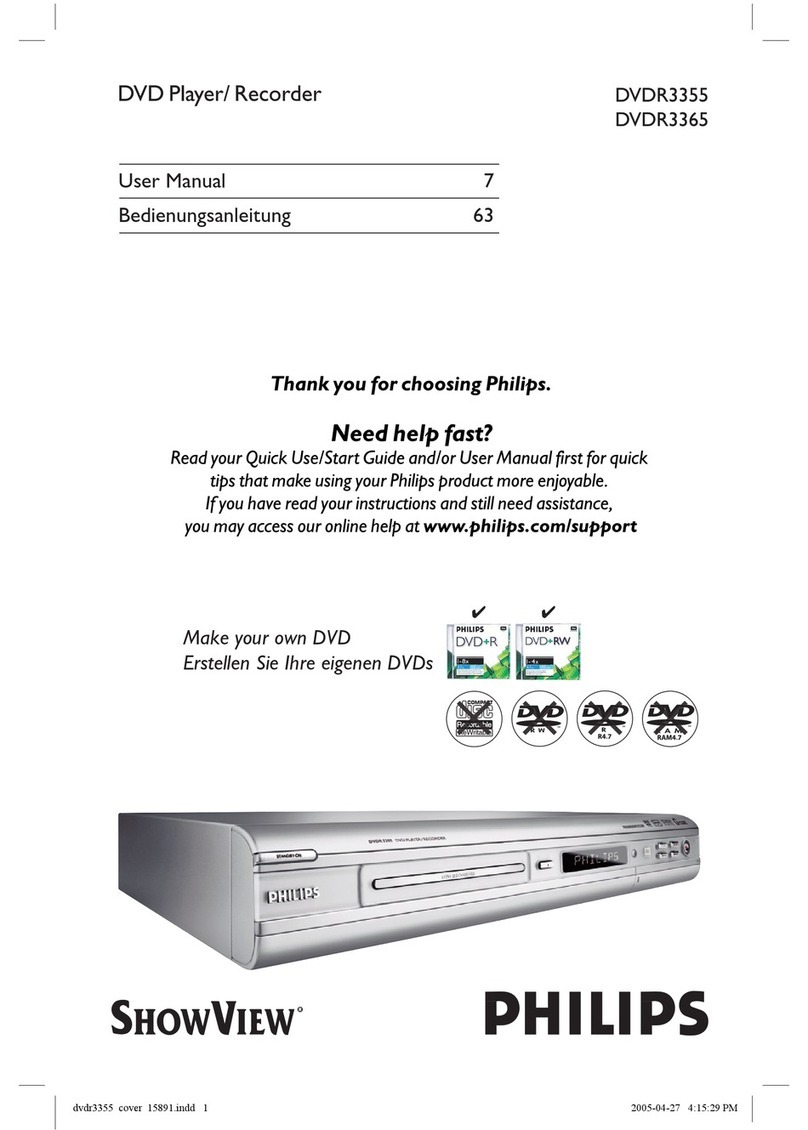
1. Power up the set and open the DVD tray.
2. Insert the prepared upgrade CD-ROM.
3. Close the tray and the set will auto read the disc.
4. Upon recognize the disc, the local display of the recorder will show "SW UPGD". The TV screen will
show a dialog box titled “Disc Upgrade”
5. Note: The set will indicate “Unknown Disc” in the following 2 situations.
- When the software upgrade is not meant for your set (Check the applicable models above)
- Problem with writing of CD-ROM. Try again with a different CD-ROM if possible.
6. Navigate to OK button on TV and press <OK> on the remote control. You can cancel the upgrade at this
point by navigating to CANCEL button on TV and pressing <OK> on the remote control.
7. If you proceed with the upgrade, the local display of the recorder will scroll the message “ SW
UPGRADING”, while a progress bar will be shown on the TV screen.
8. The whole process takes about 1 minute after which, the local display of the recorder shows “SW DONE”
and the dialog box on TV screen indicates successful upgrading. The tray will open as well.
9. Remove the CD-ROM before pressing <OK> on the remote control. The set should close the tray and
restart automatically after about 10 seconds.
10. Note: Do not press any buttons or interrupt the mains supply during the entire upgrading process,
otherwise the set may become defective..
11. Note: Sometimes, the set does not close the tray. Do not be alarmed. Simply press <STANDBY> on the
remote control to wake up the set and the tray will close immediately.
12. It is better to power off and on the set again after software upgrade before using the set.
Proceed to Step 5 if loader software upgrade is needed.
Ste
5 Apply Loader Software Upgrade to your Set
1. Power up the set and open the DVD tray.
2. Insert the prepared loader software upgrade CD-ROM.
3. Close the tray and the set will auto read the disc.
4. Upon recognizing the disc, the local display of the recorder will show "DRV UPG". The TV screen will
show a dialog box titled “Loader Software Upgrade”
5. Note: The set will indicate “Unknown Disc” in the following 2 situations.
- When the software upgrade is not meant for your set (Check the applicable models above)
- Problem with writing of CD-ROM. Try again with a different CD-ROM if possible.
6. Navigate to OK button on TV and press <OK> on the remote control. You can cancel the upgrade at this
point by navigating to CANCEL button on TV and pressing <OK> on the remote control.
7. If you proceed with the upgrade, the local display of the recorder will scroll the message “ DRIVE
UPGRADING”, while a progress bar will be shown on the TV screen.
8. The whole process takes about 4 minute after which, the local display of the recorder shows “DRV
DONE” and the dialog box on TV screen indicates successful upgrading. The tray will open as well.
9. Remove the CD-ROM before pressing <OK> on the remote control. The set should close the tray and
restart automatically after about 10 seconds.
10. Note: Do not press any buttons or interrupt the mains supply during the entire upgrading process,
otherwise the set may become defective..
11. Note: Sometimes, the set does not close the tray. Do not be alarmed. Simply press <STANDBY> on the
remote control to wake up the set and the tray will close immediately.
12. It is better to power off and on the set again after software upgrade before using the set.
Your product is successfully upgraded!
Firmware upgrade history
Firmware Version BT6_4
Release Date Mar 3 2006
This upgrade software improves the following performance:
• MPEG audio decode improvement.
• Solved time display problem.

