Welcome !
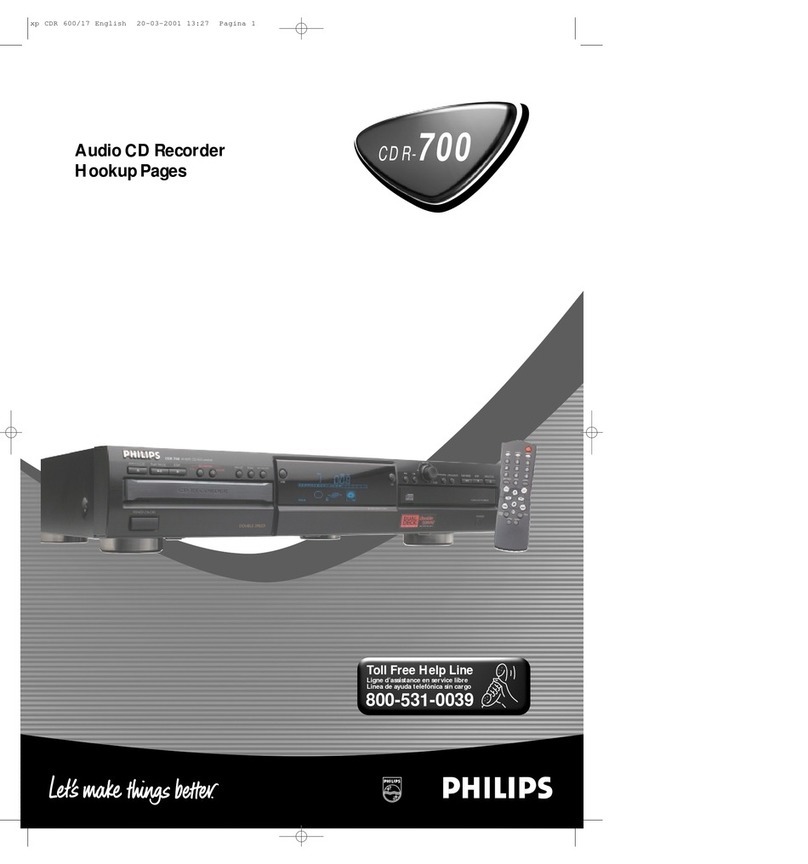
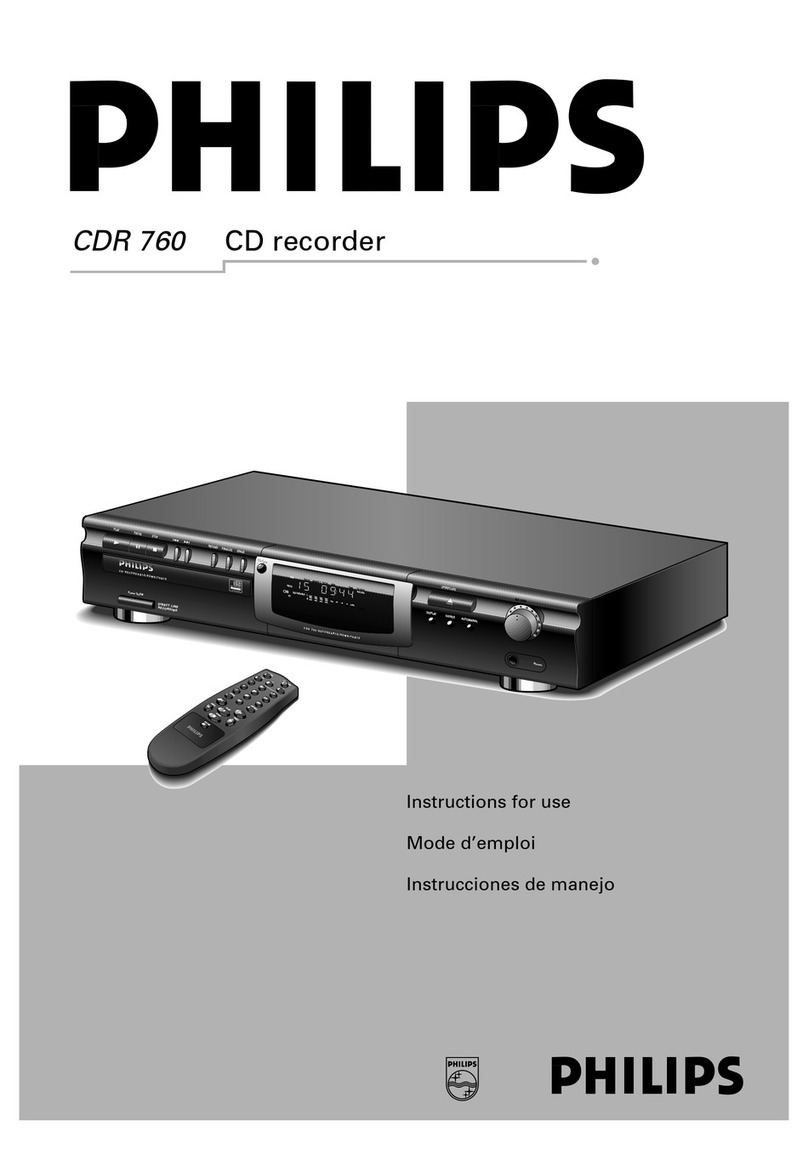
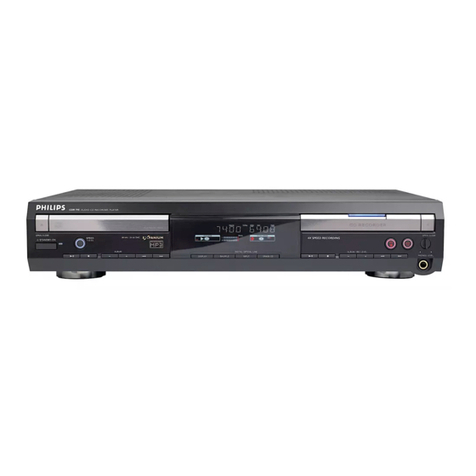
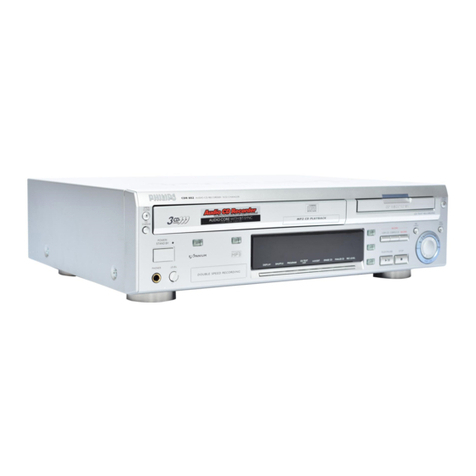
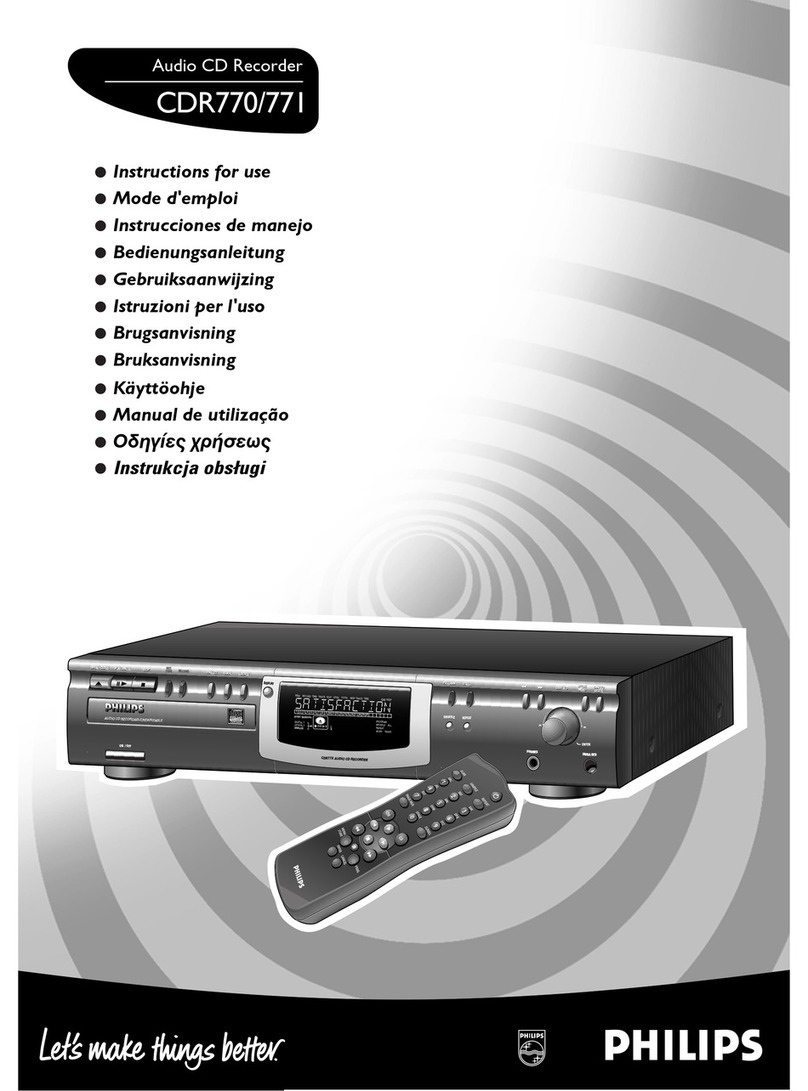
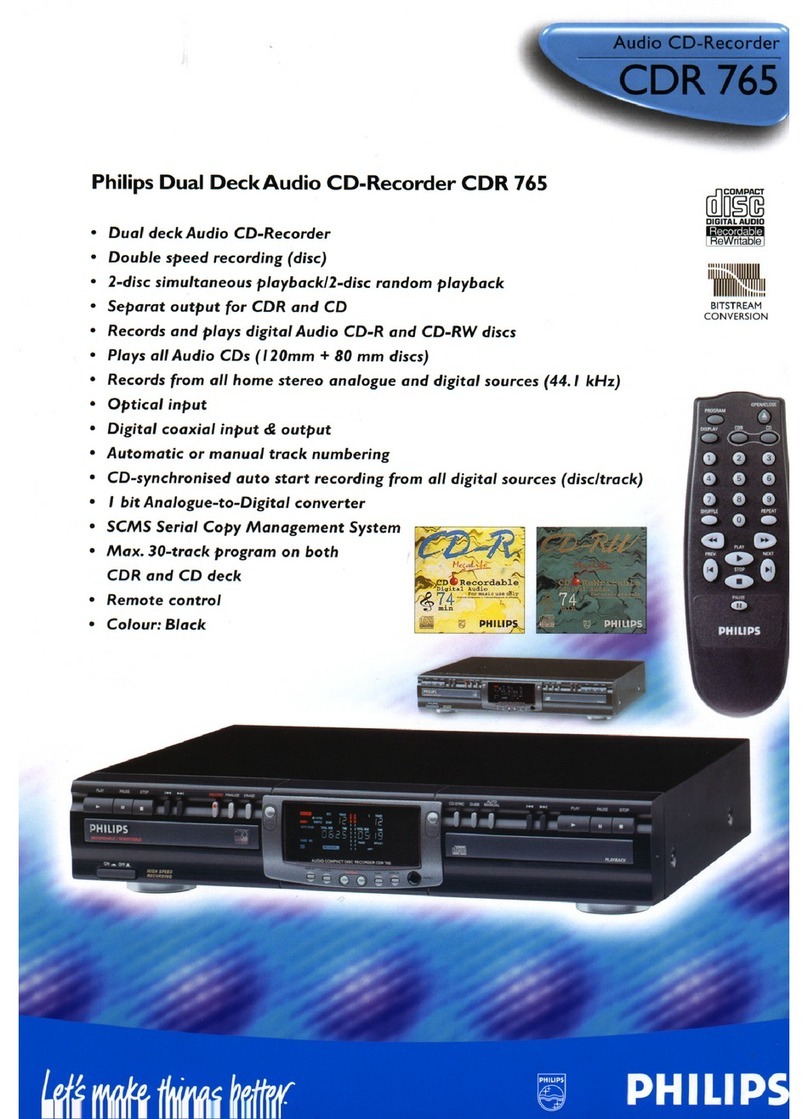
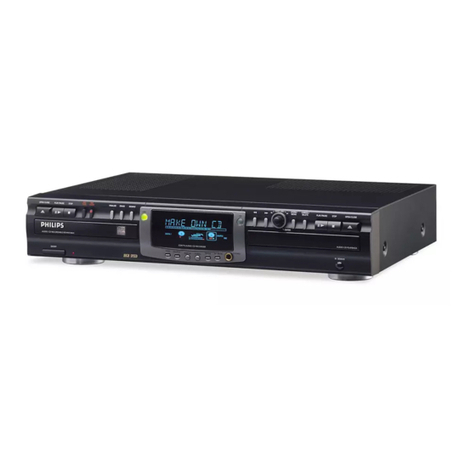
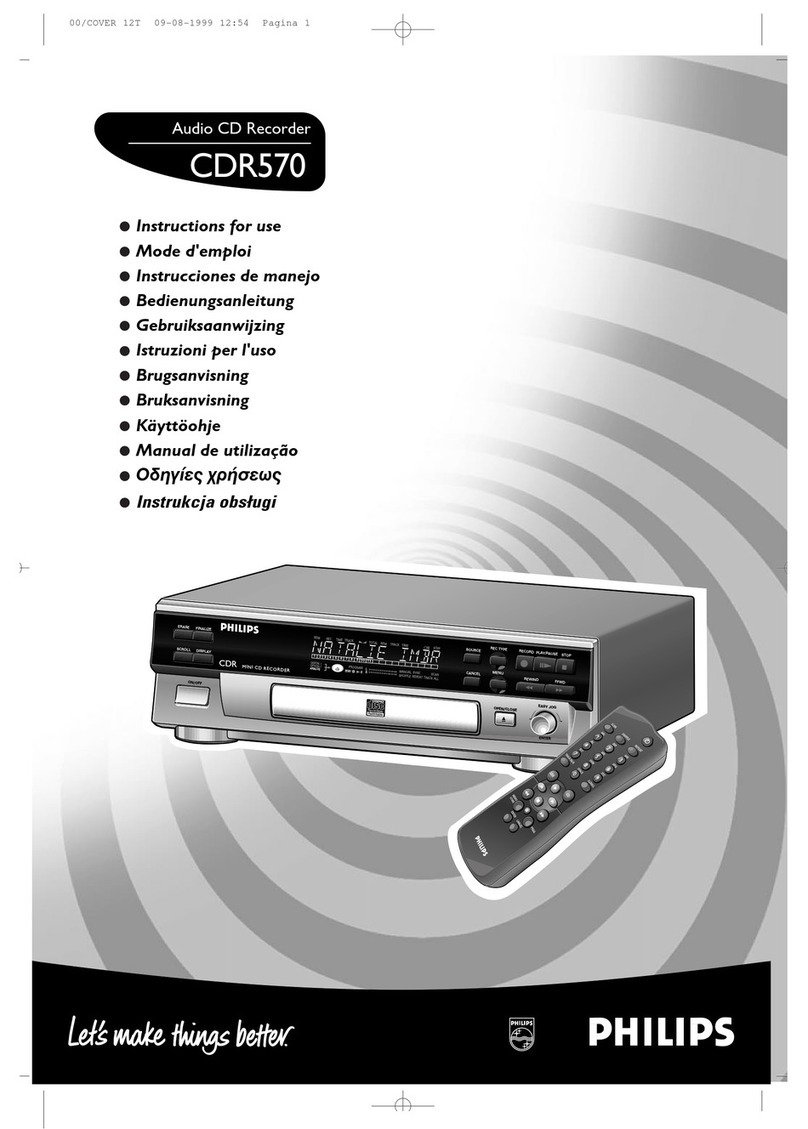
Thank you for buying this Philips Compact Disc Recorder.
In the 1980s Philips invented a new audio system - the CD.
The CD (compact disc) revealed the new dimensions of
digital sound and added to the pleasure of audio.
Compact-disc technology permits a high contrast in both
loud and soft passages, with perfect channel separation.
Philips has now further developed compact disc technology
and the result is the CD recorder.
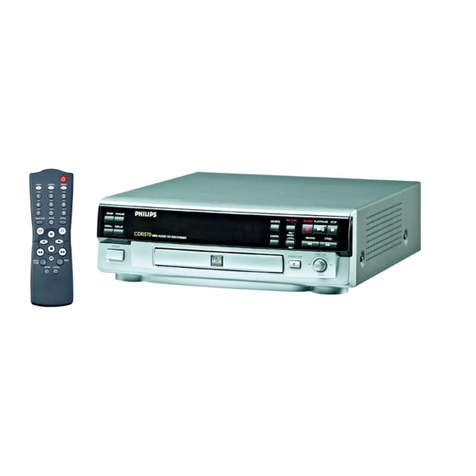
With your Philips CD Recordable/ReWritable Recorder,
you can record, play and erase your own high-quality audio
CDs, subject to legal restrictions on copying. Naturally, you
will also be able to play all pre-recorded audio CDs.
Environmental information
All redundant packing material has been omitted.We have
done our utmost to make the packaging easily separable
into three mono materials: cardboard (box), polystrene
foam (buffer) and polyethylene (bags, protective foam
sheet).
Your CD recorder consists of materials which can be
recycled if disassembled by a specialized company. Please
observe the local regulations regarding the disposal of
packing materials, exhausted batteries and old equipment.
CAUTION
Use of controls or adjustments or performance of
procedures other than herein may result in hazardous
radiation exposure or other unsafe operation.
About this manual
This manual gives instructions for operating this CD
recorder.
Please note:
- the digits (1) throughout the text indicate a sequence of
actions necessary to perform a certain operation;
- the arrows (➜) indicate the reaction from the recorder;
- the dots (0) indicate remarks, advice or special options
within a sequence of actions.The dot-marked instructions
are not necessary for operation.
All instructions in this manual are based on control via the
keys on the CD recorder. If there are corresponding keys
available on the remote control they can be used as well.
Technical data
Subject to modification without notice.
General
Power consumption.....................................................................20 W
Power consumption in Standby ...............................................6 W
Operating temperature........................................................5-35 °C
Weight.................................................................................................4.5 kg
Dimensions .......................................................435 x 310 x 88 mm
Audio
Frequency response.................................................2Hz-22050 Hz
Playback S/N (A-weighted)..................................................100 dB
Playback S/N................................................................................ 100 dB
Playback dynamic range CDR .............................95 dB (90 dB)
Playback dynamic range CD...................................................90 dB
Playback total harmonic
distortion CDR...................................................88 dB = 0.0033 %
Playback total harmonic
distortion CD ......................................................85 dB = 0.0056 %
Channel separation ...................................................................100 dB
Recording S/N (A-weighted).................................................98 dB
Recording S/N digital without SRC...............equal to source
Recording dynamic range.........................................................92 dB
Recording total harmonic
distortion + noise ................................................85 dB (0.0056%)
Laser
Type....................................................Semiconductor laser GaAlAs
Wave length..............................................775-795 nm (at 25 °C)
Output power....................2.5 mW (Read,) 35 mW (Write)
Beam divergence................................................................60 degrees
The type plate is located at the back of the set.
This product complies with the radio interference
requirements of the European Union.
General information
5
English
CAUTION
INVISIBLE RADIATION WHEN OPEN.
AVOID EXPOSURE TO BEAM.
Note:This warning is located inside the enclosure.
xp CDR 775/00.1 english 10-07-2001 13:19 Pagina 5
