onlinecomponents.com
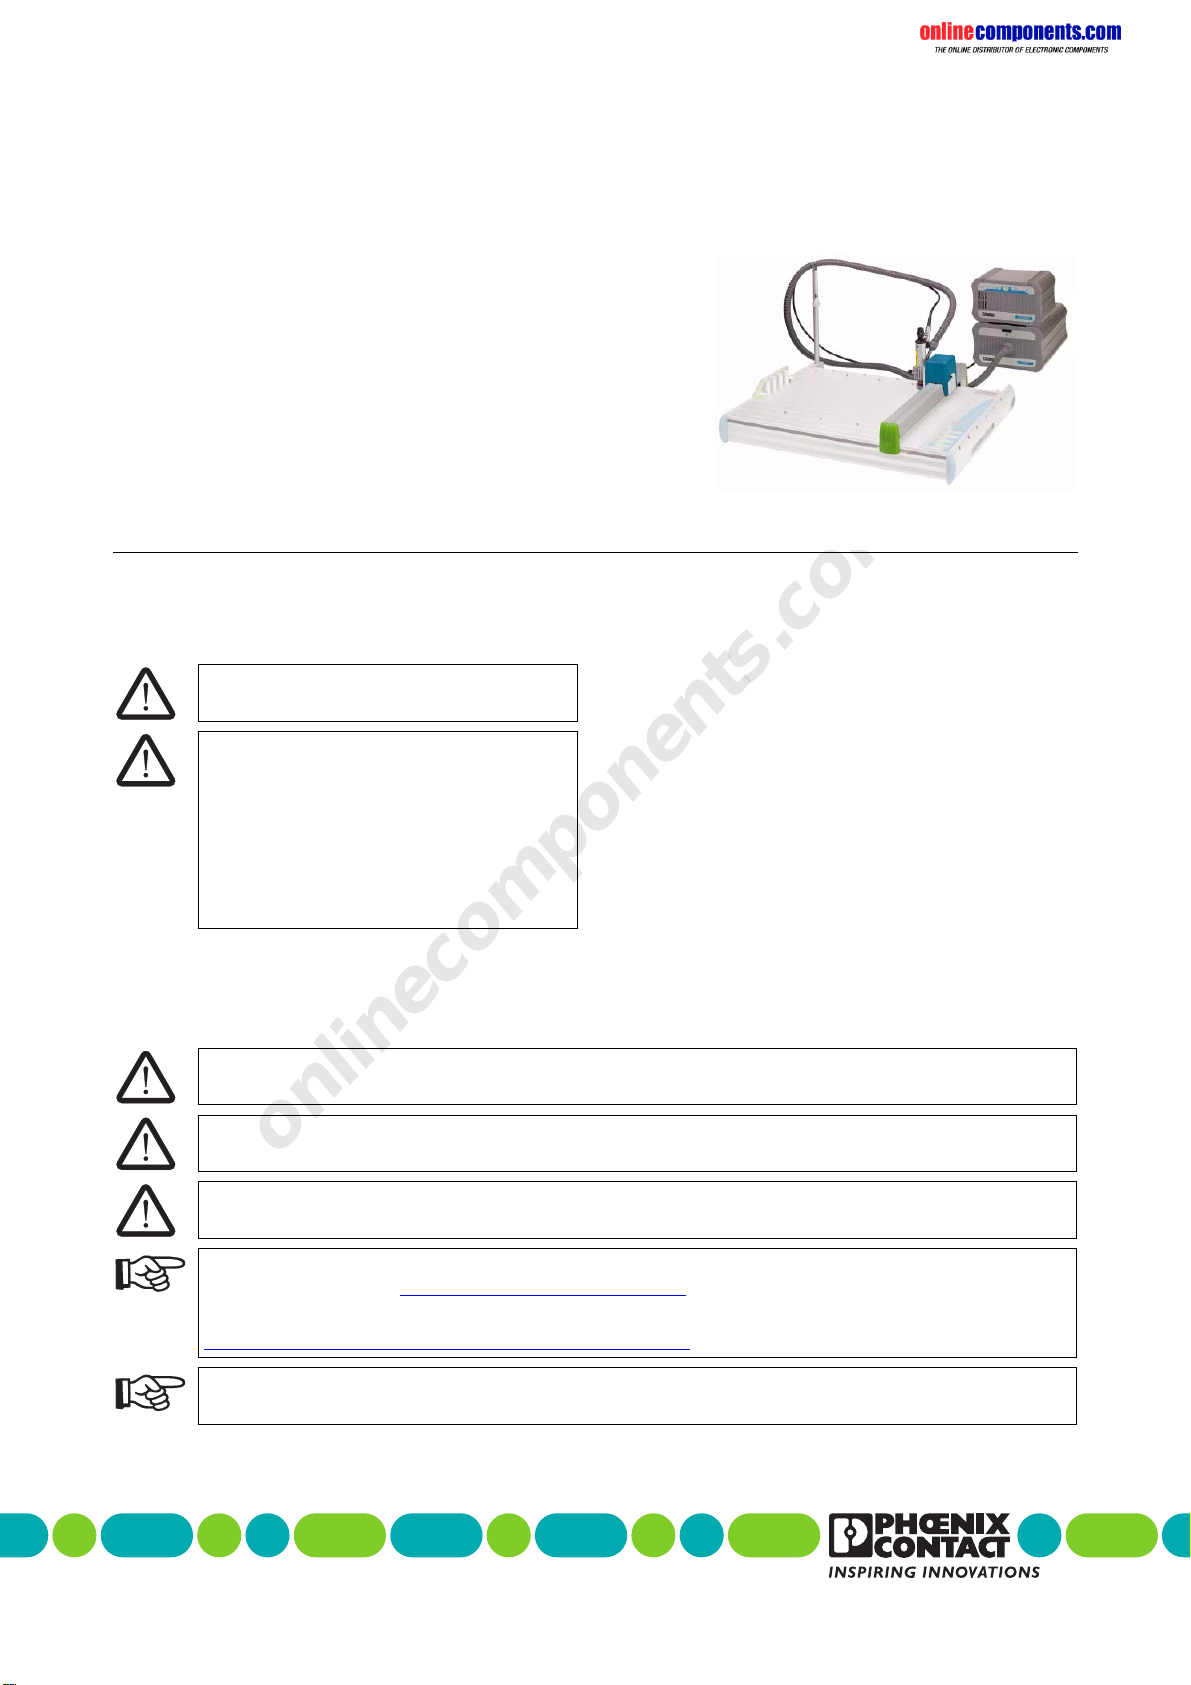
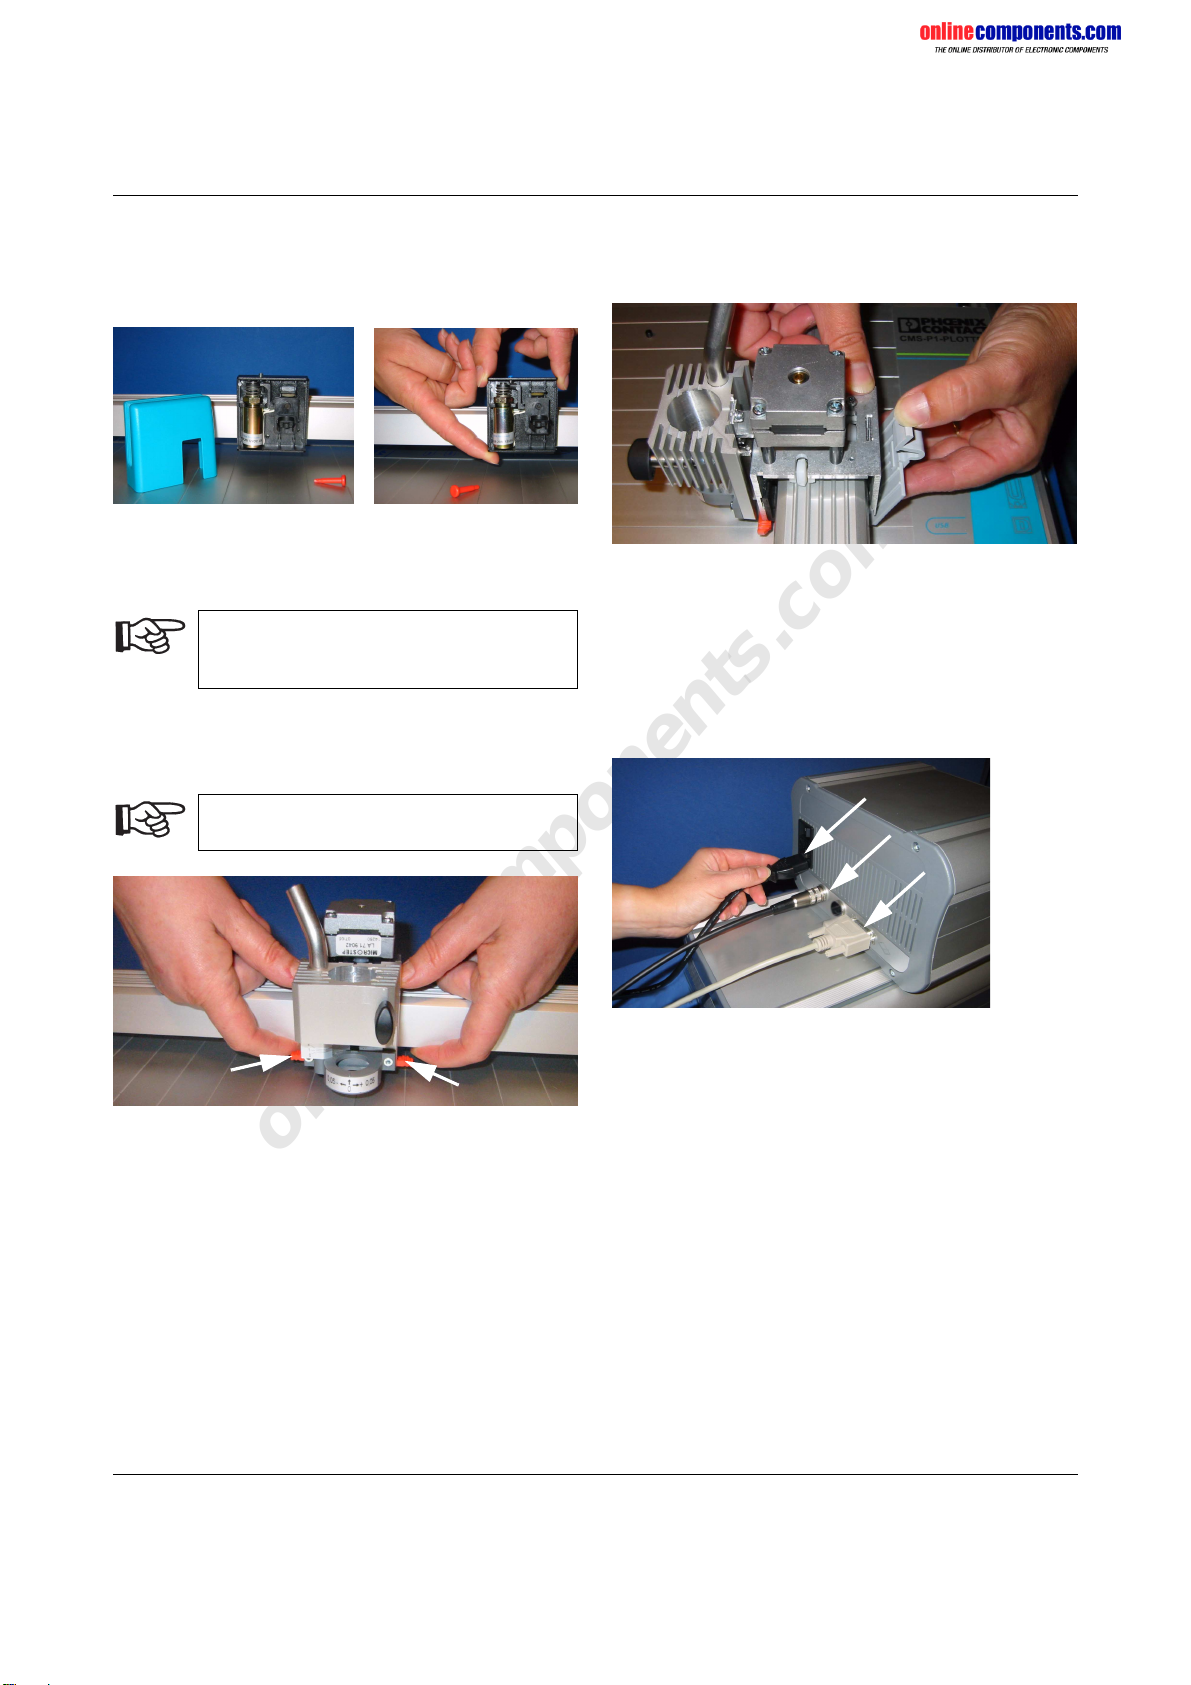
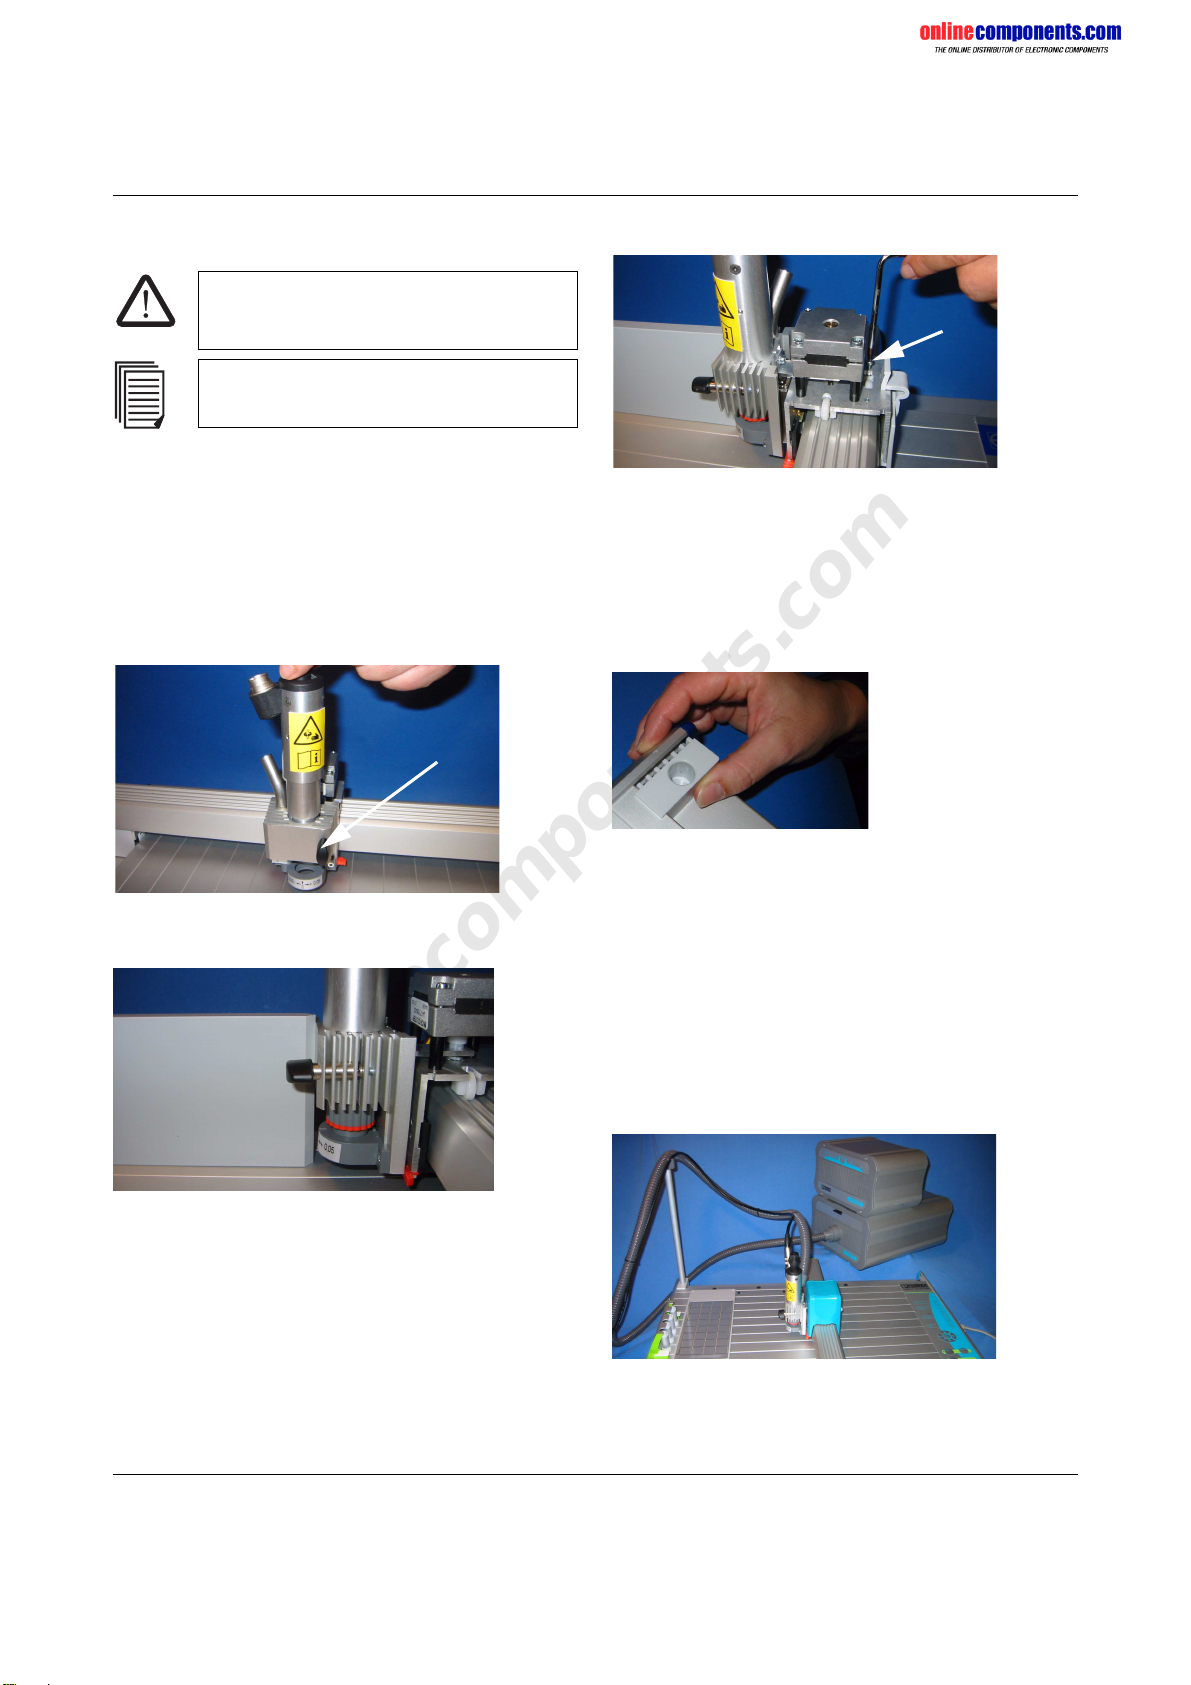
P1 ENGRAVING UNIT
103072_00_en PHOENIX CONTACT 3
Ordering Data
Engraving Unit
Description Type Order No. Pcs./Pck.
Engraving unit for the CMS-P1-PLOTTER P1 ENGRAVING UNIT 5145546 1
Gravers
Description Type Order No. Pcs./Pck.
15° graver, ∅0.2 mm P1 GRAVER 0.2 5145478 1
15° graver, ∅0.3 mm P1 GRAVER 0.3 5145481 1
15° graver, ∅0.4 mm P1 GRAVER 0.4 5145494 1
15° graver, ∅0.5 mm P1 GRAVER 0.5 5145504 1
15° graver, ∅0.7 mm P1 GRAVER 0.7 5145517 1
15° graver, ∅1.0 mm P1 GRAVER 1.0 5145520 1
15° gravers, set comprising the six gravers listed above P1 GRAVER SET 5145533 1
Non-Slip Pads
Description Type Order No. Pcs./Pck.
Plastic magazine for the CMS-P1 plotter with engraving unit
To hold 1 GPE label sheet
CMS-P1-M/GPE ENGRAVING 5145711 1
1 non-slip mat, sufficient for one plastic magazine CMS-P1-M/GPE-PAD 5144880 1
Engraving Material
Description Type Number1Order No. Pcs./Pck.
Plastic label sheet, self-adhesive double-layer plastic labels, material thickness of 0.8 mm, suitable for plotting and engraving
13 mm x 9 mm, square, color: white GPE 13X 9 WH 120 0806932 10
17.5 mm x 12 mm, square, color: white GPE 17,5X12 WH 75 0806916 10
20 mm x 7 mm, square, color: white GPE 20X 7 WH 100 0806990 10
20 mm x 8 mm, square, color: white GPE 20X 8 WH 88 0806945 10
22 mm x 12 mm, square, color: white GPE 22X12 WH 60 0806929 10
22 mm x 22 mm, with rounded corners, radius of 2 mm, color: silver GPE 22X22 SR/R 32 0806628 10
27 mm x 8 mm, with rounded corners, radius of 2 mm, color: silver GPE 27X 8 SR/R 66 0806877 10
27 mm x 8 mm, with rounded corners, radius of 2 mm, color: white GPE 27X 8 WH/R 66 0815198 10
27 mm x 12.5 mm, with rounded corners, radius of 2 mm, color: silver GPE 27X12,5 SR/R 40806880 10
27 mm x 18 mm, with rounded corners, radius of 2 mm, color: silver GPE 27X18 SR/R 30 0806893 10
27 mm x 18 mm, with rounded corners, radius of 2 mm, color: white GPE 27X18 WH/R 30 0815208 10
27 mm x 27 mm, with rounded corners, radius of 2 mm, color: silver GPE 27X18 SR/R 18 0806903 10
28 mm x 17.5 mm, square, color: silver GPE 28X17,5 SR 30 0807889 10
45 mm x 14 mm, with rounded corners, radius of 2 mm, color: silver GPE 45X14 SR/R 26 0807009 10
45 mm x 14 mm, with rounded corners, radius of 2 mm, color: white GPE 45X14 WH/R 26 0815282 10
52 mm x 26 mm, square, color: white GPE 52X26 WH 9 0806958 10
60 mm x 12 mm, with rounded corners, radius of 2 mm, color: silver GPE 60X12 SR/R 21 0806631 10
60 mm x 12 mm, with rounded corners, radius of 2 mm, color: white GPE 60X12 WH/R 21 0807630 10
60 mm x 30 mm, square, color: white GPE 60X30 WH 90806961 10
60 mm x 30 mm, with rounded corners, radius of 2 mm, color: white GPE 60X30 WH/R 9 0815292 10
Special version according to customer requirements (please specify: size of the
individual label, color, and radius. The number of labels depends on the size.)
GPE SO –0807627 10
1Number of labels per sheet
Replacement Parts
Description Type Order No. Pcs./Pck.
Control unit P1 ENGRAVING CONTROLLER 5145698 1
4 A fine-wire fuse for the control unit P1 ENGRAVING FUSE 4A 5145669 1
Vacuum cleaner P1 ENGRAVING VC 5145708 1