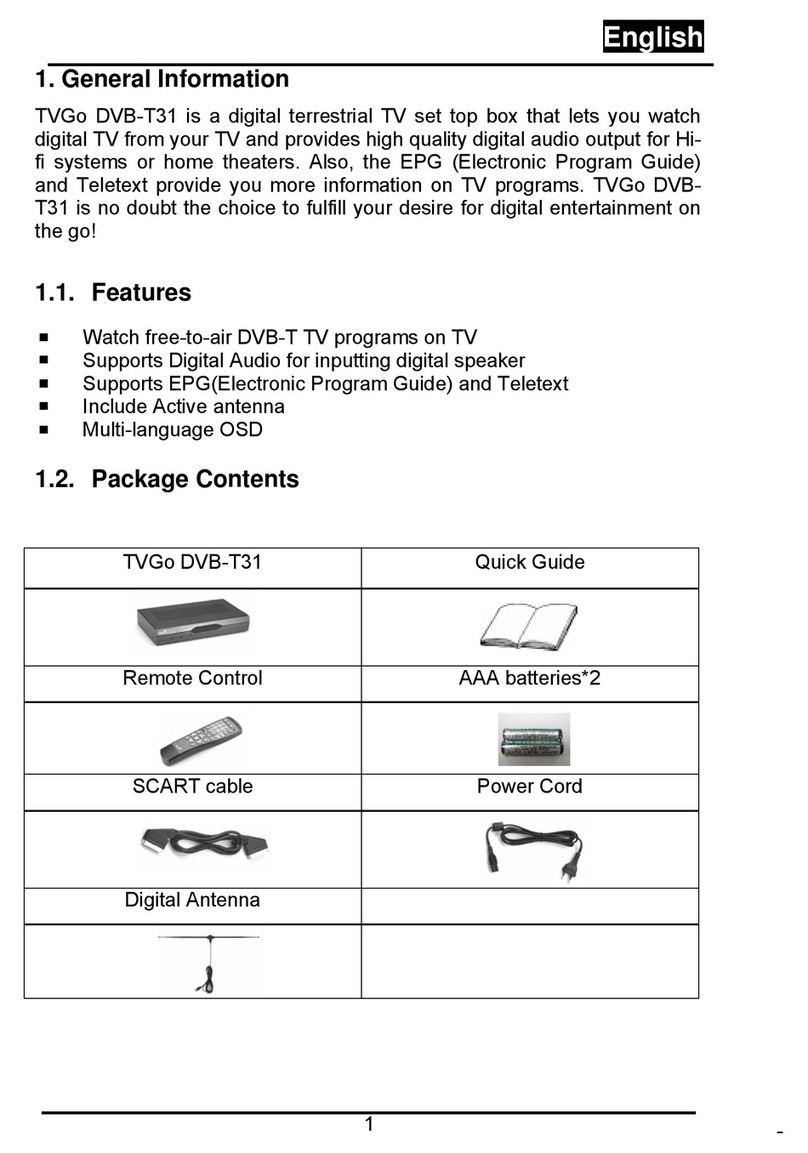
Pinnacle PCTV User manual

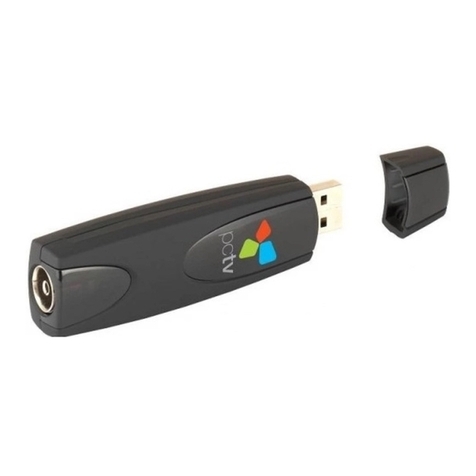
PCTV HD Pro Stick
Quick Start Guide
© 2006 Pinnacle Systems GmbH 41006731

I. Pack Contents
TV tuner stick Portable
antenna
PCTV
Installation CD
Remote
control
Quick Start
Guide
USB extender
cable
Pinnacle
Studio
QuickStart CD
A/V input adapter
PCTV HD PRO STICK is a USB tuner stick for analog (NTSC) and digital (ATSC)
TV reception.
II. Hardware Install
This guide is meant to get you set up and watching TV on your PC in
minutes.
1. Connect the PCTV HD Pro Stick hardware to your laptop or desktop PC using
a USB 2.0 port.
2. If the Windows hardware wizard appears, cancel out of this screen and
continue to the next step.

3. Select your TV connection type from the following options.
Option 1: Antenna (for digital/analog reception)
Connect coaxial cable from your rooftop or the included portable antenna output
to your PCTV hardware input (Ant.).
For digital TV (ATSC) reception, you will get the best results if you connect your
PCTV to a properly adjusted rooftop antenna using double-shielded coaxial
cables and a digital-enabled antenna amplifier. Please contact your local dealer
for rooftop / outdoor antennas optimized for digital TV (ATSC) reception.
The provided telescopic antenna is designed for digital and analog TV reception
in regions with good signal coverage. It is especially suitable for portable
outdoor reception. If you want to use the telescopic antenna, please carefully
read the following instructions:
•Fully extend the antenna, position it upright, as high as possible, and near a
window.
•The antenna should not be placed near a cathode ray tube monitor, television
or similar equipment as the electromagnetic field of such devices might
deteriorate the signal quality.
•In many cases, mounting the antenna on a big metallic surface (e.g. a metallic
cupboard) using its magnetic foot will improve reception.
•Important note: to avoid possible damage caused by the magnetic field
around the antenna’s feet, ensure that the latter is placed at a sufficient
distance from your PC’s hard drive and other components that are sensitive to
magnetic forces.
Please note that the reception of digital TV (ATSC) is dependant on location and
may be impaired by steel-reinforced walls as well as tall neighboring buildings.
In this type of environment, an amplified external/roof antenna is required. It is
generally not possible to receive an ATSC signal while en route (e.g. in a car or
train). Check on http://www.antennaweb.org for information about ATSC
availability in your area.
Option 2: Cable (analog reception)
Connect coaxial cable from your cable jack to your PCTV hardware input (Ant.).

Option 3: Cable or Satellite Set-top Box
A/V Adapter
Compostite Video (RCA)
S-Video or
A/V Adapter
Stereo Audio (3.5 mm)
1. Connect the A/V adapter cable (included) to your PCTV as illustrated above.
2. a) If your set-top box has a free S-Video output, connect the S-Video output
with the S-Video input of the A/V adapter cable.
b) Or: if your set-top box has a free composite video output (RCA), please
connect it to the RCA composite video jack of the adapter cable.
3. Connect the stereo audio outputs of your set-top box with the stereo input
(3.5mm headphone jack) of the adapter cable.
Alternatively, if your set-top box has no free video and audio outputs, connect its
F-connector jack labelled “Out to TV” or “Output” (or similar) to the antenna
input of your PCTV using a coaxial antenna cable (not included). You will not
need the A/V adapter cable for this configuration. This connection type will only
work if the set-top box provides an analog TV signal at the “Out to TV”
connector.
* Note: If possible, use S-Video to ensure the highest picture quality. When
using a set-top box configuration, you will need to use your set-top box remote
to control your channel choices through your set-top box.
III. Software Install
1. Insert the PCTV MediaCenter Installation CD-ROM into your PCs CD or DVD
drive and follow the on-screen instructions.
2. When prompted, enter your serial number. You will find your serial number
printed on the software CD sleeve or on the actual CD.
3. In the Setup Type Window, we recommend choosing the Full Install option for
the complete PCTV experience.
4. Once installation is complete, restart your computer.
5. Please register your software to receive future product updates, 24 hour web
support, downloads and exciting Pinnacle offers.
IV. Pinnacle MediaCenter Setup
1. To begin the Pinnacle MediaCenter set-up, simply follow the on-screen
instructions.
Be sure to “Check now” for the most recent updates when prompted
2. Channel Scan.
a.) If you have connected the included telescopic antenna or an outdoor/rooftop
antenna to your PCTV (Option 1), please select all devices.
b.) If you have hooked your PCTV to your cable jack (Option 2), please uncheck
the digital/ATSC tuner. You will not need to do a digital/ATSC channel scan as
cable does not carry an ATSC signal.
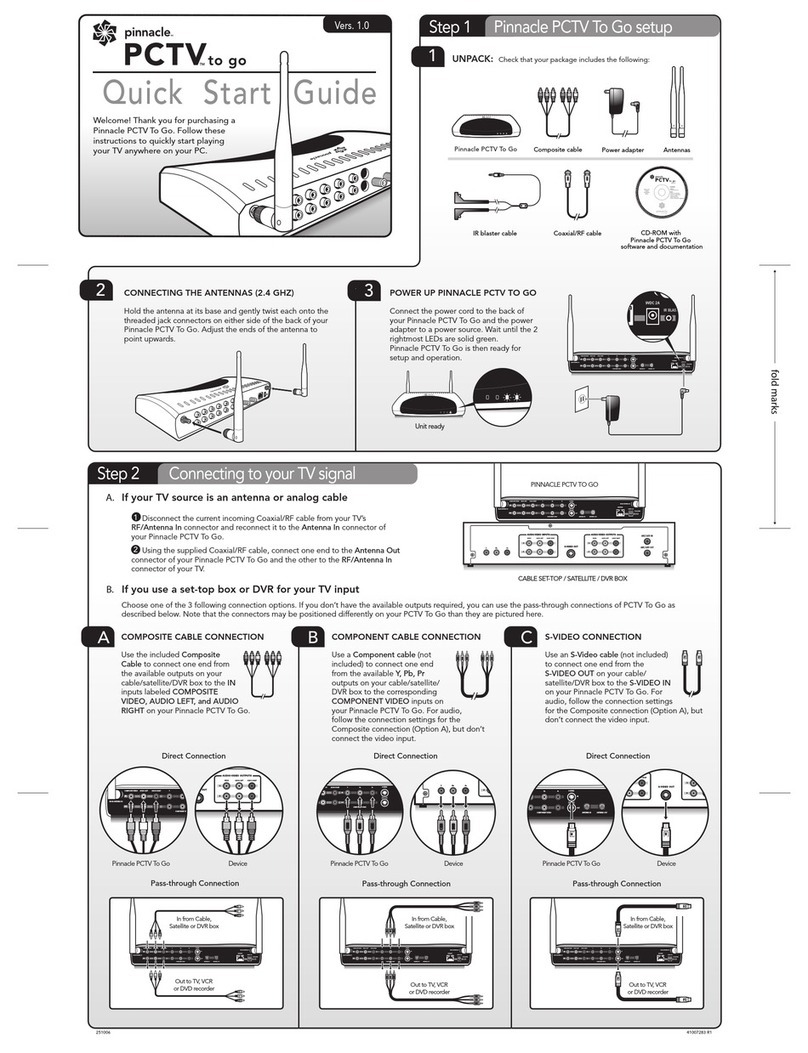
c.) If you have connected a set-top box via the A/V adapter cable (Option 3),
please only select “Internet Radio”.
3. Click “Next” to get to the scan settings dialog. In the “Input Type” drop down
menu, please select the antenna type according to your configuration. You can
leave the other settings at default. Please press “Next” to initialize the scan.
Note: If you are using an antenna configuration (Option 1) and Pinnacle
MediaCenter does not find any digital TV (ATSC) channels, please read the
following:
a.) Check on http://www.antennaweb.org whether ATSC reception should be
possible in your region.
b.) Try to improve the signal reception by repositioning or changing the antenna
(see II. Option 1).
c.) After having finished the Pinnacle MediaCenter set up wizard, repeat the
channel scan: double-click the Pinnacle MediaCenter Settings icon on your
desktop. Go to TV Channels and press the “Scan” button.
4. The results of the channel scan will appear in the Available TV Channels list.
By dragging and dropping channels to My Favorite TV Channels, you can
organise the channels according to your preference. In the My Favorite TV
Channels box, you can also sort or rename channels. Double-clicking on a
channel name will start the preview of the respective channel.
When using a set-top box configuration (Option 3): once having opened Pinnacle
MediaCenter, you will want to click on the Channel Name/Number field to pull up
the channel list. Select S-Video or Composite video feed at the bottom of this list.

V. Enjoy your TV application (Pinnacle MediaCenter)
PCTV is an all-in-one entertainment solution for the modern world. Now you can
record your favorite shows and watch them anytime you like. Pause and rewind
live television with the unique TimeShifting features.
Use the Electronic Program Guide (EPG) to turn PCTV into your automated
personal digital video recorder. You’ll even be able to watch your recorded
shows away from home on your laptop, DVD player, iPod and PSP. The first
time MediaCenter is accessed, you will see the Media Player as shown below.
To access your channel list, click on the Channel Name/Number Field. This
channel list also provides you with the option of connecting to your S-Video or
Composite video channels.
- Use the top navigation icons to access other PCTV features.
- Use the bottom navigation for TimeShifting controls.

VI. Additional Information
Using the Pinnacle PCTV Remote Control
This reference diagram displays the various functions of the PCTV remote
control. For more in-depth information, you can find the Remote Control
User Guide by opening your Windows start menu and going to:
Pinnacle MediaCenter > Help >Remote Control
On / Off
Channel +
Channel -
Input buttons 0-9
Full Screen
Sound On/Off
Volume +
Volume -
Start Page / Menu
Rewind
Playback / Pause
Start Recording Help
Stop
Fast Forward
Advanced Features
Your MediaCenter software comes with a handy User Guide that will show you
how to enrich your PCTV experience by using advanced features. To access this
document, open your Windows start menu and go to:
Pinnacle MediaCenter > Help >User Guide
Support
Are you in need of further assistance ? We´re happy to help you. For 24 hour
product support, call 1-650-267-5196 or visit www.pinnaclesys.com/Support. You
can also find useful documentation, by opening your Windows start menu and
going to:
Pinnacle MediaCenter > Help > Service & Support
Pinnacle Studio QuickStart overview
Pinnacle Studio QuickStart allows you to edit your home movies and transfer
them to DVD, complete with custom menus and soundtracks.
For optimum capture results, please use Pinnacle MediaCenter for capturing
(from e.g. your camcorder): click on the Channel Name/Number field to pull up
the channel list. Select S-Video or Composite video feed at the bottom of this list.
Then press the record button to start capturing.
You can then edit the captured file in Pinnacle Studio QuickStart.
To install the Pinnacle Studio QuickStart software, insert the CD-ROM into your
PC’s CD or DVD drive and follow the on-screen instructions. Be sure to register
your software for product support, exciting downloads, and more.
For Studio QuickStart support and documentation, open your Windows start
menu and go to Studio QuickStart > Help. If you are in need of further assistance,
call our product support line at 1-650-267-5196 or visit us online at
www.pinnaclesys.com/StudioQSsupport.

VII. Appendix: Installation for usage with Windows MCE
If you have a PC equipped with Microsoft® Windows® Media Center Edition
2005 (MCE) and want to watch and record TV using the Windows Media Center
application, please follow these steps (after having installed the hardware as
described):
1. Make sure you have installed the latest Windows updates.
2. Make sure a MCE certified DVD player software is installed on your PC.
3. Run the PCTV_MCE2005_Setup.exe installer from the MS MCE2005 folder on
the Pinnacle MediaCenter installation CD.
4. Follow the steps of the installation wizard.
5. Please reboot your PC if prompted to do so.
6. Open the Windows Media Center application by double-clicking on the desktop
icon (or via Start – Programs – Media Center).
7. Go to Settings – TV – Set up TV signal and follow the instructions of the TV
configuration wizard.
8. If the automatic TV source selection does not detect your TV signal, please
choose “manual” and select the TV connection type that is appropriate to your
configuration.
Note: The included remote control is not compatible with MCE; you will need a
specific MCE remote control kit (separately available, please check on
http://www.pinnaclesys.com).
FCC conformity statement
The FCC declarations of conformity and identical construction for this product
can be downloaded from http//www.pinnaclesys.com/compliance.
Other manuals for PCTV
2
Table of contents
Other Pinnacle TV Tuner manuals

Pinnacle
Pinnacle PCTV Quatro Stick 510e User manual

Pinnacle
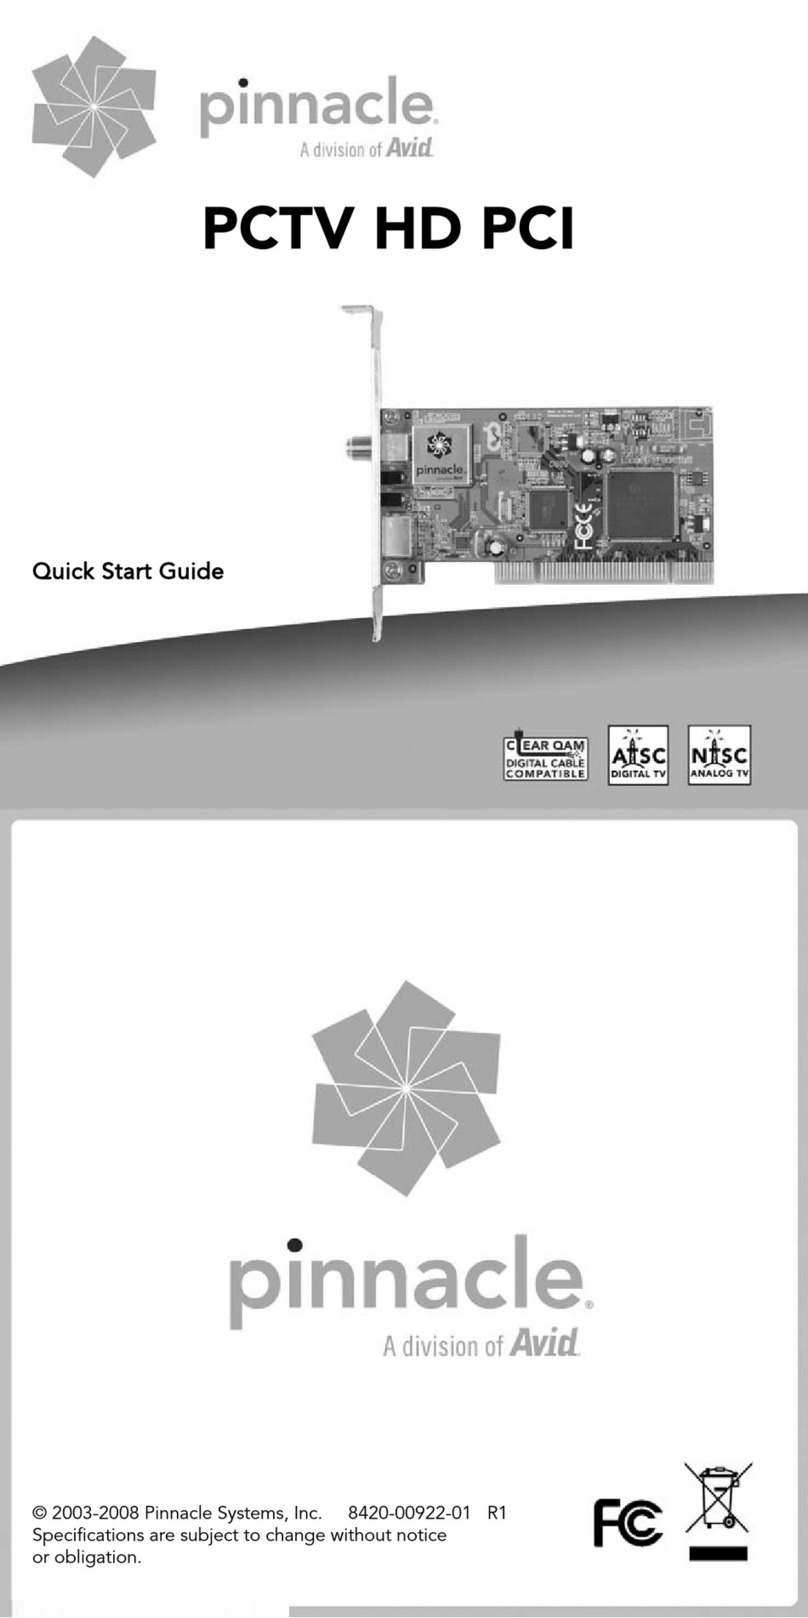
Pinnacle PCTV HD PCI User manual

Pinnacle
Pinnacle PCTV 100E User manual

Pinnacle
Pinnacle PCTV 60E User manual

Pinnacle
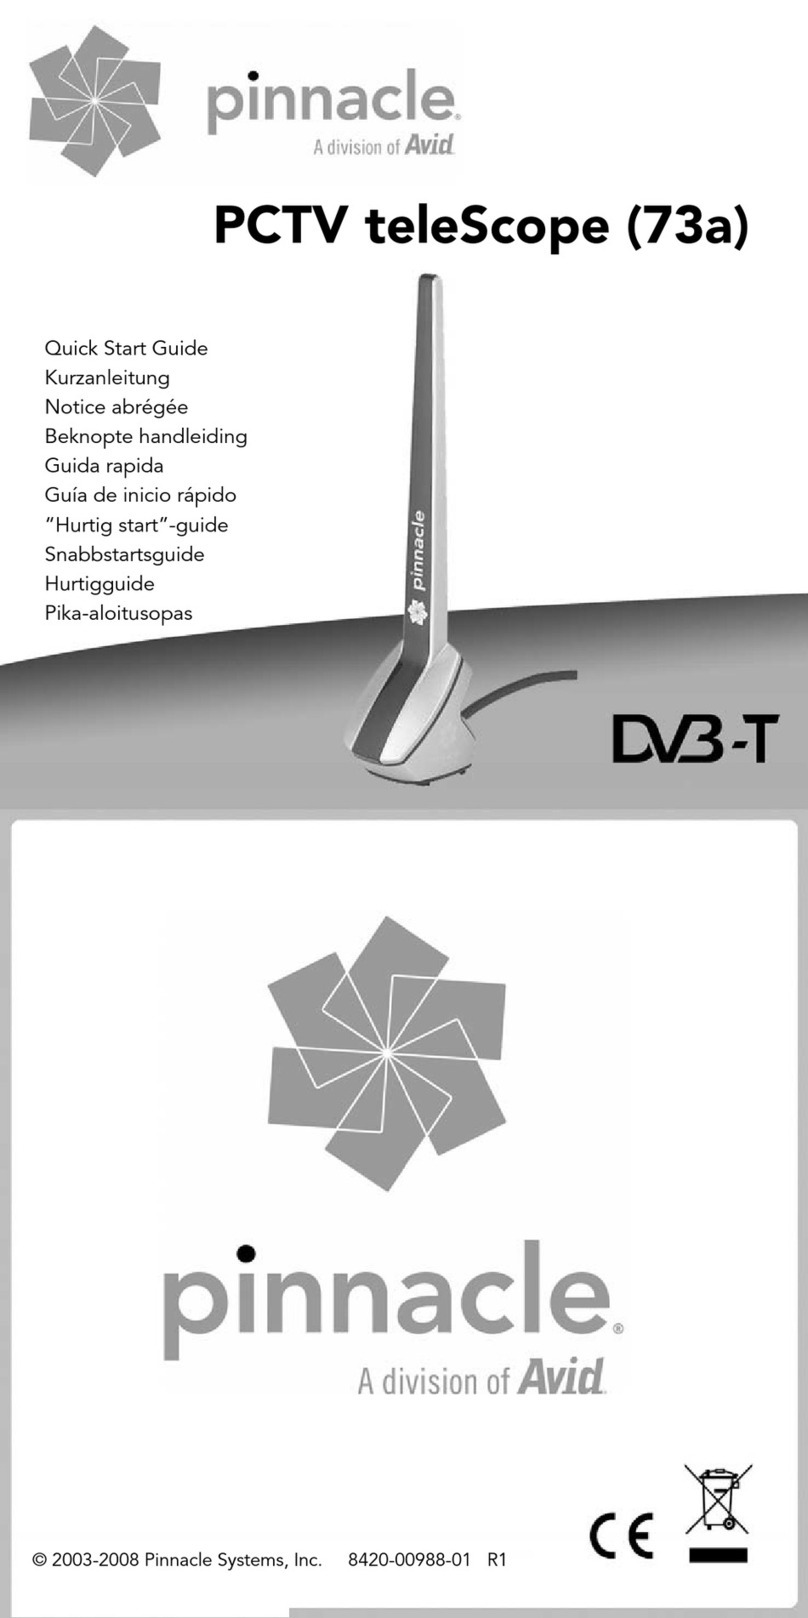
Pinnacle PCTV teleScope 73a User manual

Pinnacle
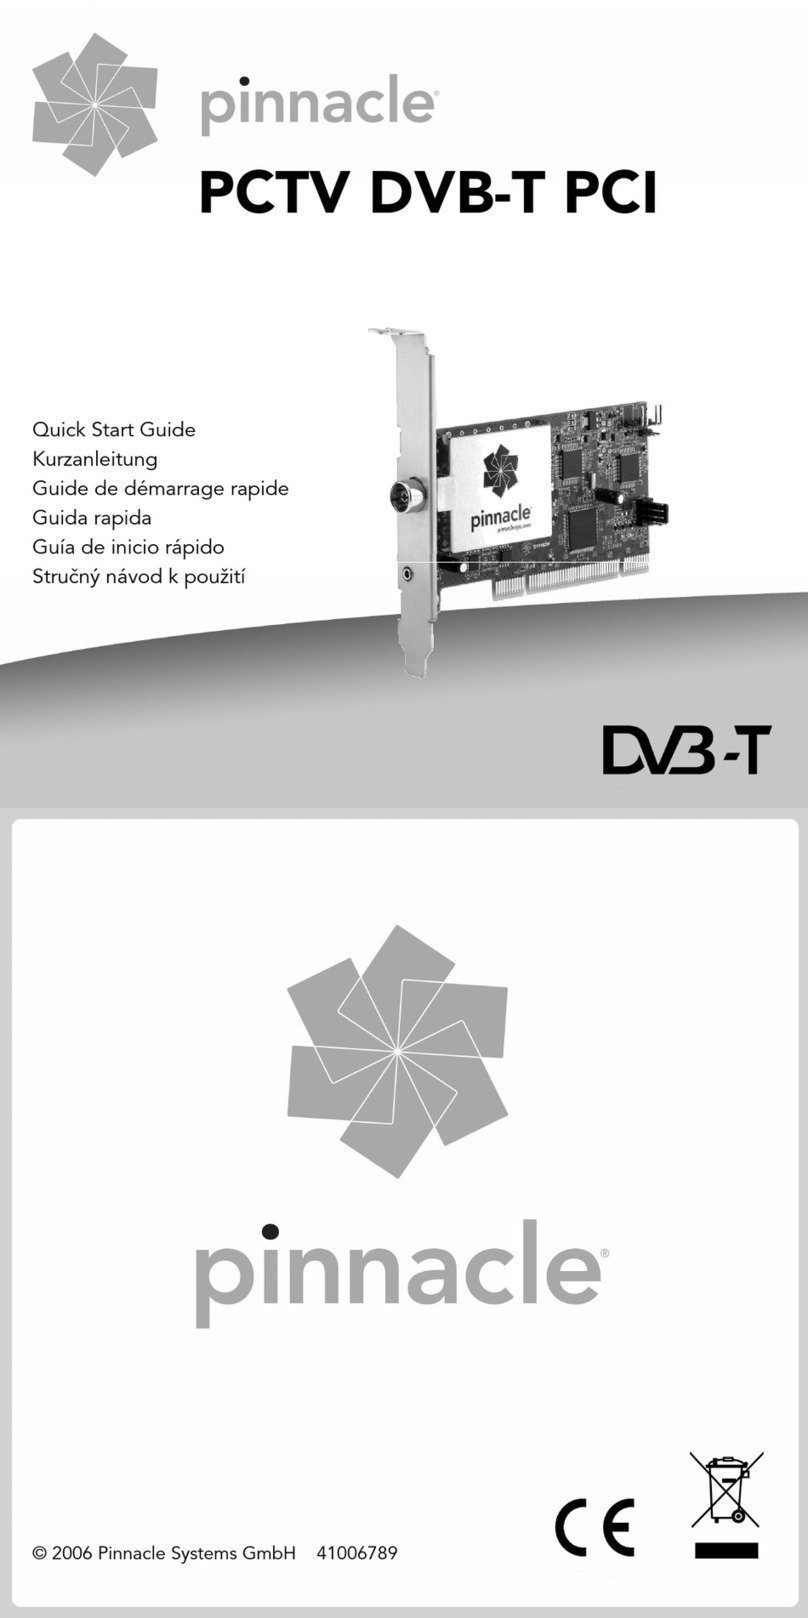
Pinnacle PCTV DVB-T PCI User manual

Pinnacle
Pinnacle PCTV 100I User manual

Pinnacle
Pinnacle PCTV Analog (Pro) USB 150e User manual

Pinnacle
Pinnacle PCTV To Go User manual

Pinnacle
Pinnacle PCTV HDTV Sat Pro USB Assembly Instructions