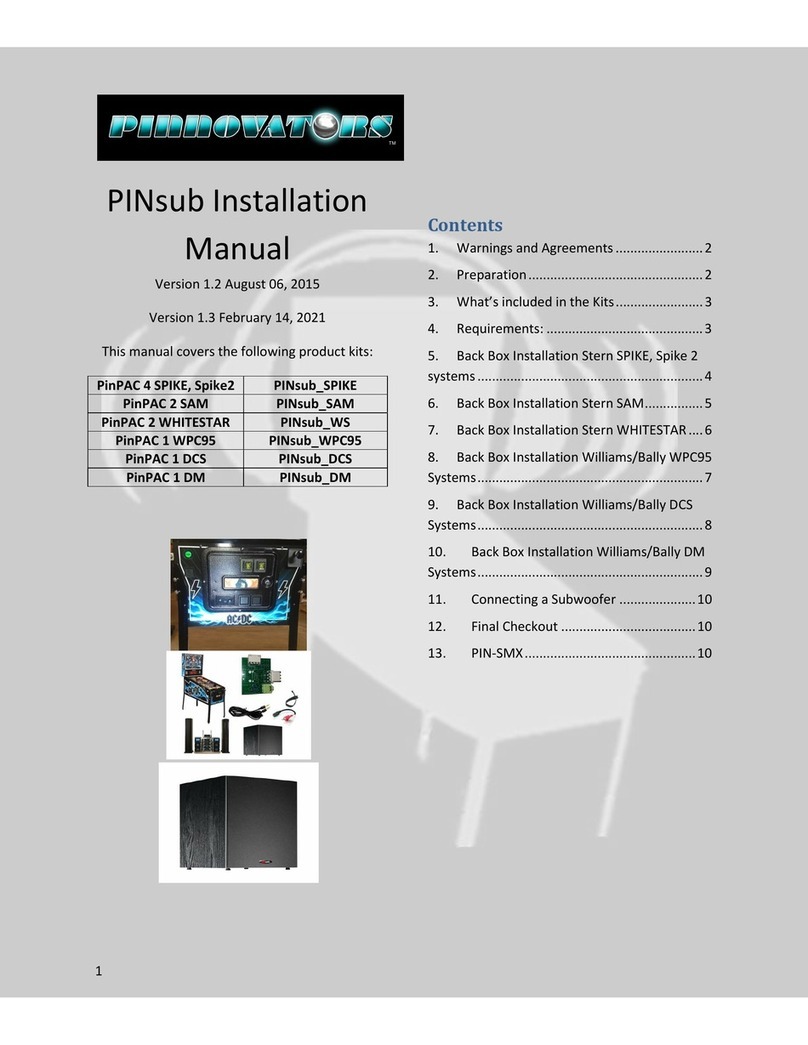
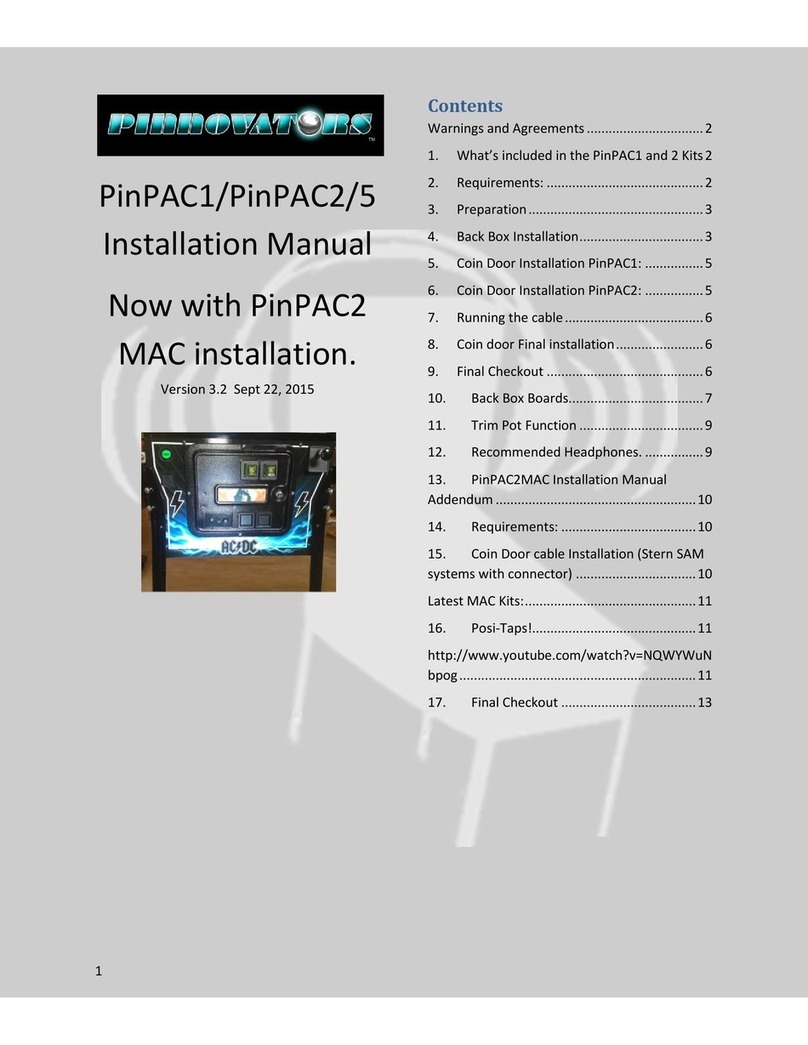
Pinnovators PinPAC 12 User manual

1
PinPAC 12
Installation Manual
for
Stern Home Edition
Machines
330.205.00
Version 1.1 July 04, 2023
Contents
...........................................................................1
Warnings and Agreements ................................2
1. What’s included in the Kit..........................3
2. Requirements ............................................4
3. Preparation................................................4
4. Back Box Installation..................................5
5. Running the cable through the main
cabinet...............................................................8
6. Front door Preparation............................12
7. Installing the PinPAC 12 Control Board ...13
8. Reassembly..............................................14
9. Setup Menu Adjustments........................15
Setup Menu Part 1...................................15
Setup Menu Part 2...................................17
10. Headphone Setup................................18
11. Closing Statements..............................19

2
Warnings and Agreements
Welcome! The PinPAC Pinball Personal Audio Controller has been designed for simplicity of installation! As with
any pinball machine modification and add on kit there is a required level of expertise for the installation. If you are
not proficient in basic pinball parts installation, we recommend having our kit installed by someone who is
proficient with the basics of pinball repair. Pinnovators requires our kit to be installed by an experienced pinball
service technician with basic electrical skills. As with any electrical piece of equipment a danger does exist and you
must agree not to hold Pinnovators responsible for any injury, damages, etc. before continuing.
Sound Levels: Pinnovators recommends running your headphone sound level at a safe level to prevent long term
hearing loss. For a good example of recommended sound levels, we recommend following suggestions given by
major audio equipment manufacturers such as Apple and their iPod.
phys.org/news80304823.html
www.macworld.com/article/1060274/hearingprotection.html
ESD: We recommend always discharging the headphone cable by touching it to an exposed metal part of the
pinball machine before plugging it into the machine.
Power Cord: ALWAYS UNPLUG THE POWER CORD for safety when working on your pinball machine!
Playfield Propping: Pinnovators highly advises following playfield propping instructions for your pinball machine.
These instructions are typically found inside the Operators Manual for each machine. Failure to follow these
instructions can cause fatal injuries or even death. Pinnovators also recommends having an assistant hold a
propped playfield in the up position when servicing under the playfield.

3
1. What’s included in the Kit
Item
Part Number
Picture
PinPAC 12 Front
Panel Assembly
310.205.000
Knob, Matte Black
465.010.000
Cable
600.057.000
PinPAC Hardware
Kit
600.062.000
PINpeg Round Poly
340.008.000
CABLE TIE 2.8"L
450.007.000
Hex L-Key, 1/16"
520.004.000
Knob Spacer Tool
520.005.000

4
2. Requirements
A. The Pinnovators PinPAC 12 for Stern Spike 2 Home Edition pinball systems requires a coin door with two
plugged holes as shown below.
B. Tools: An 11/32 inch and a ¼ inch nut driver.
3. Preparation
Unplug the pinball machine!

5
4. Back Box Installation
Remove the backglass. Store the glass in a safe location.
Uncoil the included interface cable. This cable has two connectors on it.
Cable End
Plugs into
Picture
5-Pin
Front Headphone Interface Panel
7-Pin
CN3 on the CPU board

6
Plug the 7-pin connector into the CN3 male pin header on the Spike 2 CPU board. NOTE: Pinnovators PinSUB Spike
subwoofer board will work perfectly with your installation!

7
Run the cable under the two cable clamps. No need to remove the cable clamp, just tug on the top of it to open it.
Run cable under the second cable clamp and then drop the remaining cable into the main cabinet.

8
5. Running the cable through the main cabinet
Remove the playfield glass and lift the playfield as shown. REMOVE THE PINBALLS ! Run the cable
through the cable clamps as shown below. Leave any leftover cable slack neatly here so the cable will
not get stretched when the back box is folded down.
Run the cable through the hole in the protective safety cover.

9
Place the cable under the front cable clamp as shown below.

10
Thread the cable through the Expando braided sleeving as shown. Cut the cable tie to open the end of
the Expando Sleeving. Optional: You can run the Pinnovators cable next to the sleeving.

11
Secure the cable to the door wire harness. There are two possible ways. You can snip the cable tie on
the mounting pads and then resecure the cable harness with the new Pinnovators cable using the
included cable ties.
OR
Secure the Pinnovators cable to the wiring harness using the included cable ties (not shown).
Don’t fully tighten the cable ties until after the Pinnovators control panel is wired.

12
6. Front door Preparation
Remove the two coin door plugs using pliers as shown below. Store the plugs inside the machine using
one of the leftover Pinnovators shipping bags in case you want them someday and also to keep them
away from small children.

13
7. Installing the PinPAC 12 Control Board
Install the two standoffs on the PEM studs as shown below. Use a ¼ inch nut driver or a wrench to
gently tighten the standoff. DO NOT OVER TIGHTEN or you could break off the stud.
Insert the Pinnovators control panel board over the two standoffs.
Fasten the board to the standoffs using the two included lock nuts. Use an 11/32 socket to gently
tighten the nuts. Make sure the headphone jack extends out of the hole on the front door before
tightening the nuts!

14
Insert the Pinnovators cable into the keyed connector on the back of the control panel. Fasten the wire
ties completely now.
Place the included knob spacer guage tool over the volume shaft and then line up the volume knob so
the hole with the tightening set screw is over the flat part of the volume control.
Use the included hex key to secure the knob. Remove the spacer guage tool.
8. Reassembly
Lower the playfield and reinstall the pinballs. Reinstall the playfield glass.

15
9. Setup Menu Adjustments
Power up your game!
The following screen shots were taken on an Aerosmith LE using V1.10.0 SYS 3.01.0 OS 2.06.0. Your menus may be
different.
There are two menu sections we will need to adjust now that the headphone kit is installed. Beware! You may
need to power cycle the machine to get a menu setting to work properly! You can make the setting, but it may not
fully work until the power is cycled or the game menu is entered and exited a few times.
Setup Menu Part 1
Go into the Service Menu and navigate to the ADJ menu and then Standard Adjustments.
Go to “Front Volume Knob” (menu #79 on Aerosmith)
For home use games, keep this setting on default so you can use the headphone knob to control the
games volume when the headphones are not plugged in.
For games on location, set to “HEADPHONES VOL. ONLY”. This setting prevents the customer from
adjusting the games volume.
Next advance to “MUTE IF HEADPHONES DETECTED”. This setting causes the max volume of the headphones to
behave differently!

16
If set to “YES”:
Headphone volume can go extremely high! Be careful! The headphone max volume will be discussed in
the next setting section. Set to “YES” for home use.
If set to “NO”:
The headphone volume will max out at about 43/44 and will also depend on what the game volume is set
to! Set to “NO” if the machine is on location.
Menu items #18 and #82 can be changed if desired. The defaults are shown below.

17
Setup Menu Part 2
Navigate to the “UTIL” menu then the “VOL” menu.
Not all Spike 2 machines will have the same menu! The VOL menu is not numbered so it makes it difficult to
navigate. Scroll through the VOL menu to become familiar with the menu items.
Menu item “ADJUST HEADPHONE VOLUME” is basically the same menu that the PinPAC 12 volume control adjusts.
No need to touch this menu.
Navigate to the “ADJUST MAX VOLUME LEVEL”. See the table below for setting.
“ADJUST MIN HEADPHONE VOL LEVEL” can be left a 0 (Default)
Exit the setup menu and you are now ready to play your game!
Menu #80
Mute if HP Detected set to:
The set Max level to:
YES
45 or less
NO
63

19
11. Closing Statements
We appreciate your business!
Thank you for purchasing our products. We try our best to make pinball products that we find useful and
sell them for a fair price. We keep our eyes open for useful pinball product ideas, we are pinball people
too!
Warranty and repairs:
Pinnovators will stand behind everything we sell. If our product ever fails, contact us and we will make it
right! (Even if you didn’t make the original purchase or you break our product).
Contact Us:
Please contact us with any ideas or suggestions for making our products better!
Thanks,
The Pinnovators team
Table of contents
Other Pinnovators Arcade Game Machine manuals
Popular Arcade Game Machine manuals by other brands

RHINO PLAY
RHINO PLAY MO1632F Assembly instructions

Coastal Amusements
Coastal Amusements NEXUS owner's manual

Adrenaline Amusements
Adrenaline Amusements Blackout Prize BO-46-1001 Operation & service manual

ELAUT
ELAUT Big One X-treme manual

Home Leisure Direct
Home Leisure Direct ARCADEPRO Saturn 2 user manual

Universal Space
Universal Space LANE MASTER Operation manual