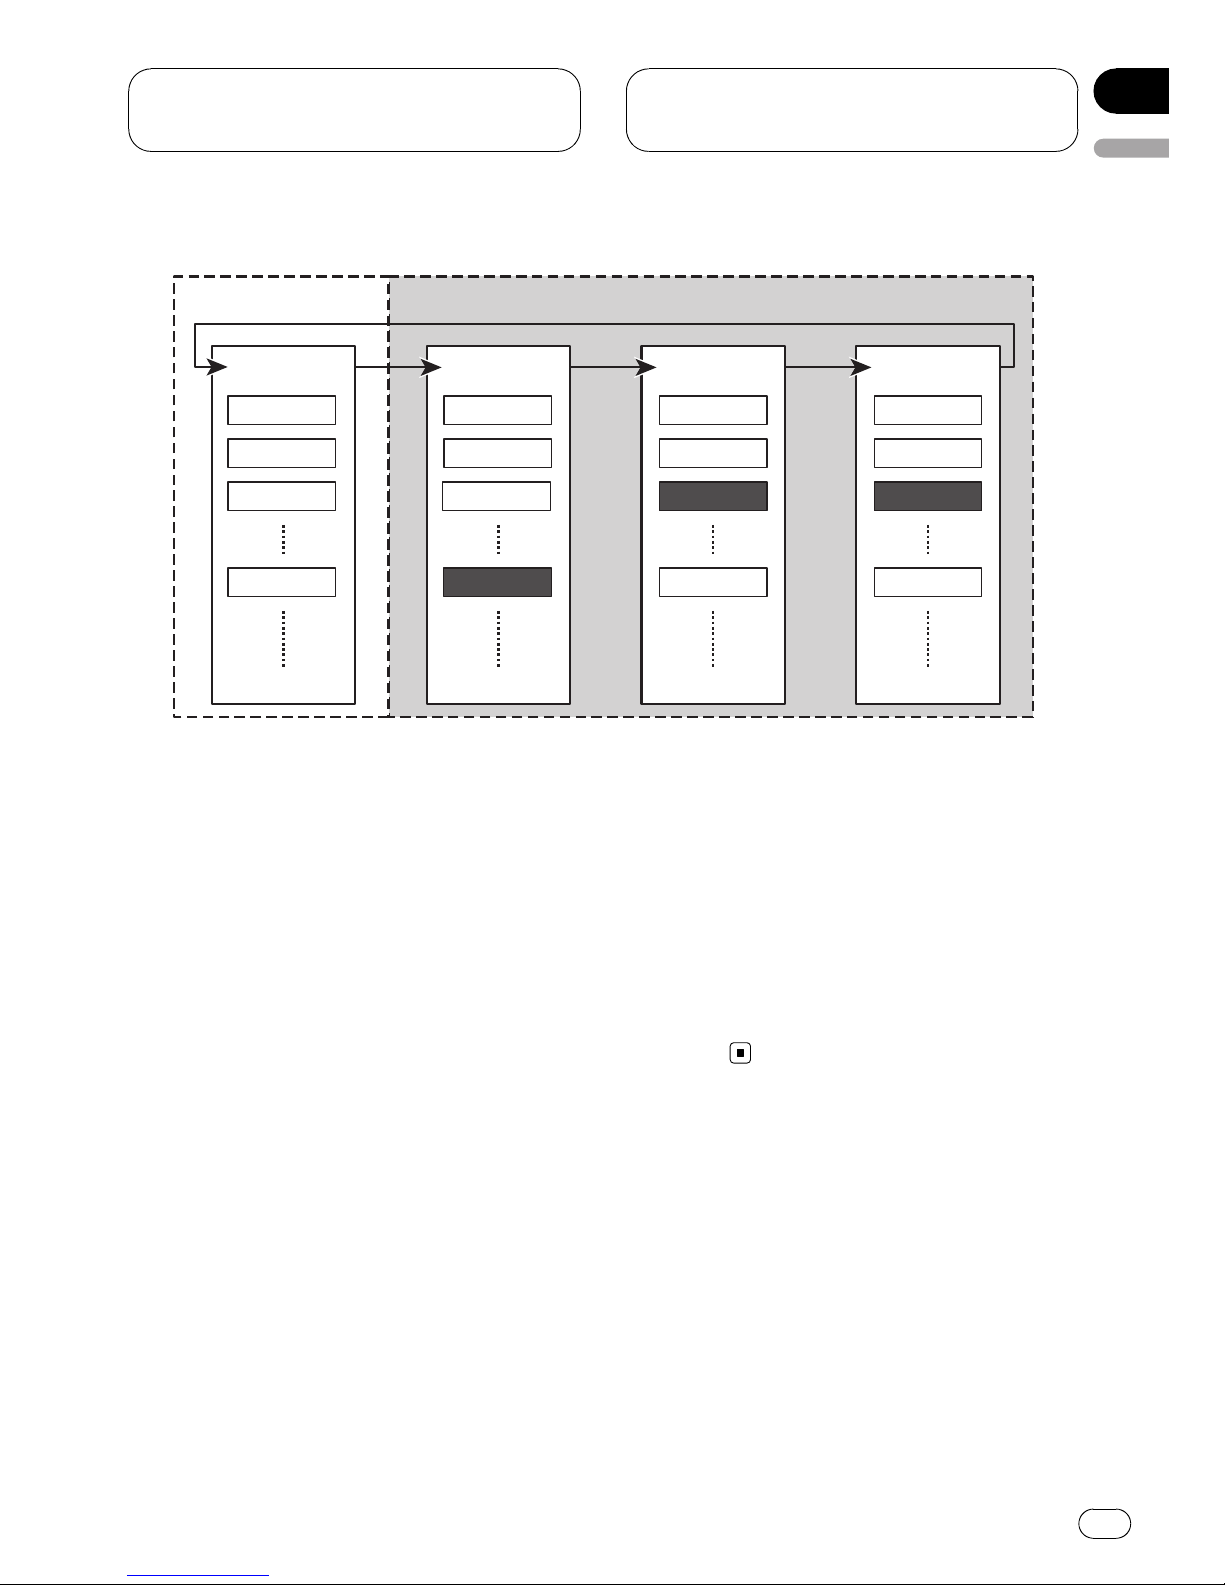
Using as an external unit
The following head units operate this unit as
an external unit. For more details about the ex-
ternal unit, refer to the head unit’s manual.
!FUNC4 (F4),FUNCTION4 and 1–6KEY
doesn’t be used to operate this unit.
Head unit group 1
The following head units featuring FUNCTION
button operation or SOFT KEY operation.
DEH-P9450MP, DEH-P9400MP, DEH-P7700MP
(European model), DEH-P6880MP, DEH-
P6800MP (European model), DEH-P6750MP,
DEH-P6700MP, DEH-P5850MP, DEH-
P5850MPH, DEH-P5800MP, DEH-P5750MP,
DEH-P5730MP, DEH-P5700MP, DEH-P4880MP,
DEH-P4850MP, DEH-P4850MPH, DEH-
P4800MP, DEH-P4770MP, DEH-P4750MP, DEH-
P4700MP, DEH-P3800MP, DEH-P940MP, DEH-
P670MP, DEH-P580MP, DEH-P480MP, DEH-
P470MP, DVH-P5850MP, DVH-P5650MP, DVH-
P580MP, FH-P9200MP, FH-P4200MP
Head unit group 2
The following head units featuring
MULTI-CONTROL operation.
DEH-P8650MP, DEH-P8600MP, DEH-P7750MP,
DEH-P7700MP (North American model), DEH-
P860MP, DEH-P770MP, DEH-P80MP, DEH-
P8MP, DEH-P1Y
Head unit group 3
The following head units featuring touch
panel key operation.
AVH-P7650DVD, AVH-P7600DVD, AVH-
P7550DVD, AVH-P7500DVDN, AVH-P7500DVD,
AVH-P6650DVD, AVH-P6600DVD, AVH-
P6550DVD, AVH-P6500DVD
Head unit group 4
The following head units are navigation units
featuring touch panel key operation.
AVIC-D2, AVIC-N1, AVIC-X1
Function compatibility charts
Head unit group 1
Controls
Select iPod as a
source Press SOURCE.
Select a category Press BAND (BAND/ESC).
Select a list Press aor b.
Skip back or forward
to another song
*1
Press cor d.
Fast forward/re-
verse
*2
Press and hold cor d.
Select a function Press FUNCTION (FUNC).
Pause a song Press aor bin FUNC1 (F1).
Select a repeat range Press aor bin FUNC2 (F2).
Select a random play
method
Press and hold aor bin
FUNC2 (F2).
Switch the display Press aor bin FUNC3 (F3).
Scroll the title Press and hold aor bin
FUNC3 (F3).
Switch between
AUTO and MANUAL
Press cor din AUTO/
MANUAL (A/M).
Head unit group 2
Controls
Select iPod as a
source Press SOURCE.
Select a category Press BAND (BAND/ESC).
*1You can use this function when you select AUTO in AUTO/MANUAL (A/M).
*2You can use this function when you select MANUAL in AUTO/MANUAL (A/M).
Operating with different
head units
En 7
English
Section
03