manuals.online logo
Brands
  1. Home
  2. •
  3. Brands
  4. •
  5. Pioneer
  6. •
  7. Automobile Accessories
  8. •
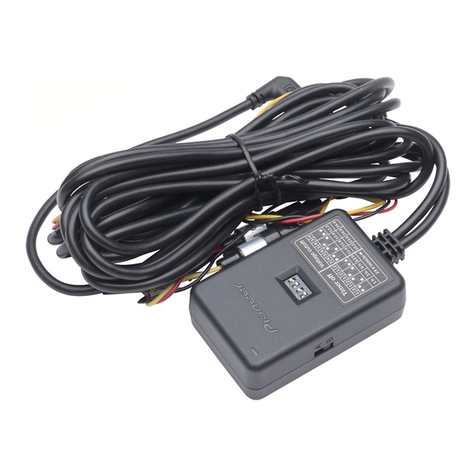
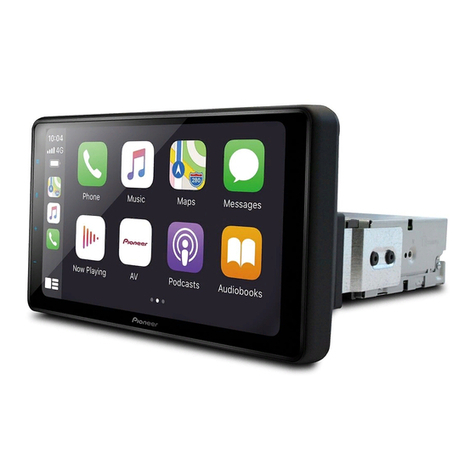
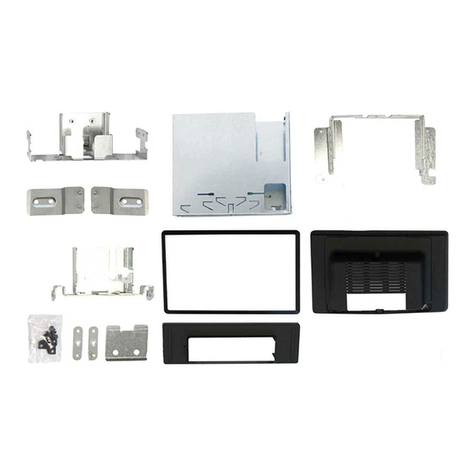
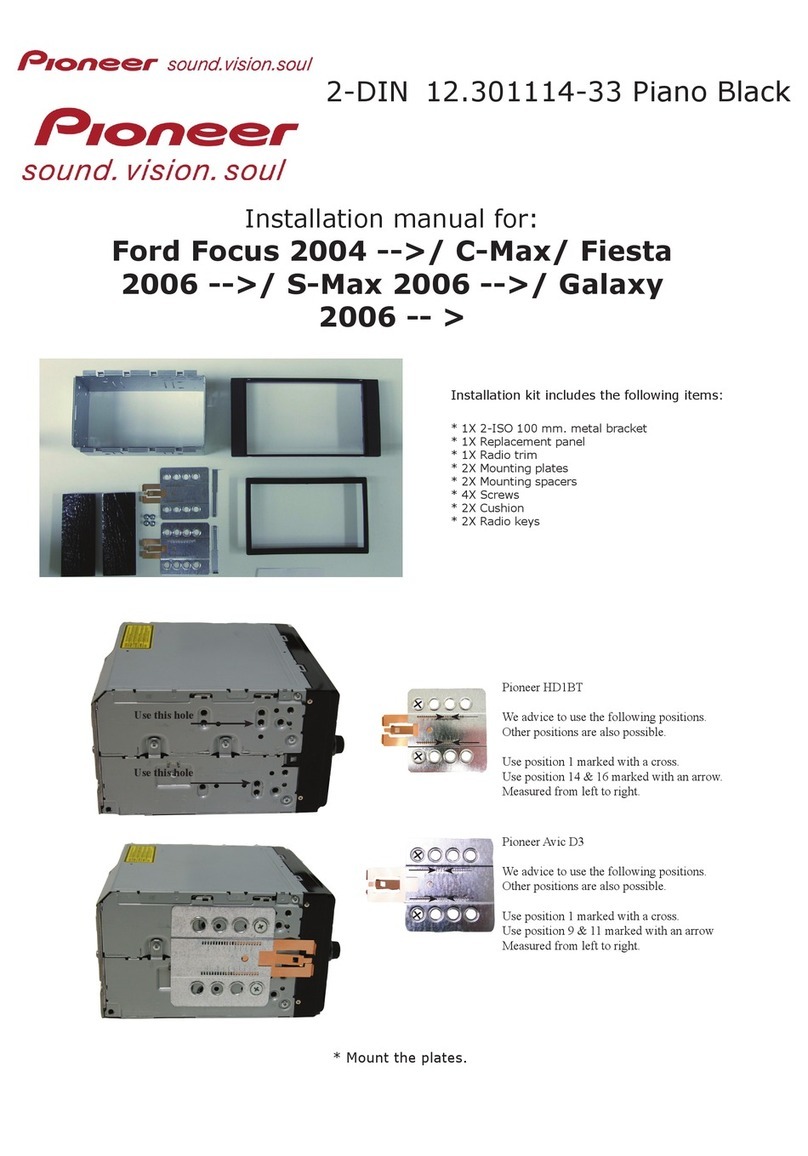
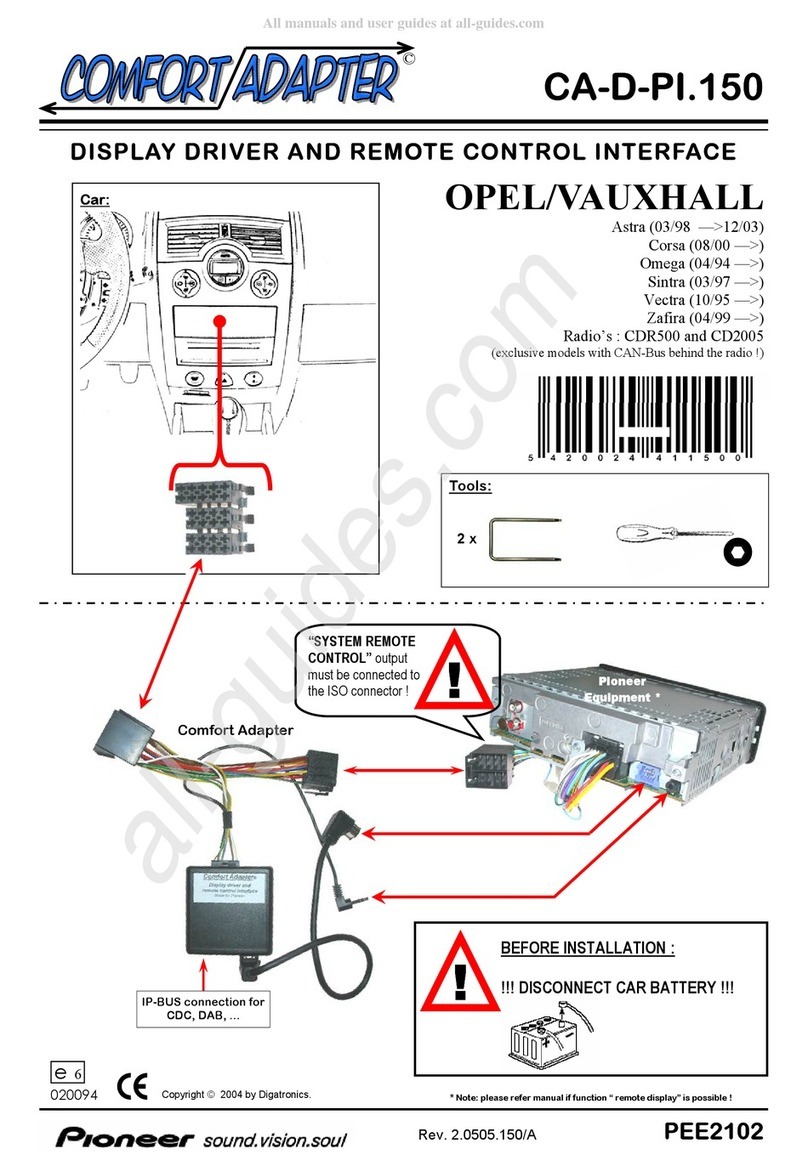
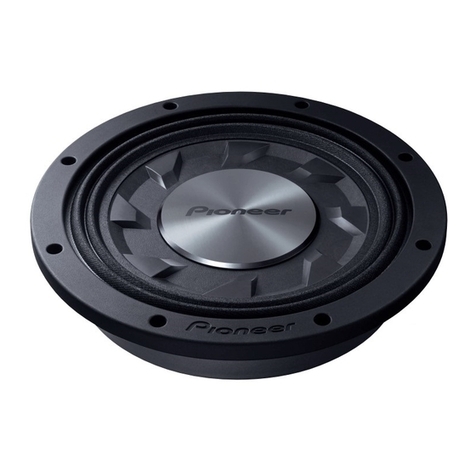
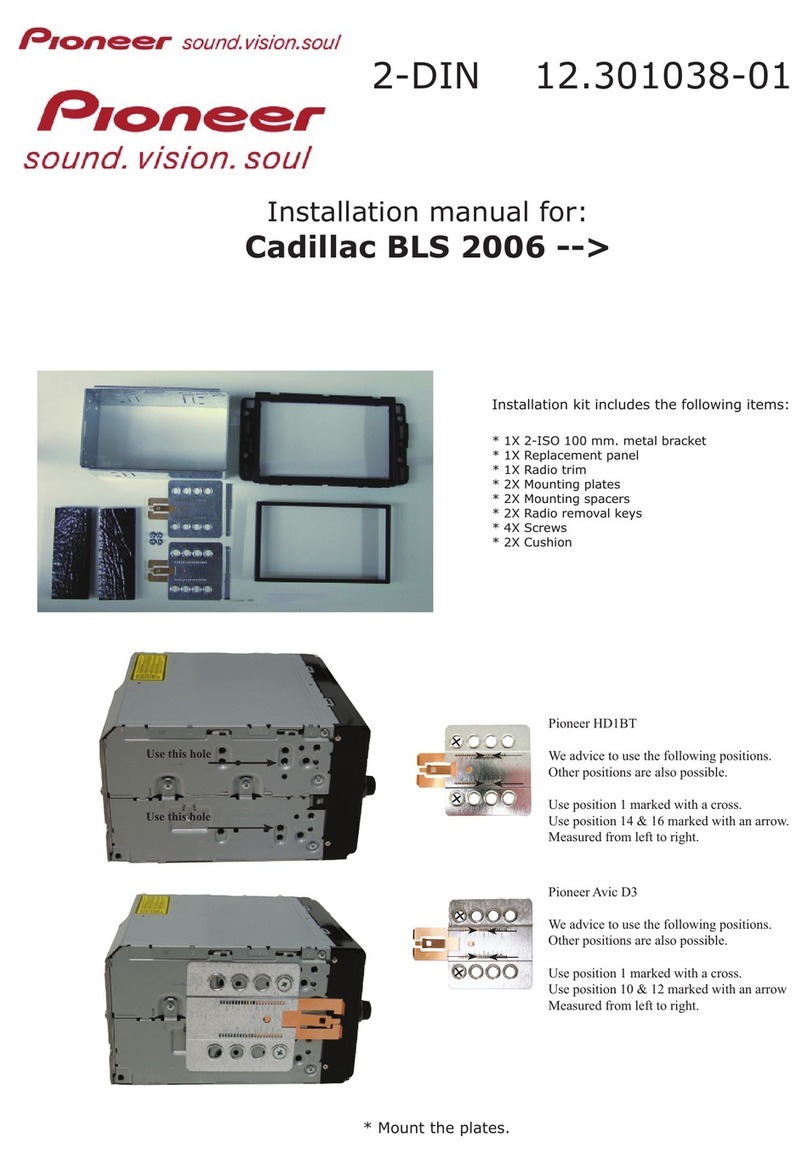
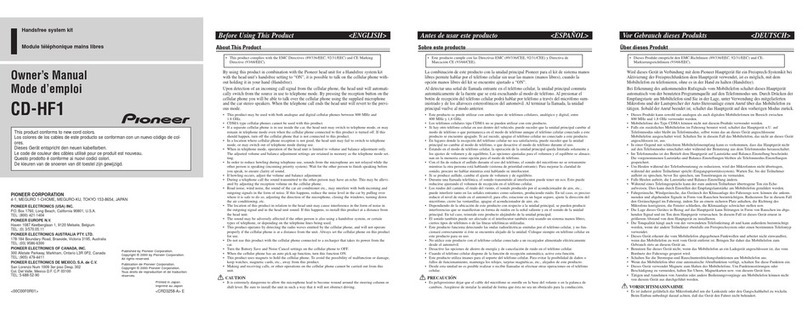
  9. Pioneer CA-HR-SMA-EVO.001 User manual

Pioneer CA-HR-SMA-EVO.001 User manual

Installation manual / Guide d’installation CA-HR-SMA-EVO.001(W) - Version 3.0
Distributed by / Distribué par Pioneer Europe NV | Haven 1087 - Keetberglaan 1, 9120 Melsele (Belgium / Belgique)
pioneer-car.eu
Remove the trim frame using a trim removal tool
Retirez le cadre à l’aide d’une outil dédié
Separate the chrome trim from the original frame
Séparez les 2 cadres en gardant le cadre chromé
Remove the original radio
Retirez la radio d’origne
1
3
2
CA-HR-SMA-EVO.001(W)
INSTALLATION KIT FOR SPH-EVO62DAB-SMAB/(-W)
Smart Forfour (W453) / Fortwo (C453/A453)
EN - Installation Manual | FR - Guide d’installation
Right bracket
Crochet droit
Model &
Construction Year (1)
Modèle &
Année de construction (1)
Original Radio
Radio Origine
Original USB
Adaptor
Adaptateur
USB Origine
Audio Adaptor
Adaptateur Audio
Recovery
Original
Camera
Récupération
caméra origine
Fascia
Adaptor
Adaptateur
faisceau
ForTwo C453 Coupe
2012 - 2019
ForTwo A453 Cabrio
2012 - 2019
ForFour W453
2012 - 2016
ForTwo EQ (4)
2016 - ...
ForFour EQ (4)
2016 - ...
Without Radio
Sans Radio CA-IW-UNI.001V
-
(No Original
Camera)
-
Pas de caméra
d’origine
Smart
A4536801400
+
A4536802003
1-DIN
Autoradio CA-IW-UNI.001V Audio JBL:
CA-SS-SMA.001
-
(No Original
Camera)
-
Pas de caméra
d’origine
---
Display (3)
Écran (3) CA-IW-SMA.001V Audio JBL:
CA-SS-SMA.001 CA-BC-6V.001
Smart
A4536801400
+
A4536802003
EN: (1) The construction years are given as an indication and may vary depending on the model and the production sites. (2) The SPH-EVO multimedia system covers a large number of vehicles. Manufacturers are
constantly changing vehicles (software / mechanics), so it is possible that some vehicles are not compatible with the Pioneer system. (3) Smart EQ Display functions are not available on SPH-EVO62DAB-SMAB / -SMAW.
(4) In case of display audio: EQ features will only be visible on display between cluster.
FR: (1) Les années de construction sont données à titre indicatif et peuvent varier en fonction du modèle et des sites de production. (2) Le système multimédia SPH-EVO couvre un grand nombre de véhicules. Les
fabricants changent constamment de véhicules (logiciels / mécanique), il est donc possible que certains véhicules ne soient pas compatibles avec le système Pioneer. (3) Les fonctions Smart EQ Display ne sont pas
disponibles sur le SPH-EVO62DAB-SMAB / -SMAW. (4) En cas d’affichage audio: les fonctions d’égalisation ne seront visibles à l’écran qu’entre les grappes.
Interface
Left bracket
Crochet gauche
Dashboard cover
Couverture de tableau de bord
Installation manual / Guide d’installation CA-HR-SMA-EVO.001(W) - Version 3.0
Distributed by / Distribué par Pioneer Europe NV | Haven 1087 - Keetberglaan 1, 9120 Melsele (Belgium / Belgique)
pioneer-car.eu
Attach the Pioneer screen to the brackets and connect the cable
Attachez l’écran sur les supports et connectez le cable du boitier
vers l’écran
1Steering wheel control to
SPH unit backside
In order to prevent ESD
damage the W/R jack
must be connected
before any connection
to the car side
2To vehicle connector
3Interface setup connector
Selection between original
radio with or without
touchscreen
4Pioneer FM input
5Vehicle antenna connector
6To 2(*)
7To vehicle connector (*)
8To radio PARKING signal
(green wire on power cable from
Pioneer
9To radio REVERSE signal
(purple wire on power cable from
Pioneer)
10 To Pioneer ISO power
connector
11 To reverse camera
connector (**)
(*) only required when car has original
touchscreen
(**) Only for vehicle with OEM back-
up camera CA-BC-6V.001 (required
optionally)
1Commande du volant vers
l’unité SPH à l’arrière
Afin d’éviter d’endommager les
décharges électrostatiques, la prise
W / R doit être connectée avant
toute connexion côté voiture
2Au connecteur de véhicule
3 Connecteur de configuration
d’interface
Sélection entre radio d’origine avec
ou sans écran tactile
4Entrée FM Pioneer
5Connecteur d’antenne de
véhicule
6Au 2(*)
7Au connecteur de véhicule (*)
8Vers le signal radio PARKING
(fil vert sur le câble d’alimentation de
Pioneer)
9Pour renvoyer le signal radio
(fil violet sur le câble d’alimentation de
Pioneer)
10 Vers connecteur
d’alimentation ISO Pioneer
11 Vers connecteur de caméra de
recul ( **)
(*) Nécessaire uniquement lorsque la voiture
est équipée d’un écran tactile d’origine
(**) Seulement pour véhicule avec caméra
de recul OEM CA-BC-6V.001 (obligatoire en
option)
6
1
2
3
4
5
6
8
9
7
10
11
7
Put the chrome trim on the Pioneer frame
Mettez le cadre chromé sur le kit Pioneer
4
Mount the metal side brackets to the Pioneer body
Fixez les supports en acier (côté gauche & côté droite) du boitier Pioneer
5
Installation manual / Guide d’installation CA-HR-SMA-EVO.001(W) - Version 3.0
Distributed by / Distribué par Pioneer Europe NV | Haven 1087 - Keetberglaan 1, 9120 Melsele (Belgium / Belgique)
pioneer-car.eu
Final view
Vue finale
10
Put the frame with the crome trim on
Mettez le cadre avec la pièce chromée dans le tableau
9
After all necessary connections install the Pioneer unit
in the dashboard and secure
Après avoir fait toutes les connections nécessaires, installez
la radio Pioneer dans le tableau avec les vises d’origine.
8
Change Time Menu
- The vehicle must be stationary with the handbrake on
- Turn on and off the vehicle (Key in position 2) for three times
- 1Use ‘Volume +’ to increase the hours
- 2Use ‘Volume -’ to increase the minutes
- 3 Use ‘Voice’ to change 12h / 24h format
To exit the menu, switch off the car for at least 5 seconds.
Note: When turning on the car, the clock’s hands automatically
reach the correct time. Please note that the clock can have a
variation of roughly 1 minute per month.
Changer le menu du temps
- Le véhicule doit être à l’arrêt avec le frein à main serré
- Allumez et éteignez le véhicule (clé en position 2) trois fois
- 1Utilisez ‘Volume +’ pour augmenter les heures
- 2Utilisez ‘Volume -’ pour augmenter les minutes
- 3 Utilisez ‘Voice’ pour changer le format 12h / 24h
Pour quitter le menu, éteignez la voiture pendant au moins 5 secondes.
Remarque: lorsque vous allumez la voiture, les aiguilles de l’horloge in-
diquent automatiquement l’heure correcte. Veuillez noter que l’horloge peut
varier d’environ 1 minute par mois.
1
2
3
Additional vehicle setup | Configuration de véhicule supplémentaire

This manual suits for next models

1

Other Pioneer Automobile Accessories manuals

Pioneer CA-HM-UNI-EVO.009 User manual

Pioneer

Pioneer CA-HM-UNI-EVO.009 User manual

Pioneer CD-PC1 User manual

Pioneer

Pioneer CD-PC1 User manual

Pioneer ND-BC20PA User manual

Pioneer

Pioneer ND-BC20PA User manual

Pioneer SDA-BS900 Specification sheet

Pioneer

Pioneer SDA-BS900 Specification sheet

Pioneer 12.301086-04 User manual

Pioneer

Pioneer 12.301086-04 User manual

Pioneer CA-HM-KIA.016 User manual

Pioneer

Pioneer CA-HM-KIA.016 User manual

Pioneer CA-HM-FOR.005 User manual

Pioneer

Pioneer CA-HM-FOR.005 User manual

Pioneer 12.301328-06 User manual

Pioneer

Pioneer 12.301328-06 User manual

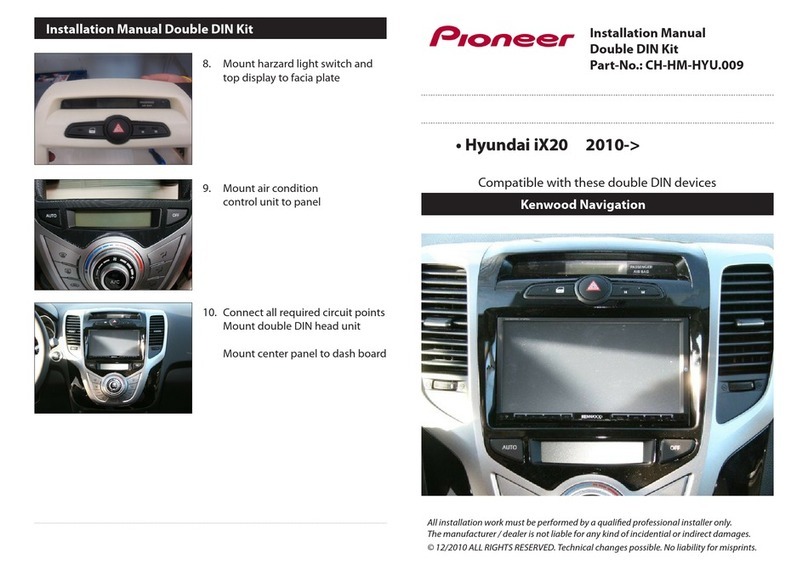
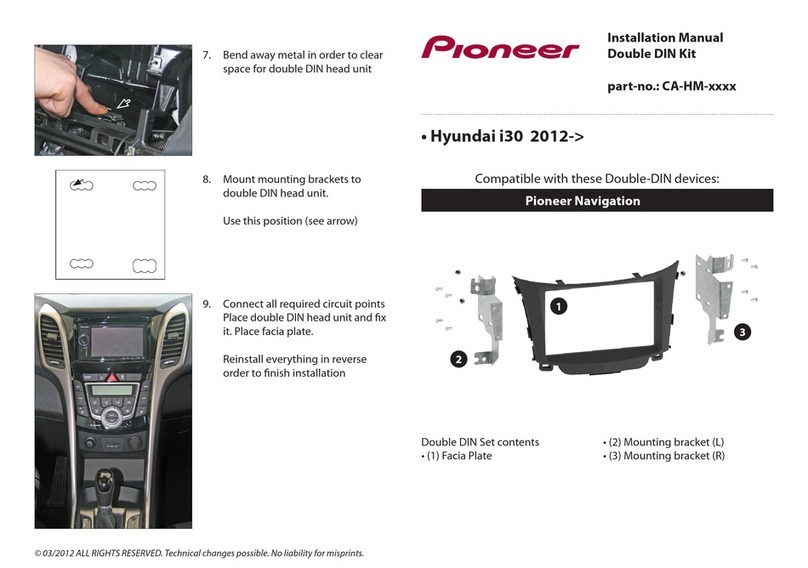
Pioneer Double DIN Kit User manual

Pioneer

Pioneer Double DIN Kit User manual

Pioneer CD-AH200C User manual

Pioneer

Pioneer CD-AH200C User manual

Pioneer CA-HM-UNI-EVO.004 User manual

Pioneer

Pioneer CA-HM-UNI-EVO.004 User manual

Pioneer Comfort Adapter CA-D-PI.150 User manual

Pioneer

Pioneer Comfort Adapter CA-D-PI.150 User manual

Pioneer 12.301114-33 User manual

Pioneer

Pioneer 12.301114-33 User manual

Pioneer CD-AH200 User manual

Pioneer

Pioneer CD-AH200 User manual

Pioneer 12.301038-01 User manual

Pioneer

Pioneer 12.301038-01 User manual

Pioneer CD-HF1 User manual

Pioneer

Pioneer CD-HF1 User manual

Pioneer CD-SB10 User manual

Pioneer

Pioneer CD-SB10 User manual

Pioneer RP4500 SATR Instruction manual

Pioneer

Pioneer RP4500 SATR Instruction manual

Pioneer RD-HWK200 User manual

Pioneer

Pioneer RD-HWK200 User manual

Pioneer CA-HM-SUZ.002 User manual

Pioneer

Pioneer CA-HM-SUZ.002 User manual

Pioneer CA-HR-PSA-EVO.003 User manual

Pioneer

Pioneer CA-HR-PSA-EVO.003 User manual

Pioneer HR 1500 PTO Instruction manual

Pioneer

Pioneer HR 1500 PTO Instruction manual

Pioneer HR1500H Instruction manual

Pioneer

Pioneer HR1500H Instruction manual

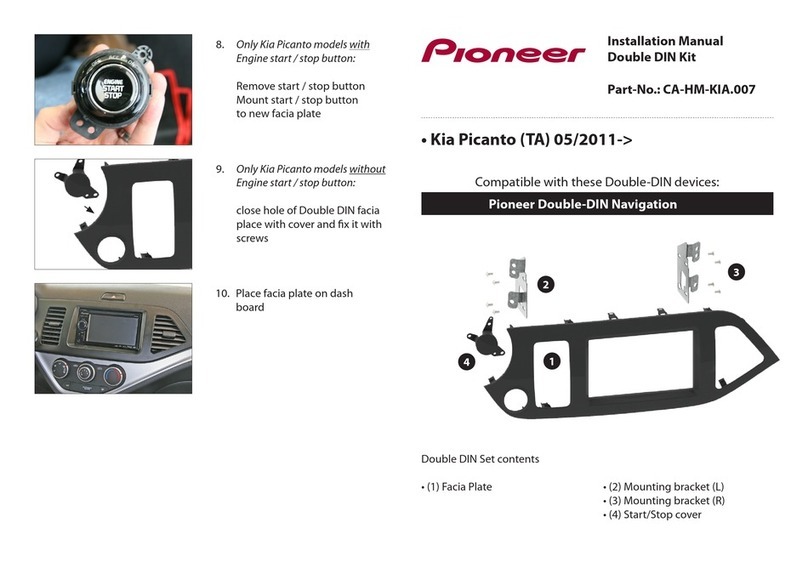
Pioneer CA-HM-KIA.007 User manual

Pioneer

Pioneer CA-HM-KIA.007 User manual

Popular Automobile Accessories manuals by other brands

Dakota Digital BIM-01-2-MSD manual

Dakota Digital

Dakota Digital BIM-01-2-MSD manual

Linear Logic ScanGauge KR Edition quick start guide

Linear Logic

Linear Logic ScanGauge KR Edition quick start guide

AllTrade Powerbuilt 648601 operating instructions

AllTrade

AllTrade Powerbuilt 648601 operating instructions

Rhino-Rack RBC044 installation instructions

Rhino-Rack

Rhino-Rack RBC044 installation instructions

Nav TV UCI-11C NTV-KIT331 user manual

Nav TV

Nav TV UCI-11C NTV-KIT331 user manual

Go Rhino 3000 Series Assembly instructions

Go Rhino

Go Rhino 3000 Series Assembly instructions

Summit Industries Doug Thorley Headers THY-470 manual

Summit Industries

Summit Industries Doug Thorley Headers THY-470 manual

National Cycle N944 owner's manual

National Cycle

National Cycle N944 owner's manual

Menabo PRO TOUR INDOOR Fitting instructions

Menabo

Menabo PRO TOUR INDOOR Fitting instructions

Lund Interceptor installation instructions

Lund

Lund Interceptor installation instructions

WAGNER TUNING 400001003 Installation instruction

WAGNER TUNING

WAGNER TUNING 400001003 Installation instruction

Mobidick SuperTooth Light manual

Mobidick

Mobidick SuperTooth Light manual

Scosche MMWSM-XCES0 quick start guide

Scosche

Scosche MMWSM-XCES0 quick start guide

Diamondback HD installation guide

Diamondback

Diamondback HD installation guide

HaWeKo HYK170 installation manual

HaWeKo

HaWeKo HYK170 installation manual

ECS Electronics CT-052-D1 Fitting instructions electric wiring

ECS Electronics

ECS Electronics CT-052-D1 Fitting instructions electric wiring

Steinhof V-289 FITTING AND OPERATION MANUAL

Steinhof

Steinhof V-289 FITTING AND OPERATION MANUAL

Blizzard 680LT Installation instructions & owner's manual

Blizzard

Blizzard 680LT Installation instructions & owner's manual

manuals.online logo
manuals.online logoBrands
  • About & Mission
  • Contact us
  • Privacy Policy
  • Terms and Conditions

Copyright 2025 Manuals.Online. All Rights Reserved.