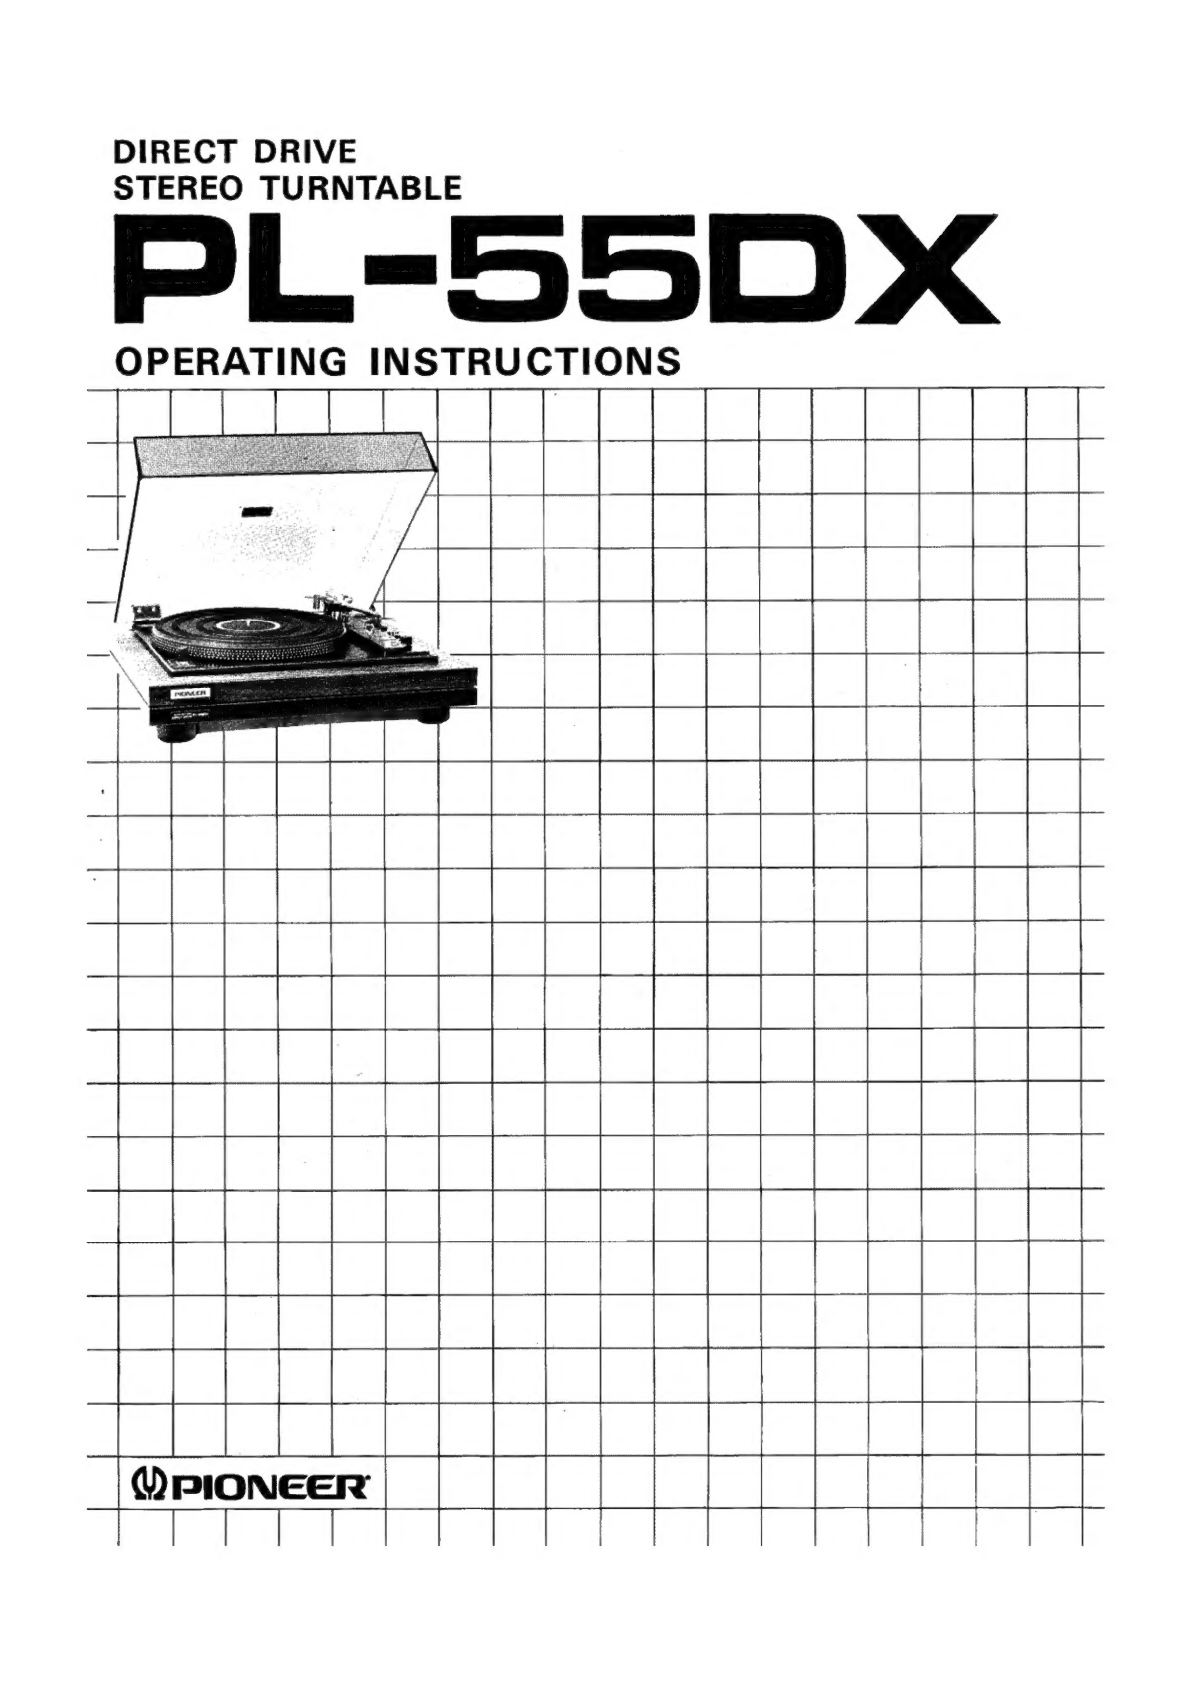
Pioneer PL-55DX User manual
Other Pioneer Turntable manuals

Pioneer
Pioneer PL-J2500 User manual

Pioneer
Pioneer PL-30-K User manual

Pioneer
Pioneer PL-L70 User manual

Pioneer
Pioneer PL-71 User manual

Pioneer
Pioneer PL-100 User manual

Pioneer
Pioneer PL-50 User manual

Pioneer
Pioneer PL-260 KU User manual

Pioneer
Pioneer PL-520 User manual

Pioneer
Pioneer pl-510 KLT User manual

Pioneer
Pioneer PL-L1000 User manual

Pioneer
Pioneer pl-x50 User manual

Pioneer
Pioneer BDP-170 User manual

Pioneer
Pioneer CDJ-2000nexus Instruction Manual

Pioneer
Pioneer CLD-1600 User manual

Pioneer
Pioneer PL-600 User manual

Pioneer
Pioneer PL-71 User manual

Pioneer
Pioneer PL-560 User manual

Pioneer
Pioneer PL-L1000 User manual

Pioneer
Pioneer DEH-P7550MP User manual

Pioneer
Pioneer AVH-P6500DVD User manual