2
Ja
取扱上の注意
このたびは、パイオニアの製品をお買い求めいただきまして
まことにありがとうございます。お使いになる前には取扱説
明書をよくお読みになり、安全に正しくご使用ください。ま
たお読みになったあとも、この取扱説明書は大切に保管して
ください。
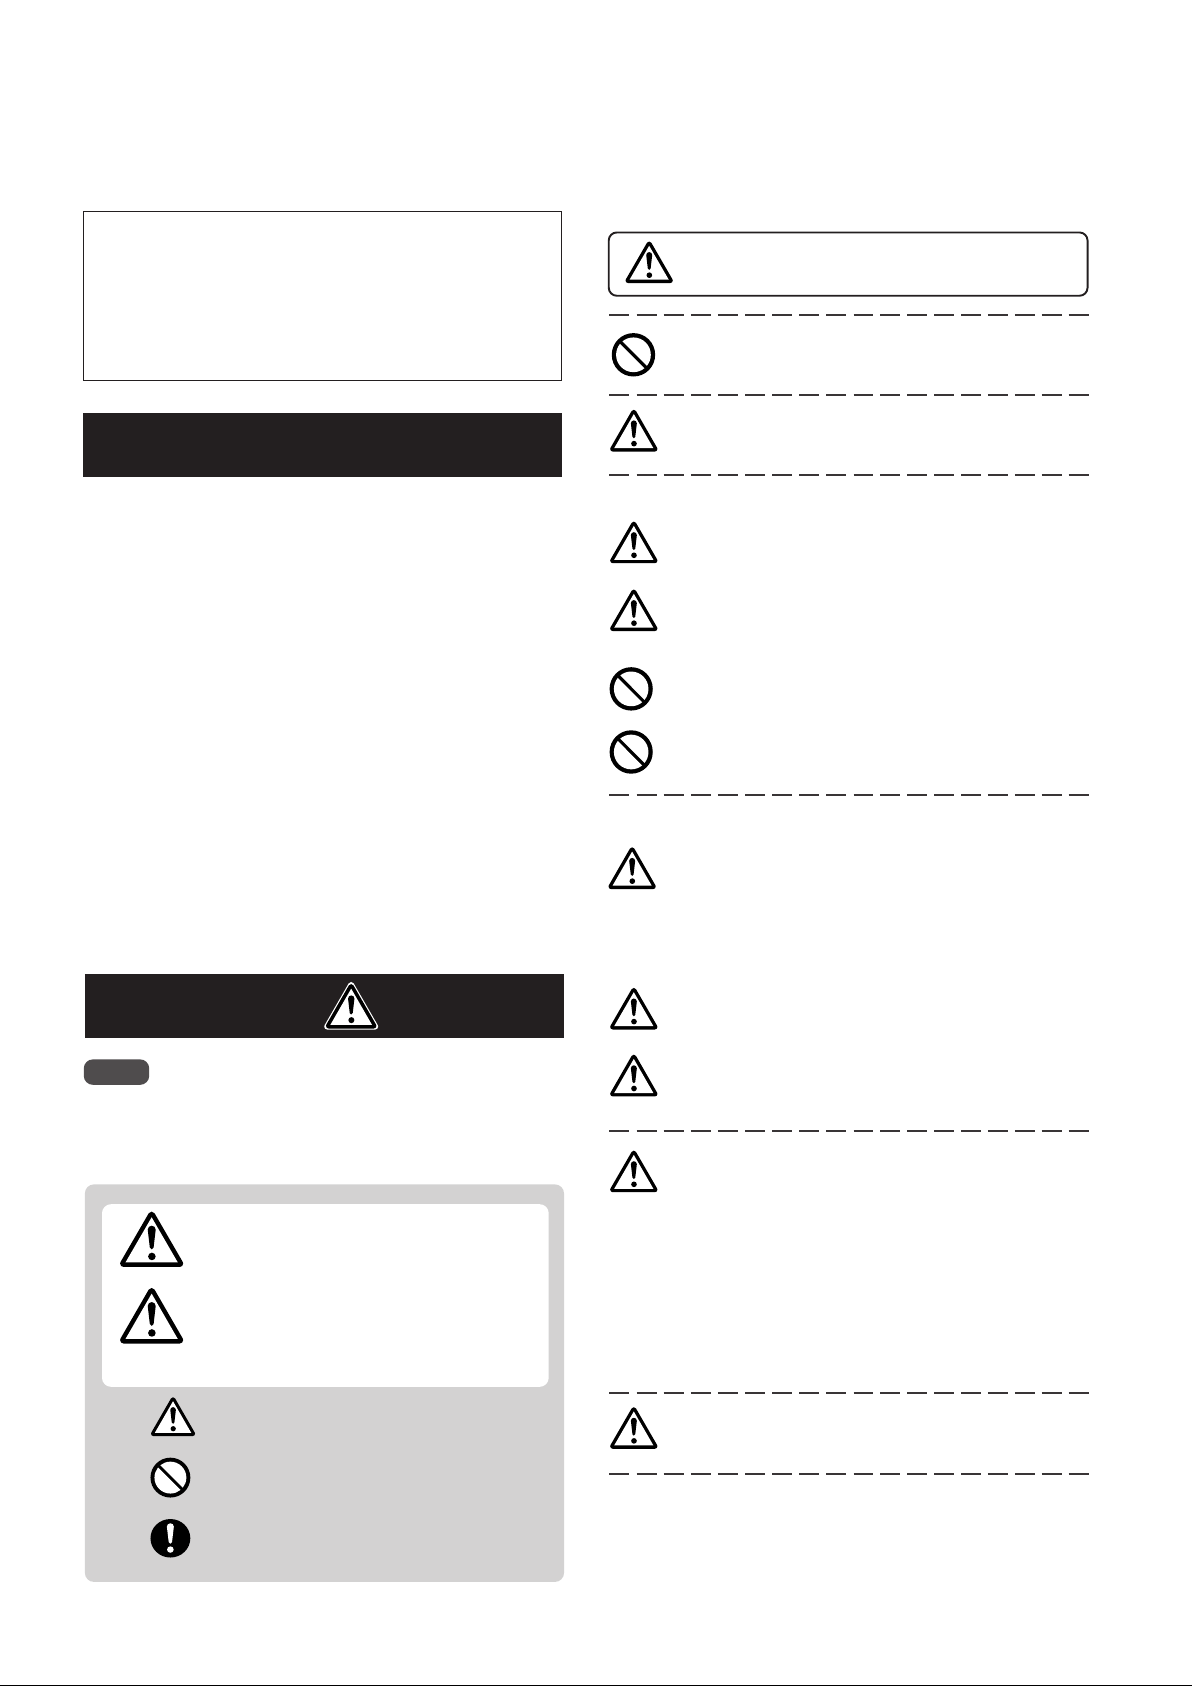
警告 人が死亡または重傷を負うおそ
れがある内容を示します。
注意 人がけがをしたり財産に損害を
受けるおそれがある内容を示し
ます。
警告・注意(気をつけること)
禁止(やってはいけないこと)
指示・強制(しなければならないこと)
ご注意 安全上の絵表示について
取扱説明書および製品に記されている注意事項には、損害の
レベルや内容を示す絵表示が付けられていることがありま
す。それら絵表示の意味は以下のとおりです。
本製品は弊社製デジタルハイビジョンプラズマテレビ
PDP-507HX/PDP-427HX/PDP-427HXD専用のテーブル
トップスタンドです。
その他の機器への取り付けに関しては対応しておりません。
詳しくは、お買い求めの販売店にご相談ください。
もくじ
取扱上の注意 ................................................................. 2
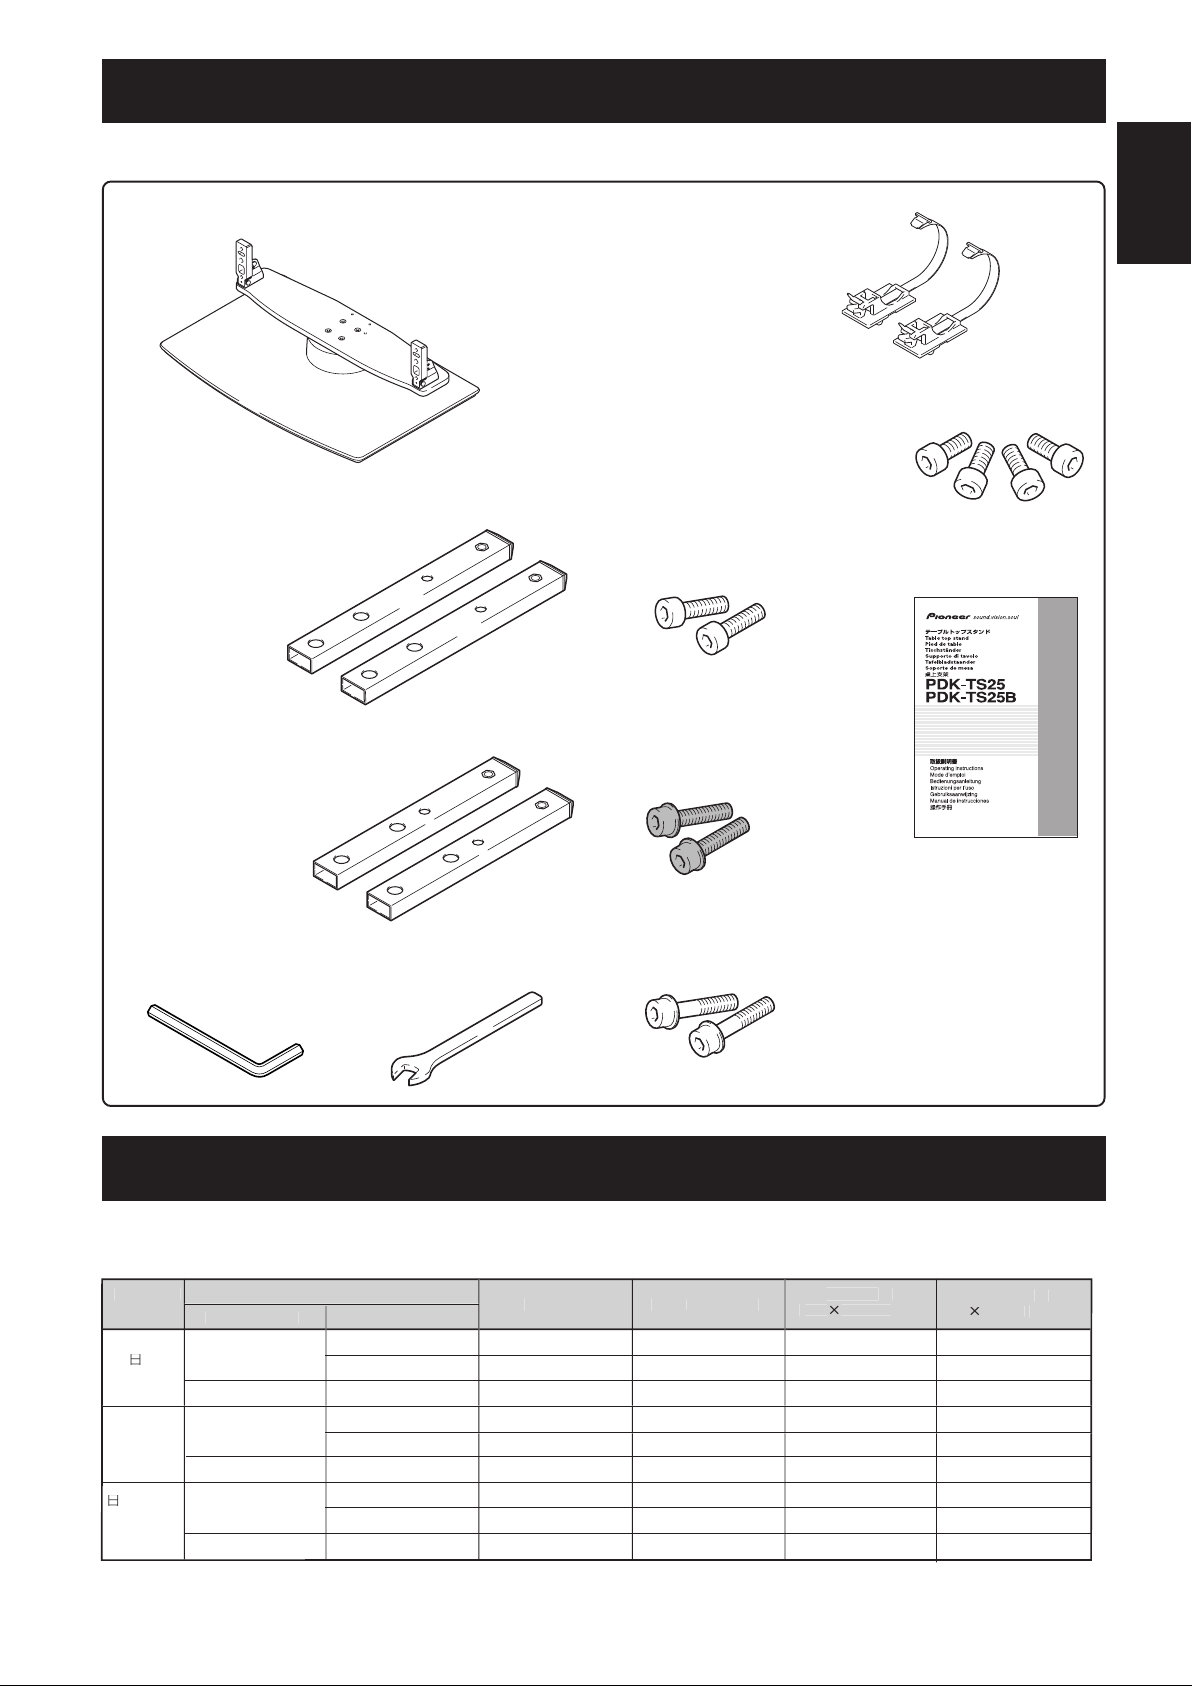
同梱された部品の確認 ................................................. 3
支柱使用・不使用一覧 ................................................. 3
スタンドの組み立て方 ................................................. 4
プラズマテレビの取り付け方 ...................................... 5
前後角度調整機構 ......................................................... 6
テレビ台などに設置する場合 ...................................... 7
ケーブル処理のしかた ................................................. 8
転倒防止 ......................................................................... 9
回転を正面で固定する方法 .......................................... 9
プラズマテレビをスタンドから取り外す場合 ........ 10
仕 様.......................................................................... 10
寸法図.......................................................................... 10
指定外のプラズマテレビへの取り付け、改造および
他の用途への使用はしないでください。
取り付けなどに不具合があると転倒などの事故につ
ながり大変危険です。
設置場所について
設置場所にはスタンドとプラズマテレビの質量に十
分耐えられる強度をもつ場所を選定してください。
必ず平坦で安定した場所に設置してください。
屋外や温泉、海辺などの水場には設置しないでくだ
さい。
振動や衝撃の加わるような場所には設置しないでく
ださい。
組み立て・設置について
組み立ての手順を守り、指定の箇所はすべて確実に
ねじ留めしてください。
指定を守らないとプラズマテレビ取り付け後に、破
損や転倒など思わぬ事故の原因となることがありま
す。
プラズマテレビの取り付け作業は安全のため、必ず
2 人以上で行ってください。
作業の際には、プラズマテレビと周辺機器の電源を
切り、電源プラグをコンセントから抜いてください。
本製品は左右 10゚回転、前後約 2゚傾斜します。
本製品およびプラズマテレビ回転範囲に物を置か
ないでください。また、通常使用時および本製品
が回転した時に、テレビ台などの設置場所から外
側にはみ出さないように設置を行ってください。
破損や転倒など思わぬ事故の原因となることがあ
ります(7 ページ参照)。また、前後の角度調整中
はプラズマテレビ下部とスタンドとの間に手を挟
まないようにご注意ください(6 ページ参照)。
転倒による事故防止のため、転倒防止の措置を確
実に行ってください(9 ページ参照)。
注意
「据え付け」について
お客様がご自身で本機の取り付けを困難だと思われる場
合は、販売店にご相談ください。
なお、据え付け、取り付けの不備、誤使用、改造、天災
などによる事故損傷については、弊社は一切責任を負い
ません。