Page 2
Installation Instructions
N421
install
Power Supply
Unit
User Guide
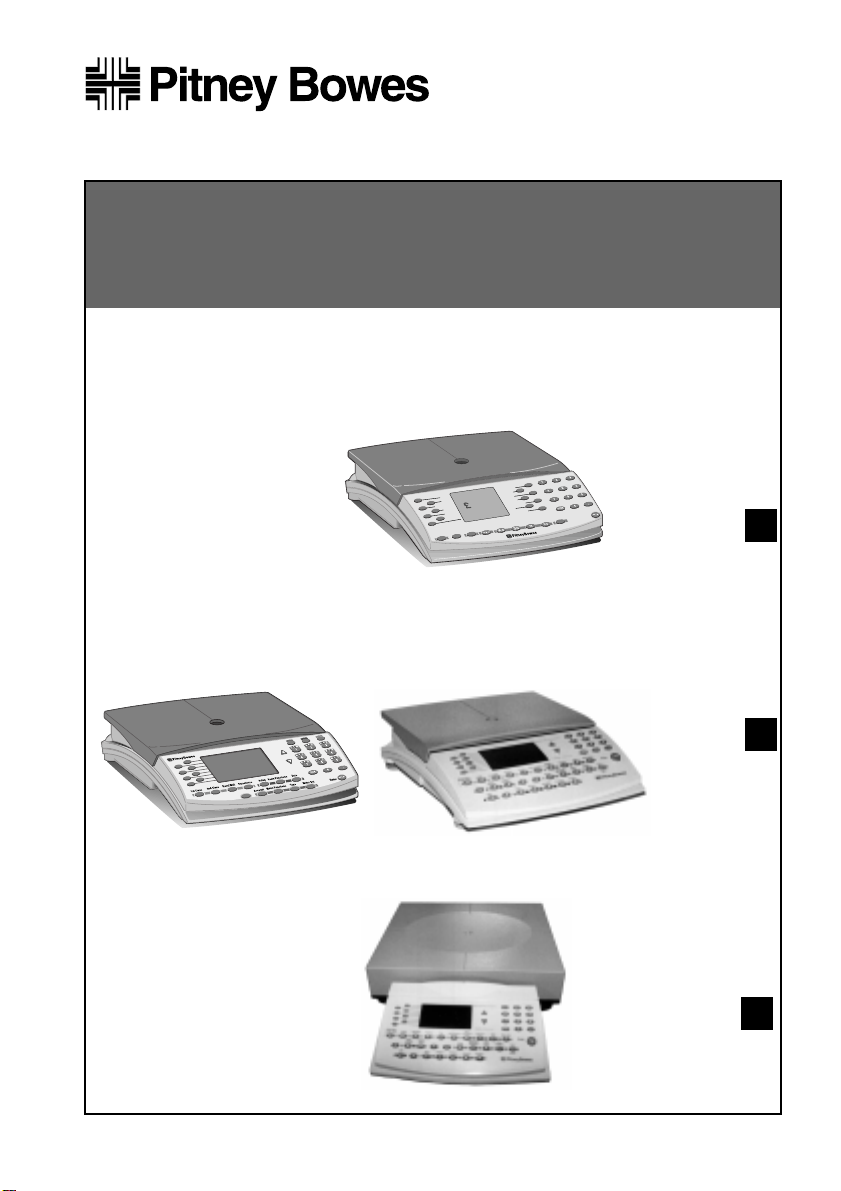
1. Make sure you have:
✓Scale
✓Power Supply Unit (in its own box)
✓User Guide
✓Rates PROM (You may or may not be supplied with a Rates PROM. If one
is supplied, fit it at step 4 or your scale may display incorrect rates. If one is
not supplied, your scale has been pre-programmed with the current rates
and will function without one until the next postage rate change).
✓Meter Cable (only supplied if you ordered a Pitney Bowes Postage Meter
at the same time as your scale)
Meter Cable
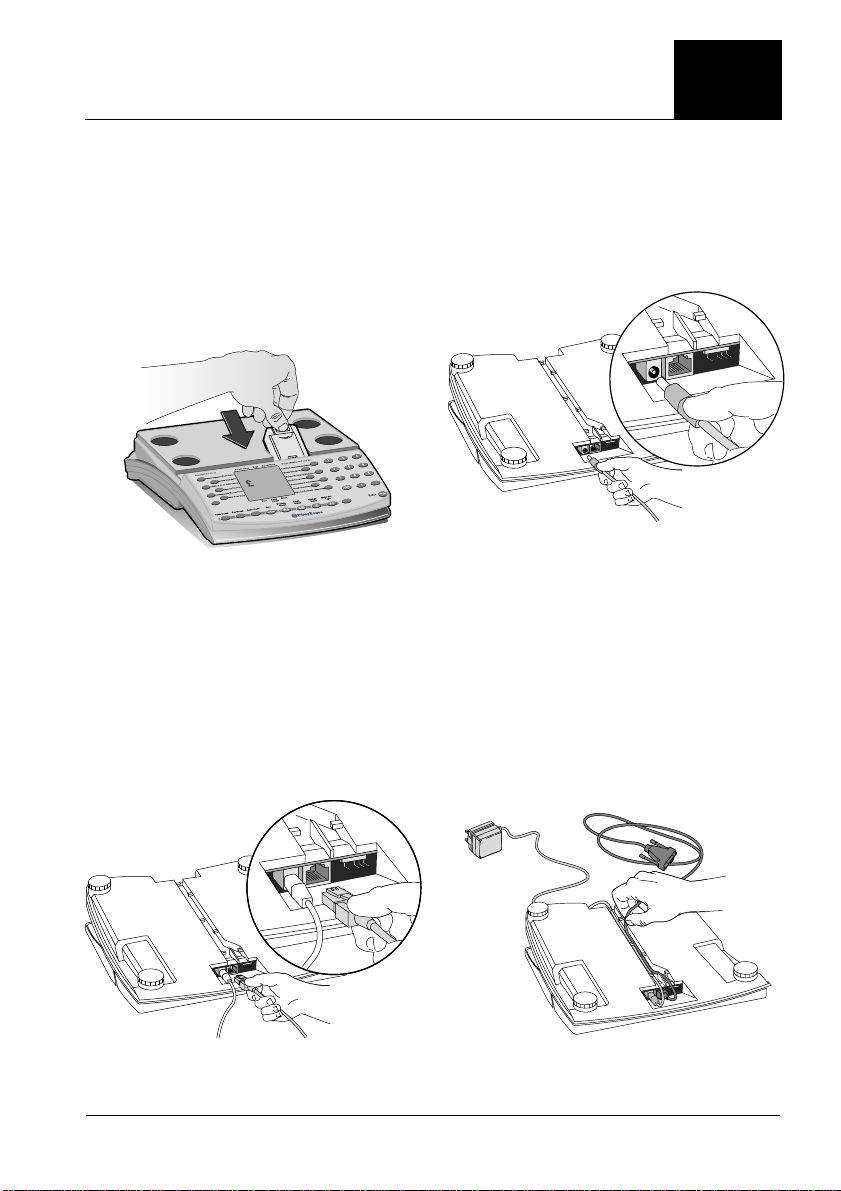
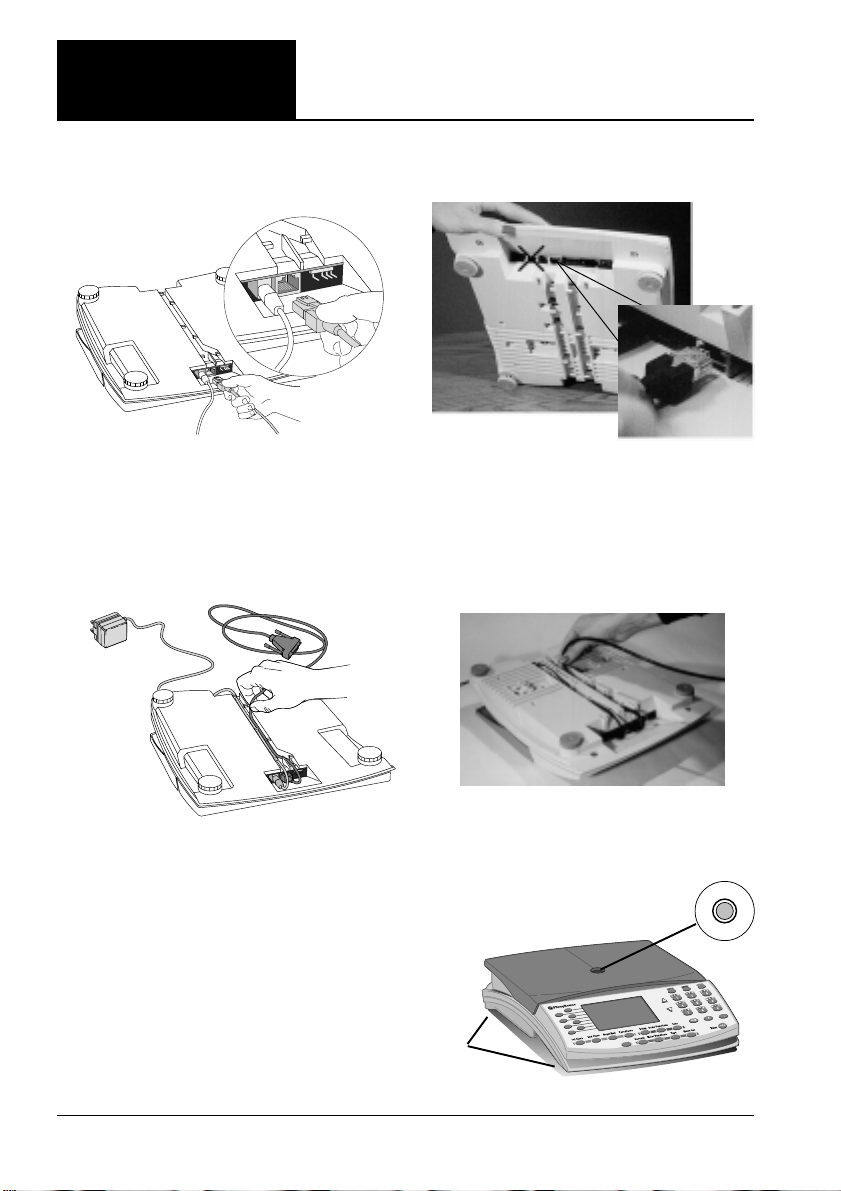
2. Place your scale on a
level surface
Place the scale near a wall outlet and
within cable reach of your postage
meter (if you have one). Ensure the
scale location is a flat, stable surface
free of draughts and the scale is not
touching objects that may affect the
weight reading.
Capacity:2kg x 1g
1st Class
Select
Category Select
ZoneSelect
Fees
Zero
Parts CountFee Recall Zone
Zero Postage
StatusBatch
Status
EU Surface
Zone 1 Zone 2
Europe
Change
Account Meter Set
Tape Enter
Parts
Count Error
2nd Class
1st Registered Del'y
1st Reg.+Low
1st Reg.+High
1st Special Del'y
International Letters
Postal Scale.
Not for direct selling to the public
Printed Papers
Small Packets
Recorded Del'y
Int'l Registered Del'y
Advice of Delivery
Swiftair
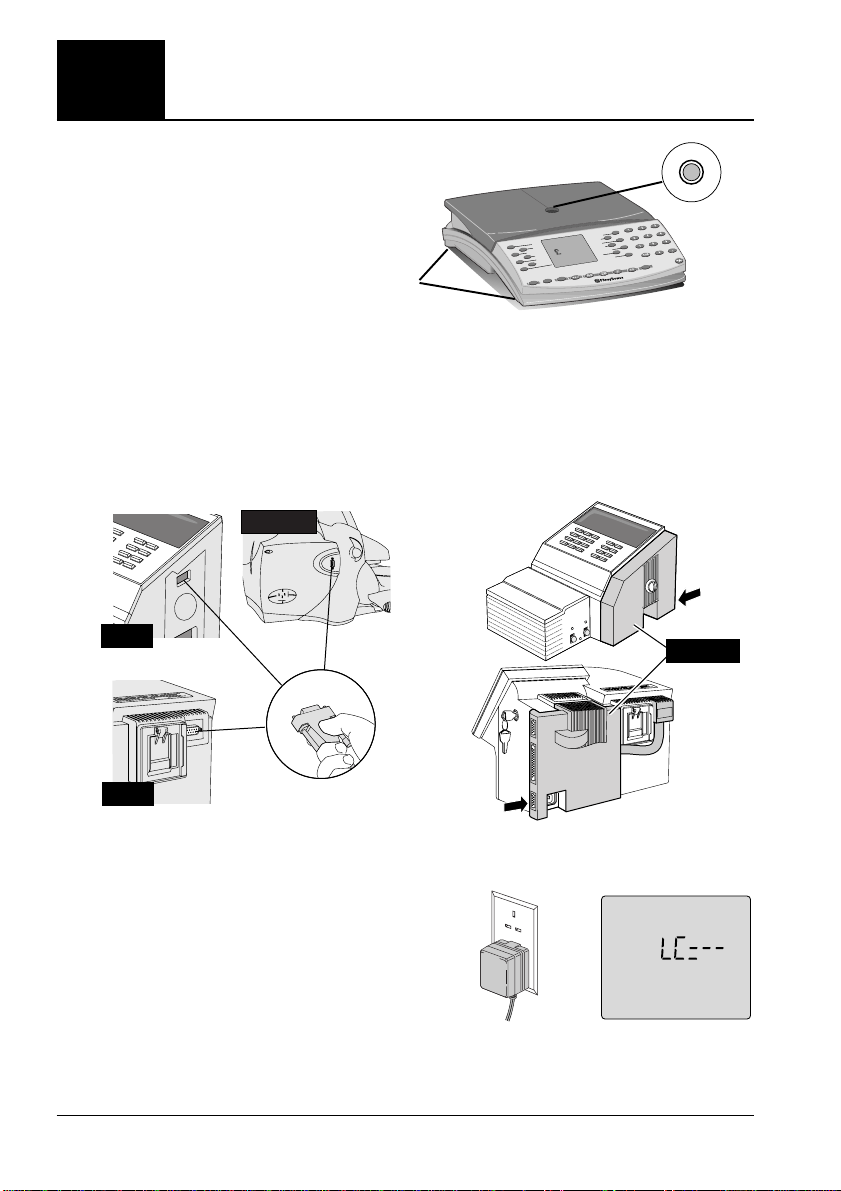
Use these instructions if
you have a N421, 2kg scale
The scale looks like this:
3. Remove packing
Lift the platform and remove the
packing material.
Rate PROM
(if supplied)