Planet USB ADSL Modem ADU-2120 User manual

USB ADSLModem
ADU-2120
User s Manual

Copyright
Copyright (C) 2004 PLANETTechnology Corp. All rights reserved.
The productsand programs described in this User sManual arelicensed productsof
PLANETTechnology,This User sManual contains proprietary information protected by
copyright, and this User sManual and all accompanying hardware, software, and documen-
tation are copyrighted.
No part of this User sManual may be copied, photocopied,reproduced, translated, or re-
duced to any electronic medium ormachine-readable formby any means by electronic or
mechanical. Including photocopying, recording, orinformation storage and retrieval systems,
for any purpose other than the purchaser's personal use, and without the prior express writ-
ten permission of PLANETTechnology.
Disclaimer
PLANETTechnology does not warrant that the hardware will work properly in all environ-
mentsand applications,and makes no warranty and representation, either implied or ex-
pressed, with respect to the quality,performance, merchantability,or fitness for aparticular
purpose.
PLANEThas made every effort to ensure that this User sManual is accurate; PLANETdis-
claims liability for any inaccuracies or omissions that may have occurred.
Information in this User sManual is subjectto change without notice and does not represent
acommitment on the part of PLANET.PLANETassumes no responsibility for any inaccura-
cies that may be contained in this User sManual. PLANETmakes no commitment to update
or keep current the information in this User sManual, and reserves the right to make im-
provementsto this User sManual and/or tothe productsdescribed in this User sManual, at
any time without notice.
If you find information in this manual thatis incorrect,misleading, orincomplete,wewould
appreciate your commentsand suggestions.
FCC Compliance Statement
This equipment generates and uses radio frequency energy and ifnotinstalled and used
properly,that is, in strict accordance with the instructions provided with the equipment, may
cause interference to radio and TV communication.The equipment has been tested and
found to comply with the limitsfor aClass Acomputing device in accordance with the speci-
fications in Subpart BofPart15 of FCC rules,which are designed toprovide reasonable
protection against such interference in aresidential installation. However,thereis no guar-
antee that interference will notoccurin aparticularinstallation. Ifyou suspect this equipment
is causing interference, turnyour Ethernet Switch on and offwhile your radio orTV is show-
ing interference, if the interference disappearswhen you turn your Ethernet Switch offand
reappears when you turn it back on, there is interference being caused by the Ethernet
Switch.
You can try to correct the interference by one or more of the following measures:
w Reorient the receiving radio or TV antenna where this may be done safely.
w To the extent possible, relocate the radio, TV or other receiver away from the Switch.
w Plug the Ethernet Switch into adifferent power outlet so thatthe Switch and the receiver
are on different branch circuits.
If necessary,you should consultthe place ofpurchase oran experienced radio/television
technician for additional suggestions.
CE mark Warning
The is aclass Bdevice, Inadomestic environment, this product may cause radio interfer-
ence, in which case the user may be required to take adequate measures.
Trademarks
The PLANETlogo is atrademark of PLANETTechnology.This documentation may refer to
numerous hardware and software productsby their trade names. In most,if not all cases,
these designations are claimed as trademarks or registered trademarks by theirrespective
companies.
Revision
User s Manual for PLANETUSB ADSLModem
Model: ADU-2120A/ADU-2120B
Rev: 1.0 (JAN. 2004)
Part No.: EM-ADU2120

TABLE OF CONTENTS
CHAPTER 1 INTRODUCTION.................................................................................1
FEATURES ..............................................................................................................1
DATA REQUIREMENT................................................................................................1
ADSLRFC1483 mode user...............................................................................1
ADSLPPPoE/PPPoAmode user.....................................................................1
SYSTEM REQUIREMENT...........................................................................................2
LED DEFINITION......................................................................................................2
CHAPTER 2 INSTALLATION...................................................................................3
HARDWARE INSTALLATION........................................................................................3
DRIVER INSTALLATION WITH WINDOWS 98................................................................3
DRIVER INSTALLATION WITH WINDOWS ME...............................................................5
DRIVER INSTALLATION WITH WINDOWS 2000............................................................6
DRIVER INSTALLATION WITH WINDOWS XP...............................................................9
DRIVER CONFIGURATION.......................................................................................11
CHAPTER 3 PPPOEAND PPPOACONFIGURATION.........................................15
ADSLLAN CONFIGURATION.................................................................................16
CHAPTER 4.USER INTERFACE..........................................................................17
ACCESSING CSA..............................................................................................17
CSAUSERSCREEN..........................................................................................17
CHAPTER 5.UNINSTALL MODEM.......................................................................20
USB MODEM UNINSTALLATION...............................................................................20
CHAPTER 6.TROUBLESHOOTING.....................................................................21
CHAPTER 7.ABBREVIATIONS............................................................................22

1
Chapter 1
Introduction
PLANETUSB ADSL modemADU-2120 is designedto providecost-effective ac-
cess to high-speed ADSL services. With our ADSL modem,surfing on Internetis
just likedriving asport car on theExpress Highway.Videoon Demand, Videocon-
ference andanyhigh-speedInternetapplications is not adreamanymore. Buta
reality!
Features
l USB bus-powered;an external power supplyis notrequired
l ANSI T1.413 issue 2,ITU G.dmt(G.992.1), and ITU G.lite(G.992.2) compliant
l Software upgradeable
l Support the following three modes
n PPP over ATM LLC or VCMUX (RFC 2364)
n PPP over Ethernet LLC or VCMUX (RFC 2516)
n RFC 1483 LLCSNAP/VC-MUX
-Bridged IP over ATM, LLCor VCMUX (RFC 1483)
-Routed IP over ATM LLC or VCMUX (RFC 1483)
l Supports DSL downstreamdata rates upto 8 Mbps
l Supports DSL upstreamdata rates up to1 Mbps
l Compliant withUniversal Serial Bus Specification Revision 1.1
Data Requirement
You must get the following data information fromyour ISP or phone companyto set
up ADU-2120.
ADSLRFC1483 mode user
l VPI/VCIvalue
l Encapsulationmode(example:RFC 1483...etc.)
l IP Address, Subnet Mask
l Gateway, DNS related information
ADSL PPPoE/PPPoAmode user
l VPI/VCIvalue
l Encapsulationmode (example:RFC 2364,2516...etc.)
l Username and password for authentication
1

2
System Requirement
l Mainboard with USB support
l PentiumII CPU andabove or compatible
l RAM:64M or above
l Windows 98SE, Windows 2000, Windows ME, Windows XP, Windows 2003
Server
NOTE: For Windows XP it is recommended that your PC have at least 128 M Bytes ofmemory.
LED definition
Belowis the front panel ofADU-2120 and its LEDs definition.
LED Definition
USB –Red Flashing when is attachingand configuring
USB –GreenSolid greenwhen the connectionto PC is OK and the driver
is well installed.
ADSL –Red Flashing when the softwaredownloading fromPC is suc-
cessful.
ADSL- Green Flashing when is trying to connect to ADSLDSLAM
Solid greenwhen is readyfor dial-upconnection

3
Chapter 2
Installation
Please refer to the following steps tocomplete ADU-2120 installation.
HardwareInstallation
1. Turn on your PC
2. Inserttherectangular end ofaUSB cable intothe USB port ofyourPC.Then,
insert the square end ofthe USB cable intotheUSB port ofthe ADU 2120.
3. PC will automaticallydetect this modemas “DynaMiTe USB Modem”.
4. Insert bundled USB driver CD into the proper driveand followinstruction to in-
stall ADU 2120.
Driver Installation with Windows98
1. The “Add New Hardware Wizard”will be displayed.Click Next.
2. Choose the “search for a better Driver (Recommended)”and clickNext.
2

4
3. Choose “Specifyalocation”.Then click “Browse”to find out thedriver location
to install.(Assume"E" isyour CD-ROM drive,the drivercanbefoundin
E:\driver\ADU-2120B) then clickOK. Please then click “Next”to continue.

5
4. The Add NewHardwareWizard will appear andindicate the PLANET
ADU-2120USB ADSL modem has been recognizedand will install anew
driver. Click Next
5. Please then go to Section “Driver Configuration”for further configuration.
Driver Installation with WindowsME
1. The “Found NewHardwareWizard”will be displayed.Insert ADU-2120 driver
CD and click Next.

6
2. Please specifythe path which ADSL modemconnected your computer to
Internet, thenclick OK.Please select thedirectorywith ADU-2120 driver and
then click “OK”.
3. Please then go to Section “Driver Configuration”for further configuration.
Driver Installation with Windows2000
1. The “Add New Hardware Wizard”will be displayed. Please clickNext.

7
2. Choose the “Search for asuitable driver for mydevice (recommended)”,and
clickNext.
3. Next youwill be prompted for software drivers. Select Specifya location.

8
4. Insert theADSL DriverCDinto your systemsCD-ROM driveandthen click
“Browse”tofind out thedriver locationtoinstall. (Assume"E" is yourCD-ROM
drive, the driver can be found in E:\driver\ADU-2120B)thenclickOK.
5. The Found NewHardware Wizard will thenfind the ADSL USB MODEM, click
Next.

9
6. The “Digital Signature Not Found”windowwill pop-up, ClickYes.
7. Please then go to Section “Driver Configuration”for further configuration.
Driver Installation with WindowsXP
1. The “Add NewHardware Wizard”will be displayed. Choose Install from alist or
specific location (Advanced) and clickNext.

10
2. Insert the ADSL Driver CD into your systemsCD-ROM drive, select “Include
this locationinthesearch”andthen click “Browse”to find out the driver loca-
tion toinstall. (Assume"E" is your CD-ROM drive,thedriver can be found in
E:\driver\ADU-2120B). Click “Next”to continue.

11
3. The Hardware Installation windowappears. ClickContinue Anyway.
4. Nowpleasego to Step3 for driver configuration.
Driver Configuration
Step 3: Driver Configuration
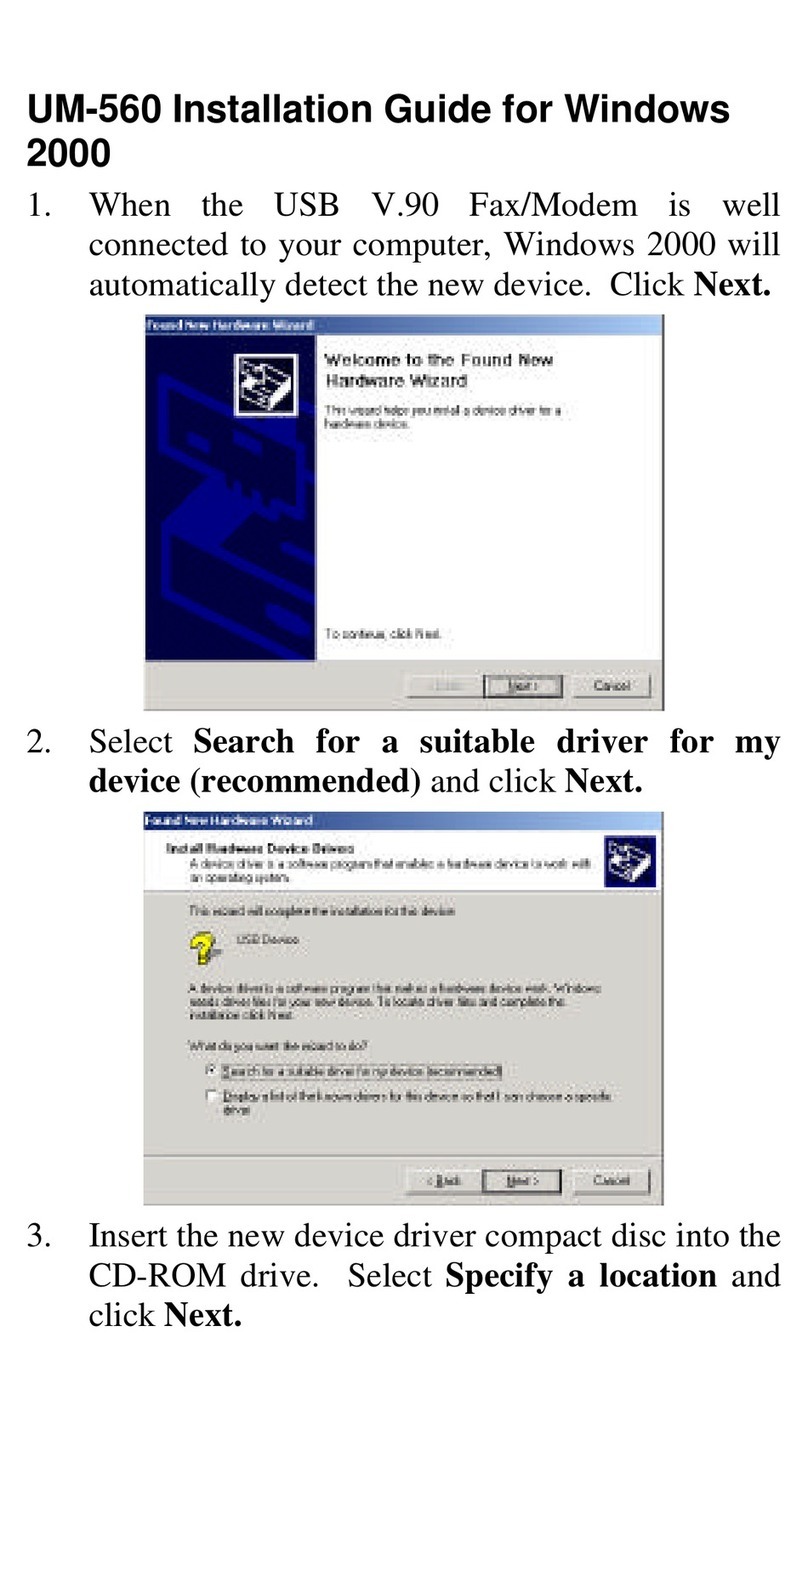
1. The systemwill start tocopythe driver and utilityfiles toyour PC. After com-
pleting, theADSL ModemDriver Suite installation page is shown. Click “Next”
to continue.
2. The modemdriver version is shown. Click “Next”to continue.

12
3. On this page, youneedtoselecttheoperationmode (RFC 1483, PPPoAor
PPPoE) andinputtheVPI /VCIvaluesper your ISPsrequirement. Click “Next”
to continue.

13
4. Pleasethen select the framing typeyour ISP uses: LLC or VCMUX/NULL.
5. Ifyouselect RFC 1483, youwill thenneedto specified ifit is Bridgedor Routed
RFC 1483. Your ISP should also provide this information.

14
6. The systemwill thenask youtoreboot your PC. Please select “Yes, Iwant to
restart mycomputer now”and clickOK to finish this setup procedure.
7. After reboot, the systemwill askyou toinstall thedriver again. Please select
“Install thesoftware automatically“and click “Next”to continue.

15
8. The Hardware Installationpageis shown. Please select “ContinueAnyway”or
Windows XP and “OK”on Windows 2000
3. The Found NewHardware Wizard windowappears and displaysyour newlyin-
stalled PLANETADU-2120 USB ADSL Interface, thenclickFinish. The system
mayask you toreboot again. Please select “Yes”toreboot ifasked.
Chapter 3
PPPoE and PPPoAConfiguration
3

16
ADSL LAN Configuration
To configure the connection, after you have installed the appropriate
driver:
Step 1. Clickeither the desktop icon, or the Dial-Up Networking icon to open the
Connect To window. For Windows XP, please click “Start”-> “Settings”-> “Net-
work Connections”and then clickthe ADSL or PPPoE onthe “Dial-up”option.
Step 2. Provide the following information
Step a. Supplythe User Name.
Step b. Supplythe Password.
Step c. Clickthe field for Save Password, if you want the systemto remember
the password.
Step d. Click DIAL to set up theconnection.
NOTE: The data for the Phone number fieldhas been furnished by your
service provider.
Note: There is a known issue for PPPoAin case ofWindows 98 SecondEdition
and Windows Millennium. Extra disabledadapters mayappear in DeviceManager.
These extra adapters do not affect the functionalityofthe enabledadapter. How-
ever, do not remove the disabled adapters.
Check this link for more informa-
tion.http://support.microsoft.com/default.aspx?scid=kb;EN-US;q279116
4
Table of contents
Other Planet Modem manuals

Planet
Planet ENW-5601 User manual

Planet
Planet VC-204 User manual

Planet
Planet UM-560 User manual

Planet
Planet WL-3600 User manual

Planet
Planet VC-301 User manual

Planet
Planet Bridge/Router ADU-2100 User manual

Planet
Planet ADP-8301 User manual

Planet
Planet USB ADSL Modem ADU-2000 User manual

Planet
Planet WNAP-7320 User manual

Planet
Planet EMQ-3503F User manual