Playaway Toy Company Rainy Day Indoor Playground User manual

Page 1of 4
Playaway Toy Company Incorporated
Instruction sheet for the Rainy Day Indoor Playground
Before installation read through and follow the entire instruction set. RESPONSIBLE ADULT ASSEMBLY REQUIRED!
Important
Test the unit before each and every use! Do this by tightening the bar and hanging your weight from it as explained in the
instructions, failure to do so could result in the bar becoming detached from the saddles resulting in injury to the user. Adult is solely
responsible for the correct installation of the unit and the safety of the user!
Users of the Rainy Day Indoor Playground must comply strictly with the instructions included herein as they refer to the
construction and use of this product. The manufacturer shall take no responsibility for injuries occurring as a result of the
purchaser’s failure to strictly adhere to the instructions as to assembly and use of the Rainy Day Indoor Playground.
The manufacturer shall take no responsibility for injuries occurring as
a result of the purchaser’s failure to strictly adhere to the instructions
as to the assembly and use of the Rainy Day Indoor Playground.
Warning
Do not install this support bar over a stairwell or in a mobile home. Never leave children unsupervised while the unit is in use. The
use of attachments or accessories not sold by Playaway Toy Company Incorporated may be dangerous.
Please Note: The support bar is designed to be installed in a doorway that is between 29” and 36” wide!
PROPERLY INSTALLED HARD-MOUNT UNIT
The Rainy Day Indoor Playground is constructed of quality materials with safety a number one factor. Care of the product and proper
installation will provide hours of fun for children.

Page 2of 4
Do’s and Don’ts
DO hard mount the support bar, follow the hard mount instructions.
DO wipe your doorway with hot water before installing the unit. This will remove dust and grime. Do this each time the unit is moved
from house to house or doorway to doorway.
DO wipe the rubber strip of the saddle with rubbing alcohol to ensure there is no dust or film on the strip. This will allow the strip to
grip the surface of the doorway better. Do maintenance checks periodically of the rubber strip and use rubbing alcohol to clean away
wax, dirt, and grime.
DO follow weight restrictions that apply to the attachments
55 Pounds –Climbing Ladder
100 Pounds –Strap Swing
70 Pounds –One Seated Glider
100 Pounds –Trapeze Bar
60 Pounds –Toddler Swing
175 Pounds –Net Swing
DO test the unit before each and every use. Do this by tightening the bar, and hanging your weight from it as explained in the
instructions.
DO fasten safety harness when child is using toddler swing.
Warning! Use only as directed in the instructions. Use only Playaway Toy Company Incorporated attachments which
are designed for use with our support bar.
DON’T close the door while the unit is in use. Keep the door in the open
position when swing is being used.
DON’T install the unit in a doorway entering onto or over a stairwell.
DON’T install the unit in a mobile home.
DON’T attach or center any other equipment on the support bar.
DON’T allow child to swing high enough to touch the ceiling.
DON’T allow “under ducks”
DON’T leave hanging attachments from support bar when not in use.
Never leave child unsupervised while unit is in use!

Page 3of 4
Hard Mount Instructions
1. Clean the rubber strip on the back of the blue saddle with rubbing alcohol.
2. Wipe the door frame with hot water to remove dust and grime.
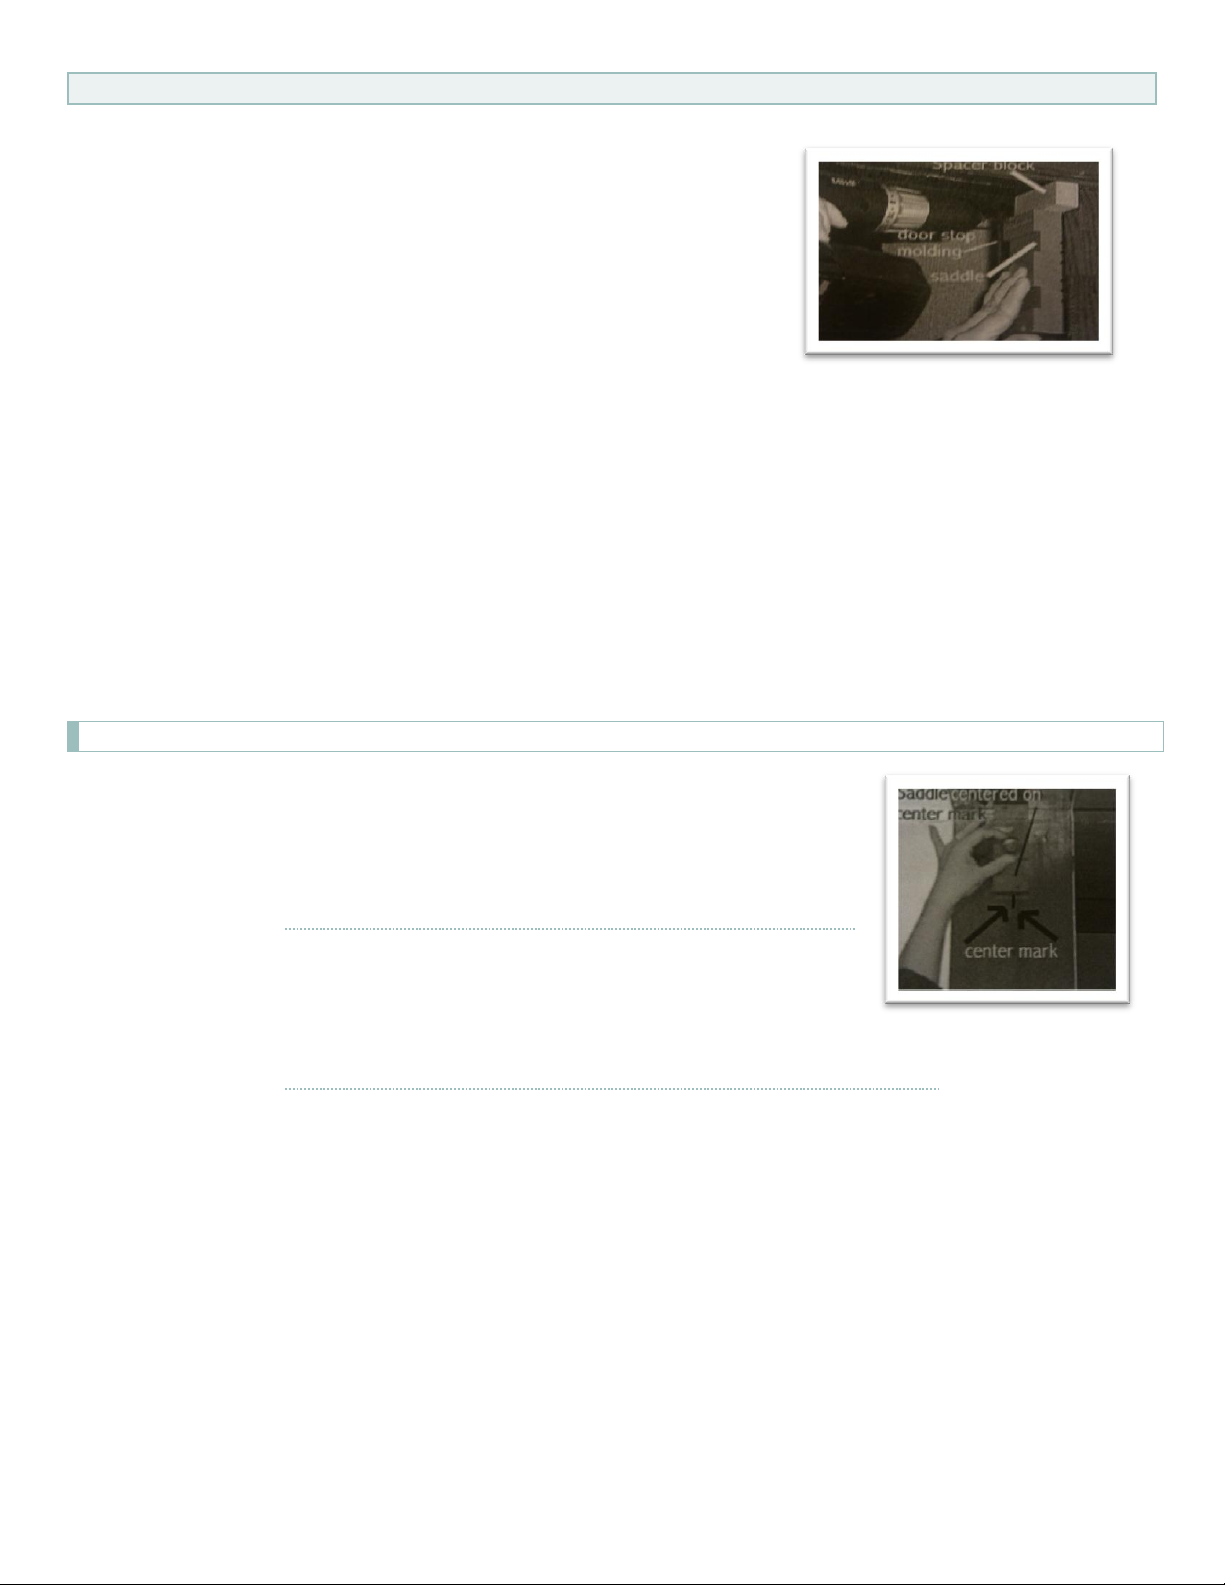
3. Place the wood spacer block at the top of the doorway against the door
frame. Position the saddle on the door frame against the door stop molding,
underneath the wood spacer block, with the rubber strip against the door
frame.
4. Using a 1/8 inch drill bit, drill pilot holes into the doorframe using the small
holes on the saddle as a guide. Put the wood screws into the pilot holes and
tighten securely. Be careful not to over tighten and strip the screw threads.
5. Install the other saddle on the opposite side of the doorframe in the same manner.
6. Adjust the bar to the approximate width of the door by holding one end of the bar and turning the other end either in or out.
Take one of the metal O-rings and place it in one of the grooves on the end of the bar. Place the end of the bar in the round
hole in the middle of the blue saddle.
7. Place the other metal O-ring in the groove on the other side of the bar. Holding the end of the bar that is in the hole of the
saddle, turn the opposite end to expand the bar until it will go into the matching hole on the other saddle.
8. Support bar works when adequate tension is exerted against saddles through turning the support bar into saddles tightly.
Keep in mind that it is possible to crack the doorframe by over tightening.
9. Prove the bar is ready to use by an adult placing one hand on each blue grip securely and hang from the bar lifting feet off
the floor. There should be no movement or slipping of the bar.
10. Hook your attachment to the O-rings on the bar, and it is ready for use!
For doorways without door stop moldings
1. After completing steps 1 and 2 as listed under “Hard Mount Instructions”, measure the
width of the doorway and find the center. Make a mark indicating the center. Repeat
on the opposite side of the doorframe.
2. Position the saddle so that it is centered over the center mark made on the doorway.
3. Follow steps 3 through 10 as listed under “Hard Mount Instructions”.
WARNING
Overuse of the swing may cause excessive wear on the O-rings
and pelican hooks. O-rings and hooks should be checked
periodically for wear and replaced when necessary.
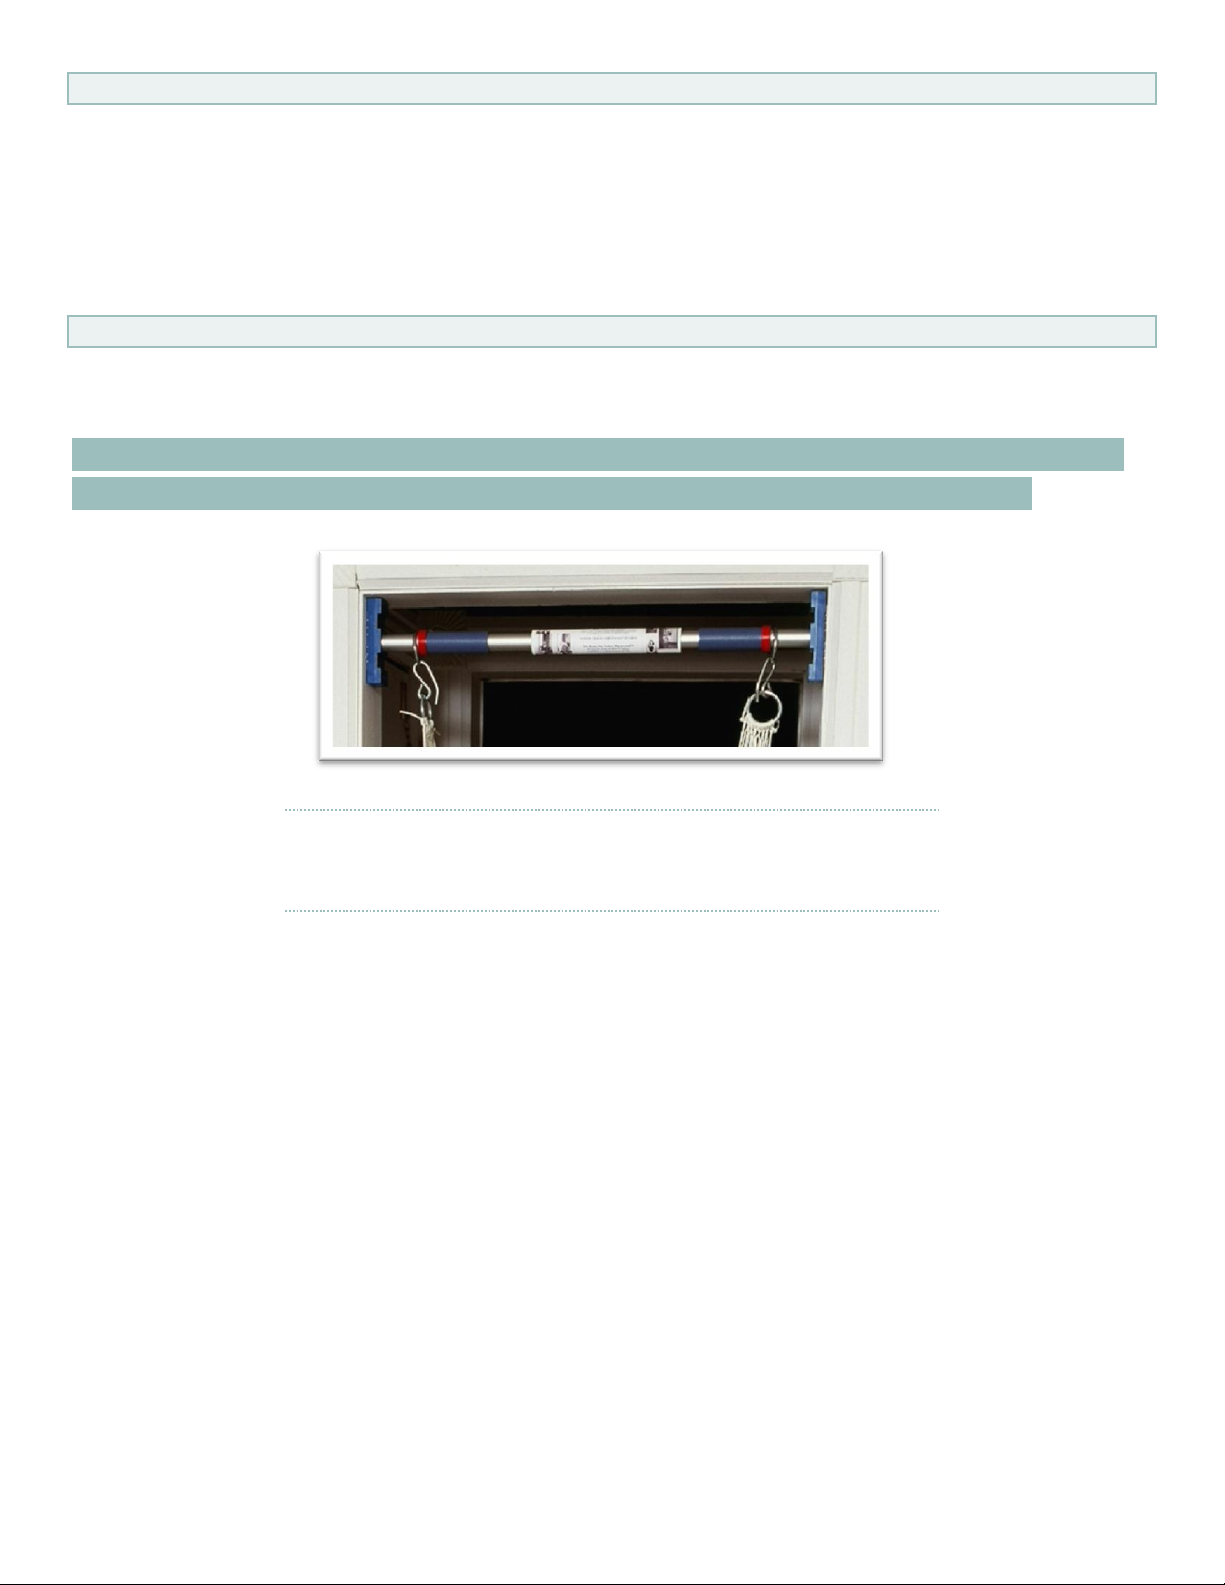
Check O-rings and pelican hooks periodically for wear and replace when wear is evident. Call (715) 752-4840 to order replacement
parts.
All attachments connect to the O-rings by way of the pelican hooks as shown on the properly installed support bar.
Visit us at www.playaway toy.com for more products.

Page 4of 4
Materials List
Expandable Support Bar (1)
Blue Saddles with pre-drilled holes (2)
Metal O-rings used to hang attachments (2)
2 Inch wood screws (4)
Wood spacer block (1)
Tools Needed
1/8 Inch drill bit
#2 Phillips head screwdriver
To use support bar as a portable unit child must be less than 75 pounds. You must purchase another set of saddles
and a set of tiger claws so you can soft mount the unit when you take your unit from location to location.
Hook your attachment(s) to the O-rings on the bar, and the swing is
ready for use!
Table of contents
Popular Baby Swing manuals by other brands

Bright Starts
Bright Starts 6931-ES manual

Fisher-Price
Fisher-Price P0098 quick start

M&M Sales Enterprises, Inc.
M&M Sales Enterprises, Inc. Treadz Installation, operation & maintenance instructions

Trigano
Trigano RELAX Assembly instructions

Fisher-Price
Fisher-Price DPV46 manual

Fisher-Price
Fisher-Price H8905 manual