10
IV. SET UP, continued
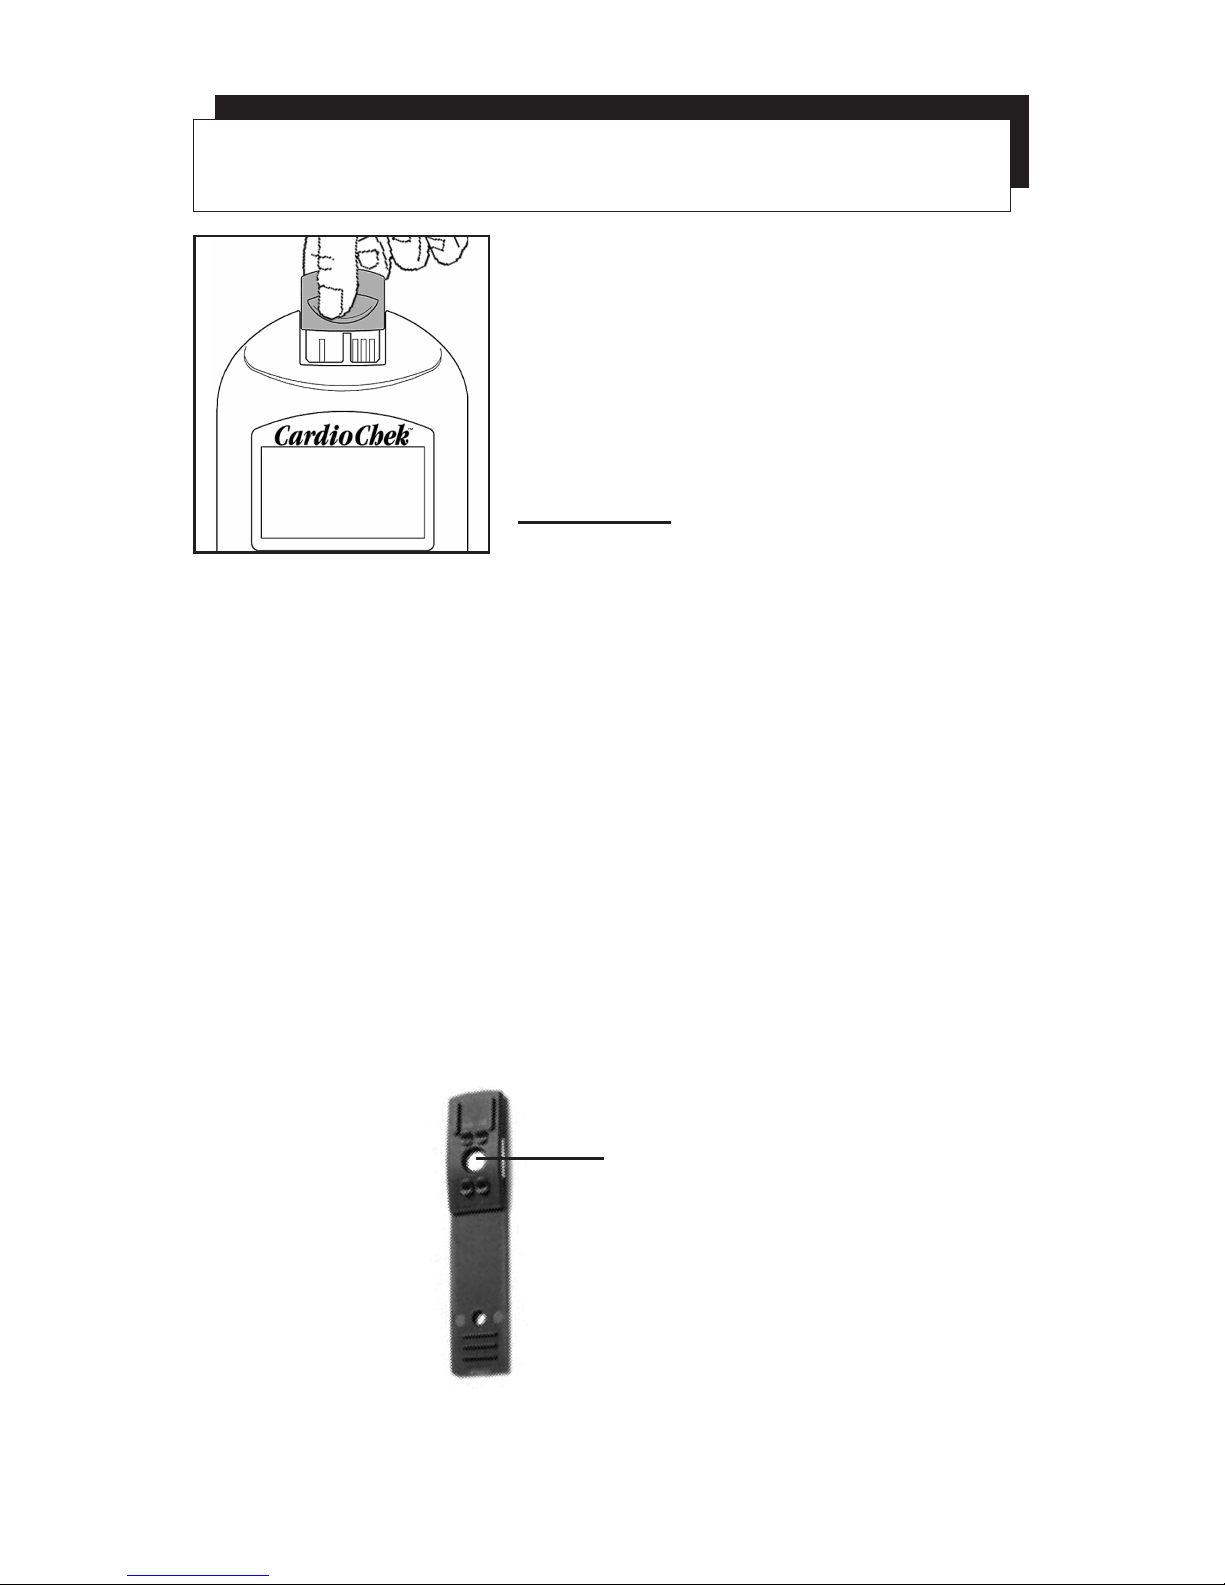
Buttons
ENTER Button: Press this button to turn the ana-
lyzer ON or to accept the current menu choice.
NEXT Button: Press this button to turn the analyzer
ON or to advance to the next menu option.
How to Turn the Analyzer OFF:
The batteries will have a longer life due to the analyzer’s
automatic shut down feature. After three minutes of idle time
(without a Test Strip or Check Strip inserted) the analyzer
will perform a 10 second count down and turn OFF. To stop
shutdown press down either button. To turn OFF press both
buttons at the same time for three seconds at any of the fol-
lowing Main Menu headings: RUN TEST, MEMORY, UTIL-
ITY, or USER SET. You can also remove the batteries to
turn the analyzer OFF.
The first time the analyzer is turned on you will be required to
set the language, date, and time.
Setting Language
The language menu consists of the following choices:
English, (ENGLISH), German (DEUTSCH), Italian
(ITALIANO), French (FRANCAIS), Spanish (ESPANOL), and
Portuguese (PORTUGSE).
How to Set the Language:
1. Turn the analyzer ON by pressing either button (Enter or
Next).
2. The display will read LANGUAGE. Press Enter.
3. ENGLISH will be displayed. Press Enter if English is
desired.
4. For other languages press Next until the desired lan-
guage is displayed, then press Enter. To set the time
proceed to How to Set the Time.