8Spark Generator and Gas Delivery
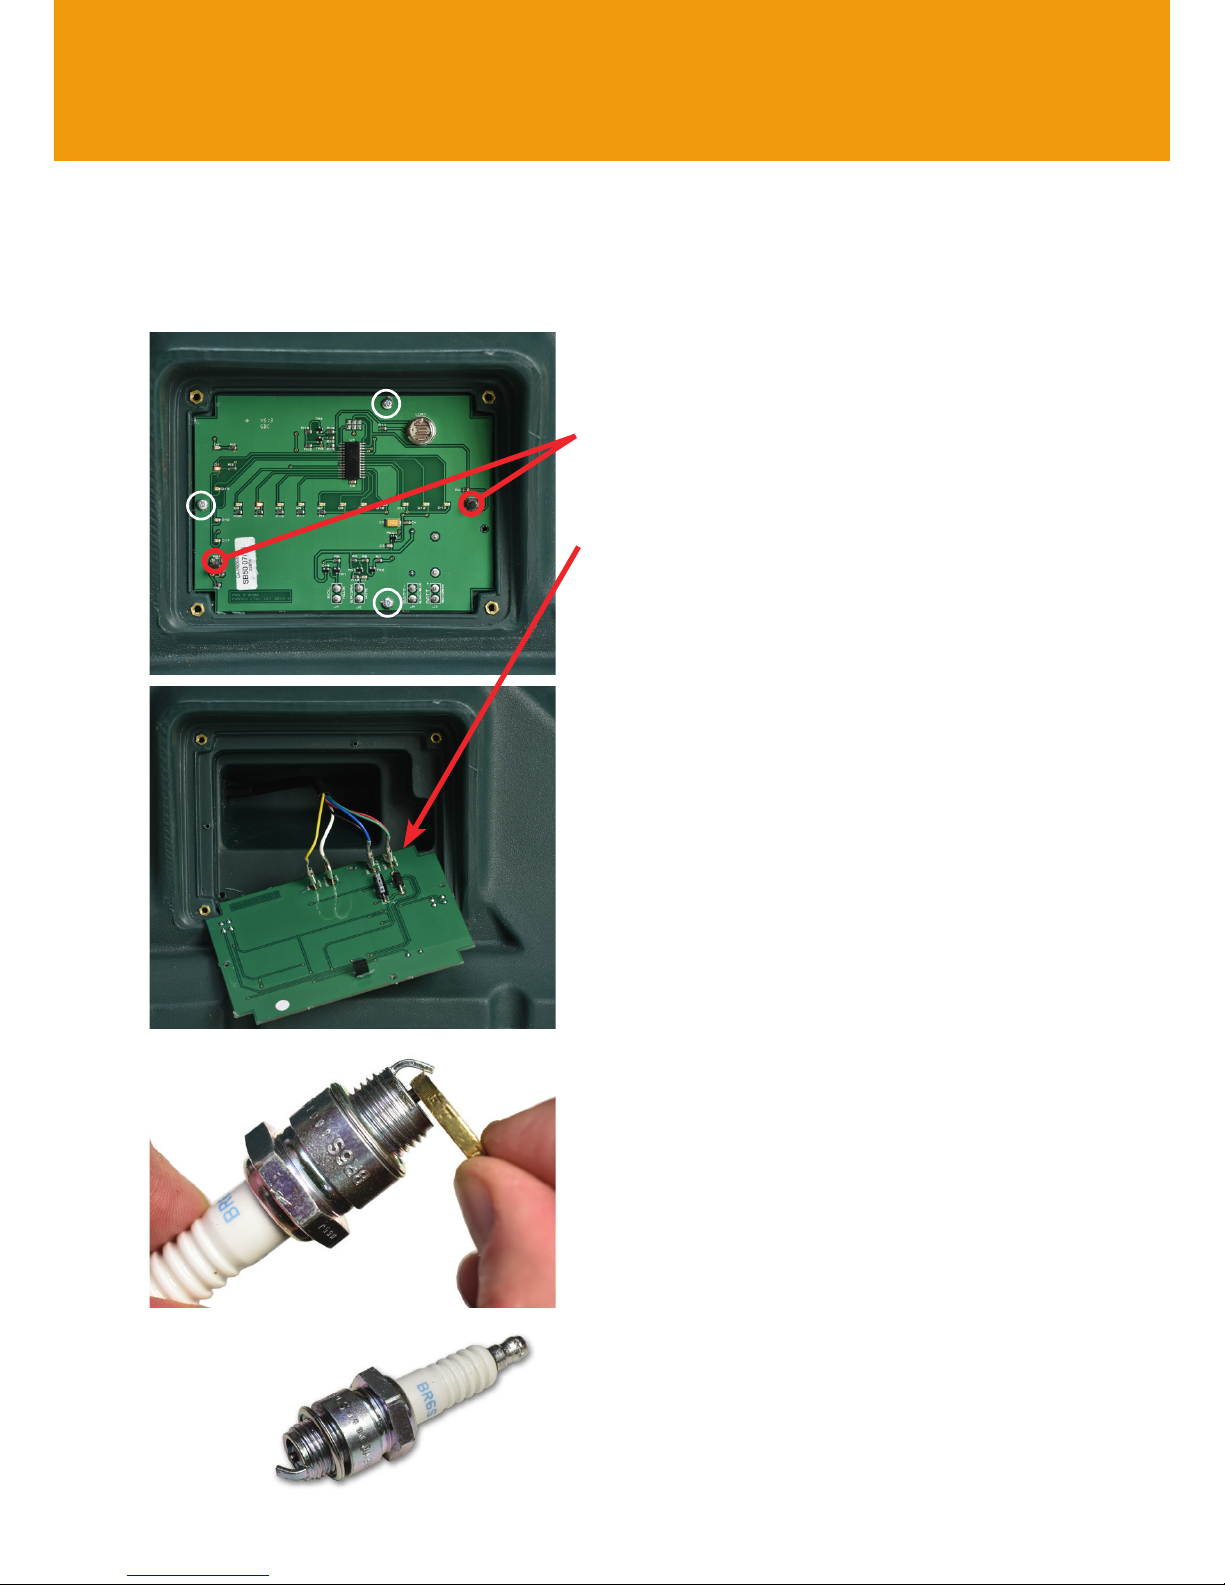
SPARK GENERATOR
If your Scatterbird is still not working, check and clean the wiring to the spark generator and
test again.
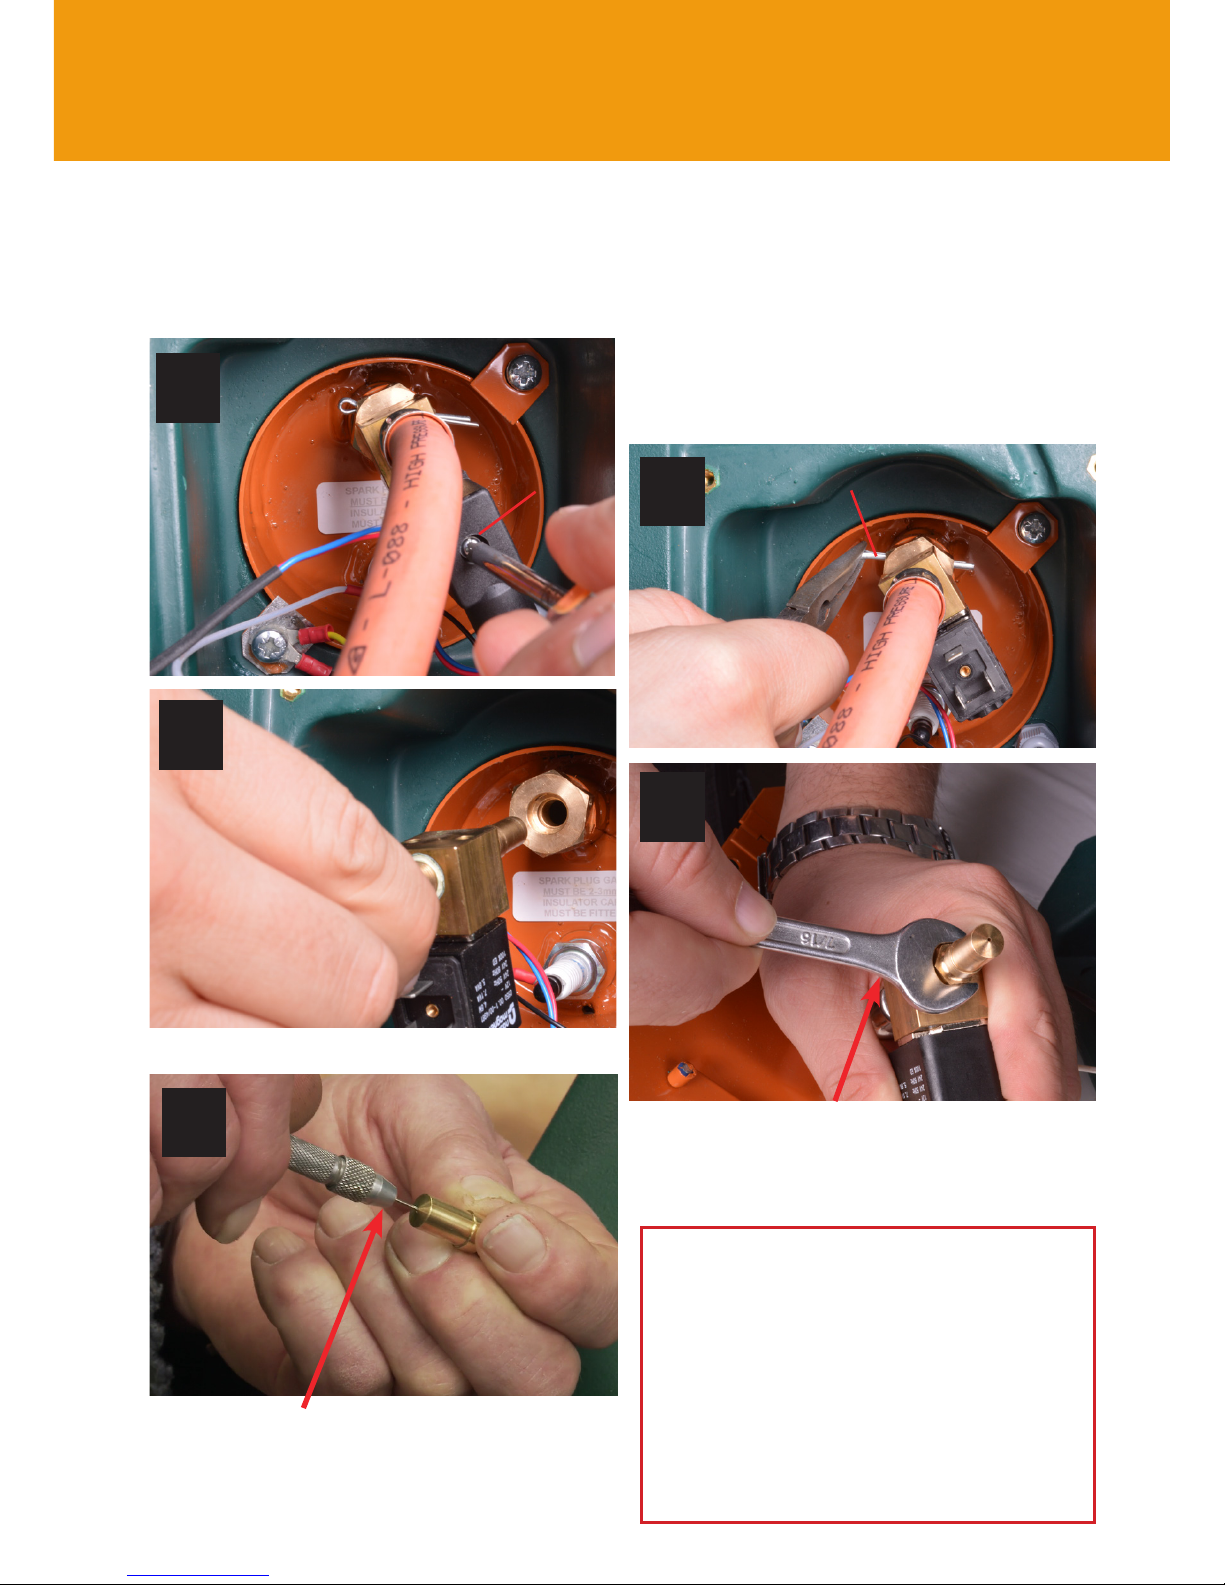
2 TYPES OF GAS JET
Early Scatterbirds were fitted with a single piece
jet (B) which was later superseded by the
two part jet (A).
We recommend replacing the single piece
jet with the two piece jet for faster and more
convenient maintenance. For removing the one
piece jet please contact technical services on
01234 889 454.
Note: If the Scatterbird is fitted with the two
part jet, ensure that the rubber cap is fitted
to the top of the spark plug (see page 4)
to make sure it is not shorting against the
solenoid housing.
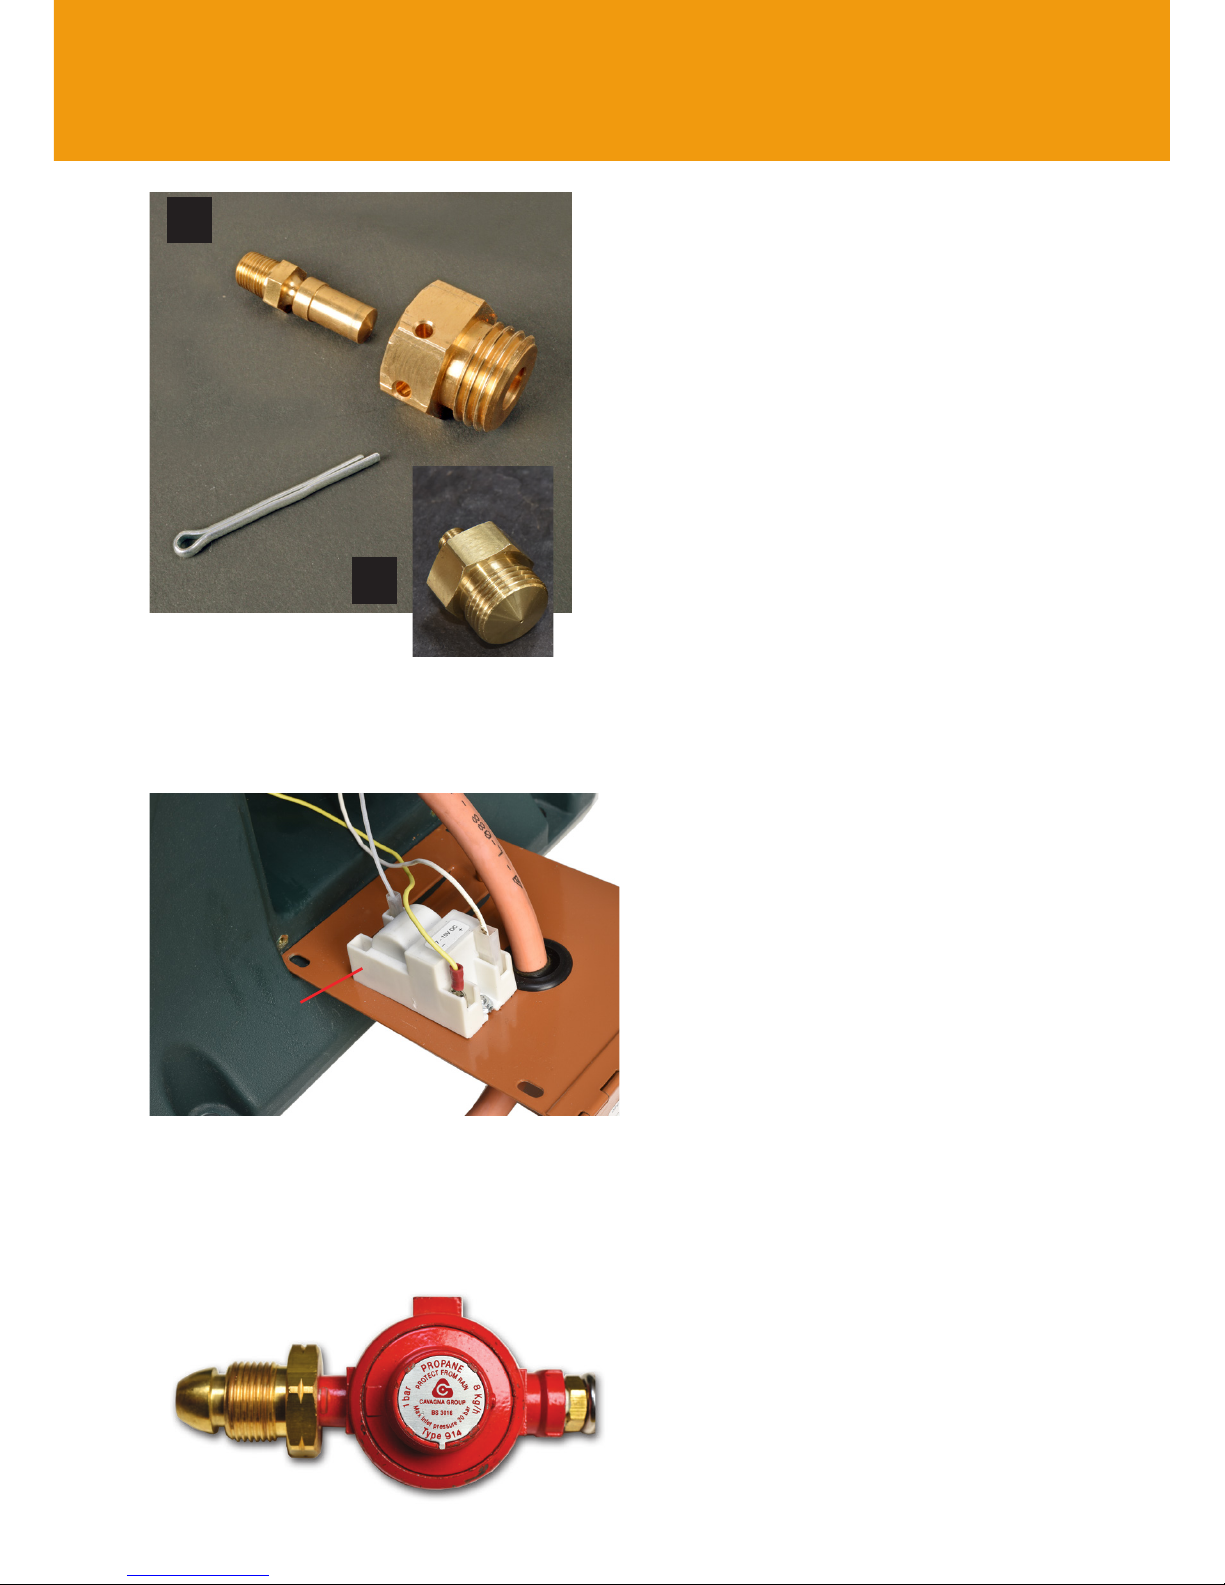
GAS DELIVERY
To check for problems with gas delivery, check the bottle is turned on and contains gas. Try
to avoid completely emptying the bottle as it contains sediment which can block jets and
regulators.
You will hear an initial click of the solenoid
opening to allow the gas in, followed 3
seconds later by the rapid clicking of the
spark generator firing the spark plug. If you
cannot hear a rapid clicking and all the spade
contacts have been thoroughly cleaned, then
the spark generator will have to be replaced.
If you do not hear the initial click then the
issue may be with the solenoid.
The spark generator may be green in colour
and not white as shown.
Next, check that the correct regulator is
fitted. Use only a One Bar Regulator. If the
correct one is fitted, check the connections
for damage or loose fitting. Replace or
tighten as necessary. When changing the
regulator make sure it does not come into
contact with the ground as soil particles can
block or damage the unit.
TWO
PIECE JET
EARLY SINGLE
PIECE JET
This might
be green in
colour
A
B