Warranty & Service
The JET Group warrants e ery product it sells. If one of our tools needs ser ice or repair, one of our Autho-
rized Repair Stations located throughout the United States can gi e you quick ser ice.
In most cases, any one of these JET Group Repair Stations can authorize warranty repair, assist you in
obtaining parts, or perform routine maintenance and major repair on your JET, Performax or Powermatic
tools.
For the name of an Authorized Repair Station in your area, please call 1-800-274-6848.
More Information
Remember, the JET Group is consistently adding new products to the line. For complete, up-to-date product
information, check with your local JET Group distributor.
JET Group Warranty
The JET Group (including Performax and Powermatic brands) makes e ery effort to assure that its products
meet high quality and durability standards and warrants to the original retail consumer/purchaser of our
products that each product be free from defects in materials and workmanship as follow: 1 YEAR LIMITED
WARRANTY ON ALL PRODUCTS UNLESS SPECIFIED OTHERWISE. This Warranty does not apply to
defects due directly or indirectly to misuse, abuse, negligence or accidents, normal wear-and-tear, repair or
alterations outside our facilities, or to a lack of maintenance.
THE JET GROUP LIMITS ALL IMPLIED WARRANTIES TO THE PERIOD SPECIFIED ABOVE, FROM THE
DATE THE PRODUCT WAS PURCHASED AT RETAIL. EXCEPT AS STATED HEREIN, ANY IMPLIED
WARRANTIES OR MERCHANTIBILITY AND FITNESS ARE EXCLUDED. SOME STATES DO NOT
ALLOW LIMITATIONS ON HOW LONG THE IMPLIED WARRANTY LASTS, SO THE ABOVE LIMITATION
MAY NOT APPLY TO YOU. THE JET GROUP SHALL IN NO EVENT BE LIABLE FOR DEATH, INJURIES
TO PERSONS OR PROPERTY, OR FOR INCIDENTAL, CONTINGENT, SPECIAL, OR CONSEQUENTIAL
DAMAGES ARISING FROM THE USE OF OUR PRODUCTS. SOME STATES DO NOT ALLOW THE
EXCLUSION OR LIMITATION OF INCIDENTAL OR CONSEQUENTIAL DAMAGES, SO THE ABOVE
LIMITATION OR EXCLUSION MAY NOT APPLY TO YOU.
To take ad antage of this warranty, the product or part must be returned for examination, postage prepaid, to
an Authorized Repair Station designated by our office. Proof of purchase date and an explanation of the
complaint must accompany the merchandise. If our inspection discloses a defect, we will either repair or
replace the product, or refund the purchase price if we cannot readily and quickly pro ide a repair or replace-
ment, if you are willing to accept a refund. We will return repaired product or replacement at JET's expense,
but if it is determined there is no defect, or that the defect resulted from causes not within the scope of JET's
warranty, then the user must bear the cost of storing and returning the product. This warranty gi es you
specific legal rights; you may also ha e other rights which ary from state to state.
The JET Group sells through distributors only. Members of the JET Group reser e the right to effect at any
time, without prior notice, those alterations to parts, fittings, and accessory equipment which they may deem
necessary for any reason whatsoe er.
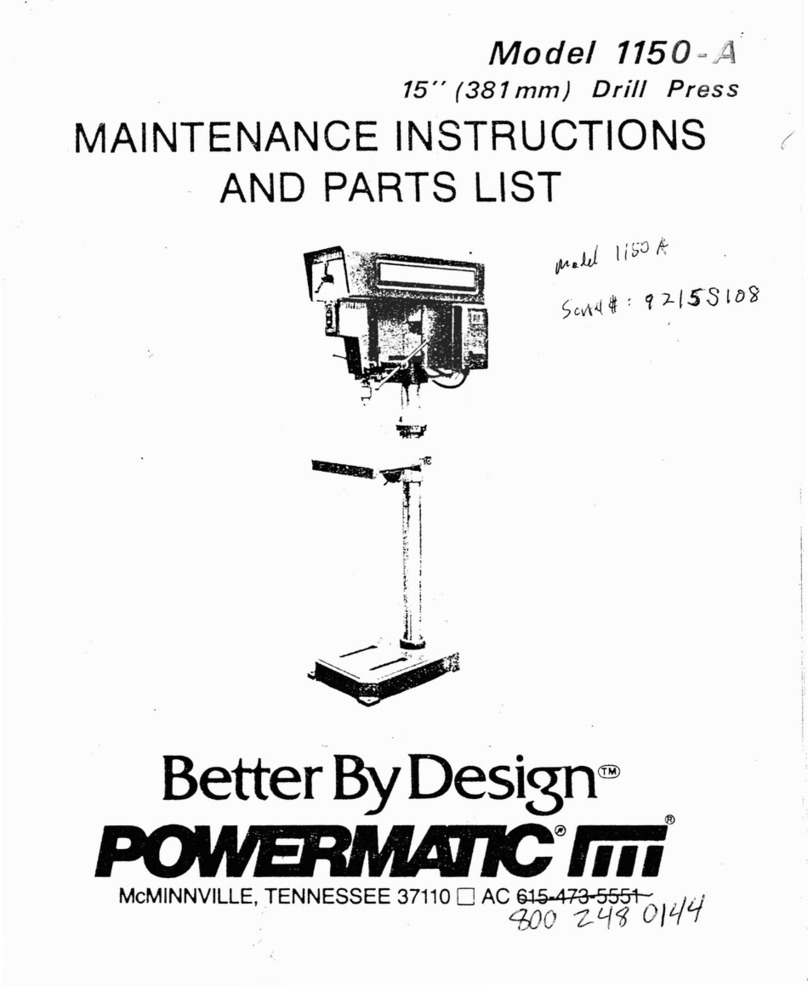
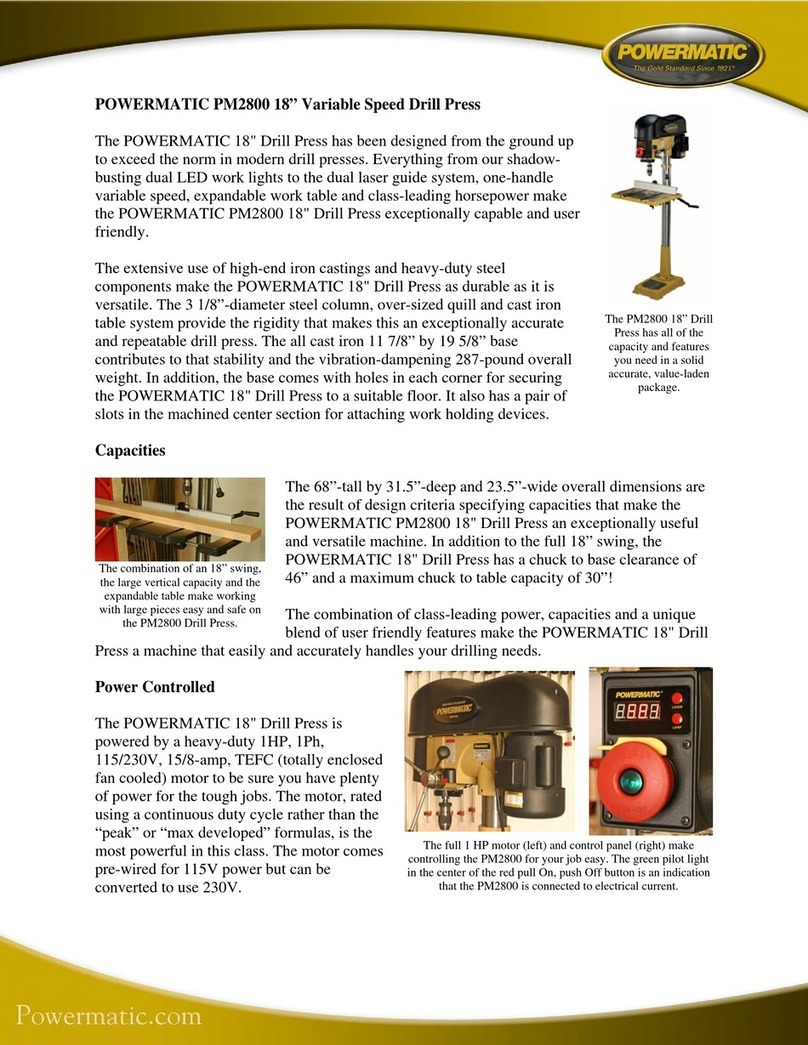
This manual has been prepared for the owner and operators of a Powermatic Model 1150A or
1150HD, 15" Drill Press. ts purpose, aside from machine operation, is to promote safety through
the use of accepted correct operating and maintenance procedures. Completely read the safety
and maintenance instructions before operating or servicing the machine. To obtain maximum
life and efficiency from your drill press and to aid in using the machine safely, read this manual
thoroughly and follow all instructions carefully.
