PRASTEL DOM1-L1SIM User manual

Control unit for 1 device with max power 1000W.
110/240 VAC power supply, integrated RX 433.92 MHZ ISM,
wired input settable with button or switch.
Presence simulation function, On/O, timer ON.
DOM1-L1SIM
FLASHES TYPE OF SWITCH-ON
PROGRAMMED
Duration of 4 hours, followed by 20 hour pause
Duration of 8 hours, followed by 16 hour pause
Duration of 12 hours, followed by 12 hour pause
Continuous presence simulator cycle
1 ash
2 ashes
3 ashes
4 ashes
Default: duration 4 hours, pause 20 hours
This procedure is used to set the duration of the presence simulator.
WARNING: the presence simulator function is repeated every day at the same time until it is deactivated with a command by radio
or wire (see paragraph 6.1).
PROCEDURE
1- Position DIPs 1, 2, 3 and 4 to ON-ON-OFF-OFF
2- Press the button on the receiver for a short time.
The LED comes on and stays on
3- Press the button on the receiver for a short time.
4- The LED on the receiver ashes.
Each ash corresponds to a setting
5- Press the button for a short time during the
desired ash
WARNING: to change the setting, repeat the procedure from point 1
WARNING: after programming, reposition the dip switches to the desired operation of the
contacts (see paragraph 4.1)
6.3 SETTING THE DURATION OF THE PRESENCE SIMULATOR
ON
1 2 3 4
ON
1 2 3 4
6.4 RADIO PROGRAMMING OF TRANSMITTERS MATCHED TO THE
ACTIVATION OF THE PRESENCE SIMULATOR CYCLE
This process makes it possible to programme only compatible transmitters; see table 6.4.
It will be possible to activate and deactivate the presence simulator cycle with a transmission from the programmed transmitter.
By programming the same channel of a transmitter on multiple receivers with this function it will be possible to create a system in
which the lights in multiple rooms will turn on in a random sequence (see paragraph 6.1).
PROCEDURE:
1- Position DIPs 1, 2, 3 and 4 to OFF-OFF-OFF-OFF
2- Press the button on the receiver for a short time. The LED comes on and stays on.
3- Make a transmission with the remote control to be saved (see transmitter manual, the paragraph entitled "transmitter program-
ming"). The LED on the receiver ashes 3 times to signal that it has been received.
4- The control unit listens for 30 seconds (to immediately exit the procedure press the button on the receiver).
WARNING: after programming, reposition the dip switches to the desired operation of the
contacts (see paragraph 4.1)
If the transmitter is a multifunctional one, the key dedicated to activation will be the "square" one.
To delete programmed transmitters from the memory, see paragraph 5.4.
Tab. 6.4
COMPATIBLE TRANSMITTERS
INDEX
1 - PRODUCT FEATURES
1.1 - TECHNICAL DATA
1.2 - DESCRIPTION
2 - ELECTRICAL CONNECTIONS
2.1 - CONNECTIONS FOR LOADS POWERED BY THE GRID
2.2 - CONNECTION BETWEEN TWO CLEAN OUTPUT CONTACTS
3 - USE OF THE CONTROL UNIT
3.1 - USE VIA RADIO
3.2 - USE VIA WIRE
4 - CONTROL UNIT SETTINGS
4.1 - SETTING "OUT1" OUTPUT
4.2 - SETTING "OUT1" TIMING
4.3 - SETTING TYPE OF INPUTS VIA WIRE "P1"
5 - RADIO PROGRAMMING
5.1 - RADIO PROGRAMMING MULTIFUNCTIONAL TRANSMITTERS
5.2 - RADIO PROGRAMMING OF GENERIC TRANSMITTERS
5.3 - DELETION OF TRANSMITTERS
6 - PRESENCE SIMULATOR
6.1 - USE OF PRESENCE SIMULATOR
6.2 - SETTING RANDOM SWITCH-ONS
6.3 - SETTING THE DURATION OF THE PRESENCE SIMULATOR
6.4 - RADIO PROGRAMMING OF TRANSMITTERS MATCHED TO THE ACTIVATION
OF THE PRESENCE SIMULATOR CYCLE
ISDOM-L1SIM_EN_V1.1
PRASTEL France
ZI Athelia II
225 impasse du Serpolet
13600 La Ciotat
Tél : 04 42 98 06 06
prastel.com
DOM-TX15, DOM-TX4, MPSTP2E, TC2E, TC4E, SLIM2E, SLIM4E

1.2 DESCRIPTION
DOM-L1SIM is a miniaturised electronic control unit for managing a device via radio and wire, with a push-button or switch.
Flexible applications thanks to the fact that the load can be controlled in monostable, bistable or timer (from 1 second to 60
hours) mode.
The presence simulation function consists in a random activation of the lights that can be activated with a wired button or a
dedicated radio command, ideal for discouraging intruders while away from home.
The ISM (industrial, scientic and medical) radio frequency band guarantees a long range, even through walls and ceilings. Simple
programming with dip-switch, reduced dimensions with breakable tabs for xing with screws or
for insertion into interconnection boxes with 55 mm diameter.
- Installation must be carried out only by qualied technicians in compliance with the electrical and safety standards in force.
- All connections must be made with the power turned o.
- Use suitable cables (0,75 m² recommanded).
- Do not cut through the aerial (see gure 1.1b)
- A suitably sized disconnection device must be set up on the electric power line that supplies the product.
- Disposal of waste materials must fully respect local standards.
1 PRODUCT FEATURES
WARNINGS
43mm
21mm 52mm
Led
Dip switches
Button
58mm
1.1TECHNICAL DATA
Mains 120-240 VAC
1 contact: 230 V max 1000 W,
110 V max 500 W
100
433.920MHz ISM
IP20
-20 +55 °C
52x43x21 mm
Power supply
Outputs
Number of programmable transmitters
Radio frequency
Protection rating
Operating temperature
Dimensions
Fig.1.1a
Fig.1.2a
Fig.1.1b
Fig.1.2b
Fig.1.2c Fig.1.2d Fig.1.2e
Fig.1.2f before after
L
NL
N
N
Fig.1.1c

2.2 CONNECTION BETWEEN TWO CLEAN OUTPUT CONTACTS
The following connection lets you control a NO contact via radio and/or wire.
WARNING: Multiple buttons can be connected to the same input by using parallel cabling.
N
L
P1
OUT1
C1
P2
1 2 3 4 5 6 7
2.1 CONNECTIONS FOR LOADS POWERED BY THE GRID (230 V MAX 500 W, 110V MAX 250 W)
The following connection lets you control the loads, powered by grid voltage, via radio and/or wire.
This control unit comes set up for dierent types of connection that allow greater exibility regarding the behaviour of the
outputs and the types of inputs to adapt to various system congurations.
BEHAVIOUR OF OUTPUTS
Depending on the type of load that you want to control, connections can be made that let you
- control a load powered by grid voltage (230 V max 1000 W, 110 V max 500 W), paragraph 2.1.
- have two potential-free output contacts; paragraph 2.2.
INPUT TYPE
Thanks to the programming described in paragraphs 4.3 and 4.4, you can select whether the wired command is given by a
button or a switch.
WARNING: More loads can be connected by using parallel cabling.
Multiple buttons can be connected to the same input by using parallel cabling
P1: Command of load
P2: Presence simulator activation
P1: Command of load
P2: Presence simulator activation
2 ELECTRICAL CONNECTIONS
N
L
Fig.2.1
Fig.2.2
P1
OUT1
P2
1 2 3 4 5 6 7

This process is used to congure the behaviour of the OUT1 output contact (table 4.1a).
4.1 SETTING "OUT1" OUTPUT
4 CONTROL UNIT SETTINGS
ON
1 2 3 4
SETTING "OUT1" OUTPUT
ON - ON
ON - OFF
OFF - ON
OFF - OFF
Monostable
(pulse)
Bistable
(On/O)
Timer (see
para. 4.2)
Disabled
DIP 1 - 2 MODE
ON
1 2 3 4
ON
1 2 3 4
ON
1 2 3 4
3 USE OF THE CONTROL UNIT
To control the loads via radio you must have compatible transmitters and therefore must carry out the association procedure, see
paragraph 5.
The transmitter's command modes depend on the output setting (see paragraph 4.1) and the model of transmitter used.
If the transmitter is of a generic type, its operation depends on the way it is programmed (see paragraph 5, table 5.2b).
If the transmitter is multifunctional, refer to the transmitter manual, to the paragraph entitled "commands sent by the transmit-
ter", bearing in mind that:
Output set as monostable (see paragraph 4.1) = monostable device
Output set as bistable (see paragraph 4.1) = on/o device
Output set as timer (see paragraph 4.1) = timer device
3.1 USE VIA RADIO
The device is set up to accept commands via wire from the switch in terminals 3 and 4.
Should you want to control the load only via radio, it is not necessary to connect these devices for the control unit to work
properly.
The behaviour of the inputs depends on the output setting (see paragraph 4.1).
The following table shows the behaviours of the various keys:
* irrespective of the output setting (see paragraph 4.1), if the presence simulator function is activated (see paragraph 6), the
control unit will control the connected load according to a random sequence of activations and deactivations.
3.2 USE VIA WIRE
Default: 3 minutes
This process is used to set the time for which the "OUT1" contact stays closed if it is set on a timer.
PROCEDURE:
1- Position DIPs 1 and 2 to OFF-ON.
2- Position DIPs 3 and 4 according to the unit of
measurement desired for the count
(see table 4.2 at the side)
3- Press the button on the receiver for a short time.
The LED comes on and stays on.
4- Press the button on the receiver for a short time
5- The LED on the receiver starts to ash (max. 60 ashes): each ash
corresponds to a unit of time
6- Press the button for a short time while it is ashing to end the count
EXAMPLE: I want to time OUT1 to 90s, I set Dips 1 and 2 to OFF and ON, Dips 3 and 4 to ON and OFF and I count three ashes.
WARNING: after programming, reposition the dip switches to the desired operation of the contact (see
paragraph 4.1)
4.2 SETTING "OUT1" TIMING
ON
1 2 3 4
ON
1 2 3 4
ON - ON 1 second
ON - OFF 30 seconds
OFF - ON 15 minutes
OFF - OFF 1 hour
DIP 3 -4 UNIT OF TIME
Tab. 4.2
Tab. 4.1a
ON
1 2 3 4
ON
1 2 3 4
ON
1 2 3 4
MONOSTABLE
RELAY
Input P1= Close and reopen
contact 1 Change status of
contact 1 (closed,
open...)
Close contact 1 for the time
set (see paragraph 4.2) No action
Input P2= Presence simulator
activation
(see paragraph 6)*
Presence simulator
activation
(see paragraph 6)*
Presence simulator
activation
(see paragraph 6)*
No action
BISTABLE RELAY TIMER RELAY DEACTIOVATED RELAY

Default: Push-button
This procedure lets you choose the type of wired devices to command load 1 (connected on terminal 3, input P1). The devices can
be set as push-buttons or switches.
PROCEDURE
1- Position DIPs 1, 2, 3 and 4 to OFF-OFF-ON-ON.
2- Press the button on the receiver for a short time. The LED comes on and stays on
3- Press the button on the receiver for a short time, count the number of ashes emitted by the LED:
3 ashes = control with push-buttons
6 ashes = control with switches
WARNING: to change the setting, repeat the procedure from point 1; the control unit will alternate between 3 and 6 ashes.
WARNING: after programming, reposition the dip switches to the desired operation of the contacts
(see paragraph 4.1)
4.3 SETTING TYPE OF INPUTS VIA WIRE "P1"
ON
1 2 3 4
ON
1 2 3 4
5.1 RADIO PROGRAMMING MULTIFUNCTIONAL TRANSMITTERS
5 - RADIO PROGRAMMING
This procedure can be used only to programme compatible multifunctional transmitters; see table 5.1. The transmitter's
command modes depend on the model used and the setting of the outputs (see paragraph 4.1). Refer to the transmitter
manual, to the paragraph entitled "commands sent by the transmitter", bearing in mind that:
Output set as monostable = monostable device.
Output set as bistable = on/o device.
Output set as timer = timer device.
PROCEDURE:
1- Position DIPs 1, 2, 3 and 4 to ON-ON-ON-ON.
2- Press the button on the receiver for a short time. The LED comes on and stays on.
3- Make a transmission with the remote control to be saved (see transmitter manual,
the paragraph entitled "transmitter programming"). The LED on the receiver ashes 3
times to signal that it has been received.
4- The control unit listens for 30 seconds (to immediately exit the procedure press
the button on the receiver).
WARNING: after programming, reposition the dip switches to the desired operation of the contact
(see paragraph 4.1)
Tab. 5.1
COMPATIBLE
TRANSMITTER
DOM-TX15

5.2 RADIO PROGRAMMING OF GENERIC TRANSMITTERS
This procedure lets you programme only compatible generic transmitters; see table 5.2a.
The transmitter control modes depend on the function associated with the key (see table 5.2b) and the output setting (see
paragraph 4.1 and table 5.2c).
PROCEDURE:
1- Positions DIPs 1, 2, 3 and 4 according to the function you want
to associate with the remote control key
(see table 5.2b at the side).
2- Press the button on the receiver for a short time.
The LED comes on and stays on.
3- Make a transmission with the remote control to be saved
(see transmitter manual, the paragraph entitled
"transmitter programming"). The LED on the receiver ashes 3 times to signal that it has been received.
4- The control unit listens for 30 seconds
(to immediately exit the procedure press the button).
WARNING: after programming, reposition the dip switches to the desired operation
of the contact (see paragraph 4.1).
BEHAVIOUR OF OUTPUTS BASED ON THE FUNCTION ASSOCIATED WITH THE KEY
The column on the left shows the commands that can be programmed on the generic transmitter (see table 5.2b),
and the top row the output setting (see paragraph 4.1).
DIP1
Tab. 5.2b
Tab. 5.2c
DIP2 DIP3 DIP4 Function associated
with the key
On/O OUT1
On OUT1
O OUT1
On
O
O
On
O
O
On
O
On
On
On
O
FLASHES TYPE OF SWITCH-ON
PROGRAMMED
1 x 5-minute switch-on every hour
1 x 20-minute switch-on every hour
2 x 5-minute switch-ons every hour
2 x 10-minute switch-ons every hour
3 x 1-minute switch-ons every hour
3 x 10-minute switch-ons every hour
5 x 30-second switch-ons every hour
5 x 2-minute switch-ons every hour
1 ash
2 ashes
3 ashes
4 ashes
5 ashes
6 ashes
7 ashes
8 ashes
ON / OFF
FUNCTION OF
KEY
ON
OFF
Tab. 5.2a
DOM-TX4 TC2E / TC4E
MPSTP2E SLIM2E / SLIM4E
COMPATIBLE
TRANSMITTERS
Pulse
MONOSTABLE
OUTPUT SETTING
Pulse
Pulse
Change of status
of load
BISTABLE
Close
contact
Open
contact
Close contact for the time set
(see paragraph 4.2)
Close contact for the time set
(see paragraph 4.2)
Open contact
TIMER
5.3 DELETION OF TRANSMITTERS
These procedures let you delete from the memory transmitters that have already been programmed.
DELETION OF SINGLE TRANSMITTER:
1- Hold the receiver button down for 8 seconds. The LED begins to ash.
2- Make a transmission with the transmitter that you want to delete. The LED ashes quickly and turns o.
DELETION OF ALL THE SAVED TRANSMITTERS:
1- Hold the receiver button down for 8 seconds. The LED begins to ash.
2- Press the button on the receiver for a short time. The LED starts ashing quickly and turns o.
This function makes it possible to activate the load (usually a light) in order to simulate the presence of people in the house.The
number of switch-ons and how long they last in the hour can be set following the procedure in paragraph 6.2.
The number and duration of the presence simulator cycle can be set following the procedure in paragraph 6.3.
Transmitters for remotely activating the "presence simulator" function and therefore also for creating systems can be program-
med following the procedure in paragraph 6.4 (see picture 6.1).
WARNING: the presence simulator function is repeated every day at the same time until it is deactivated with a command by radio
or wire.
See paragraph 6.1 "use of presence simulator".
6 PRESENCE SIMULATOR
Default: 3 x 2-minute switch-ons in an hour
This procedure is used to set the number of switch-ons and how long they last for in an hour.
The control unit will then change the time of the switch-ons every hour to create random events.
PROCEDURE:
1- Position DIPs 1, 2, 3 and 4 to ON-ON-ON-OFF
2- Press the button on the receiver for a short time.
The LED comes on and stays on.
3- Press the button on the receiver for a short time.
4- The LED on the receiver ashes.
Each ash corresponds to a setting
5- Press the button for a short time during
the desired ash
WARNING: to change the setting, repeat the
procedure from point 1
WARNING: after programming, reposition the dip switches to the desired operation of the contacts
(see paragraph 4.1)
6.2 SETTING RANDOM SWITCH-ON
ACTIVATION: The presence simulator cycle is activated by pressing wired key P2 or sending a radio command with a transmitter
programmed according to the procedure in paragraph 6.4.
When the cycle is activated, all the lights involved give two rapid ashes and come on for 2 minutes (to signal activation and to
make leaving the house easier). Thereafter they will switch o and a series of random switch-ons will begin, based on the settings
in paragraph 6.2.
This cycle will last for the number of hours set in paragraph 6.3.
At the end of the cycle set, this will pause to then start up again the following day at the same time.
DELAY: Activation of the cycle can be delayed (from 1 to 24 hours) with the following procedure:
1- hold down wired key P2 for 5 seconds
2- the load will ash. Each ash corresponds to one hour's delay of the activation
3- release the key during the ash that corresponds to the desired delay
EXAMPLE: I want to delay activation by 10 hours. I hold down key P2 until the light concerned makes 10 ashes (so on the tenth
ash I release the key).
DEACTIVATION: To interrupt the cycle it is necessary to give a command to the control unit by radio or wire (not necessarily the
command to start presence simulation cycle). The interruption of the cycle will be signalled by two slow ashes of all the loads
concerned.
SIMULATION SYSTEM:
Thanks to radio activation (if the same
transmitter is programmed on multiple
controllers with this function), it will be
possible to create a system in which
the lights in multiple rooms
come on in a random sequence.
6.1 USE OF PRESENCE SIMULATOR
ON
1 2 3 4
DOM-L1SIM
ENTRANCE
LIGHT
ENTRANCE
BUTTON
PORTABLE
TX
DOM-TX4 DOM-L1SIM
KITCHEN
LIGHT
DOM-L1SIM
LIVING ROOM
LIGHT
Fig.6.1

Control unit for 1 device with max power 1000W.
110/240 VAC power supply, integrated RX 433.92 MHZ ISM,
wired input settable with button or switch.
Presence simulation function, On/O, timer ON.
DOM1-L1SIM
FLASHES TYPE OF SWITCH-ON
PROGRAMMED
Duration of 4 hours, followed by 20 hour pause
Duration of 8 hours, followed by 16 hour pause
Duration of 12 hours, followed by 12 hour pause
Continuous presence simulator cycle
1 ash
2 ashes
3 ashes
4 ashes
Default: duration 4 hours, pause 20 hours
This procedure is used to set the duration of the presence simulator.
WARNING: the presence simulator function is repeated every day at the same time until it is deactivated with a command by radio
or wire (see paragraph 6.1).
PROCEDURE
1- Position DIPs 1, 2, 3 and 4 to ON-ON-OFF-OFF
2- Press the button on the receiver for a short time.
The LED comes on and stays on
3- Press the button on the receiver for a short time.
4- The LED on the receiver ashes.
Each ash corresponds to a setting
5- Press the button for a short time during the
desired ash
WARNING: to change the setting, repeat the procedure from point 1
WARNING: after programming, reposition the dip switches to the desired operation of the
contacts (see paragraph 4.1)
6.3 SETTING THE DURATION OF THE PRESENCE SIMULATOR
ON
1 2 3 4
ON
1 2 3 4
6.4 RADIO PROGRAMMING OF TRANSMITTERS MATCHED TO THE
ACTIVATION OF THE PRESENCE SIMULATOR CYCLE
This process makes it possible to programme only compatible transmitters; see table 6.4.
It will be possible to activate and deactivate the presence simulator cycle with a transmission from the programmed transmitter.
By programming the same channel of a transmitter on multiple receivers with this function it will be possible to create a system in
which the lights in multiple rooms will turn on in a random sequence (see paragraph 6.1).
PROCEDURE:
1- Position DIPs 1, 2, 3 and 4 to OFF-OFF-OFF-OFF
2- Press the button on the receiver for a short time. The LED comes on and stays on.
3- Make a transmission with the remote control to be saved (see transmitter manual, the paragraph entitled "transmitter program-
ming"). The LED on the receiver ashes 3 times to signal that it has been received.
4- The control unit listens for 30 seconds (to immediately exit the procedure press the button on the receiver).
WARNING: after programming, reposition the dip switches to the desired operation of the
contacts (see paragraph 4.1)
If the transmitter is a multifunctional one, the key dedicated to activation will be the "square" one.
To delete programmed transmitters from the memory, see paragraph 5.4.
Tab. 6.4
COMPATIBLE TRANSMITTERS
INDEX
1 - PRODUCT FEATURES
1.1 - TECHNICAL DATA
1.2 - DESCRIPTION
2 - ELECTRICAL CONNECTIONS
2.1 - CONNECTIONS FOR LOADS POWERED BY THE GRID
2.2 - CONNECTION BETWEEN TWO CLEAN OUTPUT CONTACTS
3 - USE OF THE CONTROL UNIT
3.1 - USE VIA RADIO
3.2 - USE VIA WIRE
4 - CONTROL UNIT SETTINGS
4.1 - SETTING "OUT1" OUTPUT
4.2 - SETTING "OUT1" TIMING
4.3 - SETTING TYPE OF INPUTS VIA WIRE "P1"
5 - RADIO PROGRAMMING
5.1 - RADIO PROGRAMMING MULTIFUNCTIONAL TRANSMITTERS
5.2 - RADIO PROGRAMMING OF GENERIC TRANSMITTERS
5.3 - DELETION OF TRANSMITTERS
6 - PRESENCE SIMULATOR
6.1 - USE OF PRESENCE SIMULATOR
6.2 - SETTING RANDOM SWITCH-ONS
6.3 - SETTING THE DURATION OF THE PRESENCE SIMULATOR
6.4 - RADIO PROGRAMMING OF TRANSMITTERS MATCHED TO THE ACTIVATION
OF THE PRESENCE SIMULATOR CYCLE
ISDOM-L1SIM_EN_V1.1
PRASTEL France
ZI Athelia II
225 impasse du Serpolet
13600 La Ciotat
Tél : 04 42 98 06 06
prastel.com
DOM-TX15, DOM-TX4, MPSTP2E, TC2E, TC4E, SLIM2E, SLIM4E
Table of contents
Other PRASTEL Control Unit manuals
PRASTEL
PRASTEL MT15000/EXT-IO Owner's manual

PRASTEL
PRASTEL UNIK2E-V2 Technical document
PRASTEL
PRASTEL M2000PE User manual
PRASTEL
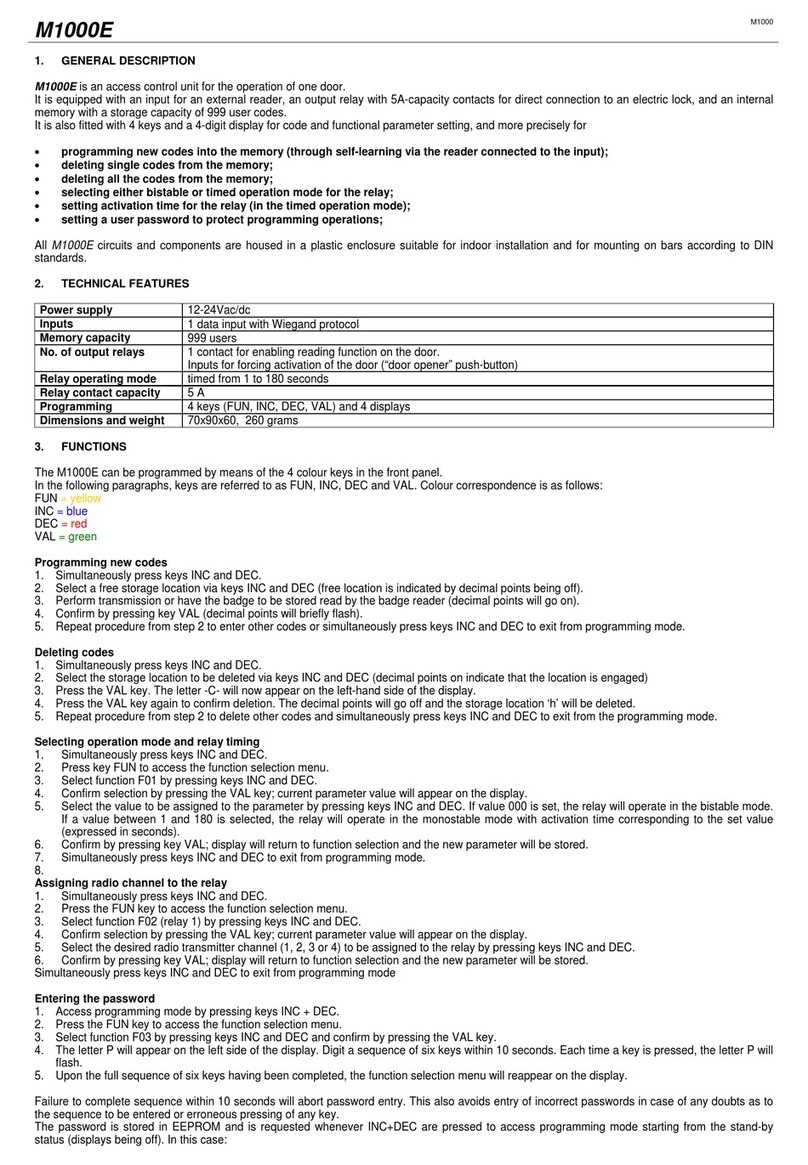
PRASTEL M1000 User manual
PRASTEL
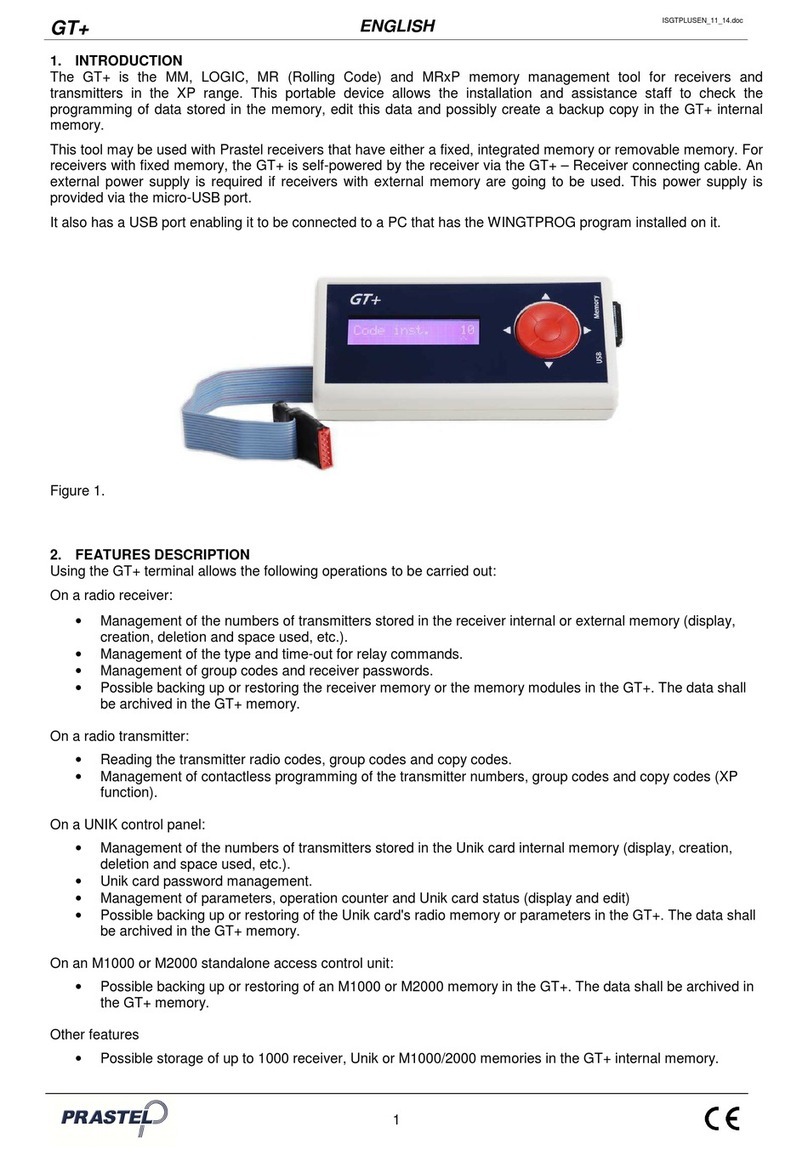
PRASTEL GT+ User manual
PRASTEL
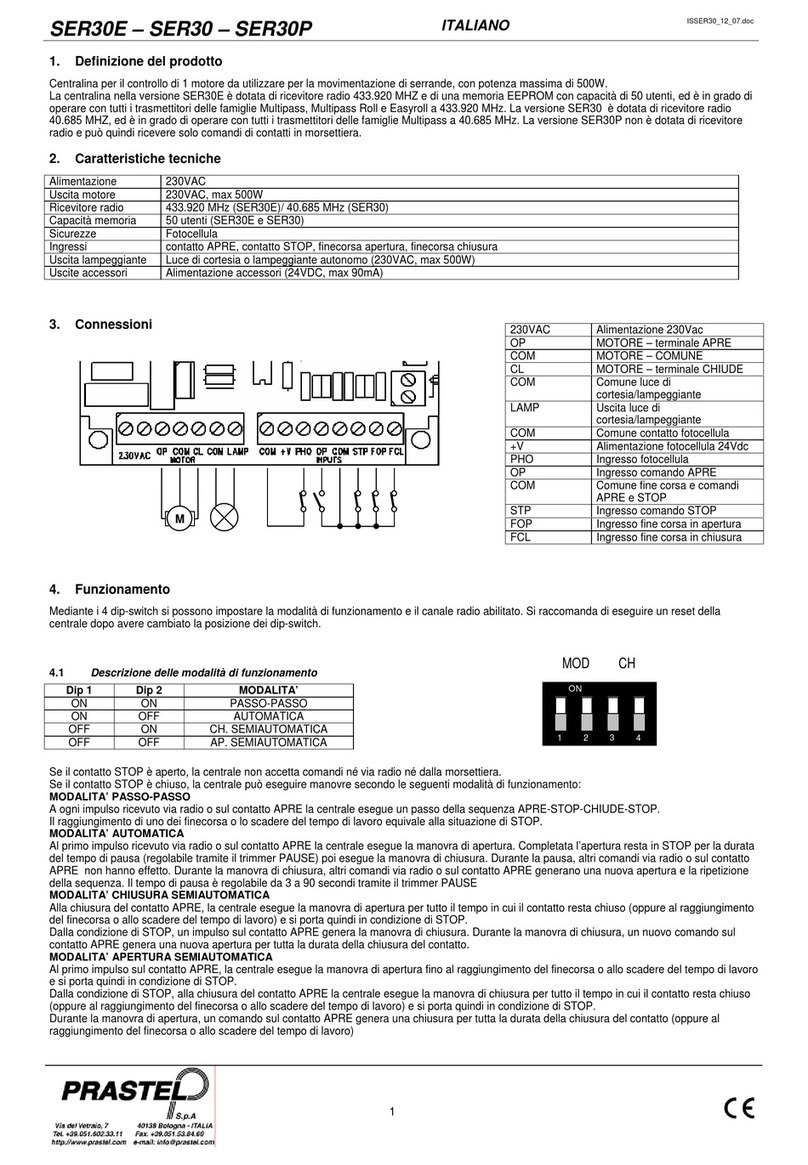
PRASTEL SER30E User manual
PRASTEL
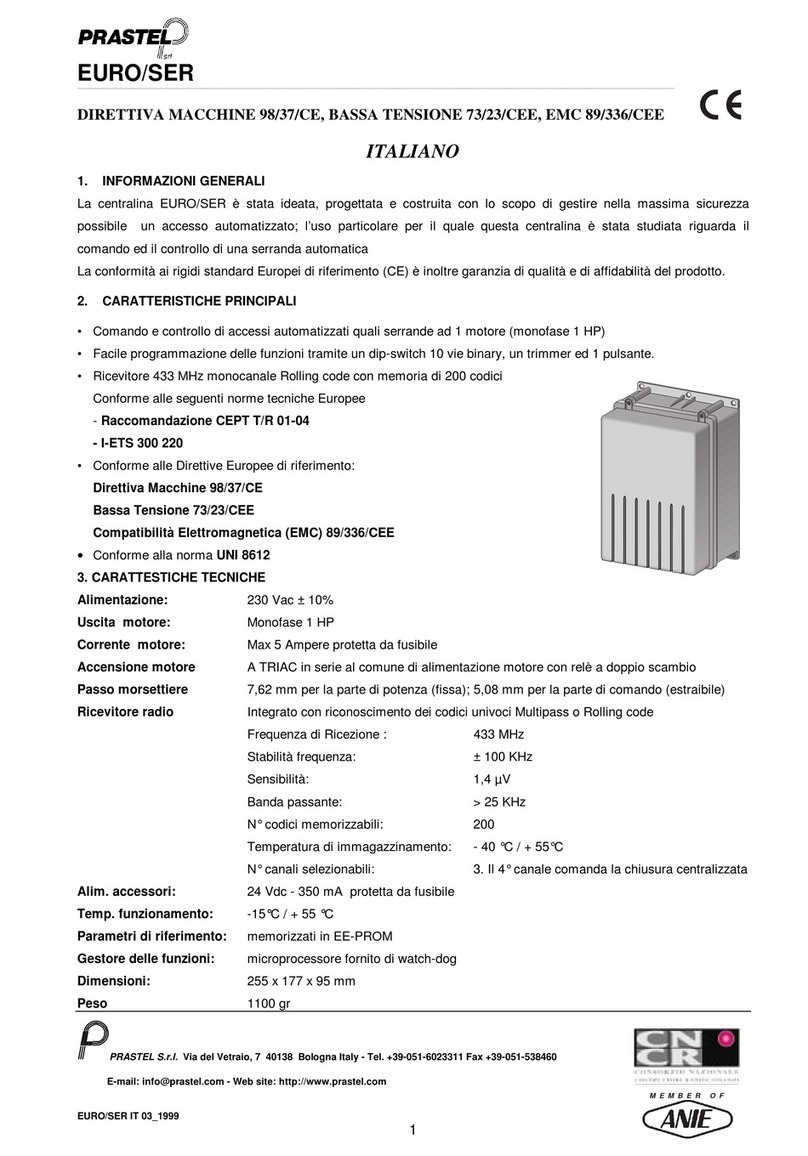
PRASTEL CNCR EURO/SER User manual
PRASTEL
PRASTEL M1000E User manual
PRASTEL
PRASTEL MT15000/2 Owner's manual
PRASTEL
PRASTEL FSTYLE25A User manual
Popular Control Unit manuals by other brands
Bloomy
Bloomy Bloomy installation instructions
Allmatic
Allmatic B1VR PROX manual
RLE Technologies
RLE Technologies SeaHawk LDZB6 quick start guide

ABB
ABB ACSM1-204 Quick installation and start-up guide
ProSoft Technology
ProSoft Technology AN-X-MOD user manual

Bardiani
Bardiani B925 Instruction, use and maintenance manual
