Pratica Forza Express User manual

Prática Products, Inc - USA
675 Town Square Boulevard, Suite 200 © 2018 Prática Products, Inc - USA
Garland, TX 75040 January 2019
For the Forza Express Oven
Service Manual

SAFETY
INSTRUCTIONS
.................................................................................................................................... 1
Important Safety Instructions .................................................................................................................................2
Grounding Instructions............................................................................................................................................3
Power Cord Replacement........................................................................................................................................3
Fire Risk Reduction ..................................................................................................................................................3
Precautions To Be Observed Before And During Servicing ....................................................................................4
Specifications & Installation ...................................................................................................................................... 5
Certifications............................................................................................................................................................7
Electric Specifications ..............................................................................................................................................7
Oven Dimensions.....................................................................................................................................................7
Installation Instructions...........................................................................................................................................7
Unpacking Instructions............................................................................................................................................7
Installation Warnings: Please read before lifting oven to prevent injury .............................................................8
General Instructions ................................................................................................................................................9
Precautions To Avoid Possible Exposure To Heat ....................................................................................................9
DAILY CLEANING & QUARTERLY MAINTENANCE
.............................................................................. 11
Daily Cleaning.........................................................................................................................................................12
Quarterly Maintenance .........................................................................................................................................15
THEORY OF OPERATION
............................................................................................................................... 19
Forza Express Technology......................................................................................................................................20
USER SETTINGS
................................................................................................................................................. 21
Control Panel..........................................................................................................................................................22
Cooking...................................................................................................................................................................23
Cooking the Food...................................................................................................................................................25
Creating Recipes.....................................................................................................................................................26
Edit Mode...............................................................................................................................................................27
Importing / Exporting Menu..................................................................................................................................30
MANUFACTURE SETTINGS
.......................................................................................................................... 31
Thermocouple Temp Readings..............................................................................................................................32
Information screen ................................................................................................................................................32
Temperature Measurement / Language Selection...............................................................................................33
Frequency Inverter Fault Log.................................................................................................................................34

Control Board Over Temp Count...........................................................................................................................35
Keypad Test............................................................................................................................................................35
ALERTS & ERRORS
........................................................................................................................................... 37
Open Door Alert.....................................................................................................................................................38
Inverter Error .........................................................................................................................................................38
Sensor Error............................................................................................................................................................39
TPL Error.................................................................................................................................................................39
IMPINGEMENT SYSTEM
............................................................................................................................... 41
Blower Motor.........................................................................................................................................................42
Testing Blower Motor............................................................................................................................................42
Frequency Inverter ( WEGCFW100 )......................................................................................................................43
Frequency Inverter Troubleshooting ....................................................................................................................44
High Limit Thermostat ...........................................................................................................................................47
Testing High-Limit Thermostat..............................................................................................................................48
Convection Heater .................................................................................................................................................49
Testing Convection Heater ....................................................................................................................................49
IR Element..............................................................................................................................................................50
Testing IR Element .................................................................................................................................................50
Testing Heat Circuit Breaker..................................................................................................................................51
CC/IR Temperature Sensors ..................................................................................................................................51
Testing Temperature Sensors................................................................................................................................51
CONTROL SYSTEM
........................................................................................................................................... 53
Main Control Board/ Display.................................................................................................................................54
Testing Main Control Board...................................................................................................................................55
Keypad....................................................................................................................................................................56
Testing Keypad.......................................................................................................................................................56
Speaker...................................................................................................................................................................57
Testing the Speaker ...............................................................................................................................................57
POWER COMPONENTS
................................................................................................................................. 59
EMI Filter................................................................................................................................................................60
Testing EMI Filter ...................................................................................................................................................60
12VDC Power Supply .............................................................................................................................................60
Testing Power Supply ............................................................................................................................................61

Ventilation System.................................................................................................................................................62
Testing Cooling Fans ..............................................................................................................................................62
Testing Control System Fuses................................................................................................................................63
FILTERINGSYSTEM
........................................................................................................................................... 65
Air Filter..................................................................................................................................................................66
Catalytic Converter ................................................................................................................................................67
Vent Catalyst..........................................................................................................................................................67
FORZA EXPRESS SCHEMATICS
................................................................................................................... 69
Control Board Schematic.......................................................................................................................................70
Heater Schematic...................................................................................................................................................71
Blower/Motor Cooling Fan Schematic..................................................................................................................72
Pictorial Diagram ...................................................................................................................................................73
EXPLODED VIEW PARTS LIST
...................................................................................................................... 75
Assembly Level 1....................................................................................................................................................76
Assembly Panel......................................................................................................................................................77
Inverter...................................................................................................................................................................78
Assembly Door.......................................................................................................................................................79
Assembly Level 2....................................................................................................................................................80
Assembly Motor.....................................................................................................................................................81
Assembly Level 3....................................................................................................................................................82


1
SAFETY
INSTRUCTIONS

2
SAFETY INSTRUCTIONS
Important Safety Instructions
WARNING: When operating this oven, strictly adhere to the following safety precautions to reduce
the risk of burns, electric shock, fire, injury, damage to oven or property near oven, or possible
exposure to excessive microwave energy.
General Safety Instructions
•Please read all safety instructions prior to using this unit.
•This oven MUST be grounded. Please make sure the power outlet is properly grounded before
connecting power plug.
•Make sure to read the installation instructions to properly install the oven and prevent voiding
the warranty.
•This Pratica oven should only be serviced by qualified/authorized service personnel.
•Please keep power cord away from hot /heated surfaces to prevent damage.
•Warning: This unit is not intended for use with feeding bottles or baby food jars as the
contents can become extremely hot and may cause serious injury.
•Do not allow the power cord to hang over a table or counter to avoid damage and/or electrical
shock.
•Warning: lease refrain from heating liquids or other foods in a sealed container since the
package may explode.
•Please refrain from spraying any water or liquid on power cord and do not submerge in water.
•Do note operate the oven in the power cord or outlet is damaged, oven has been dropped or
physically damaged or oven is not working properly as further damage to unit or components
may occur.
•Do not allow children to use this oven as serious harm to child can occur.
•Do not use a water hose or jet to clean this oven. Please see proper cleaning instructions on
page 12
•Please store oven in a controlled indoor environment.
•Do not block any air vents on unit as is may cause damage to components due to improper air
flow.
•Do not utilize any corrosive liquids, chemicals, or vapors as it may cause damage to oven
and/or components (e.g., oven cavity, catalytic converter, blower motor, etc.).
•Only operate this appliance if you have experience or knowledge or have been given
supervision or verbal/visual instructions.

3
Grounding Instructions
This unit must be properly grounded to avoid electrical shock. This unit is equipped with a 3-prong
grounding plug that has a grounding wire. This plug must be connected to a properly installed and
grounded outlet. In the event of an electrical short, properly grounding the unit reduces the risk of
electrical shock by grounding the electrical current. If any doubts exist about the grounding
instructions or if you are unsure is the outlet is properly grounded, please contact a qualified
electrician for assistance.
WARNING: To reduce the risk of electrical shock, the unit must be properly grounded.
Power Cord Replacement
If the power cord is damaged in any way, is must be replaced by the manufacturer (Pratica Inc.), an
authorized service agent, or qualified personnel.
Fire Risk Reduction
•Please remove all content from inside the oven before applying power (e.g., utensils paper,
food particles, etc.).
•Do not utilize the cook cavity for storage.
•If fire inside the cavity occurs, shut the oven door and unplug the machine. Fallow your
locations fire regulations as needed.
•Do not overcook food.
•If smoke occurs, disconnect power and leave door closed. Allow unit to cool down prior to
removing contents and cleaning.

4
SAFETY INSTRUCTIONS
Precautions To Be Observed Before And During
Servicing
(a) Do not operate or allow the oven operated with the door open.
(b) Make the following safety checks on all ovens to be serviced before activating the resistance,
and make repairs as necessary: (1) Interlock operation, (2) proper door closing, (3) seal and
sealing surfaces (arcing, wear, and other damage), (4) damage to or loosening of hinges and
latches, (5) evidence of dropping or abuse.
(c) Before turning on heating power for any service test or inspection within the heat generating
compartments, check the resistance, and cavity for proper alignment, integrity, and
connections.
(d) Any defective or misadjusted components in the interlock, monitor, door seal, and heat
generation and transmission systems shall be repaired, replaced, or adjusted by procedures
described in this manual before the oven is released to the owner.

5
Specifications & Installation

6
SPECIFICATIONS & INSTALLATION

7
Certifications
Electric Specifications
Forza Express
Voltage
Frequency
Power
Circuit breaker
Consumption
208/240V
60Hz
5,2kW
30A
3.6kW/h
Oven Dimensions
Height: 25 3/8” (644mm)
Width: 21” (532mm)
Depth (footprint): 21.5” (546mm)
Depth: 31 3/4” (805mm)
Volume: 0.74 cu/ft (21 Liters)
Installation Instructions
Please read the following instructions carefully.
Install this unit in accordance with the instructions below.
Unpacking Instructions
1. Remove the unit from the packaging.
2. Check the packaging and oven cavity thoroughly for accessories and literature.
3. Discard any packaging inside the cavity (e.g., cardboard, plastic, etc.).

8
SPECIFICATIONS & INSTALLATION
Installation Warnings: Please read before lifting
oven to prevent injury
WARNING: This unit weights approximately 191 lbs. (87kg). Never attempt to lift this unit with
fewer than 2 people.
WARNING: The oven must be properly installed on a level surface at all times. Pratica Inc. will
not recognize damage from a fallen oven as a warranty and may void warranty all together.
WARNING: Never lift the oven up by the door handle. Doing so may cause the door to misalign
or cause damage to door hinges which will not be covered by warranty.
WARNING: Never lift the unit from the removable front panel under the door as it may get
damaged or may come loose while lifting.
WARNING: This unit is not meant to be stacked. Please contact Pratica Inc. for further details.
WARNING: This unit is not meant to be installed in an enclosed area without proper
ventilations. Damage may occur to components is oven installed in a structure that has 5 or
more sides preventing the minimum 4-6in clearance on side and 6-12in clearance from back
to wall.

9
General Instructions
•The oven must be installed on a base or counter that supports the oven’s weight, approximately 191
lbs. (87 kg).
•A minimum space of 4-6in between the walls and the sides and 6-12in between the walls and the back
of the oven are required.
•To facilitate the oven maintenance, Pratica Inc. recommends a space os at least 30in between the right
side of the equipment and the wall.
•Do not allow the vents on the back or bottom of the unit to be blocked or restricted.
Precautions To Avoid Possible Exposure To Heat
(a) Do not attempt to operate this oven with the door open since open-door operation can result
in harmful exposure to microwave energy. It is important not to defeat or tamper with the
safety interlocks.
(b) Do not place any object between the oven front face and the door or allow soil or cleaner
residue to accumulate on sealing surfaces.
(c) Do not operate the oven if it damaged. It is particularly important that the oven door close
properly and that there is no damage to the: (1) Door (bent), (2) hinges and latches (broken
or loosened), (3) door seals and sealing surfaces.
(d) The oven should not be adjusted or repaired by anyone except properly qualified service
personnel.
(e) Include additional radiation safety precautions or instructions which may be necessary for
particular oven designs or models, as determined by the Director, Center for Devices and
Radiological Health or the manufacturer.

10
SPECIFICATIONS & INSTALLATION

11
DAILY CLEANING & QUARTERLY MAINTENANCE

12
DAILY CLEANING & QUARTELY MAINTENANCE
Daily Cleaning
Please follow the steps below when cleaning the oven. Make sure to use non-caustic cleaners as they
will not cause damage the oven or components. If damage occurs to unit or components due to
incorrect cleaner, that will be considered a non-warranty service call.
Cleaning Supplies and Equipment:
Chemco Dirt Buster III Oven Cleaner (Non-Caustic)
Chemco Oven Shield Protectant
Protective gloves, clean dry and damp towels or cloths, protective eyewear, nylon scrub pad, food
vacuum (optional), and dust mask (optional).
Step 1: Cool Down Oven
WARNING: The unit normally operates around 500°F (260°C) and
can cause serious injury if not allowed to cool down properly.
•Turn unit off by pressing the power button on panel.
•Open oven door slightly to allow heat to disperse quicker.
•Allow the unit to cool for approximately 30-40 minutes prior to
cleaning.
Step 2: Cleaning the Wire Rack
•The rack is held in place by 2 metal hooks that act as security tabs to
prevent the rack from coming loose.
•Pull up on back part of rack and then pull towards the front of the unit.
•The rack should come free at that point and will be able to be washed,
rinsed, and sanitized.
Step 3: Cleaning the Bottom Jetplate
•Lift the front of the jetplate up by gripping the front lip.
•Pull the jetplate towards the front of the unit and remove from
completely.
•Avoid using wire brushes to clean the jetplate as is can cause deep
grooves which can result in arcing from the microwave circuit.
•Wash, rinse and sanitize the jetplate.
Step 1
Step 2
Step 3

13
Step 4: Cleaning Catalyst
WARNING: The Catalytic Converter must remain inside the oven
during operation. Only clean when the unit is not in use.
•Remove the oven rack and bottom jetplate. (Refer to step 1 & 2 for
instructions on how to remove the rack and jetplate).
•Lift the catalytic converter up out of the holding bracket.
•Clean the catalytic converter using the approved cleaning materials
and allow to dry prior to reinstalling back in unit.
•The catalyst does not have to be cleaned daily if it is not contaminated
with food particles but must be cleaned quarterly. Please refer to
quarterly cleaning for further instructions.
Step 5: Cleaning Air Filter
WARNING: Filter must be installed during oven use. Only remove
to clean when oven is not in use.
•The air filter is located under the removable front panel under the
door.
•Locate the tab on the filter and pull towards the front of the unit.
•Rinse the filter in hot water to remove any buildup and allow the filter
to dry prior to reinstalling.
Step 6: Removing Food Particles from Cavity
•If food particles remain on the bottom of the cavity, the IR element
can be lifted for better access.
•The best way to remove food particles is with a damp cloth but a food
vacuum can also be used.
WARNING: Do not attempt to spray the IR element directly. If any
particles are stuck to the element. Allow the element to cool down
completely and wipe off with dry cloth.
Step 4
Step 5
Step 6

14
DAILY CLEANING & QUARTELY MAINTENANCE
Step 7: Cleaning the Oven Cavity
•Apply oven cleaner to a dry cloth or scrub pad and wipe down the sides
of the cavity.
•If large buildup occurs, you may spray the cleaner directly in the
affected area and allow to sit for a small period of time to allow cleaner
to break u buildup.
•Do not spray IR element directly.
•Do not use a wire brush or steel wool to clean cavity as it can cause
damage to interior walls.
WARNING: Do not use water hose or jet to clean cavity.
Step 8: Wiping Down Oven Cavity
•Wipe down the oven cavity with a damp cloth or towel.
•Do a final pass with a dry cloth or towel to remove as much left over
cleaner and debris as possible.
Step 9: Cleaning the Oven Door
•Spray the cleaner on a nylon scrub pad or cloth to clean oven door.
•If buildup occurs, you may spray the cleaner directly on the affected
area.
•Dry down using a dry cloth or towel.
Step 10: Apply Oven Guard
•Apply the oven guard to a dry cloth or towel.
•Wipe all surfaces of the cavity avoiding the IR element.
•The guard will aid in preventing large buildup from occurring.
Step 11: Reinstalling Components
•Reinstall the catalyst inside the holding brackets. Make sure to push it
all the way down to prevent the bottom jetplate from pushing against
it.
•Reinstall bottom jetplate and rack assembly.
•Close the door and insert filter back into position and close the filter
tray
•Reinstall bottom panel under door.
Step 7
Step 8
Step 9
Step 10
Table of contents
Other Pratica Oven manuals
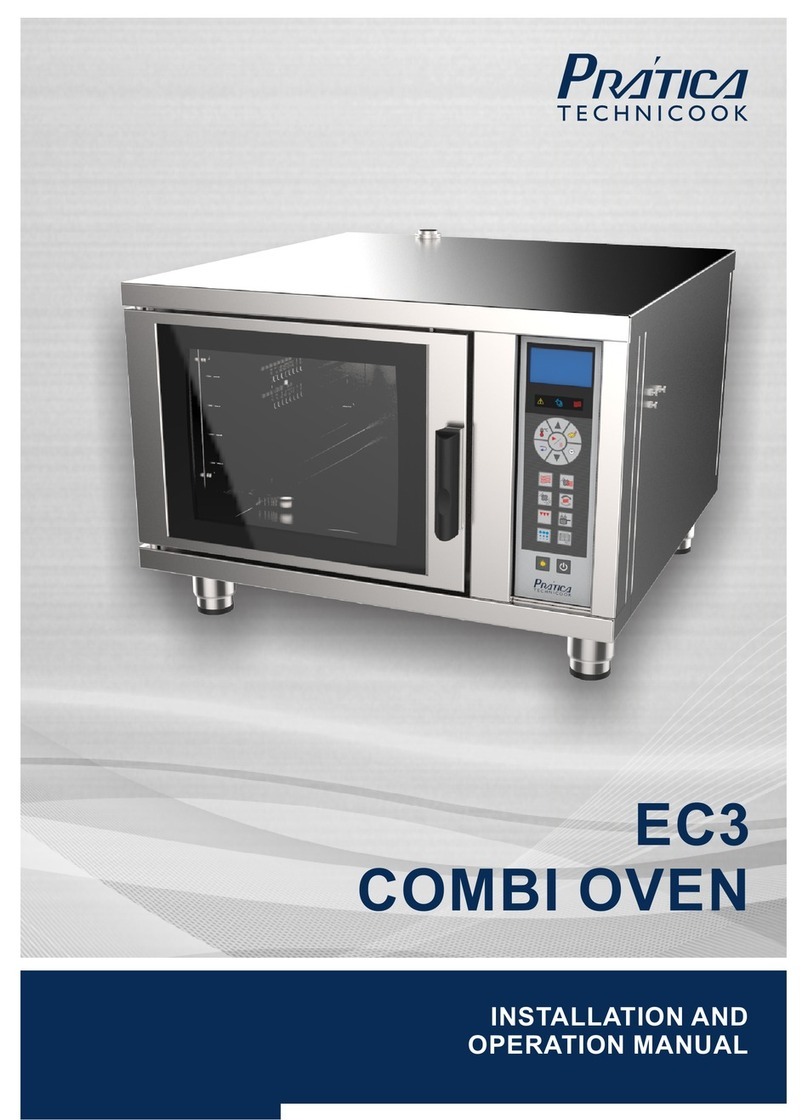
Pratica
Pratica EC3 User manual
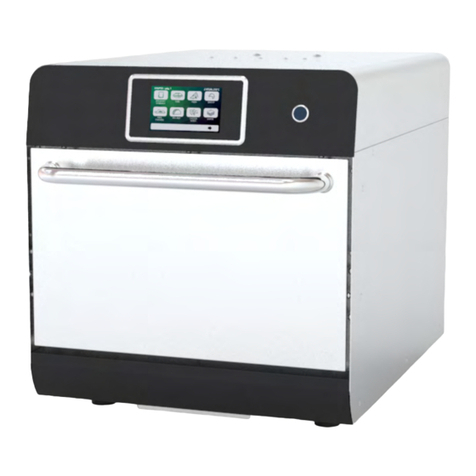
Pratica
Pratica Rocket Express User manual
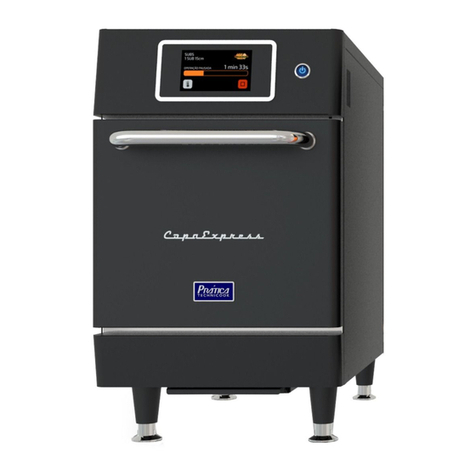
Pratica
Pratica Copa Express User manual

Pratica
Pratica Rocket Express User manual
Pratica
Pratica Miniconv Claaoic HPE80 User manual

Pratica
Pratica Copa Express User manual
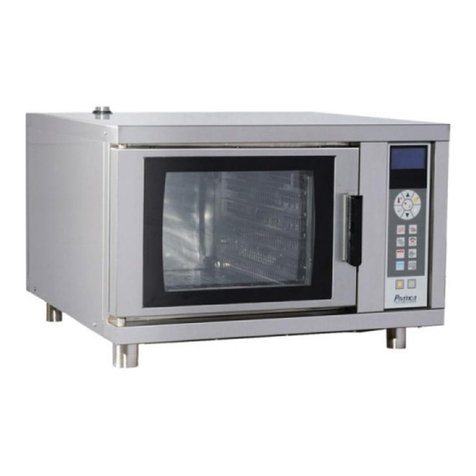
Pratica
Pratica EC3 User manual

Pratica
Pratica Rocket Express User manual

Pratica
Pratica Rocket Express User manual

Pratica
Pratica FORZA STI User manual
Popular Oven manuals by other brands

Smeg
Smeg CB51GV1 instructions
Ariston
Ariston 7OF 627 C RU/HA operating instructions
Johnson
Johnson F60 Instructions for use
Quincy lab
Quincy lab Analog Series operating manual
Toshiba
Toshiba MC25CEY-BS instructions

KitchenAid
KitchenAid KEBC167MSS - Architect Series 36'' Single Electric Wall... Dimensions


