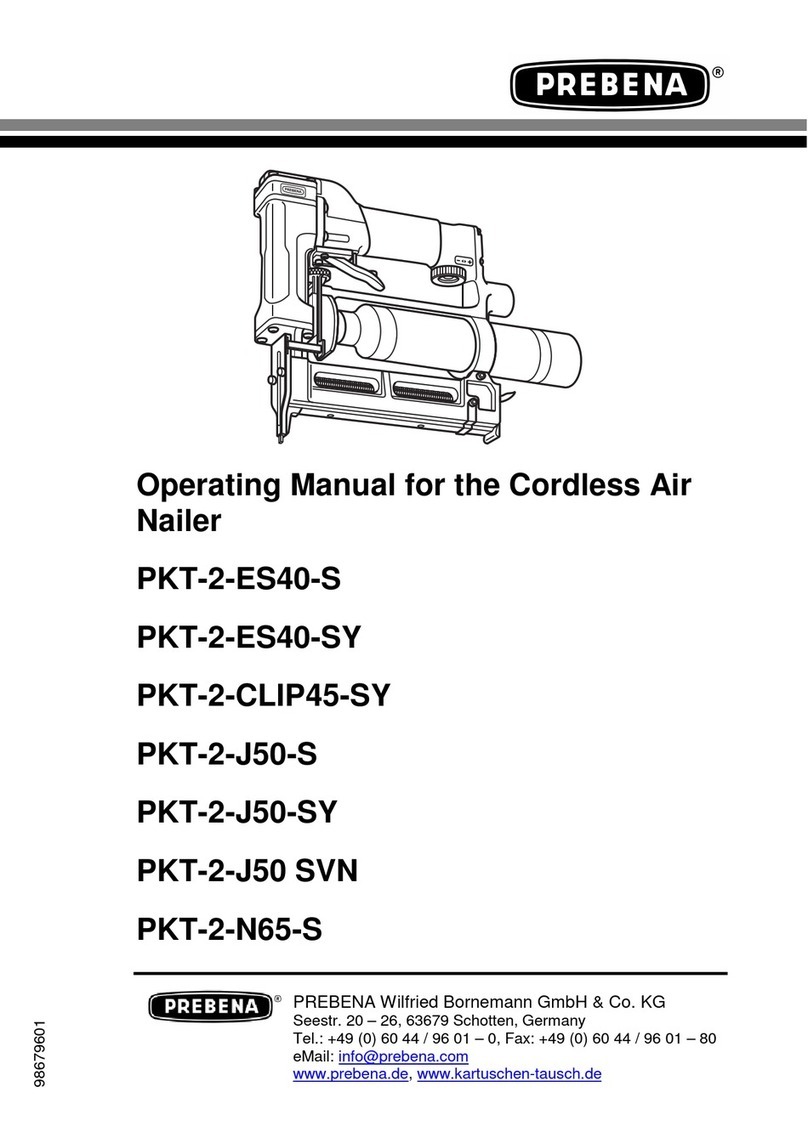
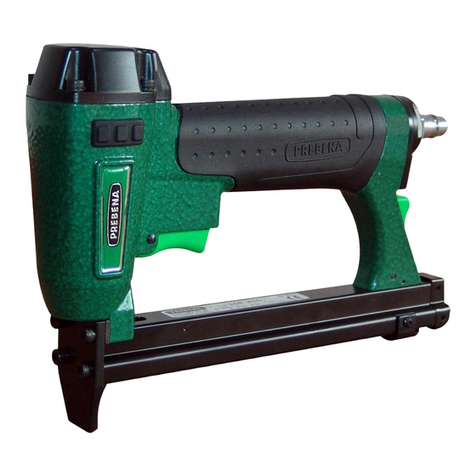
Prebena PKT-2-J50 SD User manual

PREBENA Wilfried Bornemann GmbH & Co. KG
Seestraße 20 – 26, 63679 Schotten, Germany
Tel.: +49 (0) 60 44 / 96 01 – 0, Fax: +49 (0) 60 44 / 96 01 – 820
E-mail: info@prebena.com
www.prebena.de, www.kartuschen-tausch.de
Original Operating Manual for the
Pneumatic Tool
PREBENA PKT-2-J50 SD
98682801

Foreword
This operating manual helps you in the
intended,
safe and
effective
use of the PKT-2-J50 SD Pneumatic Tool, referred to in this
operating manual simply as 'tool'.
We assume that every user of the tool is familiar with the use of
pneumatic equipment and the materials employed. Persons without
this know-how must be instructed in the use of the tool by an
experienced user.
This operating manual is intended for the following persons:
Persons who operate this tool,
Persons who clean this tool, or
Persons who dispose of this tool.
Each of these persons must have been familiarised with and
understood the content of this operating manual.
This operating manual forms an integral part of the product. Always
store the operating manual together with the tool. Pass on the
operating manual if you resell the tool or pass it on to other persons
in any other way.

Table of Contents
Layout Features............................................................................... 5
General layout features ................................................................ 5
Features of the danger warnings.................................................. 6
Features of the warnings on material damage or environmental
pollution ........................................................................................ 6
Safety ................................................................................................ 7
Intended use................................................................................. 7
Unauthorised use ......................................................................... 7
Avoid risk of fatal injuries.............................................................. 8
Avoid explosion hazards .............................................................. 8
Avoid injury risks........................................................................... 8
Avoid damage to the tool.............................................................. 9
Description ..................................................................................... 10
Tool overview and scope of supply ............................................ 10
Tool overview and scope of supply ............................................ 11
Function...................................................................................... 12
Product features ......................................................................... 12
Safety devices ............................................................................ 13
Accessories ................................................................................ 14
Data on the rating plate .............................................................. 15
Preparing the tool.......................................................................... 16
Unpacking the tool...................................................................... 16
Check condition .......................................................................... 17
Connect tool to compressed air supply ...................................... 18
Open magazine .......................................................................... 26
Loading fasteners ....................................................................... 27
Close the magazine.................................................................... 28
Adjusting the vent ....................................................................... 28
Use with a weight balancer ........................................................ 29
Check function............................................................................ 30
Using the tool................................................................................. 31

Select firing setting. ....................................................................31
Set nailing depth.........................................................................33
Regulate working pressure.........................................................33
Driving in fasteners.....................................................................36
Reload magazine (empty firing protection device) .....................39
After use .........................................................................................40
Disconnect the compressed air supply.......................................40
Empty magazine .........................................................................41
Transporting and storing the tool................................................42
Packing .......................................................................................42
Transporting................................................................................43
Storage .......................................................................................44
Servicing the tool...........................................................................45
Cleaning housing and outer surfaces.........................................45
Oiling the tool..............................................................................46
Lubricate compressed air cartridge ............................................47
Filling the compressed air cartridge ...........................................47
Reordering compressed air cartridges .......................................47
Malfunctions...................................................................................48
Remove jammed fasteners.........................................................48
Other malfunctions .....................................................................49
Troubleshooting chart.................................................................49
Ordering accessories .................................................................... 53
Re-ordering fasteners.................................................................53
Reordering compressed air cartridges .......................................54
Ordering further accessories ......................................................55
Disposal of tool..............................................................................56
Technical data................................................................................57
Tool PKT-2-J50 SD ....................................................................57
Compressed air cartridge KT-1000 ............................................57
Manufacturer's address ................................................................58
Guarantee .......................................................................................59
Index................................................................................................60

Layout Features
5
Layout Features
General layout features
Various elements in the operating manual are marked with specific
layout features. This allows you to easily distinguish whether it is
normal text,
lists or
work steps
that you are reading.
Tips contain additional information, such as for example
special instructions for effective use of the tool.

Layout Features
6
Features of the danger warnings
All danger warnings in this operating manual have the same form.
On the left you will find a symbol indicating the type of danger. To the
right of this you will see a further symbol and a signal word indicating
the severity of the danger. Under that you will find a description of
the source of danger and instructions on how to avoid this danger.
DANGER
Warnings with the word DANGER indicate
hazards with an immediate impending risk of
serious or even fatal injuries.
WARNING
Warnings with the word WARNING warn of
hazards that can lead to potentially serious or
even fatal injuries.
CAUTION
Warnings with the word CAUTION warn of
hazards that can lead to potentially slight to
moderate injuries.
Features of the warnings on material damage or
environmental pollution
CAUTION
These warnings warn of hazards that can lead to material
damage or environmental pollution.

Safety
7
Safety
Observe and follow all the warnings and instructions in this operating
manual and on the tool when using the tool. The spare parts list
supplied with the tool forms an integral part of this operating manual.
Intended use
The tool is used for driving upset head nails ("brads") into wood. Use
of the tool with other materials is only permitted after consultation
with the manufacturer. The intended use also includes compliance
with the accident prevent regulations and the statutory regulations
and standards in force at the place of use. Use in any other way is
not considered an intended use and can result in material damage or
even personal injury.
Unauthorized use
An unauthorized use constitutes in particular operation
by persons without the necessary know-how in the use of tools
and the materials used,
with the safety device bypassed,
of tools modified without the authorization of the manufacturer,
with accessories other than those stipulated in this operating
manual,
connected to compressed air sources not indicated in this
operating manual,
in the trigger position "repeat firing"
-
for work requiring movements over scaffolds, stairs, ladders or
ladder-like constructions,
-
for closing boxes or crates or for the attachment of transport
locks.
PREBENA WILFRIED BORNEMANN GMBH & CO. KG accepts no
liability for any damage resulting from any such unauthorized use.

Safety
8
Avoid risk of fatal injuries
Never direct the tool at people, animals or parts of their body.
Only actuate the tool when the tool nose is pressed against the
workpiece.
Do not allow children to play with packaging films - risk of
suffocation.
Ensure that the fasteners are not driven into power cables.
Avoid explosion hazards
Do not use the tool in areas with an explosion hazard.
Never operate the tool with oxygen or other explosive gases or
gas mixtures.
Do not expose the compressed air cartridge to temperatures over
100°C.
Avoid injury risks
Store the tool out of the reach of children and other unauthorised
persons.
Always disconnect the tool from the compressed air supply before
transporting.
Wear protective goggles, ear protectors and sturdy working
clothes when working with the tool.
Hold the tool in such a way that you cannot be injured by a
possible recoil.
Use the tool when you are standing with a firm footing.

Safety
9
Avoid damage to the tool
Never open the tool. Always leave repairs to qualified personnel.
Do not use the tool if it has been dropped or is damaged. Have it
inspected by qualified personnel before putting it into use again.
Do not connect the tool to a compressed air supply where the
maximum working pressure of 10 bar may be exceeded.
Attach permanently installed tools only to securely anchored
holders. The tool must not be able to twist or slip. The holder
must not damaged the tool and/or its accessories.

Description
10
Description
Tool overview and scope of supply

Description
11
Tool overview and scope of supply
No.
Explanation
1
Adjustable 360° air outlet
2
Pressure gauge for the
tool
working pressure
3
Selector switch for the
trigger setting
4
Ergonomic handle with hand guard
5
Regulator for the working pressure
6
over plate
7
Tool nose with trigger lock
8
Rubber foot to protect the workpiece (impression protection)
9
Safety valve for operation with the compressed air c
artridge (opens at 20 bar)
10
Pressure gauge for the pressure of the compressed air cartridge (filling level
indicator)
11
Magazine for brads
12
Adapter for operation with pressure hose
13
Safety valve for the working pressure (opens at 11 bar)
14
Tri
gger lever
15
onnection for the pressure hose
16
onnection for the compressed air cartridge and adapter for connection of the
pressure hose
17
Adjustment wheel for the firing protection device (setting of the nailing depth)
–
ompressed air cartridge
KT
-
1000 (not illustrated)
–
Allen key (size 2.5, not illustrated)
–
Plastic transport case (not illustrated)
–
Declaration of conformity (not illustrated)
–
Operating manual (not illustrated)

Description
12
Function
The tool drives PREBENA brads individually into a piece of wood by
means of compressed air. The compressed air supply can come
from a compressed air cartridge (KT-1000) attached to the tool or
from a PREBENA compressor via an adapter. Excessive pressure is
relieved by means of pressure relief valves.
You can adjust the nailing depth by regulating the air pressure or
with the adjusting wheel for the firing protection device.
Product features
The tool has the following features:
Operation either with compressed air cartridge or on a
compressed air system,
Firing protection device,
Single or bump firing,
Empty firing protection device,
Magazine with side loading system,
Adjustable 360°air outlet,
Rubber foot to protect the workpiece (impression protection),
Filling level indicator for compressed air cartridge,
Driving force variable via adjustable working pressure,
Pressure gauge for working pressure and
Setting of the nailing depth via adjustment wheel for the firing
protection device.

Description
13
Safety devices
Firing protection
The tool is equipped with a firing protection device on the tool nose.
The trigger is only enabled when the firing protection device is
depressed.
WARNING
Danger of very serious injuries if the tool is
operated with defective or by-passed firing
protection device.
Use the tool only with a fully functional
firing protection device.
Fire the tool only when the tool nose is
pressed firmly against the material.
Empty firing protection device
The tool is equipped with an empty firing protection device. The
empty firing protection device blocks the firing protection device
when the fastener magazine is empty.

Description
14
Warning signs on the tool
The following applications are not permitted with the trigger setting
"repeat firing":
Work requiring movements over scaffolds, stairs, ladders or
ladder-like constructions, and
Use for closing boxes or crates and for the attachment of
transport locks.
The corresponding warning symbol (see below) is attached to the
front side of the tool.
The rating plate
The inverted triangle standing on its tip. (This triangle indicates
that this tool may only be operated with a fully functional firing
protection device.)
Accessories
The following accessories are available for the tool:
Compressed air cartridge KT-1000,
Five compressed air cartridges KT-1000 in systainer
(not included in scope of supply),
Compressor for compressed air cartridge PKT-FILLMASTER 350
DF
(not included in scope of supply),
Compressors for the compressed air supply
(not included in scope of supply),
Spiral hose with 9 mm inside diameter and 4 m working length
(not included in scope of supply),
Compressed air hose set (not included in scope of supply),
Hose reel (not included in scope of supply),

Description
15
Hanger loop (not included in scope of supply),
Brads of Type J (see section "Ordering accessories" on page 53).
PREBENA Special Nailer Oil (not included in scope of supply).
The order numbers can be found in section "Ordering accessories"
from page 53
Data on the rating plate
The rating plate is attached to the magazine. It contains the following
information:
The company name and full address of the manufacturer
The designation of the machine (DN Type = pneumatic tool)
Type designation of the tool
Type designation of the fasteners that may be used
The maximum admissible working pressure
The CE symbol (the product conforms to the standards listed in
the Declaration of Conformity supplied)
The GS symbol (the product has passed a safety test in
accordance with the German Equipment and Product Safety Act)
The inverted triangle (this triangle indicates that this tool may only
be operated with fully functional firing protection device)
The year of manufacture

Preparing the tool
16
Preparing the tool
Unpacking the tool
Remove the tool from the packaging.
Remove all packaging materials, such as plastic films, filler
material and the cardboard box.
WARNING
Do not allow children to play with plastic
packaging films. Risk of suffocation!
Do not allow children to play with plastic
packaging films.
Store the packaging materials out of the
reach of children.
Save the packaging material for later use.
Keep the transport case for the transport of the tool.
The tool may only be transported in the transport case.

Preparing the tool
17
Check condition
WARNING
Risk of injury when using a damaged tool or if
accessories are not correctly attached.
Check the condition of the tool before
every use.
Always ensure that the tool is in a safe
working condition.
Check in particular the following points:
-
All parts of the tool and all accessories must be securely
attached.
-
The safety devices must not be blocked or otherwise impaired
in their function.
-
The spring of the firing protection device must not be
damaged.
-
No parts of the tool or the accessories may show visible signs
of damage, such as scratches or dents.
-
The air hose must be undamaged.
Scratches in the paintwork of the housing or magazine are not
"damage".
Do not connect a damaged tool to a compressed air supply.
Have a damaged tool repaired by qualified personnel before
putting it into operation.

Preparing the tool
18
Connect tool to compressed air supply
You can connect the tool to a compressed air system or to a
compressed air cartridge.
If you connect the tool to a compressed air system by means of an
adapter, you can carry out frequent brad driving operations efficiently
in the same place. In addition you can supply oil to the tool via the
compressed air system.
If you connect the tool to a compressed air cartridge, you are
independent of a stationary installation.
The admissible working pressure of the tool is 10 bar. If the
admissible working pressure is exceeded, the pointer of the pressure
gauge for the working pressure moves into the red range.
This can occur under the following conditions:
If both safety valves are defective,
If you have set the working pressure too high (see page 33), or
If you have connected the tool to a compressed air system with
excessively high pressure or to an unsuitable compressed air
cartridge.
WARNING
Risk of explosion if the maximum working
pressure is exceeded.
In this case immediately disconnect the
compressed air supply from the tool (see
page 40).

Preparing the tool
19
Attach compressed air cartridge
WARNING
Risk of injury from unsuitable compressed air
cartridges.
Use only original PREBENA compressed
air cartridges of Type KT-1000.
Operate the tool only when it is in a safe
working condition.
Important notes for the handling of compressed air cartridges
Use only original PREBENA KT-1000 compressed air cartridges
for the tools described here.
Use the KT-1000 compressed air cartridge only to supply
compressed air to the tools described in this manual.
Keep the valve of the compressed air cartridge and the
connection on the tool clean and protect from damage. Remove
any soiling before starting work. Severe soiling may only be
removed by the manufacturer.
Lubricate the thread of the valve on the compressed air cartridge
with universal grease before every use.
Do not used defective or damaged compressed air cartridges.
Have defective or damaged compressed air cartridges replaced
by your dealer.
The labelling on the compressed air cartridge must not be
removed or made illegible.
Transport and store the compressed air cartridges only in the
original packaging or in the transport case of the tool.
The compressed air cartridge must not be transported while
connected to the tool. Remove the compressed air cartridge from
the tool after every use.

Preparing the tool
20
Connecting the compressed air cartridge
Check the condition of the tool (see page 17).
Remove the protective cap from the connecting thread of the
compressed air cartridge.
Check the fitting (3) and the connecting thread of the compressed
air cartridge (2) for foreign matter and soiling.
Clean the fitting and connecting thread, if necessary.
WARNING
Inadvertent firing during connection to the
compressed air supply can result in serious or
even fatal injuries.
Never direct the tool towards yourself,
other people or animals.
Empty the magazine before connecting
(see page 41).
Push the compressed air cartridge into the holder (1).
Screw the thread of the compressed air cartridge (2) finger-tight
into the thread of fitting (3).
Table of contents
Other Prebena Nail Gun manuals
Popular Nail Gun manuals by other brands
Metabo HPT
Metabo HPT NR 3675DD Instruction and safety manual
EXTOL PREMIUM
EXTOL PREMIUM 8894580 Translation of the original user manual

DeWalt
DeWalt XR Li-Ion DCN680D2 Original instructions

Performance Tool
Performance Tool M643 owner's manual

Hitachi
Hitachi VH650 - Fencing Nailer, Full Head instruction manual

Parkside
Parkside PET 25 B1 Operation and safety notes

