MAINTENANCE
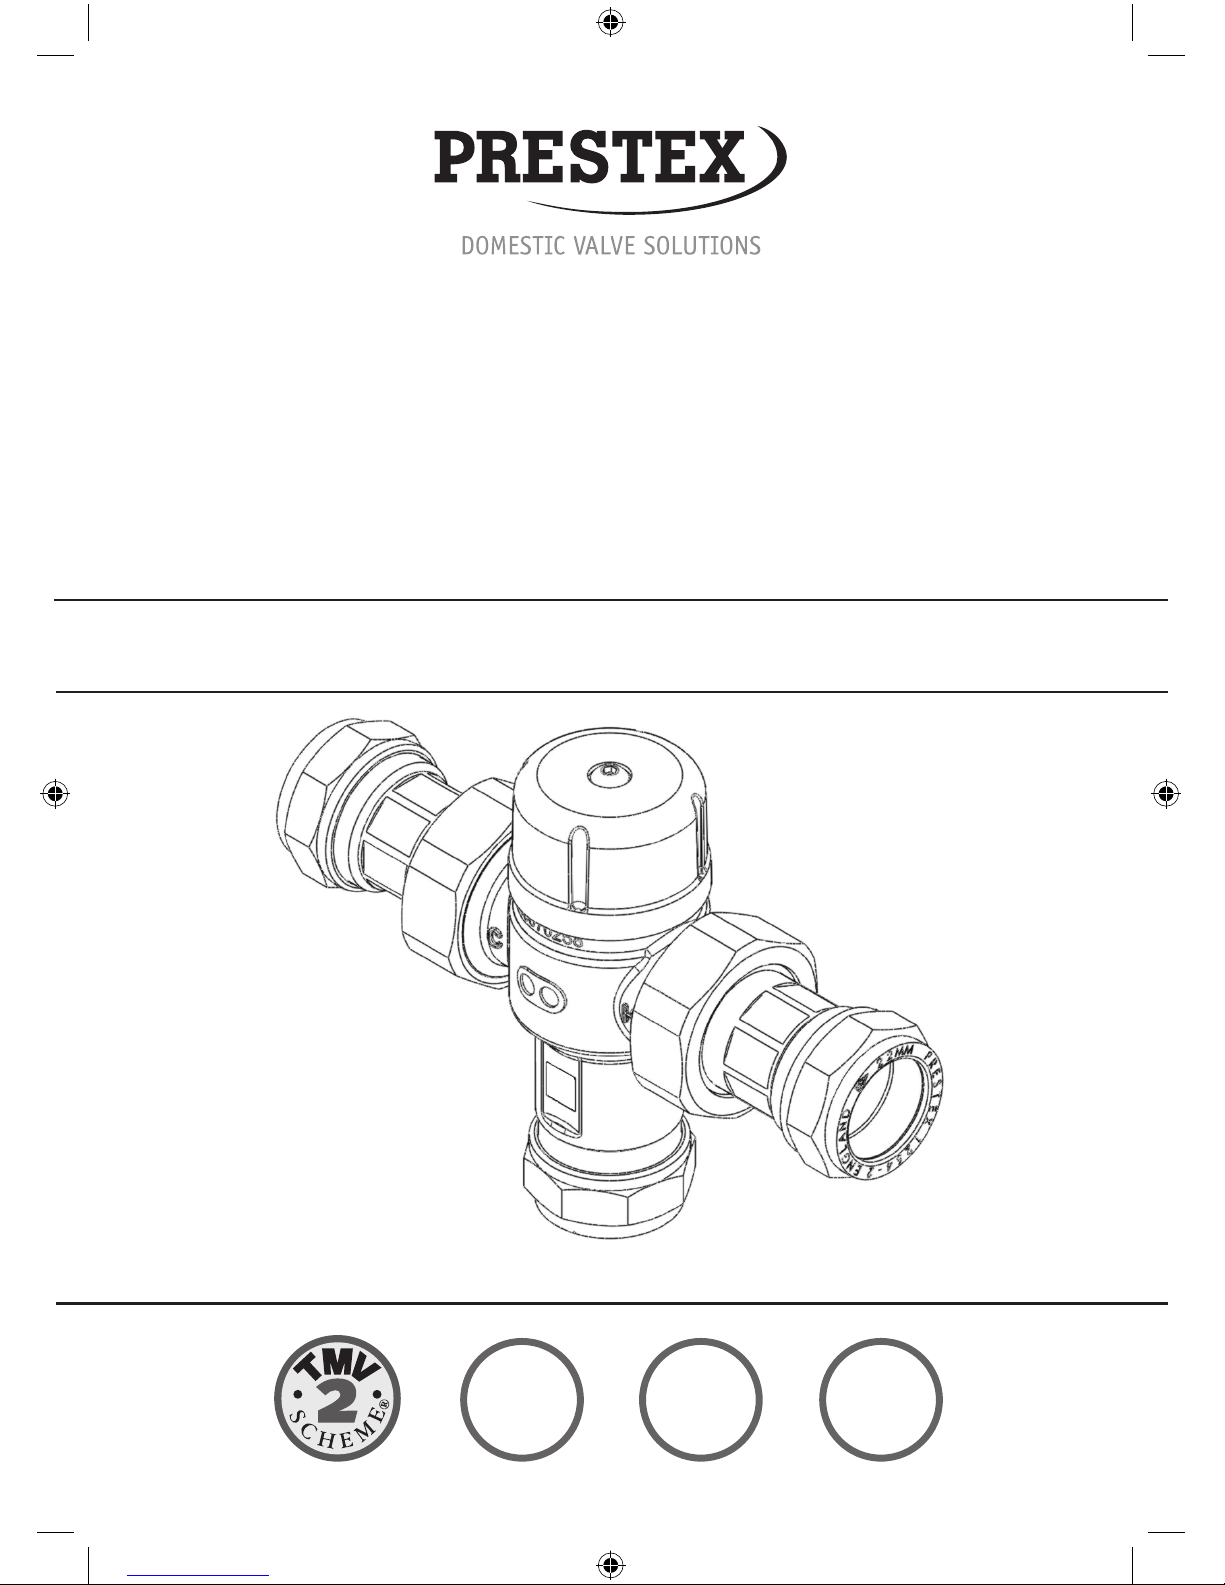
The Prestex Model P404 thermostatic mixing
valve will provide satisfactory service and
a high level of protection, provided it is
maintained and subjected to In-Service
Testing.
Approximately 6-8 weeks after commissioning,
the following tests should be undertaken.
• Temperatureofthehotandcoldwater
supplies - RECORD
•Temperatureofthemixedwatertemperature
at the greatest draw off flow rate – RECORD
If the mixed water temperature has
significantly changed from that measured at
installation (e.g. > 1°C), RECORD the change
and before making any adjustments to the
valve confirm that:-
• Strainerelementsinthehotandcoldwater
supplies are clean and undamaged.
• Non-returnvalvesarecleanandoperating
correctly.
• Isolationvalvesareoperatingcorrectlyand
are set in the fully open position.
If the mixed water temperature is acceptable,
the following additional observations should
be made:-
Isolate the cold water supply and RECORD
the maximum temperature achieved. After 5
seconds, if water is still flowing RECORD the
final temperature.
• Ifthereisnosignicantchangetotheset
outlet temperature (±2°C or less deviation
from the original setting) and the fail safe
shut-off is functioning, then the valve is
working correctly and no further service work
is required.
• Ifthemaximummixedwatertemperature
exceeds the previous test results by more
than 2°C then the need for service work on
the valve is indicated.
• TheequipmentusedintheseIn-Service
Tests should be RECORDED and should
preferably be the same as that used at
installation.
Note:
If there is a residual flow during the
commissioning or the annual verification
(cold water supply isolation test) then this is
acceptable providing the temperature of the
water seeping from the valve is no more than
2°C above the designated maximum mixed
water outlet temperature setting of the valve.
Any higher temperatures should occur only
briefly. Temperature readings should be taken
at the normal flow rate after allowing the
system to stabilise. The sensing part of the
thermometer probe must be fully submerged
in the water that is to be tested. Any TMV
that has been adjusted or serviced must be
re-commissioned and re-tested in accordance
with the manufacturer’s instructions.
In the absence of any other instruction or
guidance, it is recommended that In-Service
Tests are carried out once every 12 months
as a minimum. If the temperature is outside
of the expected range it will be necessary to
remove and clean the valve in accordance with
the following instructions.
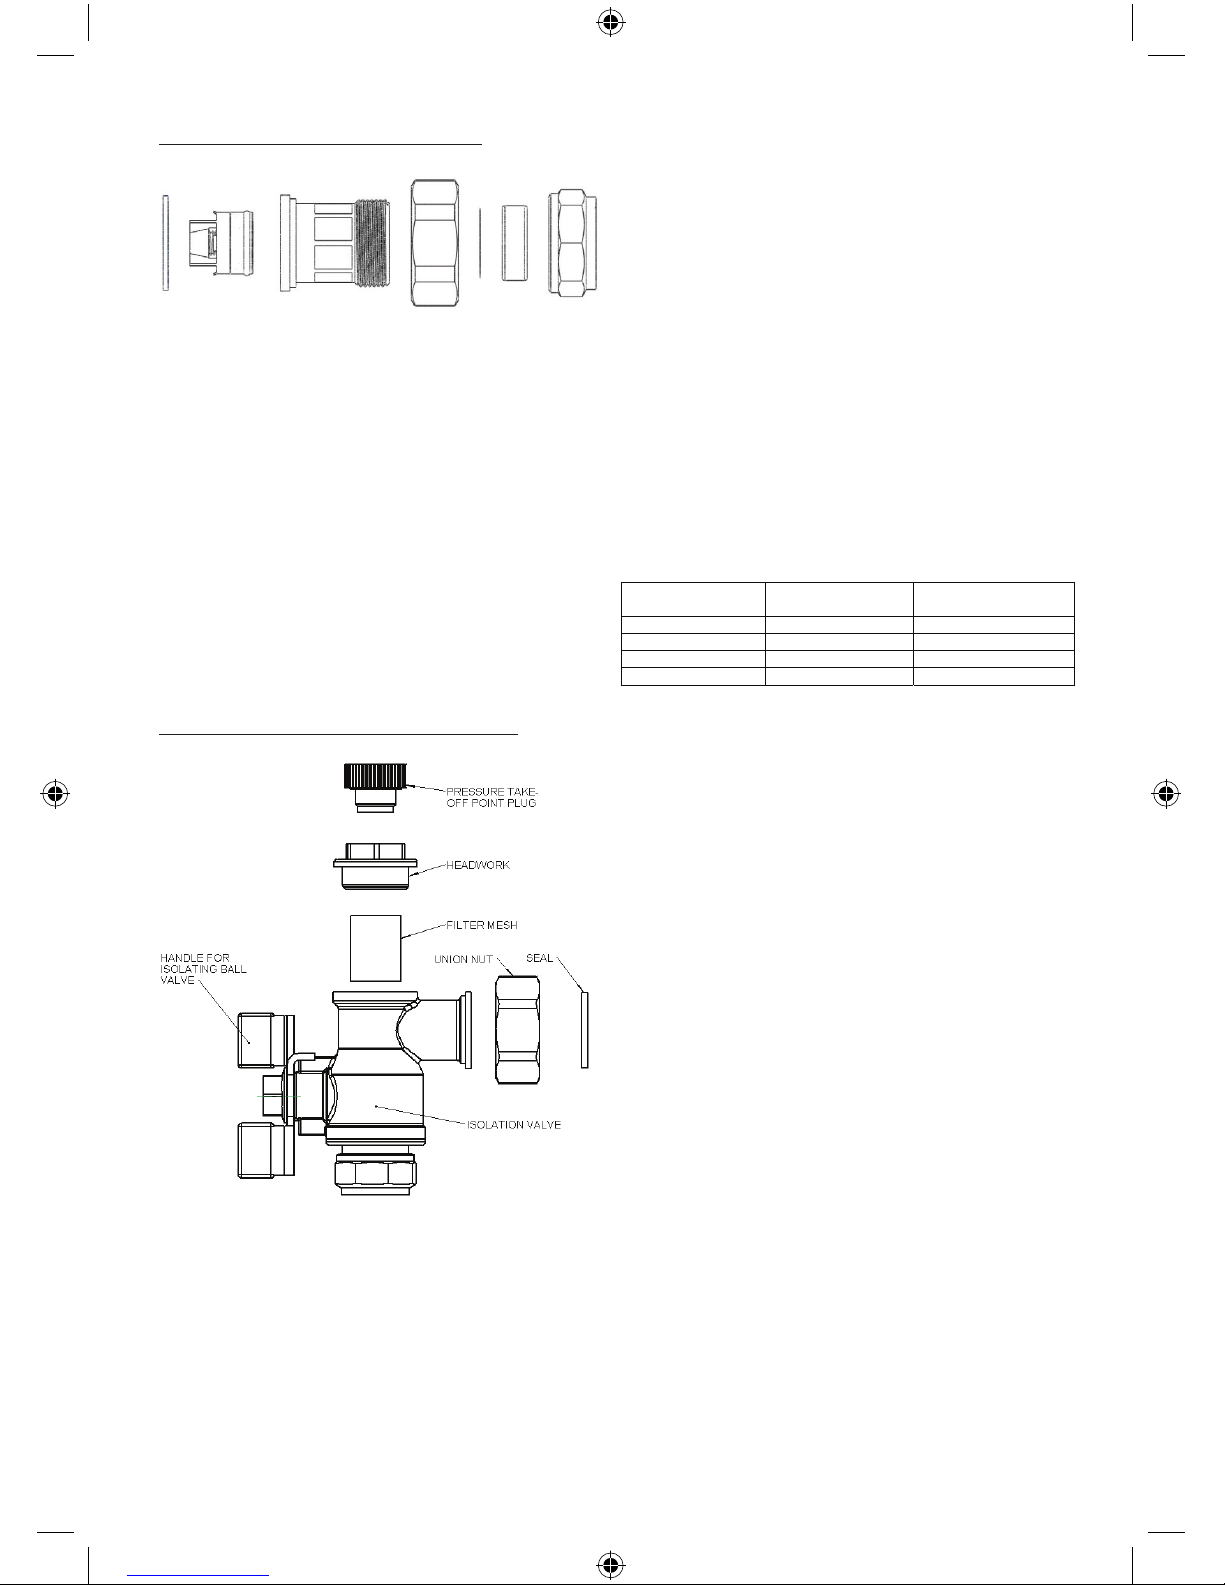
TMV Cleaning and Servicing Instructions
Most domestic water supplies contain calcium
which will separate out when the water is
heated in a system. The degree and speed of
scaling may vary depending on factors such as
water flow rates, system design, the hardness
of the water and the temperature to which the
water is heated.
Deposits of scale may over time form in the
valve, particularly at the hot inlet.
The formation of the scale may adversely affect
the performance of the valve which will be
detected during the in-service testing. If this
occurs it will be necessary to remove the valve
for de-scaling and servicing.