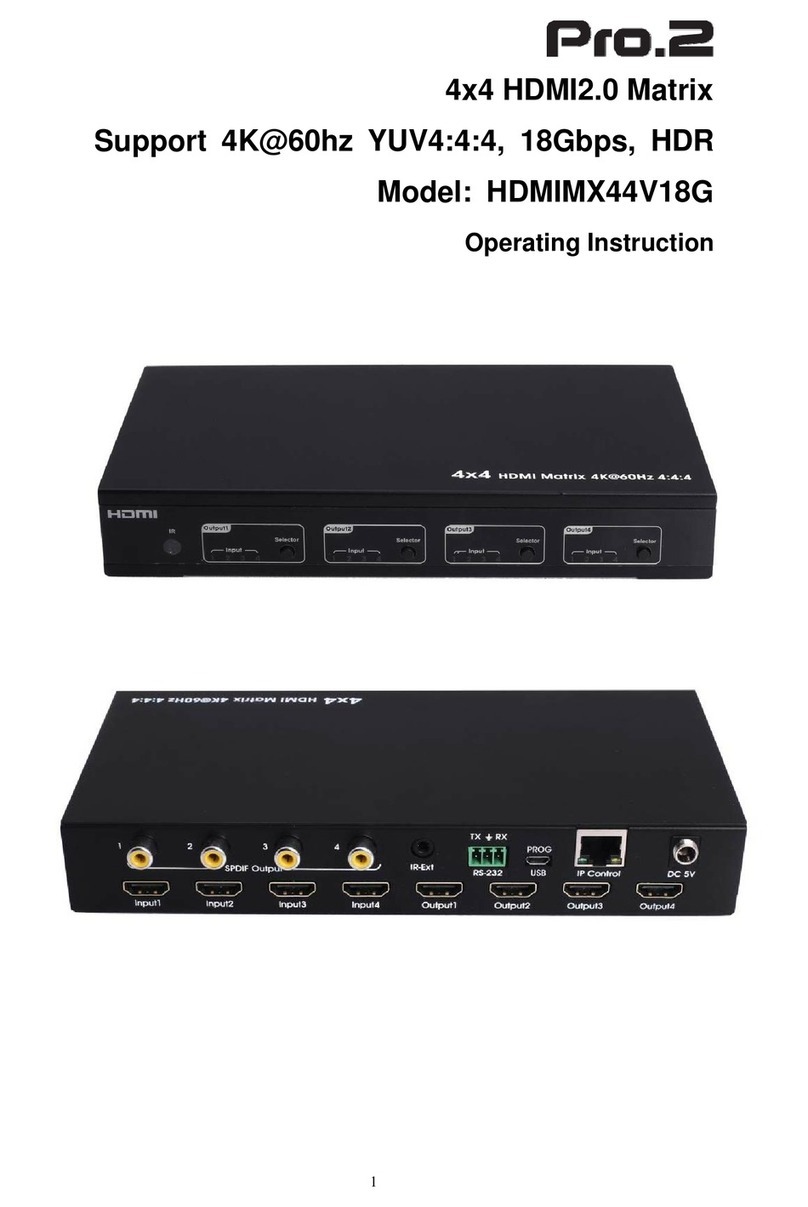
Pro2 HDMIMX44RS User manual

1
HDMI Matrix
Model: HDMIMX44RS
Operating Instruction

2
Operating Instruction
Thank you for purchasing this product. For optimum performance and
safety, please read these instructions carefully before connecting,
operating or adjusting this product. Please keep this manual for future
reference.
SURGE PROTECTION DEVICE RECOMMENDED
This product contains sensitive electrical components that may be
damaged by electrical spikes, surges, electric shock, lightning strikes,
etc. Use of surge protection systems is highly recommended in order to
protect and extend the life of your equipment.

3
Operating Instruction
Table of Contents
1. Dear Customer..............................................................................................................4
2. Features........................................................................................................................4
3. Panel Descriptions.......................................................................................................4
4. Specifications...............................................................................................................4
5. Package Contents.........................................................................................................5
6. Application Diagrams...................................................................................................6
7. Remote Control Description........................................................................................6
8. DIP Switch for EDID Setting.........................................................................................7
9. RS-232 Pin Assignment................................................................................................7
10. RS232 Control.............................................................................................................8
11. RS232 Command........................................................................................................9
12. IR Extender control...................................................................................................10
13. IR system...................................................................................................................10
14. Warranty Policy.........................................................................................................11

4
Operating Instruction
Dear Customer
Thank you for purchasing this product. For optimum performance and safety, please read
these instructions carefully before connecting, operating or adjusting this product. Please
keep this manual for future reference.
Features
Supports resolutions up to 1080p@60HZ, 36-bit deep color, 4k@30HZ.
Allows any source to be displayed on multiple displays at the same time.
Allows any HDMI display to view any HDMI source at any time.
Dolby TrueHD and DTS-HD master audio pass through HDMI output.
Advanced EDID management for rapid integration of sources and displays.
Multiple switching mode, push-in button, IR remote control, and RS-232 control.
Easy installation with rack-mounting ears.
Full 3D pass- through.
HDCP compliant.
Package Contents
1. 1x HDMI Matrix.
2. 1x 12V2A DC power supply.
3. 1x Remote control.
4. 4x Wide Band IR cable
5. 4x IR TX cables.
6. 1x IR RX cables.
7. 1x mounting kit.
8. 1x CD for control software & user manual.
Specifications
Bandwidth 2.97Gbps per color
Video Input Connectors 4xHDMI Type A, 19-pin, female, locking
Video Output Connectors 4xHDMI Type A, 19-pin, female, locking
RS-232 serial port DB-9, female
IR Input ports 5x3.5mm stereo jack
IR Output ports 4x3.5mm stereo jack
Rack-Mountable Rack ears included
Dimensions(WxHxD) 256MMx144MMx43MM, without feet
Weight 1.8 kg
Operating Temperature 32°F to 104°F (0°C to 40°C)
Storage Temperature -4°F to 140°F (-20°C to 60°C)
Power Supply 12V/2A DC

5
Operating Instruction
Panel Descriptions
Front Panel
1. IR receiver window----Receive the IR from the remote control of HDMI Matrix.
2. HDMI input selection button 1 to 4---Press to select the input from 1 to 4.
3. Input LED indicator---Indicate the status of the inut for the matrix.
Back Panel
①IR inputs 1 to 4 ---- 3.5mm stereo phone-jack.
②IR outputs 1 to4 ---- 3.5mm stereo phone-jack.
③ IR extension receiver input ---- 3.5mm stereo phone-jack.
④ Power switcher---- Press to power on/off the matrix.
⑤ HDMI inputs 1 to 4----Connect HDMI sources.
⑥ HDMI outputs 1 to 4----Output for displays, AVR etc.
⑦ RS232 female port----Connect to the PC using RS232 cable.
⑧ Power port---Use included DC adaptor to power the matrix switcher.

6
Operating Instruction
Application Diagram
Remote Control Description
① Press "M" button to switch to "DIP Switch" mode for EDID Setting.
②OUTPUT-X select INPUT-Y:
A. Press OUTPUT-X (X means 1 to 4 of outputs) Press INPUT-Y (Y means 1 to 4 of
inputs)

7
Operating Instruction
B. Press OUTPUT-X (X means 1 to 4 of outputs), Press the left and right arrow buttons to
select the input.
③ All outputs select INPUT-Y: Press ALL button in zone OUTPUT Press INPUT-Y button
(Y means 1 to 4 of inputs), then INPUT-Y switched toALL OUTPUTS.
④ Mirror all inputs and outputs (Ex. Input 1 to output 1, input 2 to output 2, etc): Press
PTP button in Zone OUTPUT.
DIP Switch for EDID Setting
Press “M” button, switch to “DIP Switch” mode to choose the EDID.
DIP Switch EDID
0000 1080P_2CH(PCM)
0001 1080i_ audio7.1
0010 1080P_ audio5.1
0011 1080i_2CH(PCM)
0100 1080i_audio7.1
0101 1080i_audio5.1
0110 1080P_3D_2CH(PCM)
0111 1080P_3D_ audio7.1
1000 1080i_3D_ audio5.1
1001 4K30Hz_2CH(PCM)
1010 4K30Hz_audio7.1
1011 4K30Hz_audio5.1
RS-232 Pin Assignment
Matrix Remote Control Console
PIN Assignment PIN Assignment
1 NC 1 NC
2 Tx 2 Rx
3 Rx 3 Tx
4 NC 4 NC
5 GND 5 GND
6 NC 6 NC
7 NC 7 NC
8 NC 8 NC
9 NC 9 NC
Baud Rate: 57600 bps
Data Bit: 8-bit Parity: None Stop Bit: 1-bit
Flow Control: None

8
Operating Instruction
RS232 Control
Connect RS232 cable to PC, open the software ,choose the COM port and connect.
Click "General ", you can choose the HDMI input and for each HDMI out as below picture
Click "Advance", choose the "HDMI input", then click "PC Set EDID Mode" to set EDID,
such as video format, audio format etc. After setting the EDID, click "Apply" to finish the o
peration
Note: If you need change to "DIP Switch "mode for EDID setting, please press "M"
button on the remote controller.

9
Operating Instruction
RS232 Command
1. Select HDMI input for HDMI output
Command Description
00 Output1
01 Output2
02 Output3
03 Output4
04 All Output
00 Input1
01 Input2
02 Input3
03 Input4
SW Start Write
L End
E.g: SW 00 01 L: Ouput 1 display Input2
E.g: SW 04 01 01 01 01 L: All outputs display Input2
2. EDID Setting
E.g: AllAudio and Uart Set: SW 05 02 7F 7F 78 30 7F 04 0F 7F 14 07 L

10
Operating Instruction
IR extender control
User can use the IR receiver cable to change the IR receiver position.
If controlling the HDMI Matrix through the 1/8” (3.5 mm) input jack on the rear panel,
connect the IR cable directly to the matrix rear IR receiver extension sockets.
IR system
1) Control the sources from the sinks
Step1: Connect 4pcs “IR TX” cables to “IR TX” ports; connect 4pcs “IR RX” cables to “IR
RX” ports
Step2: Affix the 4xIR emitter of “IR TX” cables to the IR window of the 4xHDMI source
Step3: Aim the remote control of HDMI source which you choosed to the “IR RX” cable
which connected to the Matrix.
For example:
If you choosed HDMI source1, then just aim the remote control of HDMI source1 to the “IR
RX” cable which connected to the Matrix.
2) Control the HDMI Matrix from “IR RX” port.
Aim the remote of the HDMI Matrix to the “IR RX” cable which connected to the Matrix.

11
Operating Instruction
Table of contents
Other Pro2 Matrix Switcher manuals
