Page 1Page 4
VHF/UHF Amplifiers
PD2011-9003-04
INSTALLATION INSTRUCTIONS
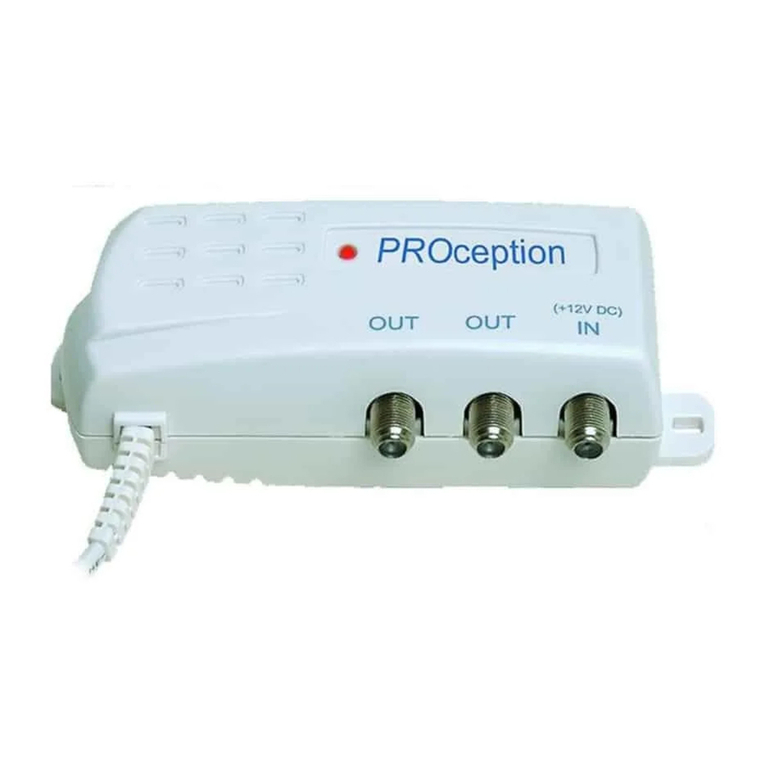
This range of six amplifiers is ideal for use in small domestic and commercial reception and distribution
s stems. The proAMP24, proAMP26 and proAMP28 are traditional 4-, 6- and 8-wa aerial signal
amplifiers. The R versions have a 6 MHz return path, for use with infra-red remote control extender
s stems of the t pe which connect to the RF OUT-2 output of a Sk * Digibox.
Features whole range
nSeparate inputs for FM radio (87.5 108 MHz) and UHF TV (470 862 MHz).
n4-, 6- and 8-wa versions available.
nSuitable for digital reception s stems.
nLow noise figure and high output capabilit .
Features proAMP24, 26 and 28
nLine power available at UHF input 12 V at up to 100 mA.
nHigher-gain FULL output on 6- and 8-wa versions allows expansion be ond eight points.
nIEC connectors.
Features R versions
n6 MHz return path for Sk * IR remote control s stems.
nBuilt-in power for IR e es on all outputs.
nF connectors.
Note: R versions do not have input line-power capability or FULL outputs.
Fi ings
Fix the amplifier to a sound vertical surface such as a wall or equipment mounting board. Ventilation
gaps of at least 30 mm should be left around the front and all sides of the unit. More clearance will be
required below and to the right of the unit to allow access for the signal cables.
Do not leave the amplifier resting on a carpet or install it where it may become smothered
with curtains or other soft furnishing fabrics. When installing the amplifier in a roof space
ensure that it will not come into contact with thermal insulation material.
Signal connections
To preserve RF screening integrit the signal connections to the amplifier should be made using good
qualit coaxial cable and connectors. This is particularl important with digital terrestrial TV (DTT) to
minimise the ingress of impulsive electrical interference from home appliances.
nThe use of cable benchmarked under the CAI scheme is recommended.
nAmplifiers proAMP24, proAMP26 and proAMP28 require IEC connectors (IEC 60169-2).
nAmplifiers proAMP24R, proAMP26R and proAMP28R require T pe-F connectors (IEC 60169-24).
For both connector t pes the use of crimp connectors, used in accordance with the manufacturers
instructions will give the best results. The importance of achieving sound braid connections cannot be
over-stressed.
Important: the FULL output (where fitted) must alwa s be terminated in a well-matched 75 Ω load.
The terminator plug supplied must be fitted if this output is not used. (See also the section headed
Usin the FULL output.)
Proception Limited,
177-187 Rutland Road
SHEFFIELD
S3 9PT
United Kingdom
eb: http://www.proception.co.uk/
Performance data given are typical unless otherwise stated. Proception Limited reserves the right to change
product designs and specifications without prior notice.
Safety Instructions
OVERHEATING
The recommended ventilation clearances and other precautions given in the relevant section
of this instruction leaflet should be observed to prevent overheating. No unit should be
fixed where it is likel to become smothered b soft furnishing fabrics such as curtains, or b
thermal insulation material in a roof space or building void. Mains powered equipment
should not be left resting on a carpet.
WATER AND FIRE RISKS
The appliance is not waterproof. It is intended for indoor use onl and must not be fixed
where it could be exposed to dripping or splashing water. Objects containing liquids should
not be placed on or near the appliance.
To prevent risk of fire, no object with a naked flame should be placed on or near the appliance,
or its associated wiring.
MAINS PLUG
The appliance is supplied with a standard fused plug fitted. If this is unsuitable, refer to the
instructions below. If ou need to change the fuse in the fitted plug, a 3 Amp fuse to BS
1362 carr ing the ASTA or BSI approval mark must be used. Alwa s replace the plastic fuse
carrier when renewing the fuse.
CHANGING THE PLUG
If the fitted mains plug is not suitable for the socket-outlets in use, it should be cut off and
a new plug fitted.
Wiring the New Plug: Instructions supplied with the new plug should be followed. The
brown wire must be connected to the live (L) terminal of the plug and the blue wire to the
neutral (N) terminal. Neither wire should be connected to the earth (E) terminal of a 3-pin
plug (the appliance does not require an earth connection). Ensure that the cord grip in the
plug is correctl used and clamps the sheath of the cord firml .
Fuse Rating: If the new plug is a fused t pe, the fuse fitted should be rated at not more than
3 Amp.
Caution: The old plug should be destro ed immediatel since it would be dangerous if
plugged into a live socket.
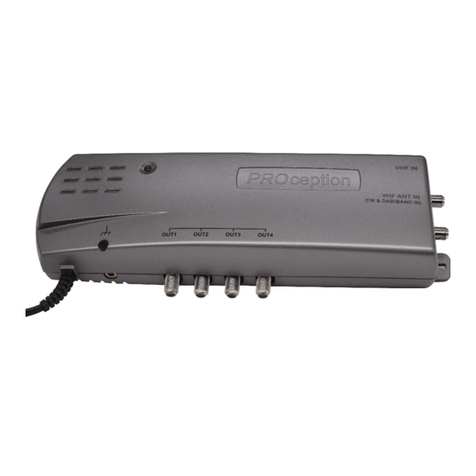
proAMP24 & 24R
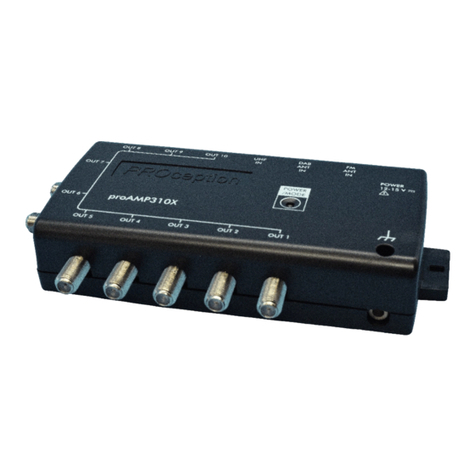
proAMP26 & 26R
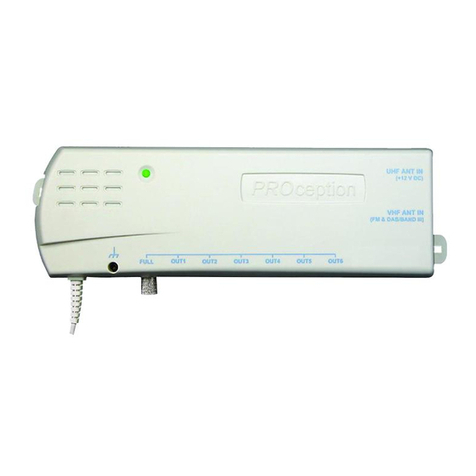
proAMP28 & 28R
2-Year Guarantee
This guarantee covers failure of our PROception product resulting from manufacturing defect
within a period of 2 ears from the date of suppl to the end-user. This guarantee does not
cover damage to the product caused b abuse, tampering, defective installation or natural
causes such as lightning discharge. Repair or attempted repair, other than b the manufacturer,
will render this guarantee void. This guarantee does not affect a consumers statutor rights.
PROception
* Sky is a registered trademark of British Sky Broadcasting Group PLC.


