manuals.online logo
Brands
  1. Home
  2. •
  3. Brands
  4. •
  5. ProFlo
  6. •
  7. Plumbing Product
  8. •
  9. ProFlo IPFX3085 Assembly instructions

ProFlo IPFX3085 Assembly instructions

Two Handle Kitchen Faucet
Model PFX3085 and PFX308
Robinet à deuxmanettes
Modelos PFX3085 and PFX308
Grifo para cocinadedosmanijas
Modèles PFX3085 and PFX308
1
English Español
Français
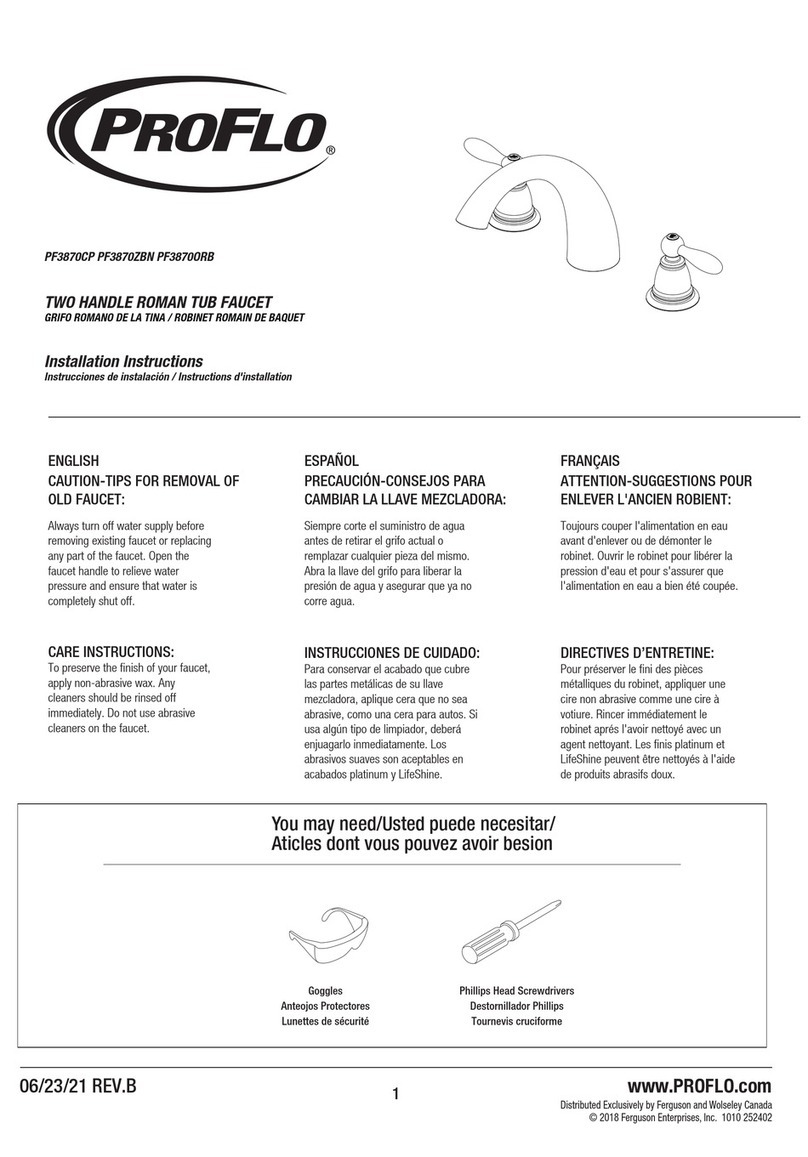
CAUTION-TIPS FOR REMOVAL OF
OLD FAUCET:
PRECAUCIÓN-CONSEJOS PARA CAMBIAR
LA LLAVE MEZCLADORA:
ATTENTION-SUGGESTIONS POUR
ENLEVER L'ANCIEN ROBIENT:
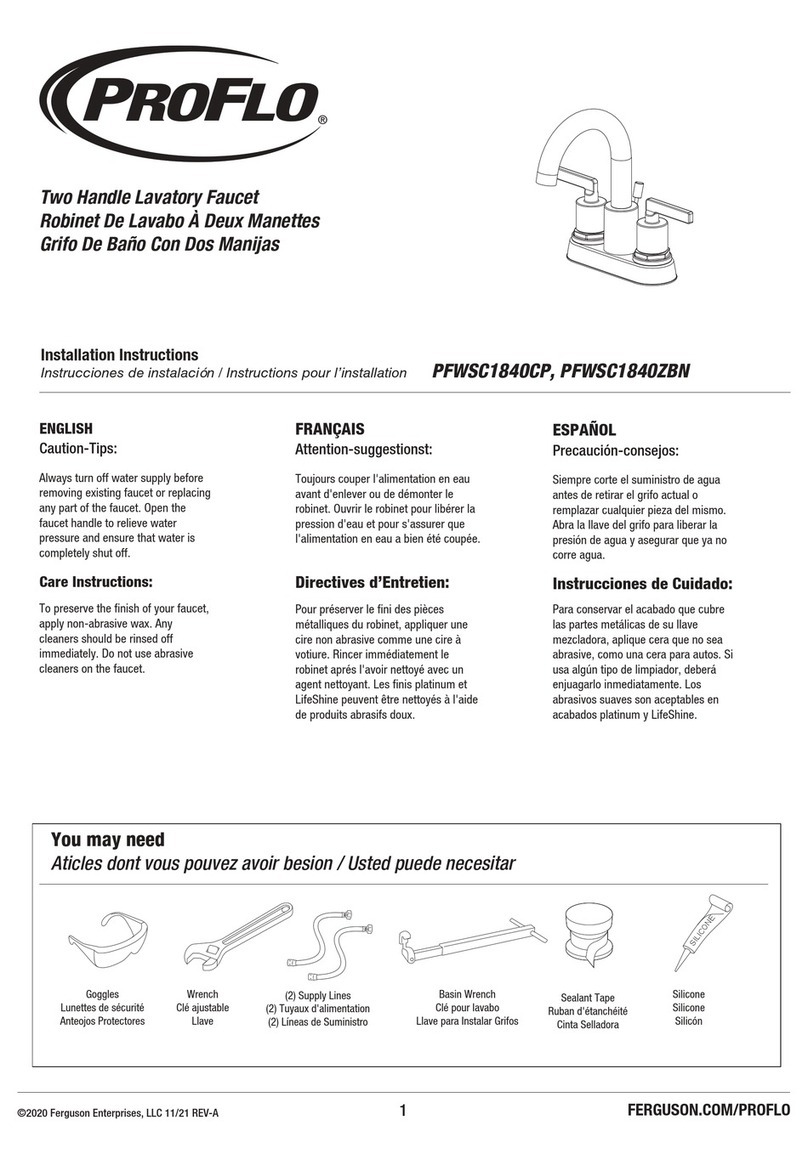
Always turn off water supply before
removing existing faucet or replacing
any part of the faucet. Open the
faucet handle to relieve water
pressure and ensure that water is
completely shut off.
Siempre corte el suministro de agua
antes de retirar el grifo actual o
remplazar cualquier pieza del mismo.
Abra la llave del grifo para liberar la
presión de agua y asegurar que ya no
corre agua.
Toujours couper l'alimentation en
eau avant d'enlever ou de démonter le
robinet. Ouvrir le robinet pour libérer la
pression d'eau et pour s'assurer que
l'alimentation en eau a bien été coupée.
CARE INSTRUCTIONS: INSTRUCCIONES DE CUIDADO:
DIRECTIVES D'ENTRETINE:
To preserve the finish of your
faucet, apply non-abrasive wax.
Any cleaners should be rinsed off
immediately. Do not use abrasive
cleaners on the faucet.
Para conservar el acabado que cubre
las partes metálicas de su llave
mezcladora, aplique cera que no sea
abrasive, como una cera para autos. Si usa
algún tipo de limpiador, deberá enjuagarlo
inmediatamente. Los abrasivos suaves son
aceptables en acabados platinum y
LifeShine.
Pour préserver le fini des pièces
métalliques du robinet, appliquer
une cire non abrasive comme une
cire à votiure. Rincer immédiatement le
robinet aprés l'avoir nettoyé avec un
agent nettoyant. Les finis platinum et
LifeShine peuvent être nettoyés à
l'aide de produits abrasifs doux.
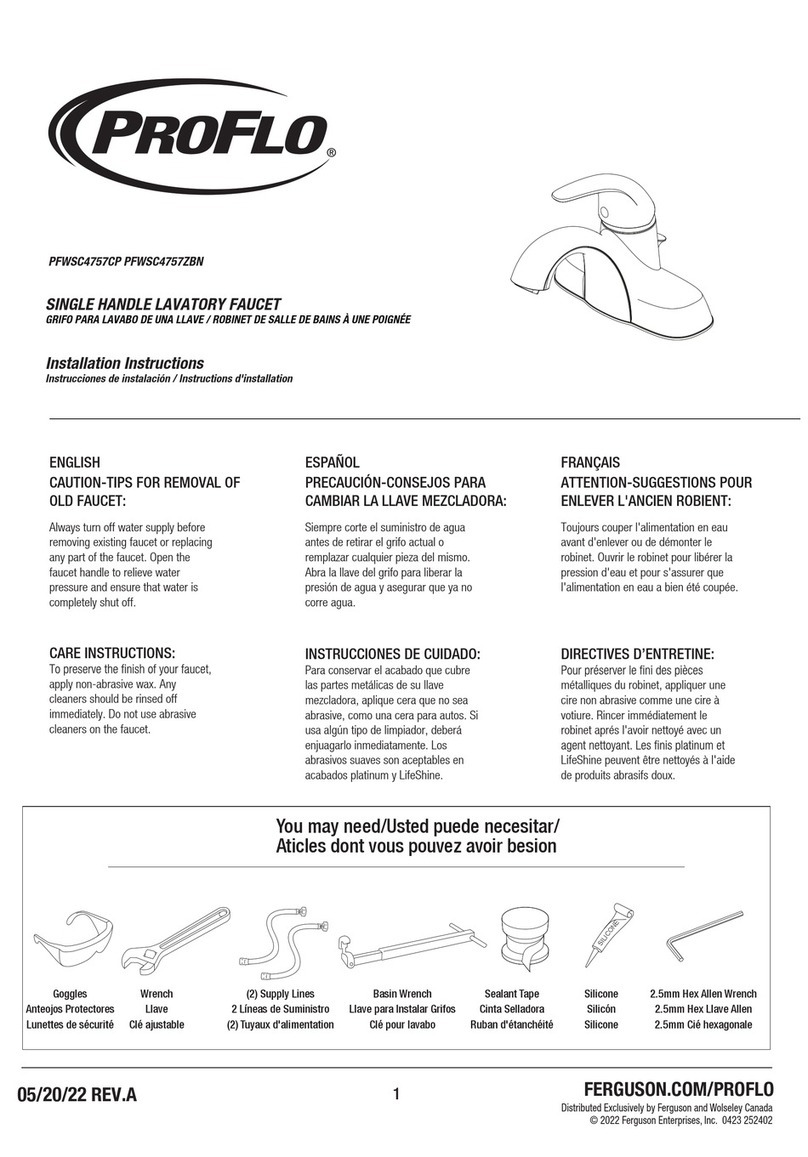
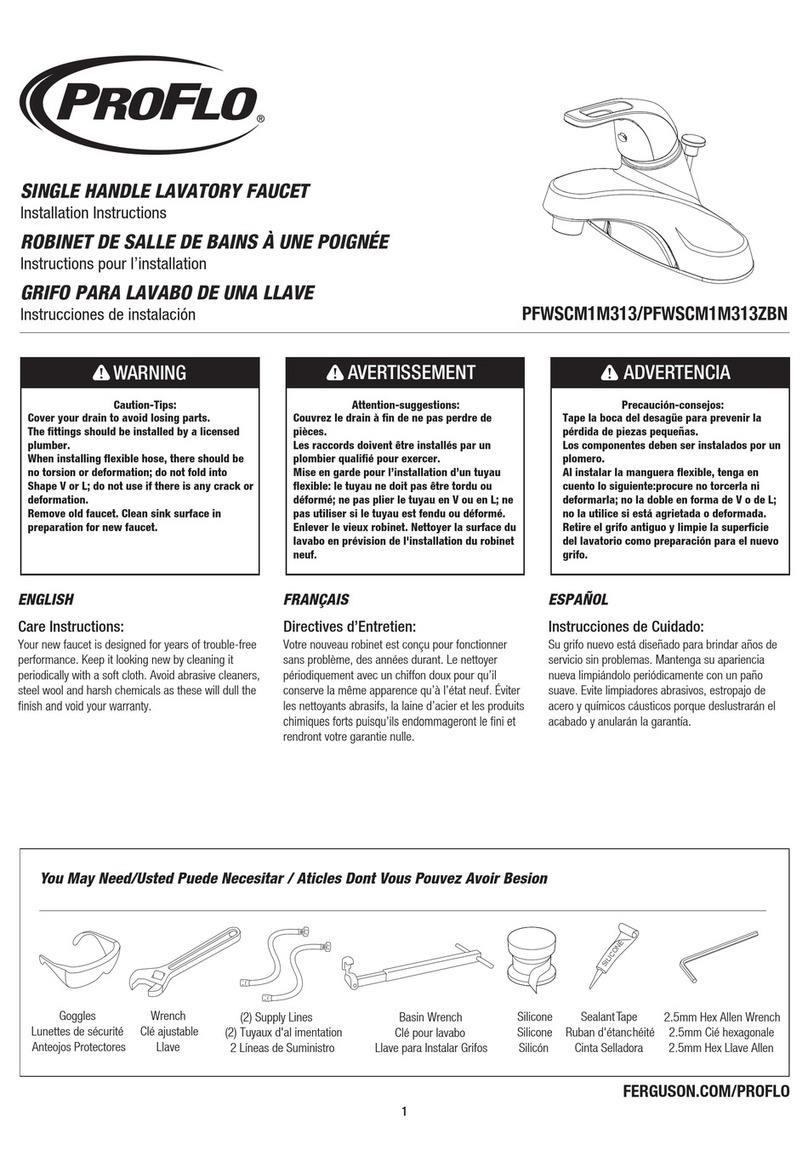
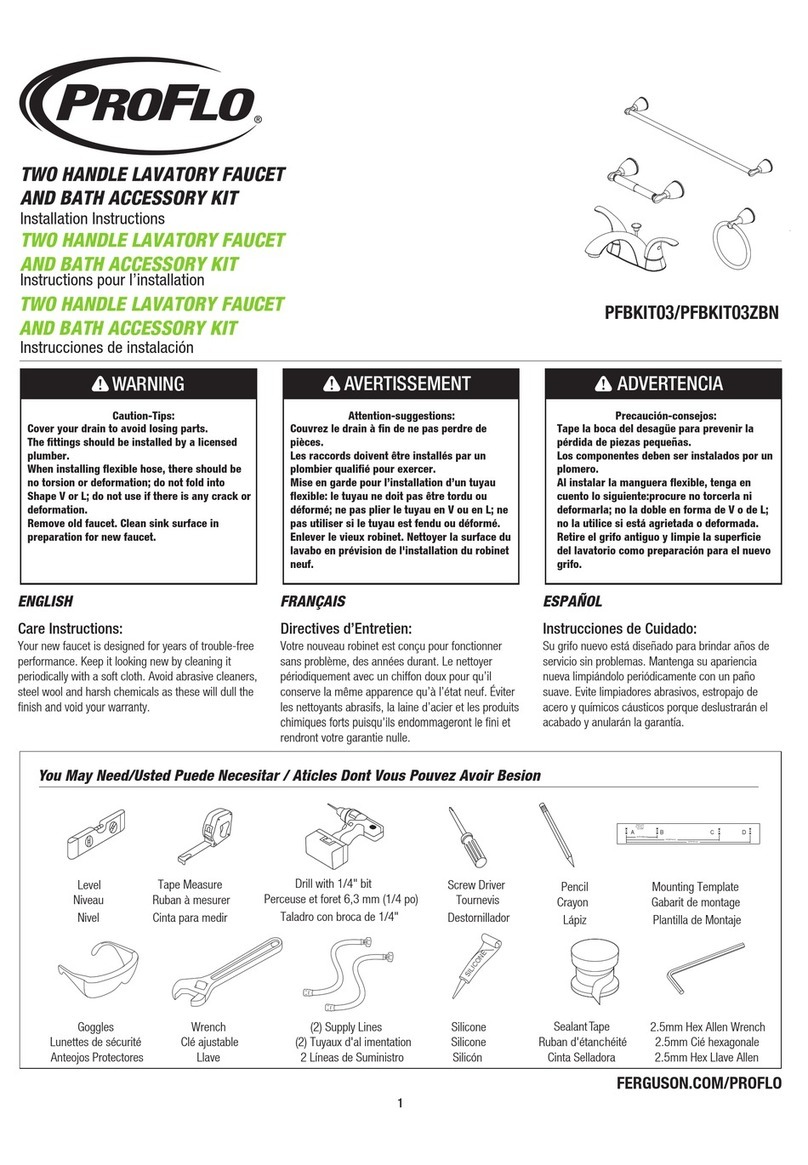
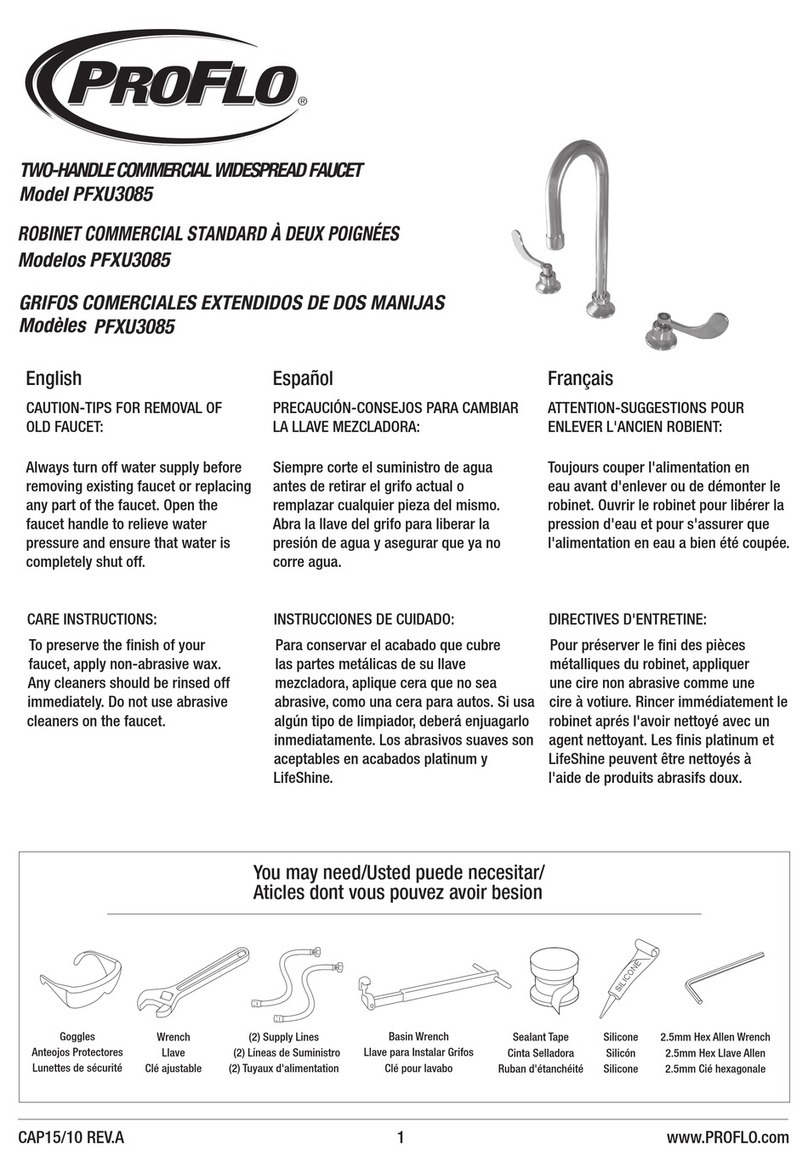
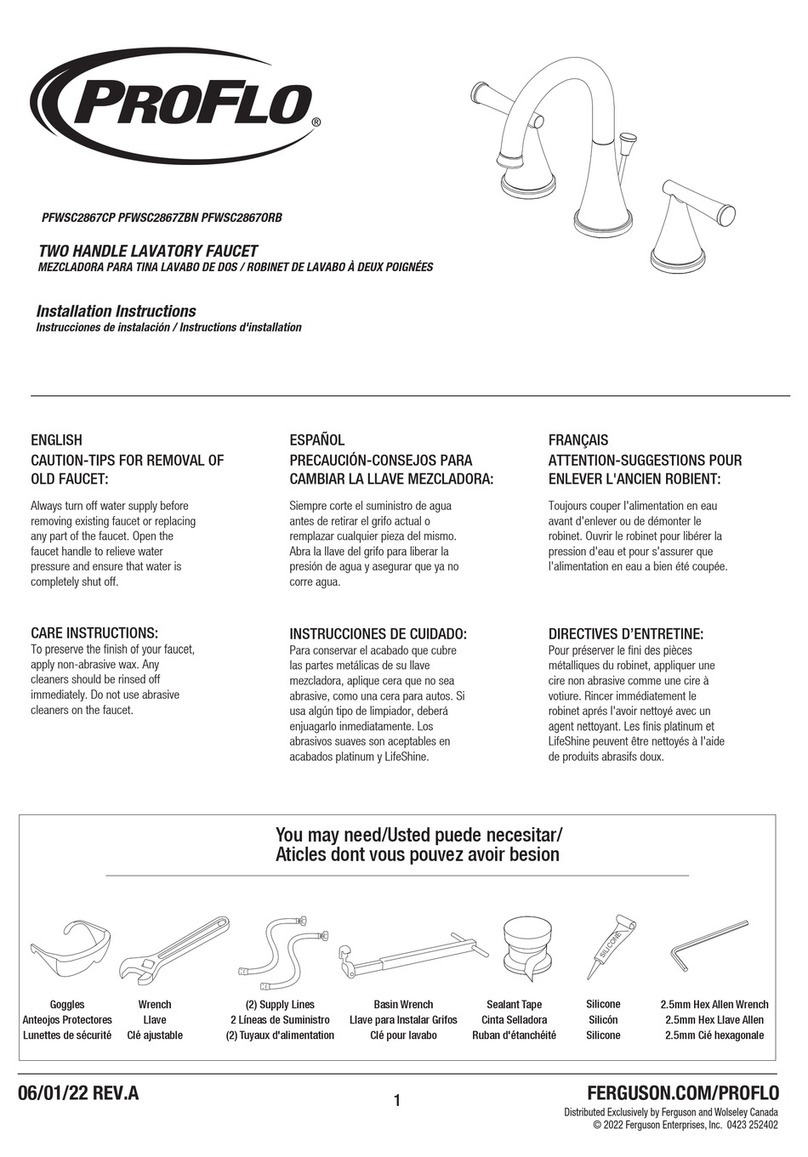
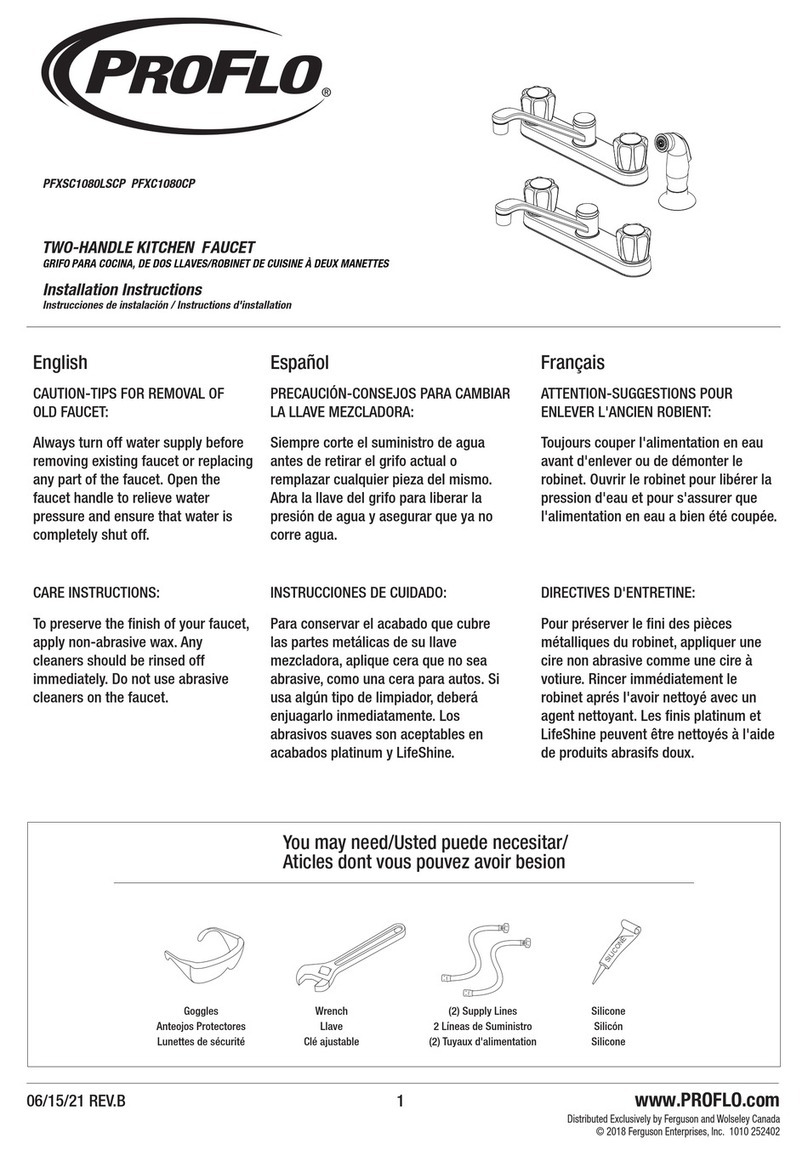
You may need/Usted puede necesitar/
Aticles dont vous pouvez avoir besion
Goggles
Anteojos Protectores
Lunettes de sécurité
Wrench
Llave
Clé ajustable
Basin Wrench
Llave para Instalar Grifos
Clé pour lavabo
(2) Supply Lines
(2) Líneas de Suministro
(2) Tuyaux d'alimentation
Sealant Tape
Cinta Selladora
Ruban d'étanchéité
Silicone
Silicón
Silicone
SILICONE
CAP 01/18 REV.B
2.5mm Hex Allen Wrench
2.5mm Hex Llave Allen
2.5mm Cié hexagonale
www.PROFLO.com
PFXB3045 and PFXB304
PFXB3045L and PFXB304L
PFXB3045 and PFXB304
PFXB3045L and PFXB304L
PFXB3045 and PFXB304
PFXB3045L and PFXB304L
Fig. 1 Faucet installation
1. For replacement applications,
ensure that the water supply is
turned completely off at the
supply valve before attempting
removal and replacement of the
existing faucet.
2. For replacement applications,
ensure the sink deck is clear of
any surface dirt or debris before
setting the new faucet in place.
On an uneven surface, use
silicone sealant to seal the
faucet to the deck.
3. Using the included brass
locknuts (No.20) ,secure the
faucet to the deck, making sure
that the faucet secures tightly to
prevent any movement or
shifting.
4. Connect the hot cold water
supply connectors to the
appropriate inlet. If you are using
coned supply risers, use the
brass coupling nuts (No.22)
included with the faucet kit. For
installations employing other
types of supply connectors,
consult the manufacturer's
installation instructions.
5. To install the spout, insert the
spout assembly into the receiver
of the body (No.1).
6. Thread the spout nut onto the
spout canopy and tighten using
an appropriately sized wrench.
7. Turn the water on and check
for leaks. To correct for leaks at
a supply connection, gently
tighten the faucet coupling nut
until the leak stops.
8. Turn the faucet on and check
for adequate flow rate. If flow
rate is low, remove aerator,
flush and reassemble.
Fig. 1 Installation du robinet
1. Pour les applications de
remplacement,assurez-vous que
l’alimentation en eau soit
complètement fermée aux
robinets d’alimentation avant de
tenter de démonter et de
remplacer le robinet existant.
2. Pour les applications de
remplacement,assurez-vous que la
surface du tablier de l’évier soit libre
de toute saleté ou débris avant de
monter le nouveau robinet en place.
Sur les surfaces inégales, utilisez de
la silicone pour sceller le robinet
à l’évier.
3. Utilisant les écrous de blocage de
laiton inclus (n° 20), fixez le robinet
au tablier, vous assurant que le
robinet soit fermement monté pour
prévenir tout mouvement ou
déplacement.
4. Raccordez les connecteurs
d’alimentation de l’eau chaude t de
l’eau froide aux entrées appropriées.
Si vous utilisez des tuyaux
d’alimentation à extrémité conique,
utilisez les écrous de raccord de laiton
(n° 22) inclus dans la trousse du
robinet. Pour les installations
utilisant d’autres types de raccords
d’alimentation,consultez les
instructions d’installation du fabricant.
5. Pour installer le bec, insérez
l’ensemble du bec dans le récepteur
de la douille du bec (n° 1).
6. Vissez l’écrou du bec sur la douille
du bec et serrez-le au moyen d’une
clé de dimension appropriée.
7. Ouvrez l’eau et vérifiez qu’il
n’existe aucune fuite. Pour éliminer
les fuites aux raccords d’alimentation,
serrez légèrement les écrous de
raccord jusqu’à ce que les fuites
cessent.
8. Ouvrez le robinet et vérifiez que le
débit soit adéquat. Si le débit est
faible, retirez l’aérateur,nettoyez
l’aérateur et les tuyaux et
réassemblez.
Gráfico. 1: Instalación del grifo
1. Para las aplicaciones de reemplazo,
asegurarse que el suministro de agua
se encuentre completamente cerrado
en la válvula de suministro antes de
intentar retirar y reemplazar el grifo
actual.
2. Para las aplicaciones de reemplazo,
asegurarse que la superficie del lavabo
no contenga suciedad ni residuos antes
de colocar el nuevo grifo en su lugar. En
una superficie desnivelada, utilizar
sellador de silicona para adherir el grifo
a la superficie.
3. Utilizando la contratuerca de bronce
incluida (N°20), adherir el grifo a la
superficie,asegurándose que éste se
coloque firmemente para evitar cualquier
movimiento o desplazamiento.
4. Empalmar los conectores de
suministro de agua fría y caliente a la
entrada correcta.Si se utilizan conductos
verticales cónicos de suministro, utilizar
las tuercas de acoplamiento de bronce
(N°22) que se incluyen en el kit del grifo.
Para las instalaciones que utilicen otros
tipos de conectores de suministro,
consultar las instrucciones de instalación
del fabricante.
5. Para instalar el tubo de descarga,
insertar el ensamble del tubo en el
receptor de la cubierta de dicho tubo de
descarga (N° 1).
6. Enroscar la tuerca del tubo de
descarga en su cubierta utilizando una
llave inglesa de tamaño apropiado.
7. Abrir el suministro de agua y verificar
si existen pérdidas. Para corregir
pérdidas en la conexión de suministro,
ajustar con suavidad la tuerca de
acoplamiento del grifo hasta que se
detenga la pérdida.
8. Abrir el grifo y verificar si el agua
posee un flujo adecuado. En caso de ser
escaso, retirar el aireador, descargar y
volver a ensamblar.
2
CAP 01/18 REV.B www.PROFLO.com
3
CAP 01/18 REV.B www.PROFLO.com
NO. Material
1 Faucet Body N/A No-lead brass
2 O-ring N/A NBR
3 Connector N/A No-lead brass
4 Nylon Ring N/A Nylon
5 Spout Nut N/A Brass
6 Spout PF654515 No-lead brass
7 Washer NBR
8 Aerator Insert POM
9 Aerator Housing Brass
10 Cold Cartridge PF654512 No-lead brass
11 Hot Cartridge PF654513 No-lead brass
12 Bonnet N/A Brass
14 Blue Washer POM
15 Red Washer POM
16 Set Screw Brass
17 Gasket N/A Foam Sponge
18 Faucet Spacers Steel
19 Washer Stainless Steel
20 Mounting Nut Brass
21 Cone Washer PVC
22 Coupling Nut Brass
Zinc
PF654511
Part & Code
PF654516
13 Handle
PF654509 - COLD
PF654510 - HOT
*PFXAER05 - 0.5 gpm Aerator Insert

This manual suits for next models

5

Other ProFlo Plumbing Product manuals

ProFlo PFXC1080LSCP User manual

ProFlo

ProFlo PFXC1080LSCP User manual

ProFlo PFWSC5247CP/ZBN User manual

ProFlo

ProFlo PFWSC5247CP/ZBN User manual

ProFlo PFXC4111CP User manual

ProFlo

ProFlo PFXC4111CP User manual

ProFlo PFXC1717CP User manual

ProFlo

ProFlo PFXC1717CP User manual

ProFlo PFWSC6857CP User manual

ProFlo

ProFlo PFWSC6857CP User manual

ProFlo KALADA PFXCM2M313 User manual

ProFlo

ProFlo KALADA PFXCM2M313 User manual

ProFlo PFX122CP User manual

ProFlo

ProFlo PFX122CP User manual

ProFlo PFWSC2840CP User manual

ProFlo

ProFlo PFWSC2840CP User manual

ProFlo PFWSC4950CP User manual

ProFlo

ProFlo PFWSC4950CP User manual

ProFlo PFWSC6850ZBN User manual

ProFlo

ProFlo PFWSC6850ZBN User manual

ProFlo PF418G User manual

ProFlo

ProFlo PF418G User manual

ProFlo PFWS2840CP User manual

ProFlo

ProFlo PFWS2840CP User manual

ProFlo PF1713UWH User manual

ProFlo

ProFlo PF1713UWH User manual

ProFlo PFSAH02CP User manual

ProFlo

ProFlo PFSAH02CP User manual

ProFlo PFWSC2850CP User manual

ProFlo

ProFlo PFWSC2850CP User manual

ProFlo PFWSCM1M103 User manual

ProFlo

ProFlo PFWSCM1M103 User manual

ProFlo Greenlee PF9800 Series User manual

ProFlo

ProFlo Greenlee PF9800 Series User manual

ProFlo PFXC3121CP User manual

ProFlo

ProFlo PFXC3121CP User manual

ProFlo PFXC5150CP User manual

ProFlo

ProFlo PFXC5150CP User manual

ProFlo PFWSC2867CP User manual

ProFlo

ProFlo PFWSC2867CP User manual

ProFlo PFWSC4857CP User manual

ProFlo

ProFlo PFWSC4857CP User manual

ProFlo PF9870CP User manual

ProFlo

ProFlo PF9870CP User manual

ProFlo PF3870CP User manual

ProFlo

ProFlo PF3870CP User manual

ProFlo PFXC5157CP User manual

ProFlo

ProFlo PFXC5157CP User manual

Popular Plumbing Product manuals by other brands

BELLOSTA cinema 8609/ Installation instruction

BELLOSTA

BELLOSTA cinema 8609/ Installation instruction

Linja Calgary Assembly instructions

Linja

Linja Calgary Assembly instructions

Kohler K-13460 installation guide

Kohler

Kohler K-13460 installation guide

DURAVIT WD1013 000 000 Mounting instructions

DURAVIT

DURAVIT WD1013 000 000 Mounting instructions

American Standard Cadet 3 Round Front Total Toilet 2880.000 Features & dimensions

American Standard

American Standard Cadet 3 Round Front Total Toilet 2880.000 Features & dimensions

Spectrum Brands Pfister 040-PF2L Quick installation guide

Spectrum Brands

Spectrum Brands Pfister 040-PF2L Quick installation guide

Schier SI-250 installation guide

Schier

Schier SI-250 installation guide

Kohler K-T16236 installation guide

Kohler

Kohler K-T16236 installation guide

American Standard Colony Pro T075920 installation instructions

American Standard

American Standard Colony Pro T075920 installation instructions

Sanela SLUN 28A manual

Sanela

Sanela SLUN 28A manual

Helvex TV-305 installation guide

Helvex

Helvex TV-305 installation guide

Kohler K-6812 installation guide

Kohler

Kohler K-6812 installation guide

Coastal Saunas Malibu Series Installation & user manual

Coastal Saunas

Coastal Saunas Malibu Series Installation & user manual

Axor Uno Widespread Lavatory Set 38053XX1 Installation instructions / warranty

Axor

Axor Uno Widespread Lavatory Set 38053XX1 Installation instructions / warranty

DURAVIT B.1 Series Instructions for mounting and use

DURAVIT

DURAVIT B.1 Series Instructions for mounting and use

PEERLESS 76549BN manual

PEERLESS

PEERLESS 76549BN manual

Forbes Marshall FMSTR34 Installation and maintenance manual

Forbes Marshall

Forbes Marshall FMSTR34 Installation and maintenance manual

Coastal Saunas Malibu Installation & user manual

Coastal Saunas

Coastal Saunas Malibu Installation & user manual

manuals.online logo
manuals.online logoBrands
  • About & Mission
  • Contact us
  • Privacy Policy
  • Terms and Conditions

Copyright 2025 Manuals.Online. All Rights Reserved.