manuals.online logo
Brands
  1. Home
  2. •
  3. Brands
  4. •
  5. ProFlo
  6. •
  7. Plumbing Product
  8. •
  9. ProFlo PF244A User manual

ProFlo PF244A User manual

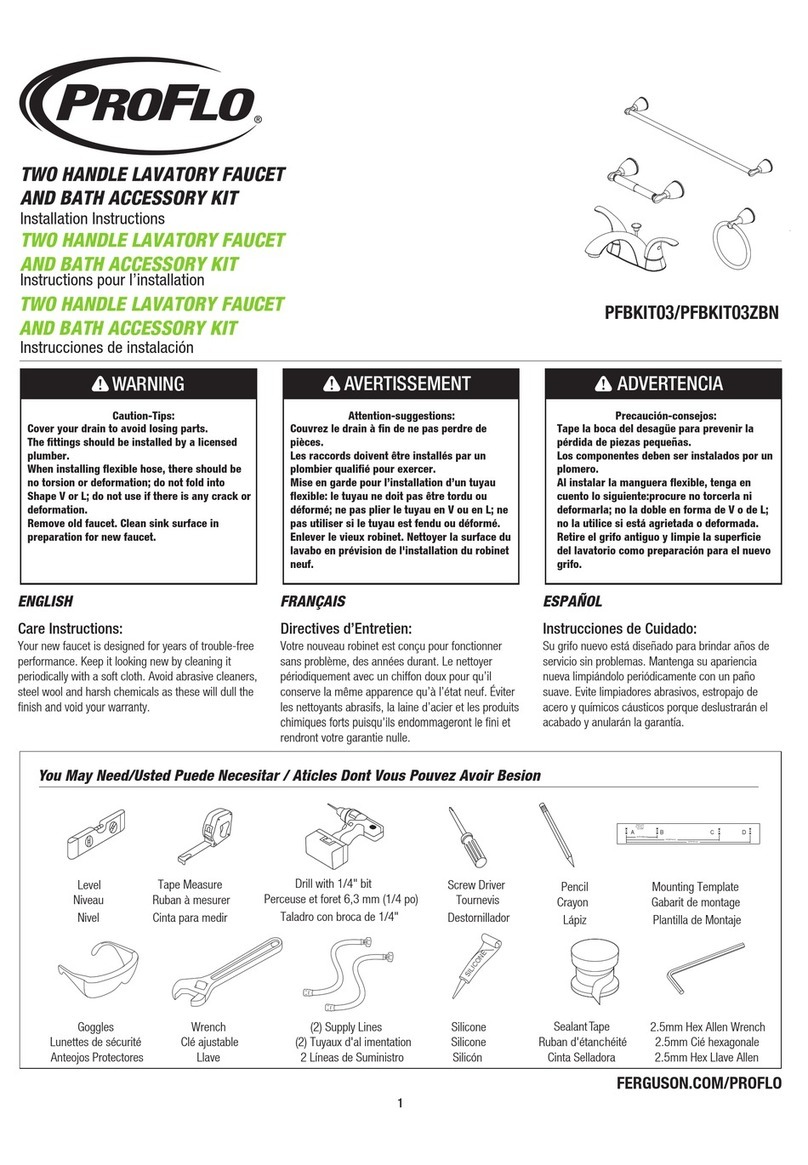
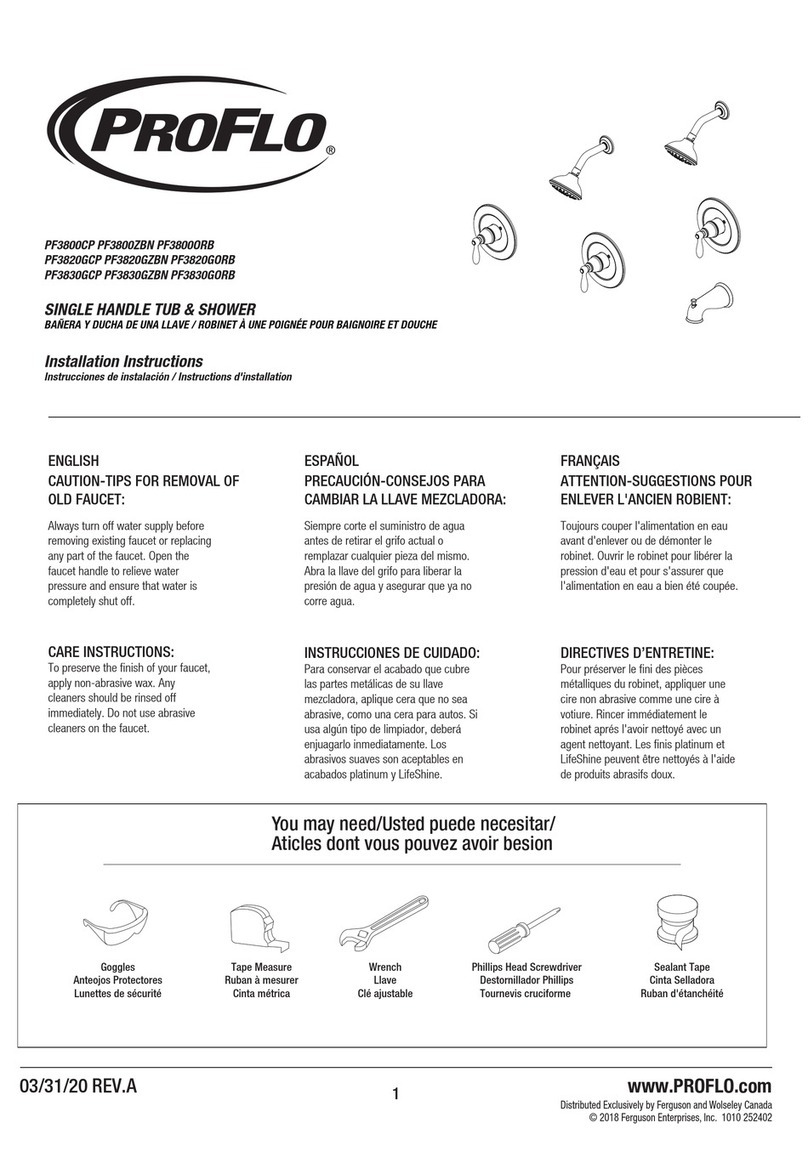
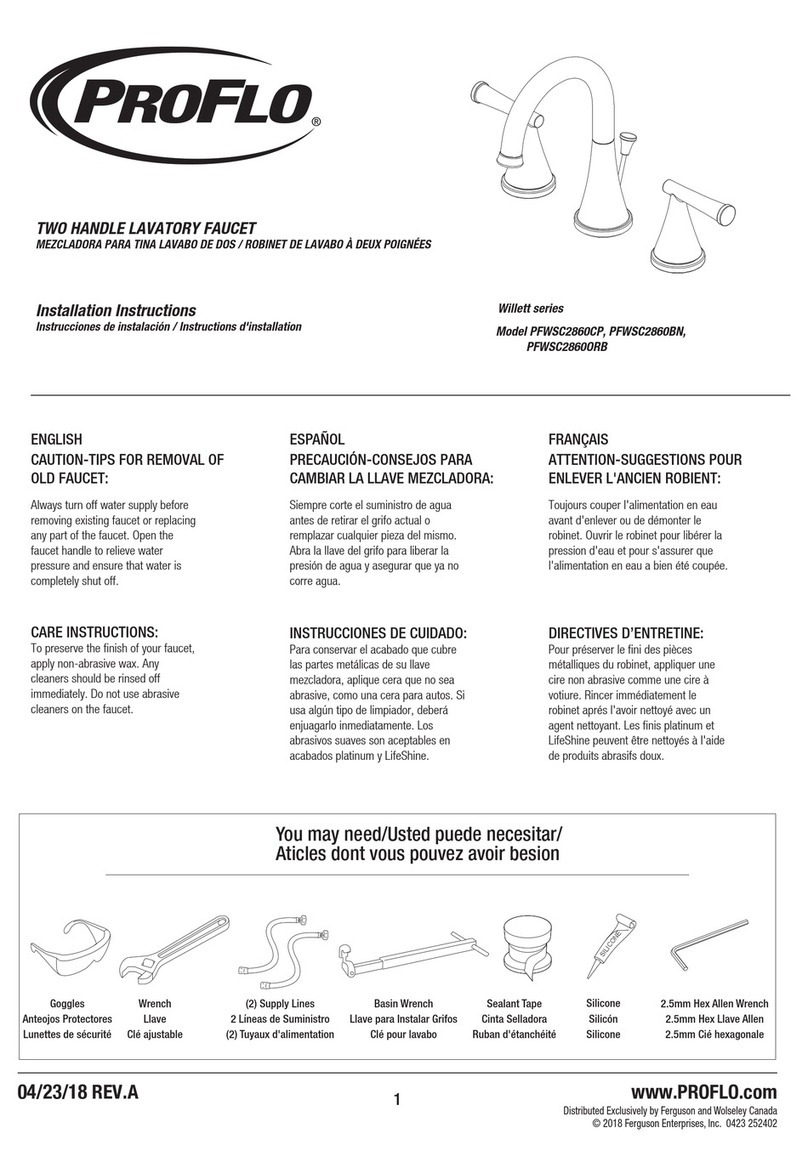
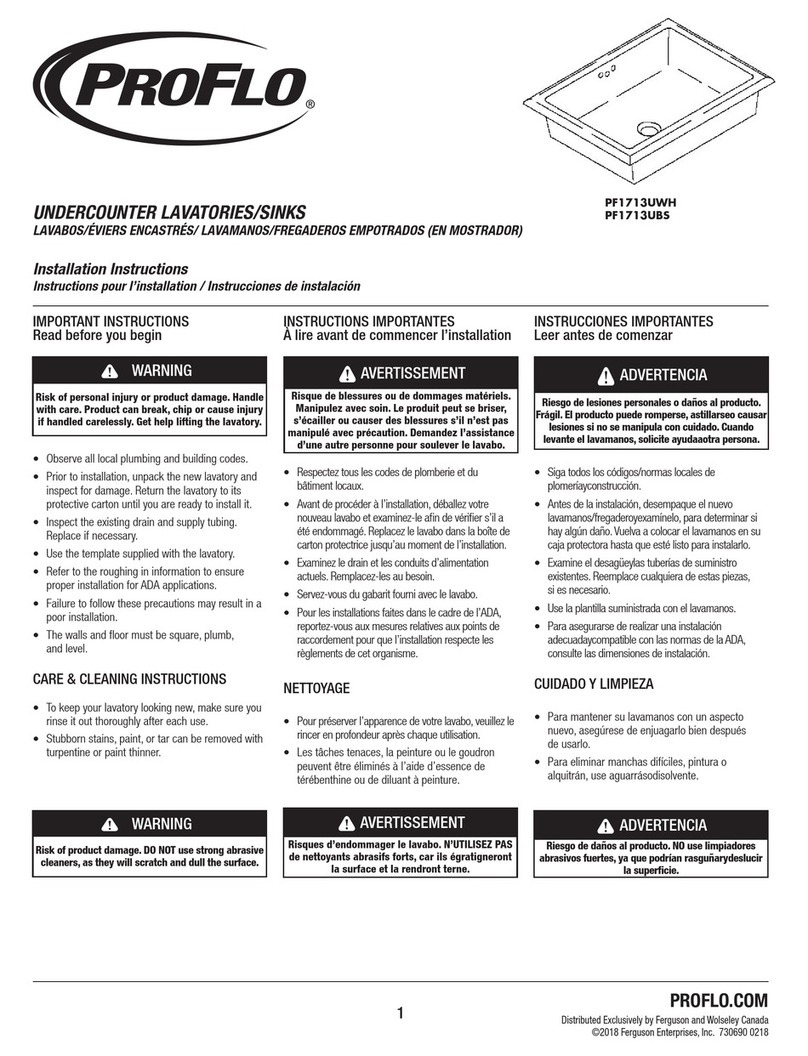
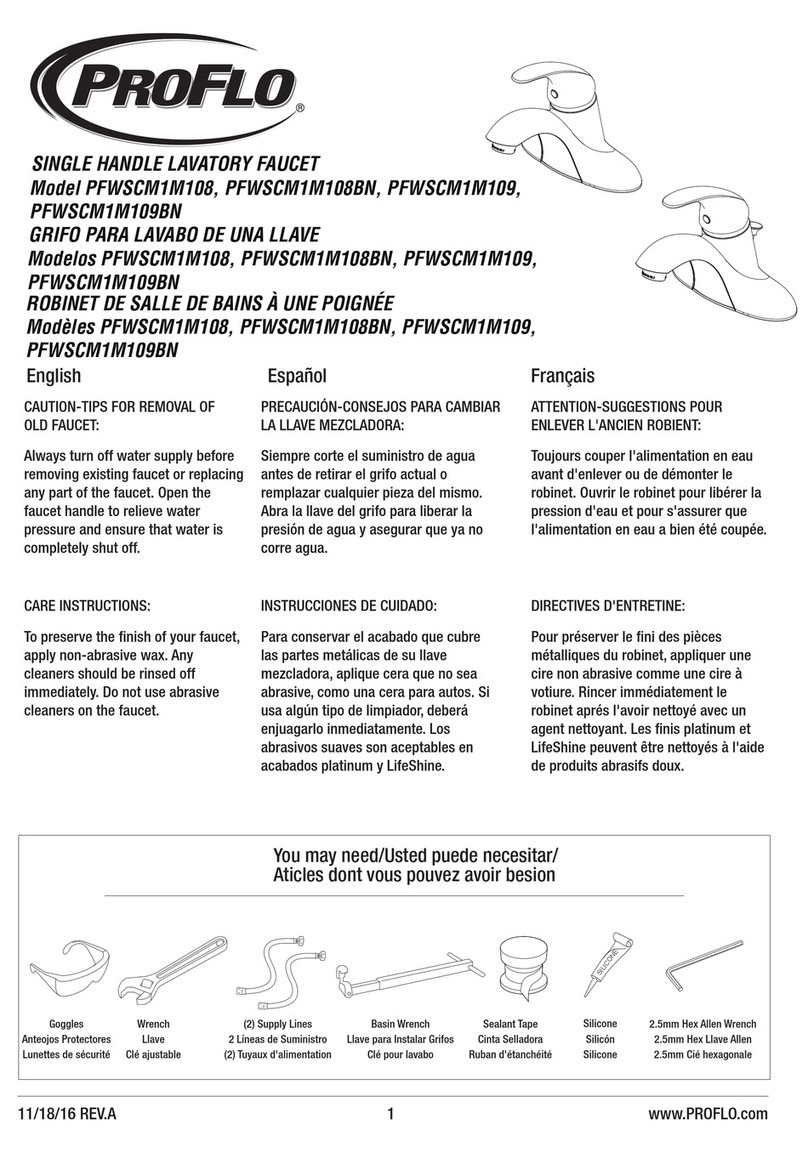
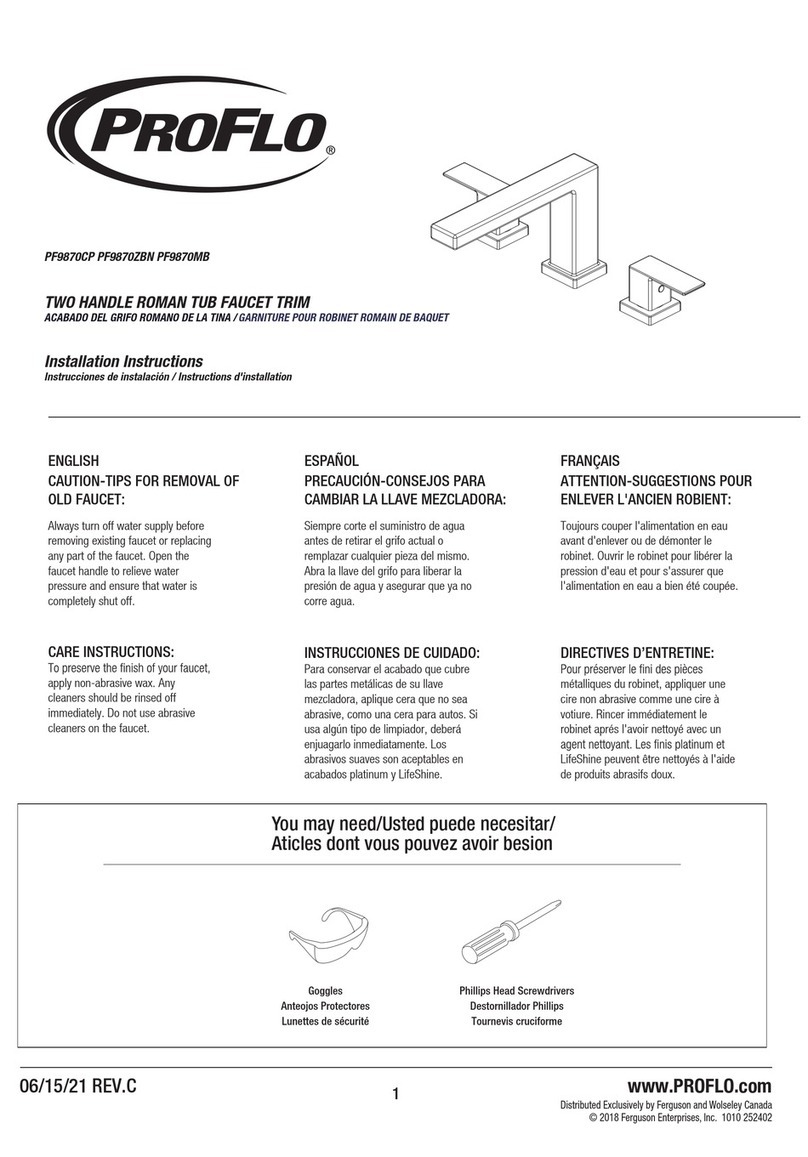
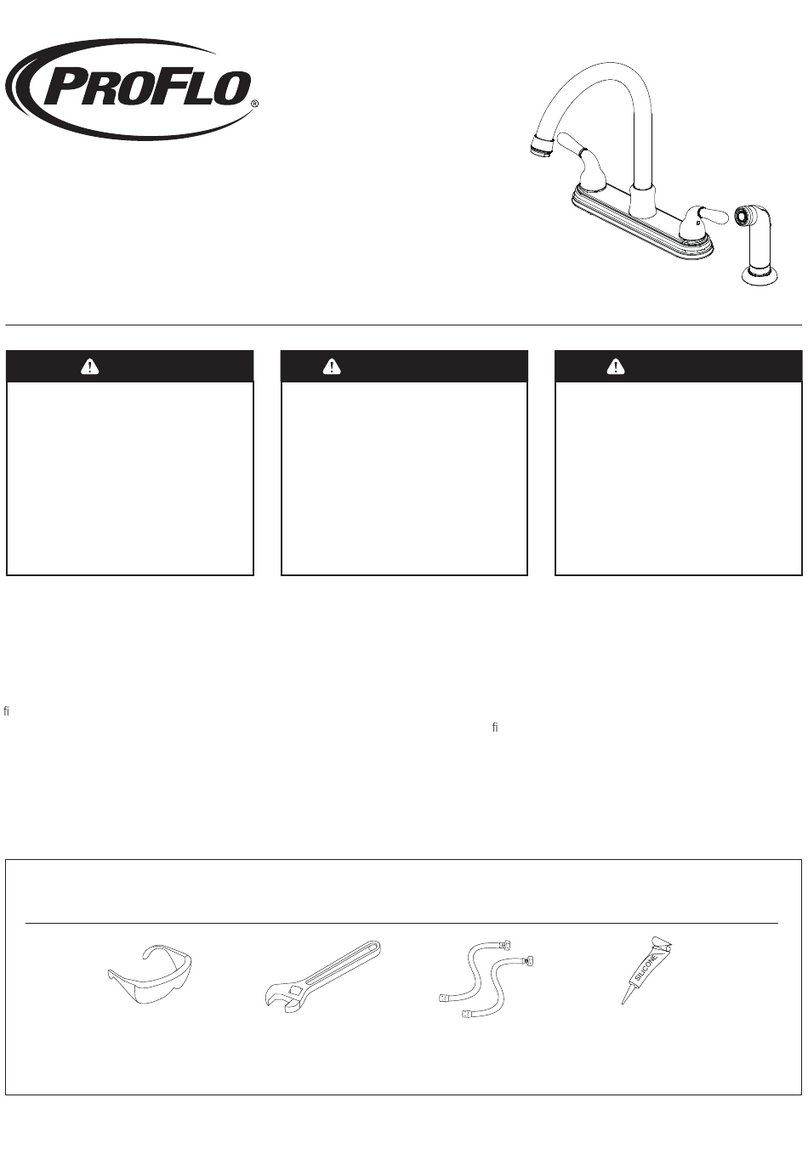
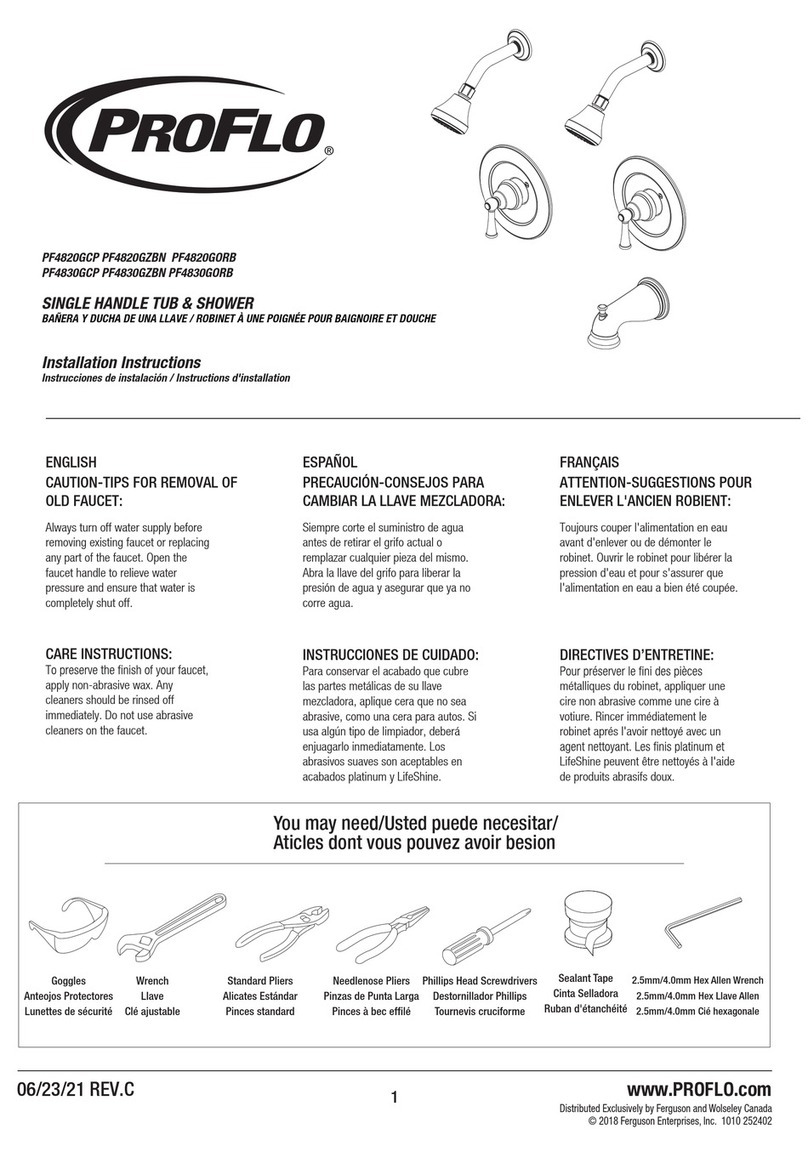
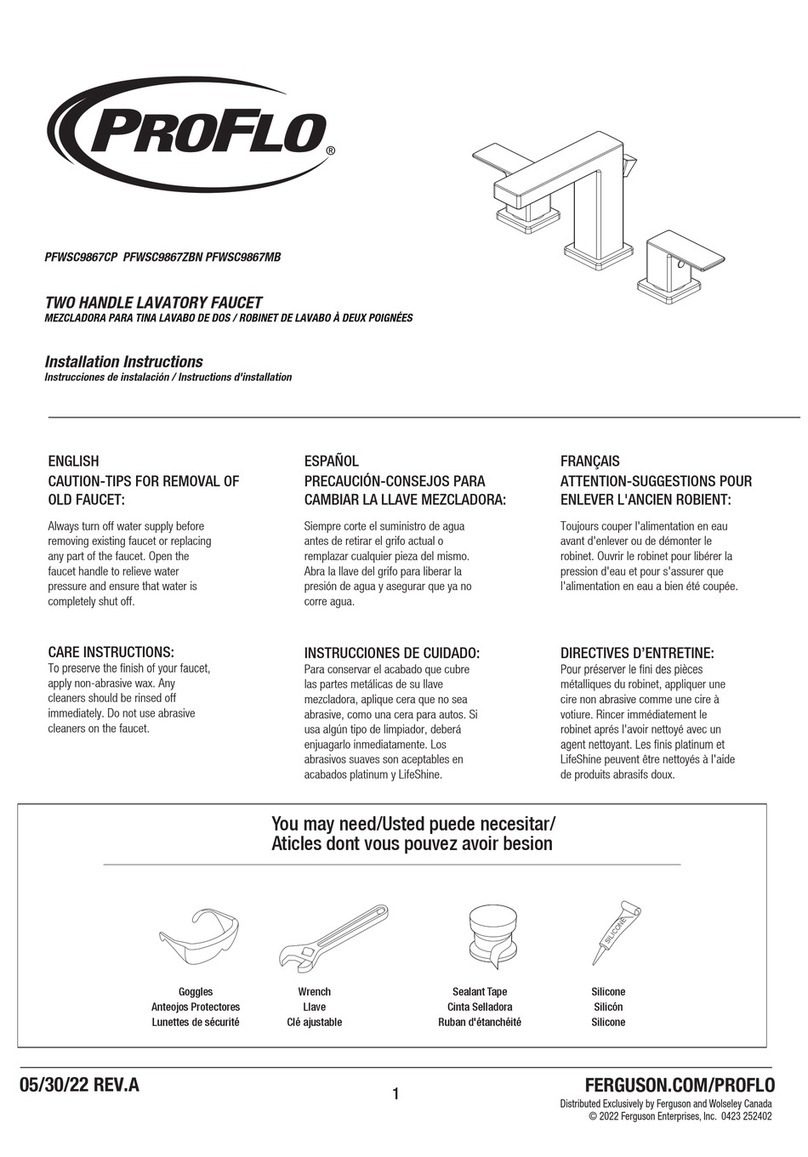
You may need/Usted puede necesitar/
Aticles dont vous pouvez avoir besion
Goggles
Anteojos Protectores
Lunettes de sécurité
Wrench
Llave
Clé ajustable
Phillips Head Screwdrivers
Destornillador Phillips
Tournevis cruciforme
Sealant Tape
Cinta Selladora
Ruban d'étanchéité
TWO-HANDLE LAUNDRY FAUCET
GRIFO DE LAVADERO, DE DOS LLAVES
ROBINET DE BUANDERIE À DEUX MANETTES
PF244A
Installation Instructions
Instrucciones de instalación
Instructions d'installation
ENGLISH
CAUTION-TIPS FOR REMOVAL OF
OLD FAUCET:
Always turn off water supply before
removing existing faucet or replacing
any part of the faucet. Open the
faucet handle to relieve water
pressure and ensure that water is
completely shut off.
CARE INSTRUCTIONS:
To preserve the nish of your faucet,
apply non-abrasive wax. Any
cleaners should be rinsed off
immediately. Do not use abrasive
cleaners on the faucet.
ESPAÑOL
PRECAUCIÓN-CONSEJOS PARA
CAMBIAR LA LLAVE MEZCLADORA:
Siempre corte el suministro de agua
antes de retirar el grifo actual o
remplazar cualquier pieza del mismo.
Abra la llave del grifo para liberar la
presión de agua y asegurar que ya no
corre agua.
INSTRUCCIONES DE CUIDADO:
Para conservar el acabado que cubre
las partes metálicas de su llave
mezcladora, aplique cera que no sea
abrasive, como una cera para autos. Si
usa algún tipo de limpiador, deberá
enjuagarlo inmediatamente. Los
abrasivos suaves son aceptables en
acabados platinum y LifeShine.
FRANÇAIS
ATTENTION-SUGGESTIONS POUR
ENLEVER L'ANCIEN ROBIENT:
Toujours couper l'alimentation en eau
avant d'enlever ou de démonter le
robinet. Ouvrir le robinet pour libérer la
pression d'eau et pour s'assurer que
l'alimentation en eau a bien été coupée.
DIRECTIVES D’ENTRETINE:
Pour préserver le ni des pièces
métalliques du robinet, appliquer une
cire non abrasive comme une cire à
votiure. Rincer immédiatement le
robinet aprés l'avoir nettoyé avec un
agent nettoyant. Les nis platinum et
LifeShine peuvent être nettoyés à l'aide
de produits abrasifs doux.
PROFLO.COM
Distributed Exclusively by Ferguson and Wolseley Canada
© 2018 Ferguson Enterprises, Inc. 0303 252402
1
1
2
3
2
1
PROFLO.COM
Distributed Exclusively by Ferguson and Wolseley Canada
© 2018 Ferguson Enterprises, Inc. 0303 252402
2
1. Mount the faucet (1) to the laundry sink.
The two mounting tabs should face the front
of the laundry tub, the single tab should
face the rear of the basin. Tighten the
mounting screw (2) from the single tab to
secure the faucet (1) into place.
1. Instala el grifo (1) al fregadero para
lavandería. Las dos lengüetas de montaje
deben quedar de frente al lavadero y la
lengüeta sencilla, de frente a la parte trasera de
la tina para lavandería. Aprieta el tornillo de
montaje (2) de la lengüeta sencilla para
asegurar el grifo (1) en su lugar.
1. Fixez le robinet(1) sur l’évier de
buanderie. Les deux languettes de montage
doivent faire face à l’avant du bac à lessive,
la languette unique doit faire face au dos du
bac. Serrez la vis de montage(2) de la
languette unique pour xer le robinet (1)
solidement en place.
2A. Threading the supply lines
Attach the supply lines (not included) to the
faucet (1): cold to the right side, hot to the
left. Slide the union nuts (3) over the supply
lines. Wrap thread sealant tape (not
included) around all the male threads in a
counter-clockwise direction, as shown.
Thread the connectors (2) to each supply
line. Attach the union nuts (3) to the faucet
(1). Do not over tighten. If you want to
solder the supply lines, proceed to step 3.
2A. Cómo enroscar las líneas de suministro
Conecta las líneas de suministro (no incluidas)
al grifo (1): fría al lado derecho, caliente al lado
izquierdo. Desliza las tuercas de conexión (3)
sobre las líneas de suministro. Envuelve cinta
selladora de rosca (no incluida) en sentido
contrario a las agujas del reloj, como se
muestra, alrededor de todas las roscas macho.
Enrosca los conectores (2) en cada línea de
suministro. Fija las tuercas de conexión (3) al
grifo (1). No aprietes demasiado. Si deseas
soldar las líneas de suministro, procede con el
paso 3.
2A. Vissage des conduites d’alimentation
Raccordez les conduites d’alimentation (non
comprises) au robinet(1): froide du côté
droit, chaude du côté gauche. Faites glisser
les écrous-unions(3) par-dessus les
conduites d’alimentation. Enveloppez du
ruban d’étanchéité pour joints letés (non
compris) autour de tout letage mâle dans le
sens inverse des aiguilles d’une montre,
comme illustré. Vissez les raccords(2) à
chaque conduite d’alimentation. Raccordez
les écrous-unions(3) au robinet(1). Ne serrez
pas trop. Si vous souhaitez souder les
conduites d’alimentation, passez
(FIG.1)
(FIG.2A)
4
3
2
1
PROFLO.COM
Distributed Exclusively by Ferguson and Wolseley Canada
© 2018 Ferguson Enterprises, Inc. 0303 252402
3
2B. Soldering the supply lines
Attach the supply lines (not included) to the
faucet (1): cold to the right side, hot to the
left. Slide the union nuts (4) over the supply
lines. Remove the O-ring (2) from the
connectors (3), solder and replace when
cool. Attach the union nuts (4) to the faucet
(1). Do not over tighten.
2B. Cómo soldar las líneas de suministro
Conecta las líneas de suministro (no incluidas)
al grifo (1): fría al lado derecho, caliente al lado
izquierdo. Desliza las tuercas de conexión (4)
sobre las líneas de suministro. Retira la junta
tórica (2) de los conectores (3), suelda y vuelve a
colocarla cuando se enfríen. Fija las tuercas de
conexión (4) al grifo (1). No aprietes demasiado.
2B. Soudure des conduites d’alimentation
Raccordez les conduites d’alimentation (non
comprises) au robinet(1): froide du côté
droit, chaude du côté gauche. Faites glisser
les écrous-unions(4) par-dessus les
conduites d’alimentation. Retirez le joint
torique(2) des raccords(3), soudez et
remettez-le en place lorsqu’il est froid.
Raccordez les écrous-unions(4) au robinet
(1). Ne serrez pas trop.
3. Turn on the water supply and check for
leaks. If you discover any leaks, check your
connections to ensure they are installed
properly. Remove the aerator . Turn on the
hot and cold handles to allow the water to
run for at least one minute. This flushes
away any debris that could cause damage to
internal parts. Turn off the water and
reinstall the aerator.
3. Abre el suministro del agua y comprueba
que no haya ltraciones. Si descubres
alguna ltración, verica tus conexiones para
asegurarte de que estén instaladas
adecuadamente. Retira el aireado . Abre los
manerales del suministro de agua fría y caliente
y deja que corran durante al menos un minuto
cada una. Esto elimina cualquier desecho que
pudiera dañar las piezas internas. Cierra el
suministro de agua y vuelve a colocar el
aireado.
3. Ouvrez l’alimentation en eau et recherchez
les fuites. Si vous découvrez des fuites, véri
ez vos raccords pour vous assurer qu’ils sont
installés correctement. Ouvrez l’aérateur.
Ouvrez les manettes d’eau chaude et froide
pour laisser couler l’eau pendant au moins
une minute. Cela chasse les débris éventuels
qui pourraient endommager les pièces
internes. Coupez l’alimentation en eau et
replacez l’aérateur.
(FIG.2B)
(FIG.3)
* Specify Finish
Especifíque el Acabado
Précisez le Fini
Maintenance:
If the faucet leaks underneath the handle or water does not
completely shut off: replace cartridge, seat and spring.
Mantenimiento:
Si hay una filtración debajo de la llave o el Agua no se corta por
completo: Reemplace el cartucho, base y resorte.
Entretien:
S'il y a une fuite sous la poignée ou si le robinet ne se ferme pas
complètement: Remplacez la cartouche, l’assise et le ressort.
RP56107
Union nut
Tuerca de conexión
Écrou-union
RP56120
Connector
Conector
Raccorder
RP60112
O-ring
Aro tórico
Joint torique
RP22008
Seat & Spring
Base y resorte
Siège et ressort
PF22004C
Cartridge C
Cartucho C
Cartouche C
PF22004H
Cartridge H
Cartucho H
Cartouche H
RP70532
Bonnet
Capuchón
Chapeau
RP13438*
Handle H
Llave H
Poignée H
RP13439*
Handle C
Llave C
Poignée C
RP50001
Screw
Tornillo
Vis
RP50182
Screw
Tornillo
Vis
RP60077
O-ring
Aro tórico
Joint torique
RP60113
O-ring
Aro tórico
Joint torique
RP70531
Clip
Sujetador
Attache
RP30024*
Hose adapter
Adaptador de
manguera
Adaptateur de
tuyau exible
RP30266*
Aerator
Aireado
Aérateur
PROFLO.COM
Distributed Exclusively by Ferguson and Wolseley Canada
© 2018 Ferguson Enterprises, Inc. 0303 252402
4

Other ProFlo Plumbing Product manuals

ProFlo PF3800CP User manual

ProFlo

ProFlo PF3800CP User manual

ProFlo PFXCM1M206 User manual

ProFlo

ProFlo PFXCM1M206 User manual

ProFlo PFXC4027CP User manual

ProFlo

ProFlo PFXC4027CP User manual

ProFlo PFXC8012 CP User manual

ProFlo

ProFlo PFXC8012 CP User manual

ProFlo PFWSC2850CP User manual

ProFlo

ProFlo PFWSC2850CP User manual

ProFlo PF3870CP User manual

ProFlo

ProFlo PF3870CP User manual

ProFlo PFSH308GCP User manual

ProFlo

ProFlo PFSH308GCP User manual

ProFlo PFXC3117CP User manual

ProFlo

ProFlo PFXC3117CP User manual

ProFlo PFTS38CP User manual

ProFlo

ProFlo PFTS38CP User manual

ProFlo PF1830GCP User manual

ProFlo

ProFlo PF1830GCP User manual

ProFlo PFXC5150CP User manual

ProFlo

ProFlo PFXC5150CP User manual

ProFlo PF1612PA User manual

ProFlo

ProFlo PF1612PA User manual

ProFlo PFWSCM1M1087 User manual

ProFlo

ProFlo PFWSCM1M1087 User manual

ProFlo PFWSC1040ACP User manual

ProFlo

ProFlo PFWSC1040ACP User manual

ProFlo PFTS39CP User manual

ProFlo

ProFlo PFTS39CP User manual

ProFlo PF1713UWH User manual

ProFlo

ProFlo PF1713UWH User manual

ProFlo PFB46RWH User manual

ProFlo

ProFlo PFB46RWH User manual

ProFlo PFXC5012BN User manual

ProFlo

ProFlo PFXC5012BN User manual

ProFlo Apron User manual

ProFlo

ProFlo Apron User manual

ProFlo PFWSC6857CP User manual

ProFlo

ProFlo PFWSC6857CP User manual

ProFlo PFSH309GCP User manual

ProFlo

ProFlo PFSH309GCP User manual

ProFlo PFWSC30175CP User manual

ProFlo

ProFlo PFWSC30175CP User manual

ProFlo PFXC4111CP User manual

ProFlo

ProFlo PFXC4111CP User manual
ProFlo PIXLEY PFWSC1850CP User manual

ProFlo

ProFlo PIXLEY PFWSC1850CP User manual

Popular Plumbing Product manuals by other brands

Grohe Seabury 20 122 instructions

Grohe

Grohe Seabury 20 122 instructions

Fisher manufacturing company 1848 Product installation guide

Fisher manufacturing company

Fisher manufacturing company 1848 Product installation guide

Moen 6100 Series Specifications

Moen

Moen 6100 Series Specifications

Geberit 115857001 installation manual

Geberit

Geberit 115857001 installation manual

BELLOSTA BABY-S 7200/E Installation instruction

BELLOSTA

BELLOSTA BABY-S 7200/E Installation instruction

Kohler Wave 7788T-4 installation instructions

Kohler

Kohler Wave 7788T-4 installation instructions

Symmons Sereno 432TS Operation & maintenance manual

Symmons

Symmons Sereno 432TS Operation & maintenance manual

Hans Grohe AXOR Massaud 18453000 Instructions for use/assembly instructions

Hans Grohe

Hans Grohe AXOR Massaud 18453000 Instructions for use/assembly instructions

Glacier bay HD67416-3E01 Installation and care guide

Glacier bay

Glacier bay HD67416-3E01 Installation and care guide

Symmons Canterbury SRT-4570 Installation and service instructions

Symmons

Symmons Canterbury SRT-4570 Installation and service instructions

Mustee BigTub Utilatub 28F installation instructions

Mustee

Mustee BigTub Utilatub 28F installation instructions

baliv KI-1340 N instruction manual

baliv

baliv KI-1340 N instruction manual

Hans Grohe Plug & Shower Showerpipe 27626000 installation instructions

Hans Grohe

Hans Grohe Plug & Shower Showerpipe 27626000 installation instructions

Abode Ceramic Inset Sink AX4002 manual

Abode

Abode Ceramic Inset Sink AX4002 manual

KIBI KPW100 installation guide

KIBI

KIBI KPW100 installation guide

PEERLESS P7919LF Series instructions

PEERLESS

PEERLESS P7919LF Series instructions

Inocal Traditional Sauna instruction manual

Inocal

Inocal Traditional Sauna instruction manual

Grohe Atrio 32652001 installation instructions

Grohe

Grohe Atrio 32652001 installation instructions

manuals.online logo
manuals.online logoBrands
  • About & Mission
  • Contact us
  • Privacy Policy
  • Terms and Conditions

Copyright 2025 Manuals.Online. All Rights Reserved.