manuals.online logo
Brands
  1. Home
  2. •
  3. Brands
  4. •
  5. ProFlo
  6. •
  7. Plumbing Product
  8. •
  9. ProFlo PFTS39CP User manual

ProFlo PFTS39CP User manual

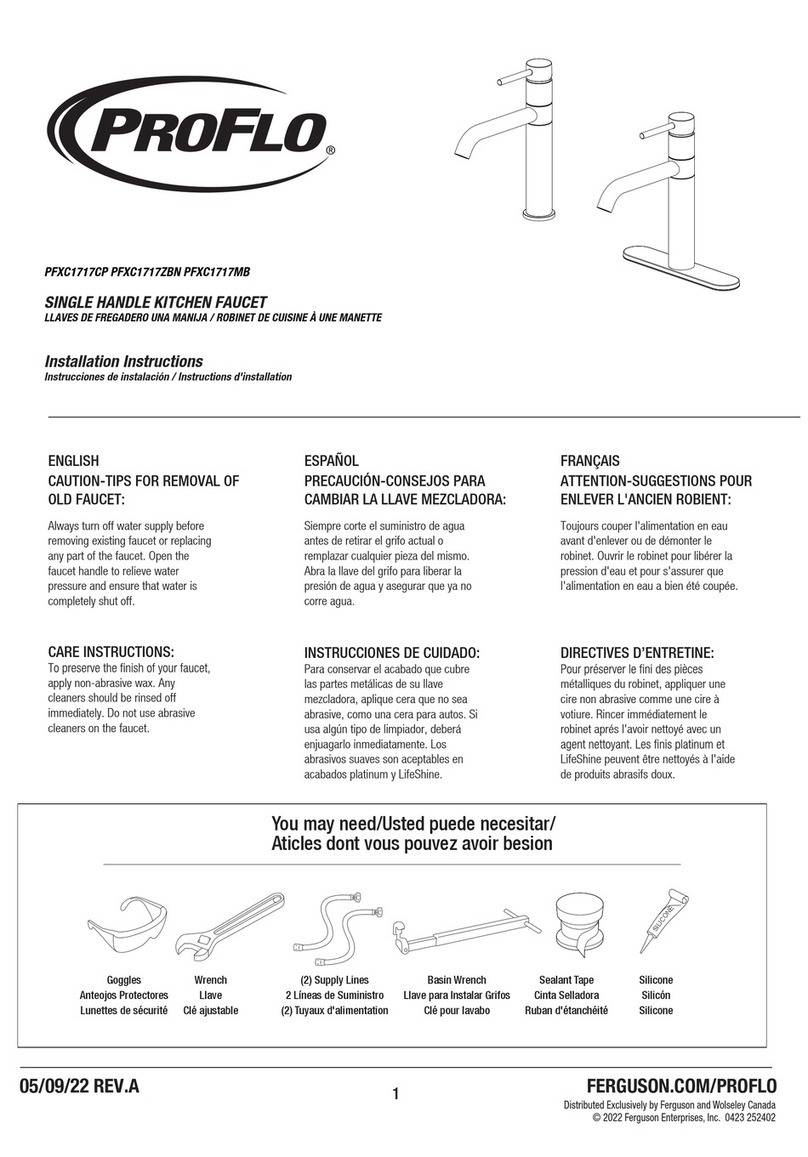
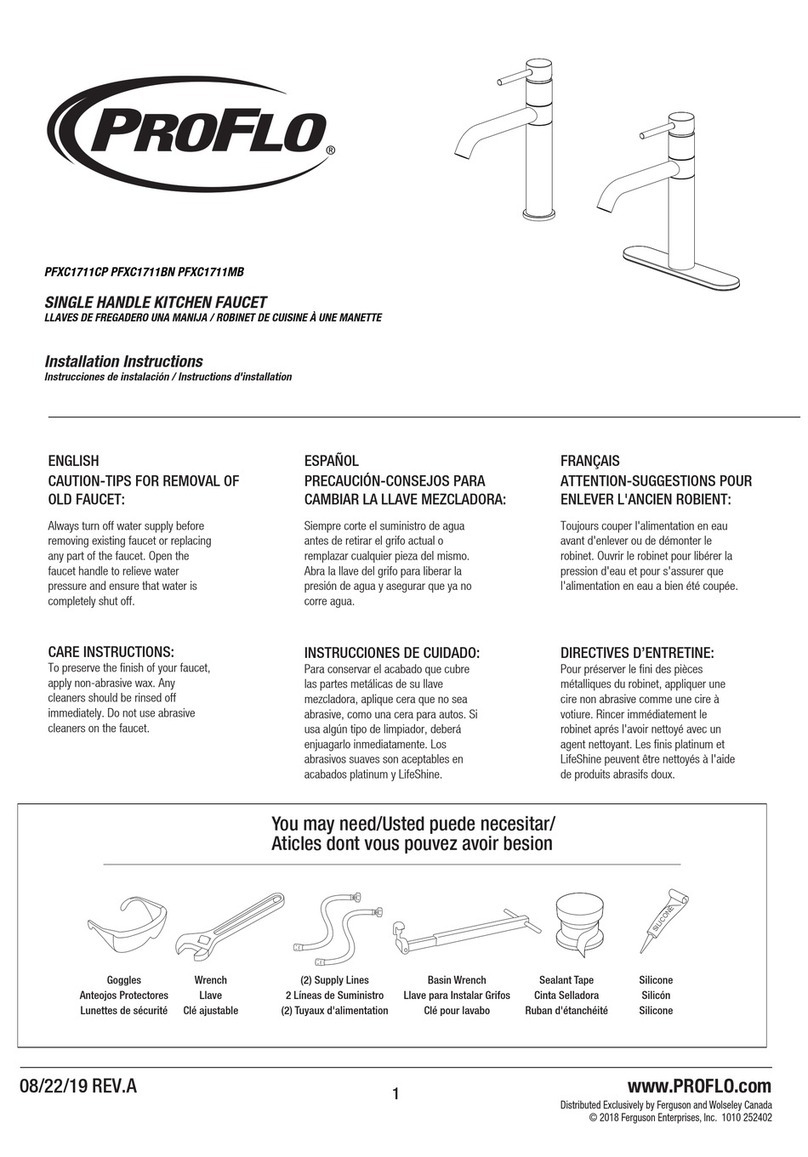
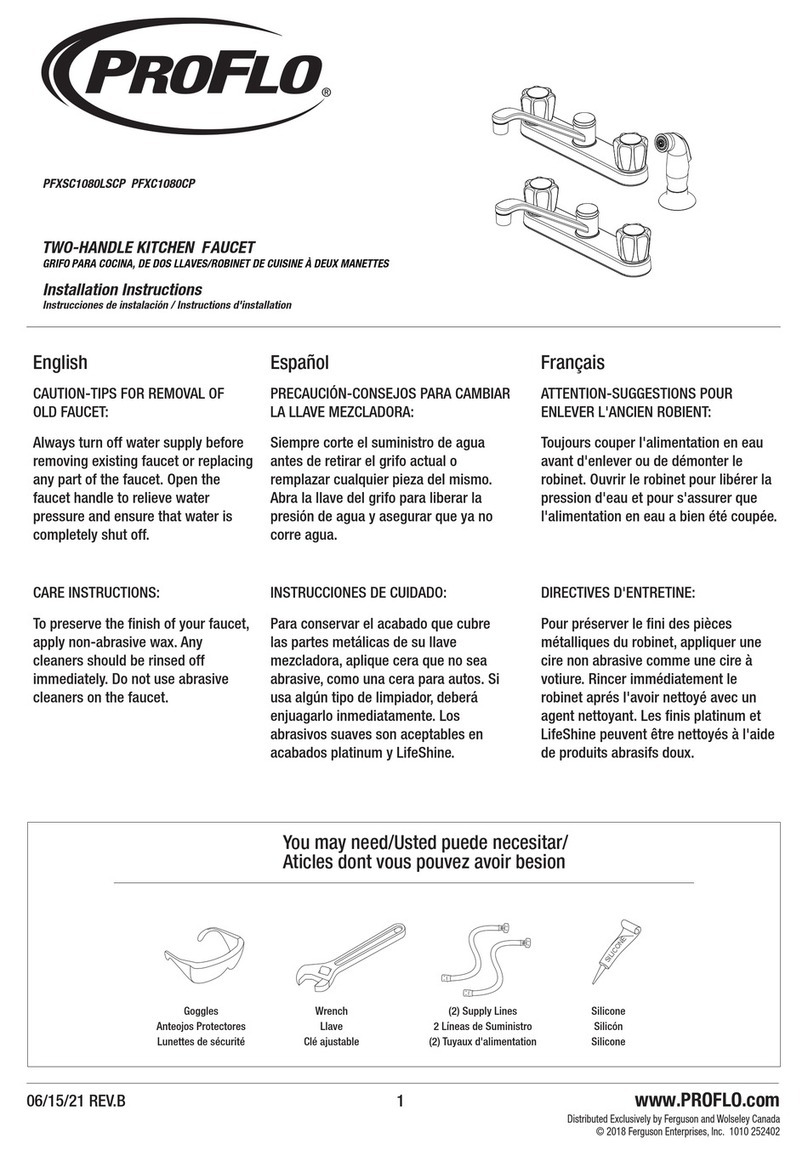
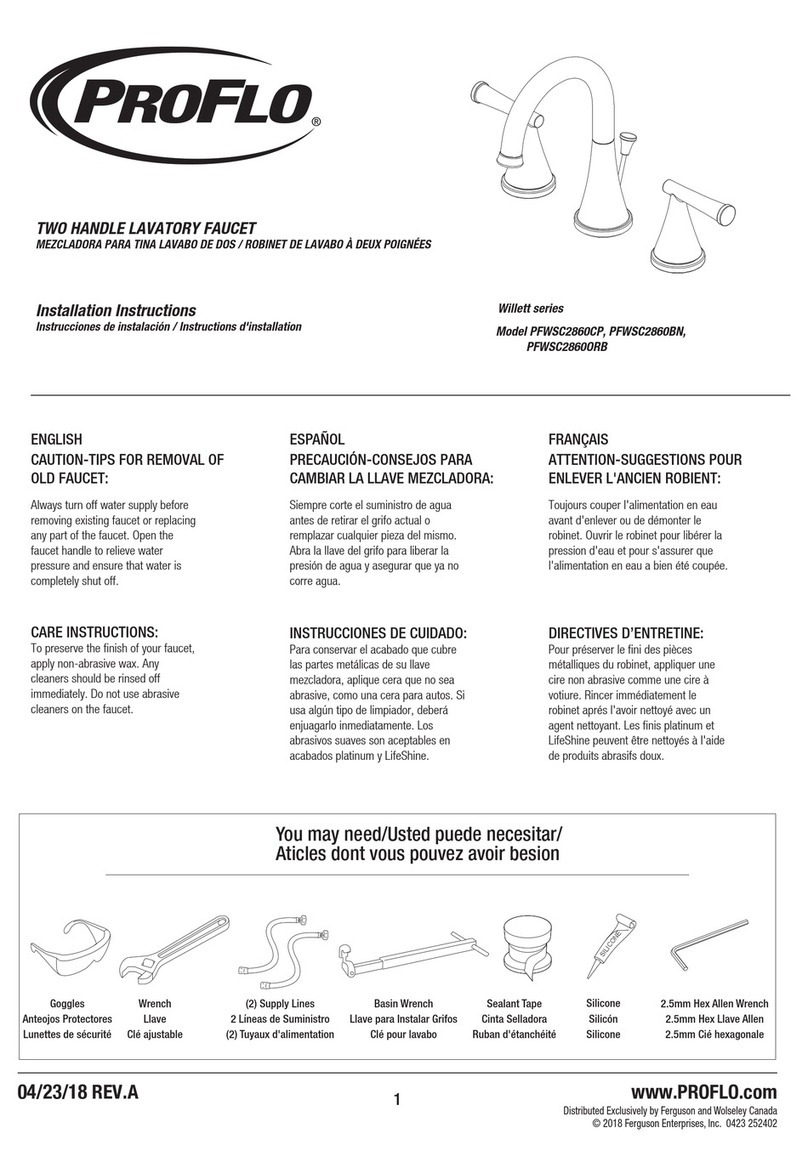
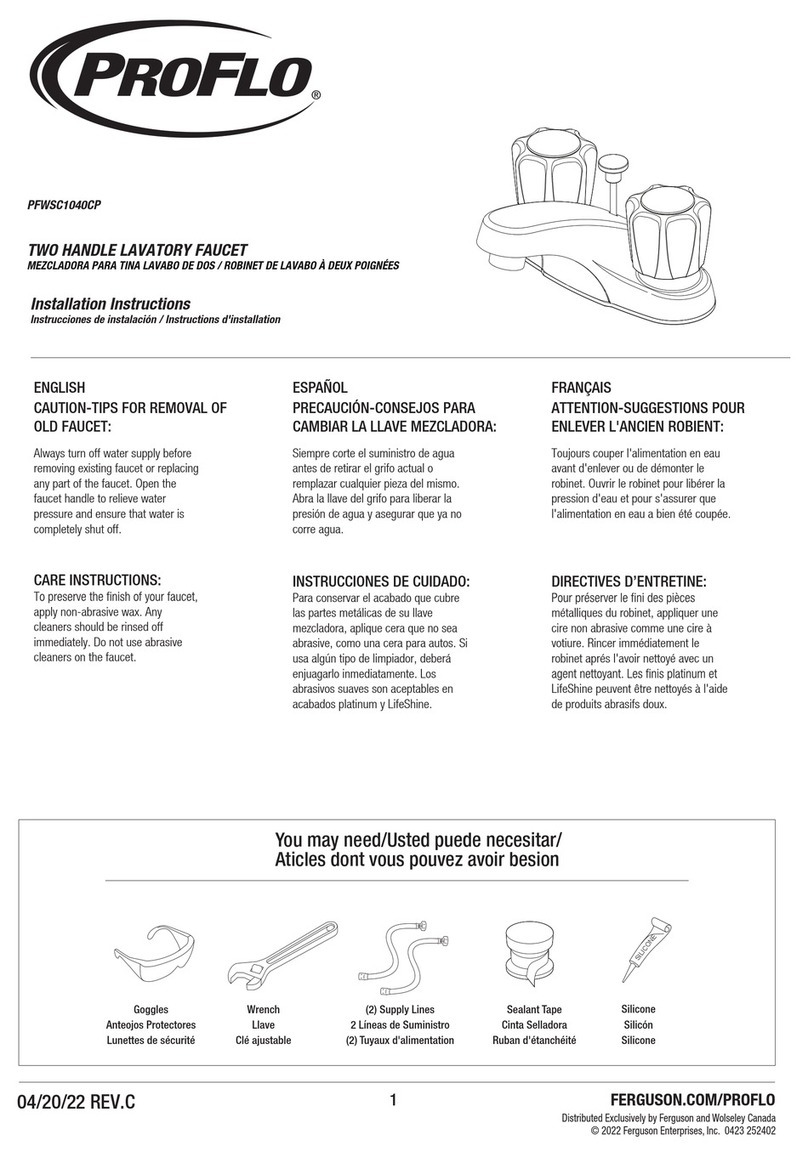
You may need/Usted puede necesitar/
Aticles dont vous pouvez avoir besion
Goggles
Anteojos Protectores
Lunettes de sécurité
Tape measure
Cinta Selladora
Ruban d'étanchéité
NON-DIVERTER TUB SPOUT
TOMA DE LA BAÑERA NO DESVIADORA
BEC VERSEUR POUR BAIGNOIRE
PFTS39CP, PFTS39ZBN, PFTS39MB
ENGLISH
CAUTION-TIPS FOR REMOVAL OF
OLD TUB SPOUT:
Always turn off water supply before
removing existing tub spout or replacing
any part of the tub spout. Open the
faucet handle to relieve water
pressure and ensure that water is
completely shut off.
CARE INSTRUCTIONS:
To preserve the nish of your tub spout,
apply non-abrasive wax. Any
cleaners should be rinsed off
immediately. Do not use abrasive
cleaners on the tub spout.
ESPAÑOL
PRECAUCIÓN-CONSEJOS PARA
CAMBIAR LA LLAVE MEZCLADORA:
Siempre corte el suministro de agua
antes de retirar el grifo actual o
remplazar cualquier pieza del mismo.
Abra la llave del grifo para liberar la
presión de agua y asegurar que ya no
corre agua.
INSTRUCCIONES DE CUIDADO:
Para conservar el acabado que cubre
las partes metálicas de su llave
mezcladora, aplique cera que no sea
abrasive, como una cera para autos. Si
usa algún tipo de limpiador, deberá
enjuagarlo inmediatamente. Los
abrasivos suaves son aceptables en
acabados platinum y LifeShine.
FRANÇAIS
ATTENTION-SUGGESTIONS POUR
ENLEVER L'ANCIEN ROBIENT:
Toujours couper l'alimentation en eau
avant d'enlever ou de démonter le
robinet. Ouvrir le robinet pour libérer la
pression d'eau et pour s'assurer que
l'alimentation en eau a bien été coupée.
DIRECTIVES D’ENTRETINE:
Pour préserver le ni des pièces
métalliques du robinet, appliquer une
cire non abrasive comme une cire à
votiure. Rincer immédiatement le
robinet aprés l'avoir nettoyé avec un
agent nettoyant. Les nis platinum et
LifeShine peuvent être nettoyés à l'aide
de produits abrasifs doux.
Installation Instructions
Instrucciones de instalación / Instructions d'installation
© 2021 Ferguson Enterprises, Inc. 0721 3003188 REV.A
1 FERGUSON.COM/PROFLO
Spout
Caño
Bec
Wrap thread sealant tape around the pipe threads of the tub spout outlet (1, not
included) in a clockwise direction, as shown.
Connect the tub spout outlet pipe (the tub spout outlet pipe should project 1-1/2 in.
to 2-1/2 in. from the finished wall) to the lower pipe elbow (1, not included).
Tighten the elbow and tub spout outlet pipe connections with a strap wrench.
Raccordez le tuyau de sortie de bec de baignoire (il devrait saillir de 63.5 mm à 38
mm du revêtement du mur) au coude de tuyau inférieur (1) (non inclus). Serrez le
coude et le tuyau de sortie de bec de baignoire au raccord à l’aide d’une clé.
Conecte la salida de la boquilla de la bañera (la tubería de la boquilla de la bañera
debe sobresalir 38 mm a 63.5 mm desde la pared acabada) al codo de la tubería
inferior (1, no se incluye). Apriete el codo y las conexiones de la tubería de salida de
la boquilla de la bañera con una llave.
Enveloppez le filetage de la sortie du bec de baignoire (1) (non inclus) de ruban pour
joints filetés, en tournant dans le sens des aiguilles d’une montre, tel qu’il est
illustré.
Aplique cinta selladora para roscas alrededor de las roscas de la tubería de la salida
de la boquilla de la bañera (3, no se incluye) en dirección de las manecillas del reloj,
como se muestra.
1 2
FOR TUB SPOUT INSTALLATION
Install tub spout. Press tub spout onto pipe until spout is properly positoned and
flush to the finished wall. Tighten screw (1) located at the bottom of spout with Allen
wrench (Hex: 2.5mm).
INSTALACIÓN DEL CAÑO DE LA TINA
Instala el caño de la tina. Presiona el caño de la tina en la tubería hasta que el caño
esté correctamente ubicado y a ras con la pared terminada. Aprieta el tornillo (1)
ubicado en la parte inferior del caño con la llave Allen (Hexagonal: 2,5 mm).
INSTALLATION DU BEC DE LA BAIGNOIRE
Installez le bec de la baignoire. Appuyez le bec de baignoire sur la conduite jusqu'à
ce qu'il soit correctement positionné et de niveau avec le mur fini. Serrez la vis (1)
située en bas du bec avec une clé hexagonale (2,5 mm).
3* Specify Finish
Especifíque el Acabado
Précisez le Fini
Ø5/8" [16mm]
1 7/16" [36mm] MIN
2 3/16" [55.5mm] MAX
WALL
8" [203.2mm] MIN
18" [457.2mm] MAX
1
1
2.5mm Hex Allen Wrench
2.5mm Hex Llave Allen
2.5mm Hex Cié hexagonale
1PFTS39
OBPF1RP70221
© 2021 Ferguson Enterprises, Inc. 0721 3003188 REV.A
1 FERGUSON.COM/PROFLO

This manual suits for next models

2

Other ProFlo Plumbing Product manuals

ProFlo PFX122CP User manual

ProFlo

ProFlo PFX122CP User manual

ProFlo PFXSC1080LSCP User manual

ProFlo

ProFlo PFXSC1080LSCP User manual

ProFlo PF244A User manual

ProFlo

ProFlo PF244A User manual

ProFlo IPFX3085 Assembly instructions

ProFlo

ProFlo IPFX3085 Assembly instructions

ProFlo PFXC5150CP User manual

ProFlo

ProFlo PFXC5150CP User manual

ProFlo PF1815PTWH User manual

ProFlo

ProFlo PF1815PTWH User manual

ProFlo PF418A User manual

ProFlo

ProFlo PF418A User manual

ProFlo PFWSCM1M103 User manual

ProFlo

ProFlo PFWSCM1M103 User manual

ProFlo PFWSCM1M1157 User manual

ProFlo

ProFlo PFWSCM1M1157 User manual

ProFlo PFWSC1040ACP User manual

ProFlo

ProFlo PFWSC1040ACP User manual

ProFlo PFWSC4744SCP User manual

ProFlo

ProFlo PFWSC4744SCP User manual

ProFlo PF9870CP User manual

ProFlo

ProFlo PF9870CP User manual

ProFlo PFXC1711CP User manual

ProFlo

ProFlo PFXC1711CP User manual
ProFlo PFWSC2850CP User manual

ProFlo

ProFlo PFWSC2850CP User manual

ProFlo PFXC5150CP User manual

ProFlo

ProFlo PFXC5150CP User manual

ProFlo PFWSC4847CP User manual

ProFlo

ProFlo PFWSC4847CP User manual

ProFlo PFXC9517CP User manual

ProFlo

ProFlo PFXC9517CP User manual

ProFlo PFWSC6850ZBN User manual

ProFlo

ProFlo PFWSC6850ZBN User manual

ProFlo PF3870CP User manual

ProFlo

ProFlo PF3870CP User manual

ProFlo PF2870CP User manual

ProFlo

ProFlo PF2870CP User manual

ProFlo PFBKIT03 User manual

ProFlo

ProFlo PFBKIT03 User manual

ProFlo PFWSC6857CP User manual

ProFlo

ProFlo PFWSC6857CP User manual

ProFlo PFWSC2840CP User manual

ProFlo

ProFlo PFWSC2840CP User manual

ProFlo PF4820GCP User manual

ProFlo

ProFlo PF4820GCP User manual

Popular Plumbing Product manuals by other brands

Grohe Seabury 20 122 instructions

Grohe

Grohe Seabury 20 122 instructions

Fisher manufacturing company 1848 Product installation guide

Fisher manufacturing company

Fisher manufacturing company 1848 Product installation guide

Moen 6100 Series Specifications

Moen

Moen 6100 Series Specifications

Geberit 115857001 installation manual

Geberit

Geberit 115857001 installation manual

BELLOSTA BABY-S 7200/E Installation instruction

BELLOSTA

BELLOSTA BABY-S 7200/E Installation instruction

Kohler Wave 7788T-4 installation instructions

Kohler

Kohler Wave 7788T-4 installation instructions

Symmons Sereno 432TS Operation & maintenance manual

Symmons

Symmons Sereno 432TS Operation & maintenance manual

Hans Grohe AXOR Massaud 18453000 Instructions for use/assembly instructions

Hans Grohe

Hans Grohe AXOR Massaud 18453000 Instructions for use/assembly instructions

Glacier bay HD67416-3E01 Installation and care guide

Glacier bay

Glacier bay HD67416-3E01 Installation and care guide

Symmons Canterbury SRT-4570 Installation and service instructions

Symmons

Symmons Canterbury SRT-4570 Installation and service instructions

Mustee BigTub Utilatub 28F installation instructions

Mustee

Mustee BigTub Utilatub 28F installation instructions

baliv KI-1340 N instruction manual

baliv

baliv KI-1340 N instruction manual

Hans Grohe Plug & Shower Showerpipe 27626000 installation instructions

Hans Grohe

Hans Grohe Plug & Shower Showerpipe 27626000 installation instructions

Abode Ceramic Inset Sink AX4002 manual

Abode

Abode Ceramic Inset Sink AX4002 manual

KIBI KPW100 installation guide

KIBI

KIBI KPW100 installation guide

PEERLESS P7919LF Series instructions

PEERLESS

PEERLESS P7919LF Series instructions

Inocal Traditional Sauna instruction manual

Inocal

Inocal Traditional Sauna instruction manual

Grohe Atrio 32652001 installation instructions

Grohe

Grohe Atrio 32652001 installation instructions

manuals.online logo
manuals.online logoBrands
  • About & Mission
  • Contact us
  • Privacy Policy
  • Terms and Conditions

Copyright 2025 Manuals.Online. All Rights Reserved.