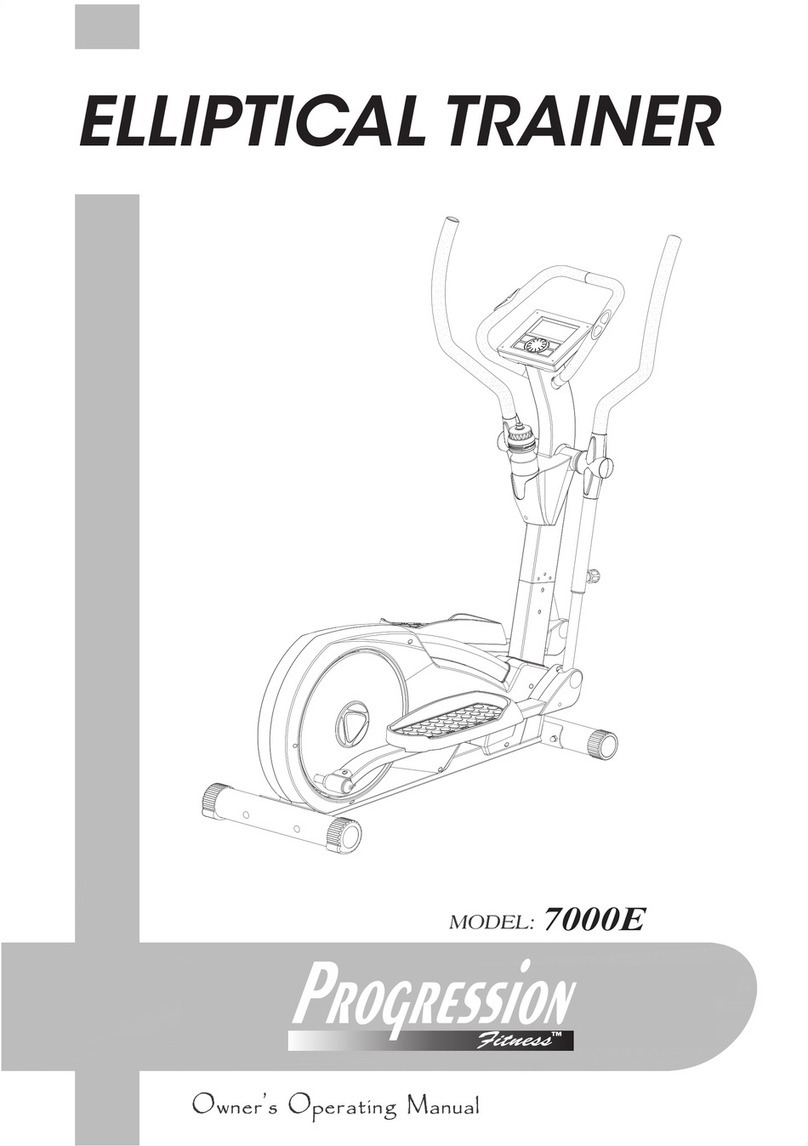
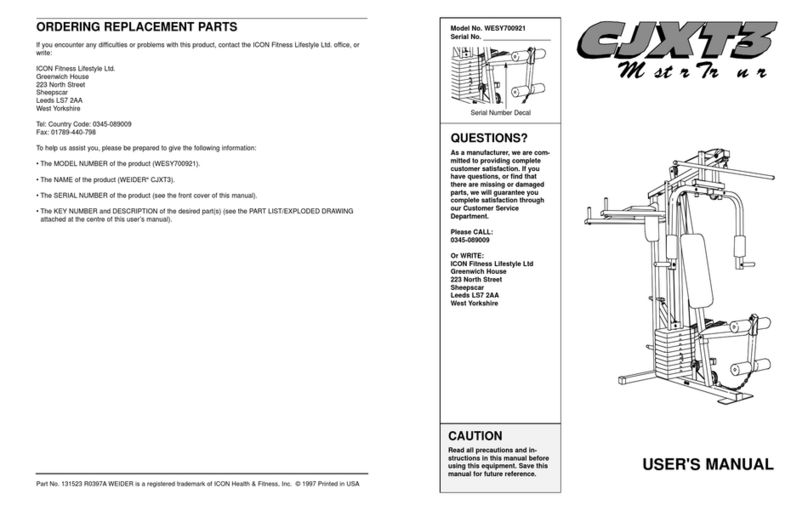
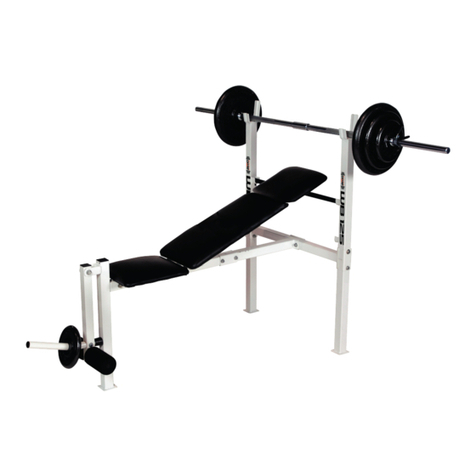
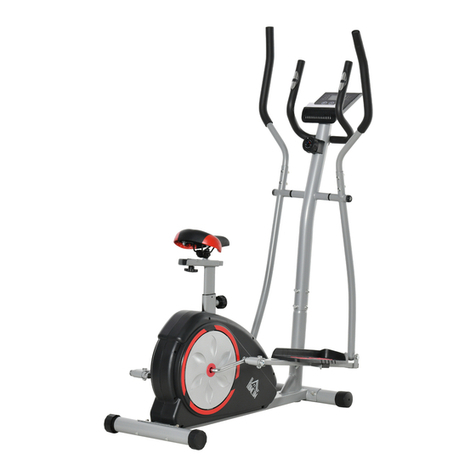
Progression Fitness X-plode BK-3000F User manual

综合训练器
BK-3000F
MULTIFUNCTION SMITH
Assembly Instrucons

Table of Contents
S
pare parts list ...................................................................................................................................................
3
S
pare parts list ...................................................................................................................................................
4
A
ssembly step(1).......................................................................................................................................5-
6
A
ssembly step(2).......................................................................................................................................7-
8
A
ssembly step(3).....................................................................................................................................9-1
0
A
ssembly step(4)...................................................................................................................................11-1
2
A
ssembly step(5)...................................................................................................................................13-1
4
A
ssembly step(6)...................................................................................................................................15-1
6
A
ssembly step(7)...................................................................................................................................17-1
8
A
ssembly step(8)...................................................................................................................................19-2
0
A
ssembly step(9)...................................................................................................................................21-2
2
A
ssembly step(10).................................................................................................................................23-2
5
A
ssembly step(11).................................................................................................................................26-2
8
A
ssembly step(12).................................................................................................................................29-3
0
A
ssembly step(13).................................................................................................................................31-3
2
A
ssembly step(14).................................................................................................................................33-3
4
A
ssembly step(15).................................................................................................................................35-3
6
A
ssembly step(16).................................................................................................................................37-3
8

Spare parts list
3
No. Descripon Note Qty.
1 back ground link tube 1
2 leframe 1
3 right frame 1
4front up link tube 1
5 short up link tube le1
6 short up link tube right 1
7fixing plate t3.0*59*140 2
8 hexagon bolt M10*100 4
9 washer Φ10 95
10 lock nut M10 43
11 hexagon bolt M12*75 4
12 washer Φ12 26
13 lock nut M12 8
16 barbell bar 1
17 guide rodΦ25*1850 2
18 barbell sleeve 2
19 hexagon bolt M12*40 2
20 barbell bar plug 2
21 headless hexagon socket bolt M8*10 4
22 guide rod lock sleeve 2
23 sliding sleeve le1
24 sliding sleeve right 1
25 weight stack rubber cushionΦ60*Φ58*Φ26*25 4
26 safety hook le1
27 safety hook right 1
28 back up link tube 1
29 back guide rod 2
30 back sliding sleeve 1
31 rubber cushionΦ60*Φ27*42 2
32 footplate 1
33 hexagon bolt M10*25 6
34 hexagon bolt M10*20 6
35 hexagon bolt M10*95 1
36 short bar 1
37 10 secon chain + snap hook 3
38 pulley Φ95*Φ10.5*25.4 25
39 low pull cable L=4430mm 1
40 “-” shape pulley frame 3
41 hexagon bolt M10*45 21
42 middle cable L=1840mm 1
44 pulley plate 1
45 5 secon chain + snap hook 1
46 hexagon bolt M10*50 6

4
Spare parts list
No. Descripon Note Qty.
47 help cable L=2370mm 2
48 pulley catch plate 4
49 help weight 2
50 hexagon bolt M12*70 4
51 short down link tube le1
52 short down link tube right 1
53 hexagon bolt M10*70 4
54 sliding sleeve le1
55 sliding sleeve right 1
56 guide tube 2
57 T shape locking spring pin Φ10 2
58 bird up cable L=3542mm 2
59 bird down cable L=10690mm 1
60 hexagon bolt M12*30 4
61 barbell plate hang bar 10
62 buerfly clip Φ50 14
63 shield 1
64 hexagon bolt M8*20 24
65 spring washer Φ8 4
66 washer Φ8 24
67 horizontal bar le1
68 horizontal bar right 1
69 T shape pin Φ10*75 2
70 e-rod 1
71 hexagon bolt M10*75 2
72 quick hook 2
73 snap hook 2
75 handle pull belt 2
85 back pulley frame 1
86 back short ground link tube 1
87 spring shim Φ12 6
88 back up link tube 1
89 2back sliding sleeve barbell plate hang bar

0 1 6 7 8 9 10 11 12 13 14 152 3 4 5
Bolt length measurement ruler
Installaon tools
cm
Fasteners drawing
8 9 10 11 12 13
19 21 33 34 35
64
41
65
46
66
50
71
53 60
17-19 SPANNER 2PCS
14-17 SPANNER 1PCS
6MM INNER HEXAGON SPANNER 1PC
4MM INNER HEXAGON SPANNER 1PC

Assembly step(1)explosion drawing
5
No. Descripon Note Qty.
2le frame 1
3right frame 1
47 help cable 2
38 pulley 4
48 pulley catch plate Φ10 4
9 washer Φ10 8
49 help weight 2
10 lock nut M10 4
46 hexagon bolt M10*50 4
12 washer Φ12 2
47
48 938
2
3
46
10
12

6
Assembly step(1)drawing
Assembly step(1)assembly instrucon
CAUTION:
P
lease check machine all:
b
olts, lock nuts whether ghten, ghten can use.
1. Put help cable(47) end through Φ12washer(12) fastening on help weight(49),put
help weight(49) intoleframe and right frame
2. Fix4 pulley(38) respecvely fastening on leframe and right frame using::M10*50
hexagon bolt(46), Φ10 washer(9),M10 lock nut (10),pulley catch plate(48)let help
cable(47) on pulley above, on pulley catch plate(47) below

:
Assembly step(2)explosion drawing
7
1 back ground link tube 1
4front up link tube 1
5 short up link tube le1
6 short up link tube right 1
8 hexagon bolt M10*100 4
9 washer φ10 16
10 lock nut M10 6
7fixing plate 2
11 hexagon bolt M12*75 4
12 washer Φ12 10
13 lock nut M12 4
60 hexagon bolt M12*30 2
87 spring washer Φ12 2
46 hexagon bolt M10*50 2
28 back up link tube 1
34 hexagon bolt M10*20 4
86 back short ground link tube 1
85 back pulley frame 1
No. Descripon Note Qty.
110
9
8
6
87
60
46
12
4
34
28
11
7
13
5
85
86

Assembly step(2)drawing
8
Assembly step(2)assembly instrucon
CAUTION:
h
exagon bolt no need ghten; lock nut (14) and barbell hang rod should be fastening.
1. Connect leframe, right frame with
front back up tube
( 28) using:
M10*20 hexagon bolt (34), Φ10 washer (9), M10 lock nut (10)
2
.Connect leframe (2), right frame (3) with back ground link tube (1) using:
M10*100 hexagon bolt (8), Φ10 washer (9), fixing plate ( 7 ), M10 lock nut (10)
3
.Connect front up link tube ( 4 ), short up link tube right ( 5 ) fastening on right
frame leframe using: M12*75 hexagon bolt (11), Φ12 washer (12) M12 lock
nut (13)
4
.Connect back short ground link tube(86), with back ground link tube(1) using:
M12*30 hexagon bolt (60), Φ12 spring washer (87) Φ12 washer(12) M12 lock
nut (13)

Assembly step(3)explosion drawing
9
) using:
) using:
No. Descripon Note Qty.
87 spring washer Φ12 2
12 washer Φ12 2
21 headless hexagon socket bolt 2
22 guide rod lock sleeve 2
23 sliding sleeve le1
24 sliding sleeve right 1
25 rubber cushion 4
26 afety hook le1
27 safety hook right 1
16 barbell bar 1
17 guide rod 2
19 hexagon bolt M12*40
M8*10
2
20 barbell bar plug 2
18 barbell bar sleeve 2
21
17
16
17
25
25
26
27
25
25
23
24
21
22
22
19
12
18
20
87
18
20
19
12
87

Assembly step(3)drawing
10
Assembly step(3)assembly instrucon
1. Hang outside barbell bar (16) on leframe and right frame
2
.Through inside barbell bar(90) intooutside baibell bar(16)
3
.Guide rod(17) turn intoweight stack rubber cushion (25), safety hook le(26),
weight stack rubber cushion (25), sliding sleeve le(23), guide rod lock sleeve(22)
Plug sliding sleeve le(23) on inside barbell bar (90),plug guide rod(17) on le
frame
Fix guide rod lock sleeve(22) fastening on guide rod (17) top using:
M8*10 headless hexagon socket bolt (21)
4
.Guide rod(17) turn intoweight stack rubber cushion (25), safety hook le(26),
weight stack rubber cushion (25), sliding sleeve le(24), guide rod lock sleeve(22)
Plug sliding sleeve le(24) on barbell bar(90),plug guide rod(17) on leframe
Fix guide rod lock sleeve(22) fastening on guide rod (17) top using:
M8*10 headless hexagon socket bolt (21)
5
.Fix barbell sleeve (18) fastening on barbell bar
(16) both using:
M12*40 hexagon bolt (19), Φ12 spring washer (87) Φ12 washer (12)
through barbell bar pipe plug (20)

Assembly step(4)explosion drawing
11
)
frame
) top using:
)
) on leframe
) top using:
) both using:
No. Descripon Note Qty.
9 washer Φ10
Φ12
Φ12
5
12 washer 4
60 hexagon bolt 2
87 spring washer 2
M10*2034 hexagon bolt 2
88 back up link tube 1
35 hexagon bolt M10*95
M12*30
1
33 hexagon bolt M10*25 2
29 back guide rod 1
31 rubber cushion 2
30 back sliding sleeve 1
32 footplate 1
21 headless hexagon socket bolt 2
89 2back sliding sleeve barbell plate hang bar
29 31
32
33
34
12 86
60
9
88
21
89
35
30
87

Assembly step(4)drawing
12
Assembly step(4)assembly instrucon
CAUTION: Step1 to 3,All bolts should ghten.
1. Fix back guide rod(29) fastening on back short ground link tube(91) using::M10*20 hexagon
bolt(34),Φ10 washer(9)
2. From back guide rod(29) top turn intorubber cushion (31),back sliding sleeve (30)
3. Plug back guide rod(29) with back up link tube(91)
Fix back up link tube (88) fastening on front up link tube(28) using: M12*30 hexagon bolt (60), Φ12
spring washer (86), Φ12 washer (12)
4. Fix back guide rod(29) fastening on back up link tube(91) using::M10*95 hexagon bolt(35),Φ10
washer(9)
5. Fix footplate(32) fastening on back ground link tube using::M10*25 hexagon bolt(33),Φ10 washer(9
6. F89
*10 hexagon bolt(21),Φ10 washer(9)
)
back sliding sleeve barbell plate hang bar

Assembly step(5)explosion drawing
13
No. Descripon Note Qty.
9 washer Φ10 10
10 lock nut M10 5
36 short bar 1
37 10 secon chain + snap hook 1
38 pulley Φ95*Φ10.5*25.4 5
39 low pull cable L=4430mm 1
40 “-” shape pulley frame 1
41 hexagon bolt M10*45 5
36
40
39
38
37
41
10
41
9
9
41
9
10
9
10
9
38 9

14
Assembly step(5)drawing
Assembly step(5)assembly instrucon
1. Fix 4 pulley(38) on point: A,B,D,E using:
M10*45 hexagon bolt(41),Φ10 washer(9),M10 lock nut(10)
2. Fix pulley (38) on “-“shape pulley frame point Cusing:
M10*45 hexagon bolt (41), Φ10 washer (9), and M10 lock nut (10)
3. Put low pull cable (39) end hang on back sliding sleeve,
then remove low pull cable (39) ball head end.
4. Put low pull cable (39) headless end in turn through point: A, B, C, D, E,
then put the ball head back tolow pull cable (39)
5. Put 10 secon chain + hoist hook (37) one end hang on short bar (36),
other end hangs on low pull cable (39) ball head
low pull cable drawing
low pull cable end
E
C
A
B
D

Assembly step(6)explosion drawing
15
No. Descripon Note Qty.
9 washer Φ10 2
10 lock nut M10 1
38 pulley Φ95*Φ10.5*25.4 1
41 hexagon bolt M10*45 1
42 middle cable L=1840mm 1
44 pulley plate 1
45 5 secon chain + snap hook 1
10
38
9
9
41
45
44
42

16
Assembly step(6)drawing
Assembly step(6)assembly instrucon
1. Put middle cable (42) end through Φ12 washer (12),
fix cable hook (43) fastening on double pulley plate (44)
2
.Put 5 secon chain + hoist hook (45) hang on middle cable (42),
other end hang on back ground link tube
3
.Fix pulley(38) & middle cable(42) fastening on -“shape pulley frame point F using:
M10*45 hexagon bolts(41),Φ10 washer(9),M10 lock nut(10),
let middle cable(42) on pulley(38) above
4
.Hang cable hook (43) on middle cable (42)
10
38
9
9
41
45
44
42

Assembly step(7)explosion drawing
17
No. Descripon Note Qty.
9 washer Φ10 4
10 lock nut M10 2
33 hexagon bolt M10*25 2
33
33
10
9

18
Assembly step(7)drawing
Assembly step(7)assembly instrucon
1. Fix help cable end on sliding sleeve right and leusing::M10*20 hexagon bolt(33),Φ10 washer(9),M10
lock nut (10)
Help cable end

Assembly step(8)explosion drawing
19
No. Descripon Note Qty.
12 washer Φ12 8
13 lock nut M12 4
50 hexagon bolt M12*70 4
51 short down link tube le1
52 short down link tube right 1
52
50
12
12 13
51
50
12
12
13
Table of contents
Other Progression Fitness Fitness Equipment manuals
Progression Fitness
Progression Fitness 1638 Elliptical User manual
Progression Fitness
Progression Fitness X-plode PFX – 220 User manual
Progression Fitness
Progression Fitness PFX260 User manual
Progression Fitness
Progression Fitness 75112 User manual
Progression Fitness
Progression Fitness X-plode PFX260 User manual
Progression Fitness
Progression Fitness B1100 Operation manual
Progression Fitness
Progression Fitness X-plode PFX-1000 User manual
Progression Fitness
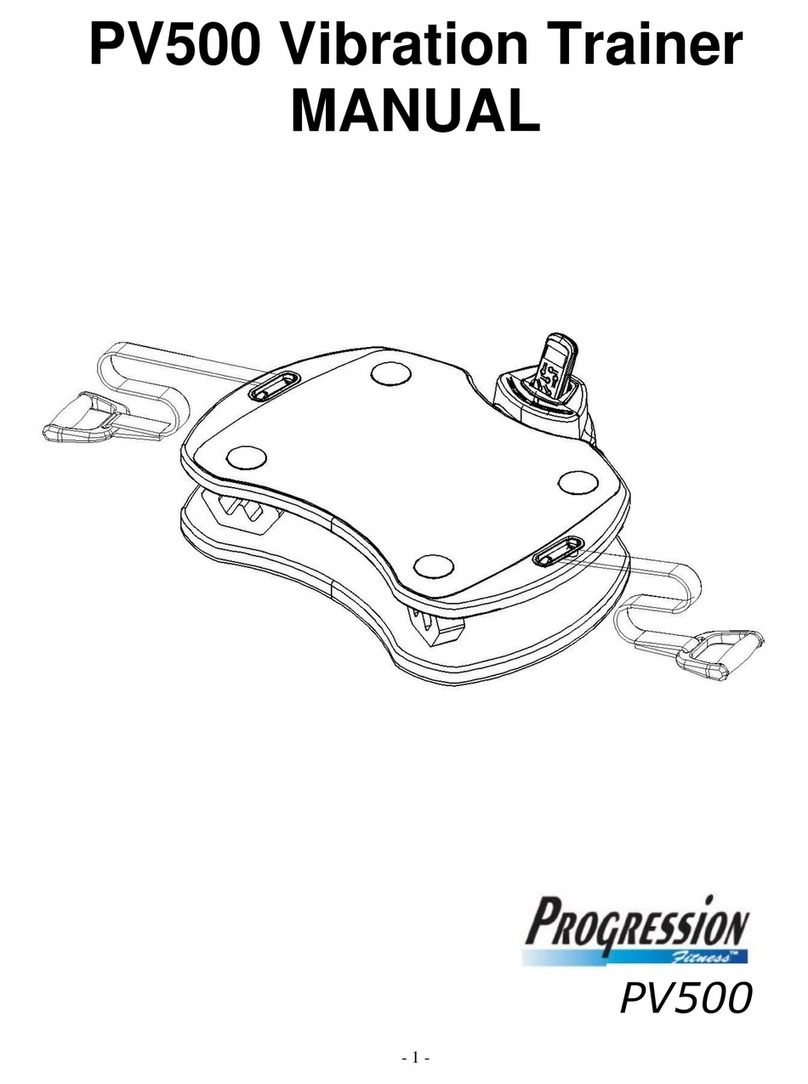
Progression Fitness PV500 User manual
Progression Fitness
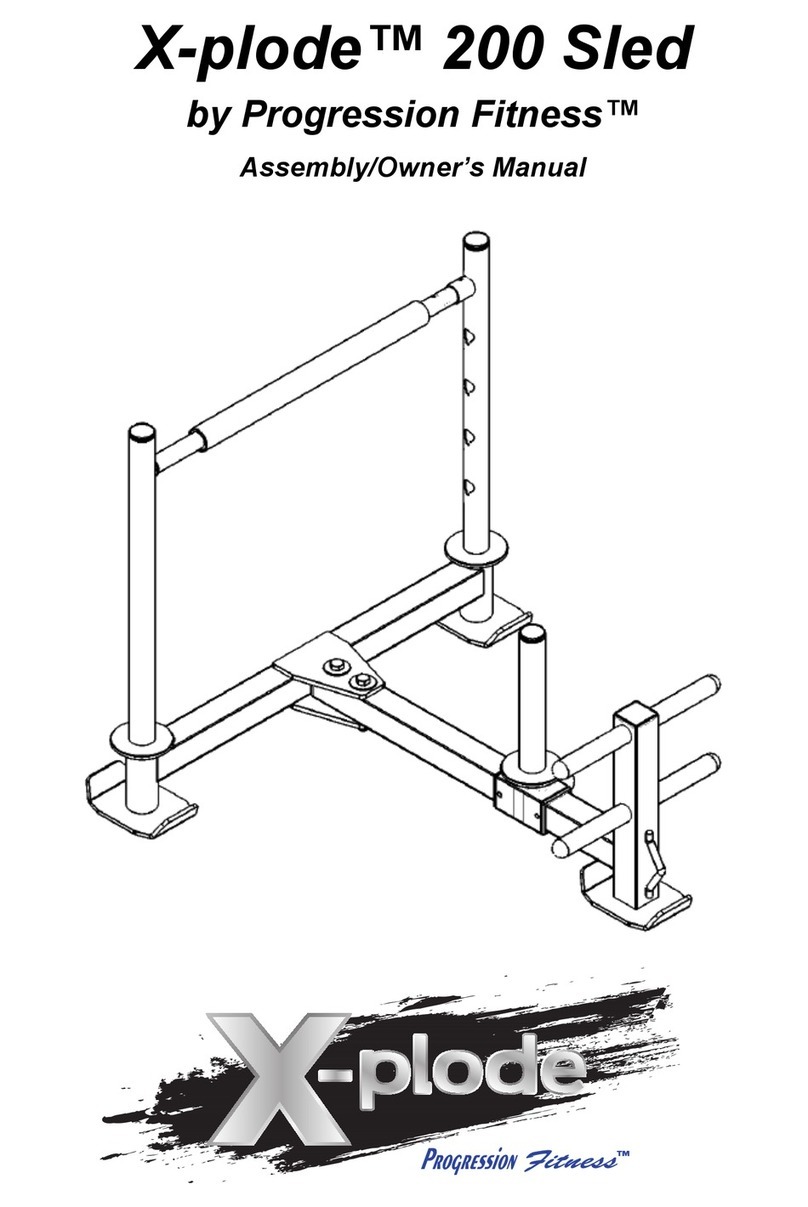
Progression Fitness X-plode 200 Sled Installation and operating instructions
Progression Fitness
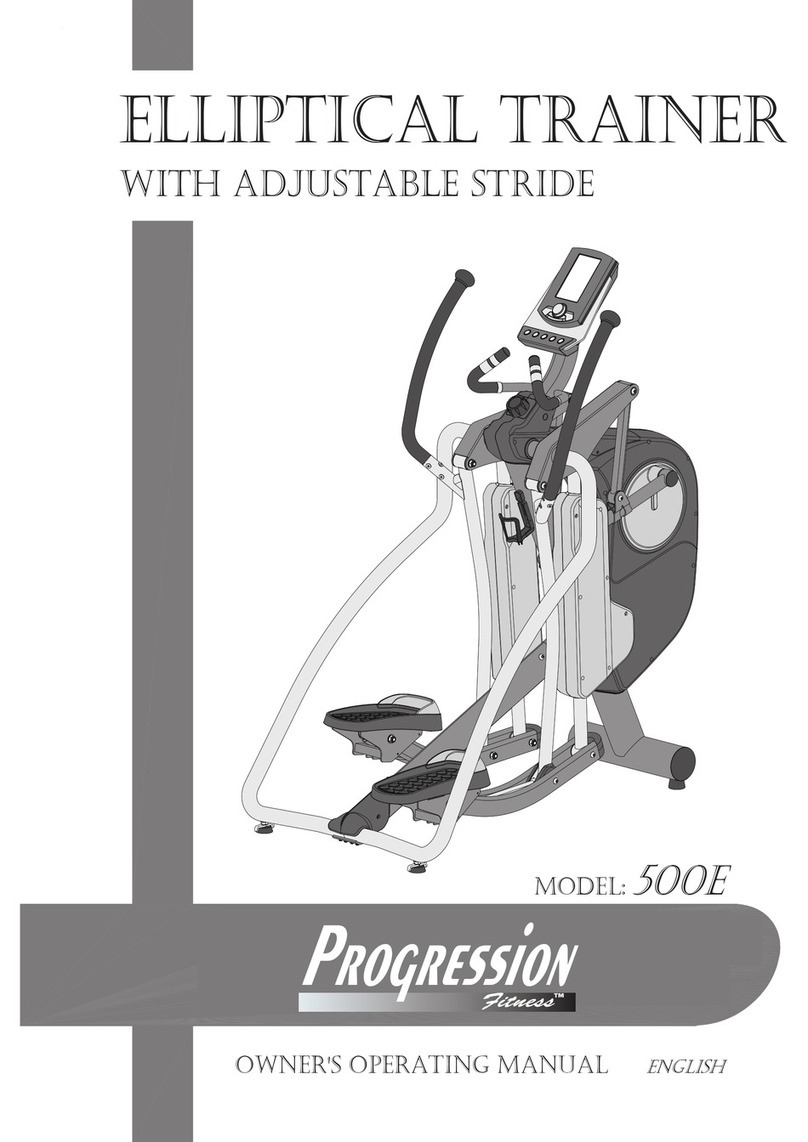
Progression Fitness 500E Operation manual
