manuals.online logo
Brands
  1. Home
  2. •
  3. Brands
  4. •
  5. Progression Fitness
  6. •
  7. Fitness Equipment
  8. •
  9. Progression Fitness X-plode PFX-1000 User manual

Progression Fitness X-plode PFX-1000 User manual

asdasdasdasd
asdasdasd
IMPORTANT SAFETY INFORMATION
OWNER’S MANUAL
PFX – 1000 Weight Gym
www.progressionfitness.ca
info@progressionfitness.ca
1-866-978-1999
Be sure to read the entire manual before assembly and
operation. Also, please note the following safety
precautions:
•Before using the unit or starting any exercise program,
consult your physician. This is especially important for
anyone over the age of 65, persons with pre-existing
health problems or women that are pregnant.
•Keep children and pets away from this equipment at all
times.
•This unit should only be used on a level surface and is
intended forindoor use only. We recommend placing an
equipment mat under the unit to protect the floor or
carpet.
•Do not use until the machine has been fully assembled
and inspected for correct performance in accordance
with themanual.
•Always wear proper clothing and walking/running shoes
when exercising. Do not wear loose fitting clothing that
could get caught in the equipment.
•Always examine unit before use to ensure all parts are in
working order.
•Progression assumes no responsibility for equipment
failure if unauthorized equipment modifications are
made.
•Progression assumes no responsibility for personal
injury or property damage sustained by or through the
use ofthis product.
1
PARTS
PART #
PART NAME
SIZE
QTY
34
Seat Cushion Frame Bracket
1
35
Leg Extension Steel Rod
1
36
Foot Plate
1
37
Threaded Pivoting Rod
1
38
10mm Spring Washer
Ø10
2
39
Roller Pad
Ø100*175
6
40
Roller Pad Inside Cap
6
41
Roller Pad Outside Cap
6
42
Button Head Leg Pad Bolts
M8x20
6
43
Rubber Feet
4
44
Threaded Pop Pin
1
45
Pulley Adjustment Tension Plate
2
P
Pulley
21
47
Dual End Threaded Bolt
M8x48
4
48
Pulley Hexagonal Bolt
M10X45
20
49
Pulley Cover Inner Bushing
Ø22*Ø10.5*6.5
24
50
Plastic Pulley Guard (L Bracket)
24
51
Lat Pulldown Cable
L=2510mm
1
52
Double Pulley Bracket
1
53
Bottom Frame Pulley Hexagonal Bolt
M10X115
1
54
Leg Extension Cable
L=4605mm
1
55
Fly Arm Cable
L=6335mm
1
56
Long Lat Bar
1
57
Short Curl/Row Bar
1
58
Back Cushion
1
59
Weight Shroud Bolt
M8X16
8
60
Seat Cushion
1
61
Seat Cushion Bolts
M8X40
2
62
Roller Pad Steel Tube
1
63
Roller Pad Steel Tube
1
64
Chain (Long - 9 Links)
2
65
Chain (Short - 7 Links)
2
66
Weight Stack Shroud
2
67
Seat Cushion Bolt
M8X25
4
68
Handle
2
69
Curved Left/Right Frame Bracket Hex
Bolts
M12X65
4
70
12mm Spring/Lock Washer
Ø12
6
71
8mm Spring/Lock Washer
Ø8
14
PART
#
PART NAME
SIZE
QTY
1
Base Frame
1
2
Weight Stack Column Pin
1
3
Guide Rod
2
4
10mm Flat Washer
Ø10
52
5
M10x20 Button Head Bolts (Leg
Extension)
M10X20 button
2
6
Weight Stack Bottom Rubber Donut
2
7
Upper Guide Rod Limiter (Donut)
2
8
8mm Lock Nut
M8
2
9
8mmx70cm Hexagon Bolt
M8X70
2
10
8mm Flat Washer
Ø8
26
11
Steel Weight Stack Plate
12
12
Steel Weight Stack Plate (Top Plate)
1
13
Magnetic Weigh Stack Pin
1
14
Main Center Frame
1
15
12mmx60cm Hexagon Bolt
M12X60
6
16
12mm Flat Washer (4 spare washers)
Ø12
30
17
12mm Lock Nut
M12
12
18
Weight Shroud Support Bracket
1
19
10mmx70cm Bolts For Bracket (3 given)
M10*70
5
20
10mm Lock Nut
M10
22
21
Left Side Frame
1
22
Right Side Frame
1
23
Lat Pulldown Pulley Support
1
24
12mmx70cm Hexagon Bolt (Support
Plate)
M12X70
2
25
Support Plate
2
26
Fly Arm Left
1
27
Fly Arm Right
1
28
Fly Arm Support Plate
1
29
Large Washer
t2.0*Ø25*Ø10.5
2
30
10mmx20cm Hexagon Bolt (Secure
Flyarm)
M10X20
2
31
12mmx30cm Hexagon Bolt
M12X30
6
32
Spring Loaded Selector Pin
2
33
Seat Bottom Frame
1
PARTS
4
5
asdasdasdasd
asdasdasd
ASSEMBLY
Step 1: Step 2:
i. With assistance, line up
i.
Locate and attach the rubber feet
(part #43)/stabilizers to the
bottom of the base frame.
ii.
Locate the two rubber donuts
(part #6) and the two guide
rods
(part #3). Slide the guide
rods
through the donuts and
secure to
the frame (part #1)
with
M8x25mm guide rod bolts
(part
#67) and washers (part #4).
iii.
With assistance, carefully slide
the weight stack plates down the
guide rods. Be
careful not to
pinch your
fingers.
iv.
Lastly, install guide rod upper
plate stopper donuts (part #6)
to
the upper part of guide rods.
the main centre
frame (part #14)
over top
of the guide rods and
over
top of the bolt
holes on base frame.
Secure (part #14) to the
base frame (part #1)
with
two of the
M12x60mm
Bottom
Frame Bolts (part
#15),
the 12mm washers
(part#16) and nuts
(part#9).
Do not tighten
bolts.
ii. IMPORTANT STEP: Make
sure to attach the shroud
support bracket to the
bottom of the upper frame
using two M10x70 bolts
(part #19). The guide rods
should fit through the holes
in the support bracket.
iii. Secure upper portion of
main centre frame
(part#14) by threading
M8x25mm guide rod
bolts
(part#67) and
10mm
washer (part#16)
into
guide rods. The
plastic
upper plate
stopper donut
should
be secured by this
time
from Step 1.
iv. Attach the centre dual fly
pulley piece (part #53) onto
back of backrest support
frame (#14) using two
M12x30mm bolts (#16) and
two 12mm lockwashers and
washers.
v. Tighten bolts
6
7
asdasdasdasd
asdasdasd
ASSEMBLY CONT’D
Step 3:
8 9
i. Locate both of the large curved frame supports (part
# 21 and 22) and secure the bottom to the base
support frame with six M12x60mm bottom frame
bolts (part#15), six 12mm washers (part#16) and six
nuts (part#17). Do not tighten bolts yet.
ii. Locate lat pulldown support bracket (part #23) and
two of the curved frame support plates (#25). Attach
large left and right side curved frame supports (#10)
to the middle backrest support frame by threading
four M12x65mm (#24) bolts 8x 12mm washers
through the pulldown support bracket (#23) and
secure with four M12 nuts (#17).
iii. Make sure you have remembered to use the curved
frame support plates (#25) on the outside of the
asdasdasdasd
asdasdasd
ASSEMBLY CONT’D
Step 4:
10 11
i. Secure the fly arm support plate (#28) to the backrest
support frame using four M12x30mm (#31) centre
frame bracket bolts and four 12mm lock washers and
four 12mm washers. Attach the left and right pec fly
arms (#26,#27) through the rear of the fly arm
support plate (#28) using two M10x20mm flyarm
securing bolts (#18s) and washers (#16) into the
threads of main centre frame.
ii. Tighten all bolts
asdasdasdasd
asdasdasd
ASSEMBLY CONT’D
Step 5:
12 13
i. Secure the seat bottom frame (#33) to the backrest
support frame using two M12x70mm support plate
bolts (#24), two 12mm washers (#16) and two M12
nuts (#17). Tighten bolts.
ii. Attach the leg extension arm (#35) to the leg extension
base frame (#33) with two M10x20mm Centre frame
bracket bolts (#5), two 10mm washers (#4) and the
threaded pivoting rod (#37) on inside.
iii. Slide the following over the leg extension steel rod on
each side: Roller pad inside cap (#40), roller pad (#39)
goes on second, roller pad outside cap (#41) third and
secure each side with M8x20mm Button Head Leg Pad
Bolts (#41). Do not over tighten!
iv. Lower the seat cushion frame bracket (#34) into the
seat bottom frame and twist in the threaded pop pin
(#44) to secure.
asdasdasdasd
ASSEMBLY CONT’D
Step 6:
14 15
i. Thread lat pulldown cable (#51) over pulley #1,
pulley #2, down and through the middle of the
pulley adjustment tension plate (#45), back up
and over pulley #4, over pulley #5 and then
threaded into the top of the weight stack.
ii. Make sure the cabling has not been threaded
over anything other than the nylon pulleys.
Running cable over metal guide clips/brackets
will damage the cable and strip its protective
coating. Always test cables at the end with little
weight and go slowly. If the cable has been
installed incorrectly there is usually a loud
friction sound at that point.
asdasdasdasd
ASSEMBLY CONT’D
Step 7:
16 17
Thread the leg extension cable (#54) under pulley
#1, under pulley #2, over pulley #3, under pulley #4,
up through the middle of the double pulley bracket
#5, back down under pulley #6 and back upwards to
thread into the bottom of the horizontal double
pulley bracket #52 (used for fly arm cable in step 8).
asdasdasdasd
ASSEMBLY CONT’D
Step 8:
18 19
i. Attach the back pad (#58) to the back rest support
frame using four M8x25mm bolts (#67).
ii. Remove the threaded mechanism from one side of the
Pec Fly Cable (#55).
iii. Thread the cable through the pec fly arm pulley #1,
then to inside of pulley #2 on back of pec fly arm,
through bottom of pulley #3, then up over top of
pulley #4 and back down through the Horizontal
Double Pulley #5 Bracket (#52).
iv. Repeat the steps from step ii in reverse – loop cable
up to the highest pulley, string over top, then back
down and under the next two pulleys, ending at the
pec fly.
v. Re-attach the threaded mechanism once cable has
been pulled through.
asdasdasdasd
ASSEMBLY CONT’D
Step 9:
20 21
i. Attach the seat pad (#60) to the leg extension frame
using two M8x40mm bolts (#61).
ii. Attach the left and right side weight shrouds (#66)
using eight M8x16mm weight shroud bolts (#59) and
eight 8mm locking washers (#10).
iii. Slide the following over the leg extension steel rod on
each side: Roller pad inside cap (#40), roller pad
(#39) goes on second, roller pad outside cap (#41)
third and secure each side with M8x20mm Button
Head Leg Pad Bolts (#41). Do not over tighten!
iv. Attach the foot plate to the bottom frame at the very
front of the machine (just below the leg extension
pad). This plate can be flat for standing bicep curls or
can be flipped up as a foot support during seated row.

Other Progression Fitness Fitness Equipment manuals
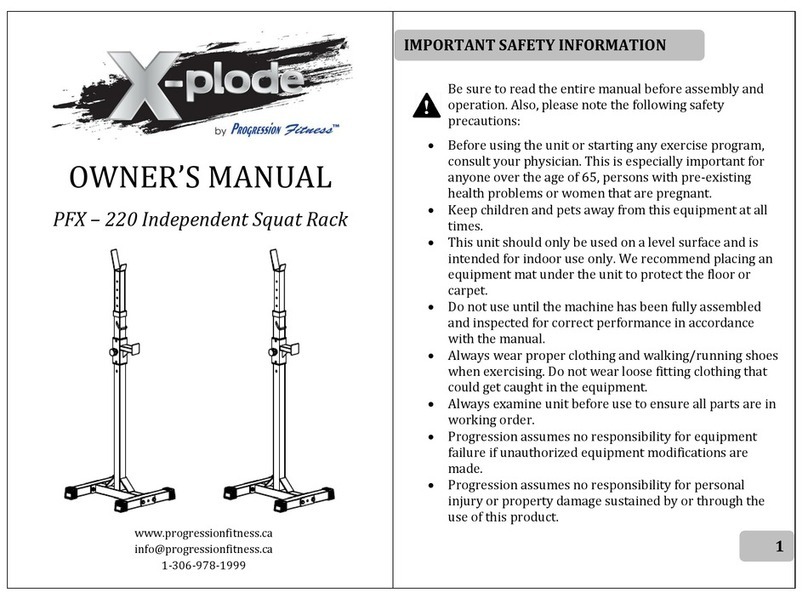
Progression Fitness X-plode PFX – 220 User manual

Progression Fitness

Progression Fitness X-plode PFX – 220 User manual

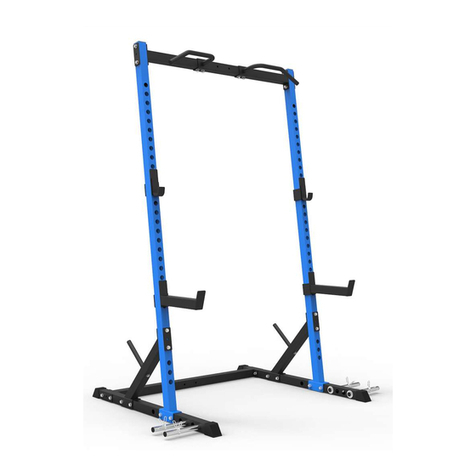
Progression Fitness X-plode PFX260 User manual

Progression Fitness

Progression Fitness X-plode PFX260 User manual

Progression Fitness 7000E Instructions for use

Progression Fitness

Progression Fitness 7000E Instructions for use

Progression Fitness X-plode BK-3000F User manual

Progression Fitness

Progression Fitness X-plode BK-3000F User manual

Progression Fitness 75112 User manual

Progression Fitness

Progression Fitness 75112 User manual
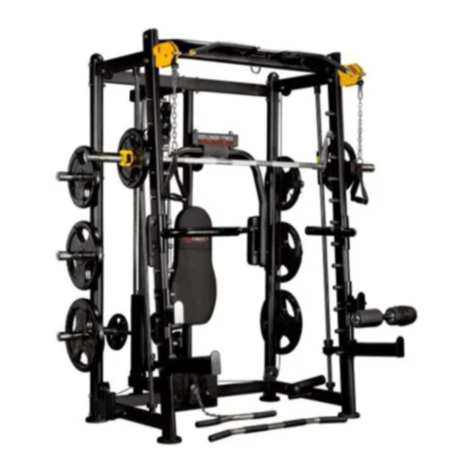
Progression Fitness PV500 User manual

Progression Fitness

Progression Fitness PV500 User manual

Progression Fitness B1100 Operation manual

Progression Fitness

Progression Fitness B1100 Operation manual

Progression Fitness 500E Operation manual

Progression Fitness

Progression Fitness 500E Operation manual

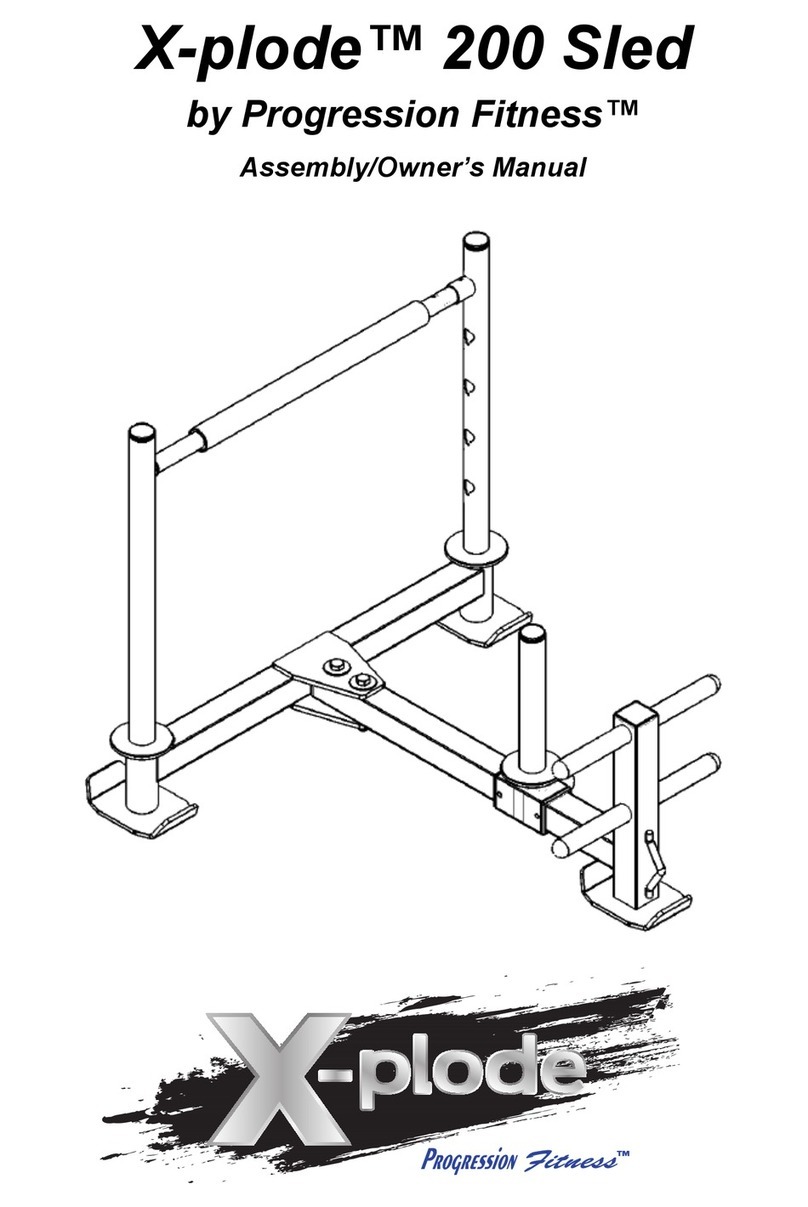
Progression Fitness X-plode 200 Sled Installation and operating instructions
Progression Fitness

Progression Fitness X-plode 200 Sled Installation and operating instructions

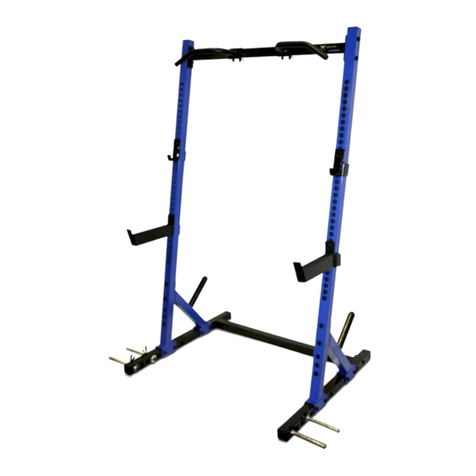
Progression Fitness PFX260 User manual

Progression Fitness

Progression Fitness PFX260 User manual

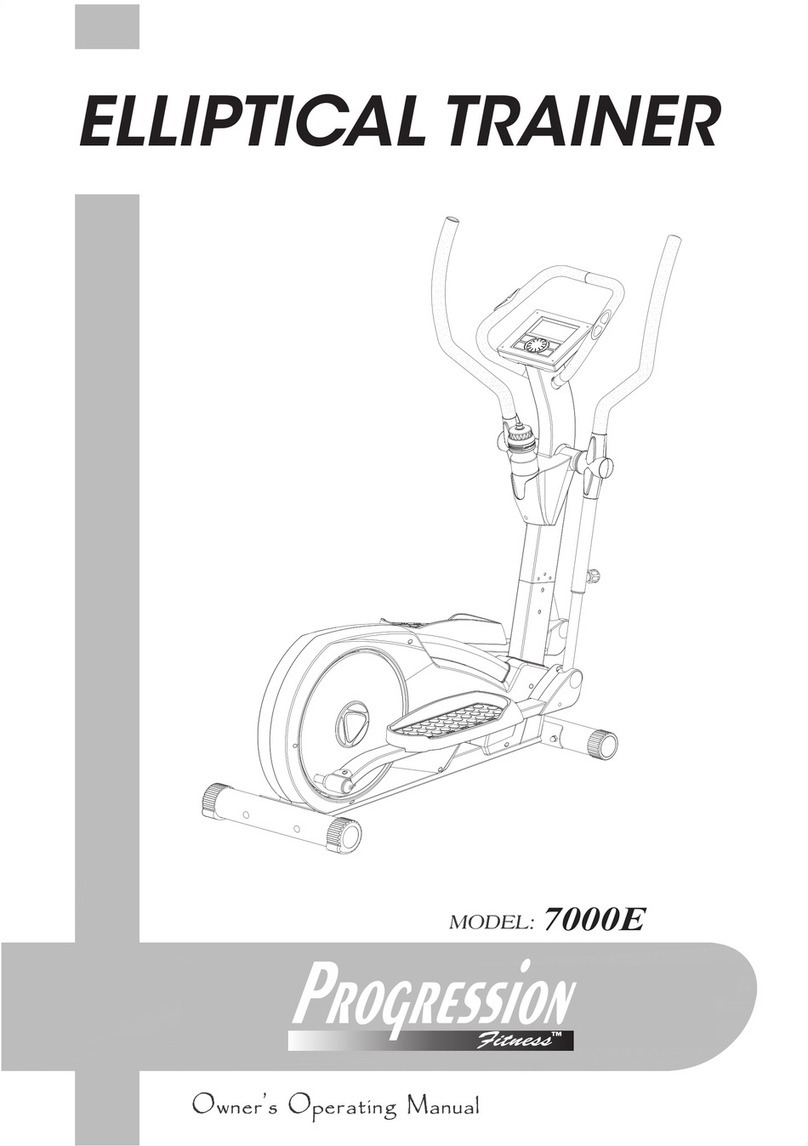
Progression Fitness 1638 Elliptical User manual
Progression Fitness

Progression Fitness 1638 Elliptical User manual

Popular Fitness Equipment manuals by other brands

Exxentric LegExx manual

Exxentric

Exxentric LegExx manual

Huffy M7800041 owner's manual

Huffy

Huffy M7800041 owner's manual

GoFit GoGravityGym Training manual

GoFit

GoFit GoGravityGym Training manual

PBLX Pure Bodybalance manual

PBLX

PBLX Pure Bodybalance manual

First Degree Fitness Apollo AR owner's manual

First Degree Fitness

First Degree Fitness Apollo AR owner's manual

Luvion PENGUIN SLEEP TRAINER instruction manual

Luvion

Luvion PENGUIN SLEEP TRAINER instruction manual

HOMCOM A91-223 instruction manual

HOMCOM

HOMCOM A91-223 instruction manual

Elite Fitness IT 9600-E owner's manual

Elite Fitness

Elite Fitness IT 9600-E owner's manual

LSG GBH-100 owner's manual

LSG

LSG GBH-100 owner's manual

Sportec AIREX Assembling manual

Sportec

Sportec AIREX Assembling manual

Stairmaster Crossrobics 1650 LE owner's manual

Stairmaster

Stairmaster Crossrobics 1650 LE owner's manual

pedalo 21080000 user manual

pedalo

pedalo 21080000 user manual

TOORX LDX 3000 instruction manual

TOORX

TOORX LDX 3000 instruction manual

ProGear AIR WALKER 3410 owner's manual

ProGear

ProGear AIR WALKER 3410 owner's manual

Panasonic EU7805K operating instructions

Panasonic

Panasonic EU7805K operating instructions

Vaunn Medical M565N-ESBK-HCVM user manual

Vaunn Medical

Vaunn Medical M565N-ESBK-HCVM user manual

Reebok SPACESAVER RL user manual

Reebok

Reebok SPACESAVER RL user manual

Sunny Health & Fitness 084 user manual

Sunny Health & Fitness

Sunny Health & Fitness 084 user manual

manuals.online logo
manuals.online logoBrands
  • About & Mission
  • Contact us
  • Privacy Policy
  • Terms and Conditions

Copyright 2025 Manuals.Online. All Rights Reserved.