2
English
1 3 4 5
6 7 8 9 10 11
12 13 14 15 16 17
18 19 20 21 22 23
24 25 26
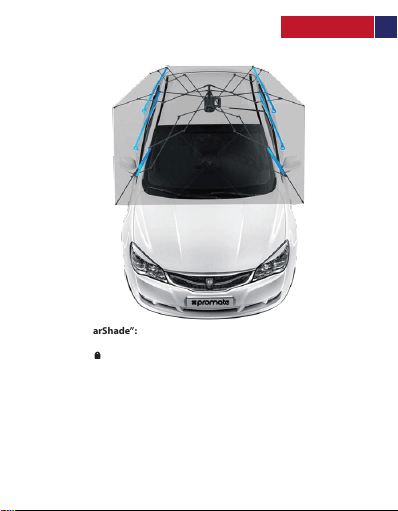
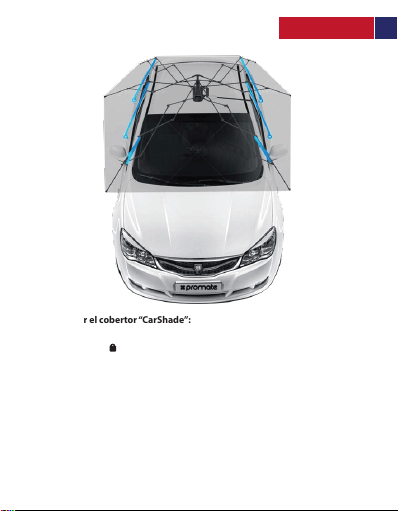
Introduction
Keep your car protected from dust, rain and the sun with Promate CarShade. Easy to install with
the
one-touch wireless remote. The secure suction cup makes this car shade windproof.The
patented
automated folding structures oer a safe and stable weatherproof design. CarShade
has been tested
to reduce your car temperatures by at least 30 degrees. Portable and easy to use,
CarShade is the car
accessory your car needs.
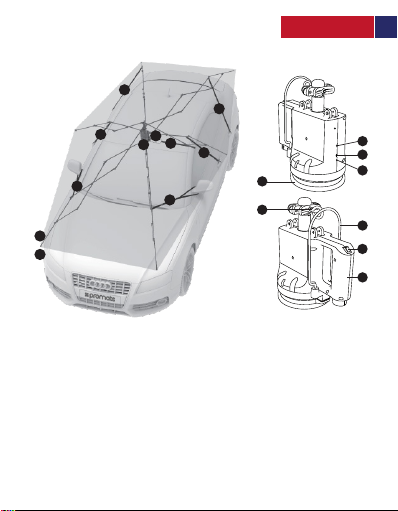
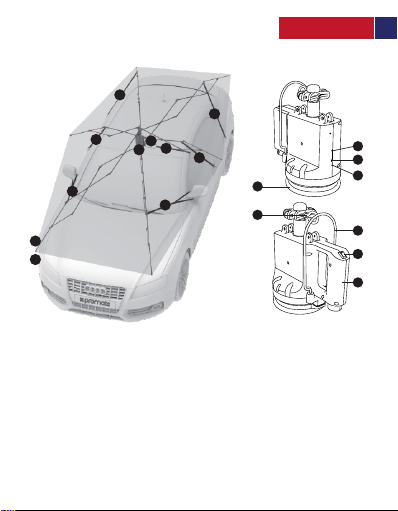
Packaging Contents
• Car Shade holder
• Tarp
• Wireless remote controller
• Car charger
• Storage bag with zipper
• User manual
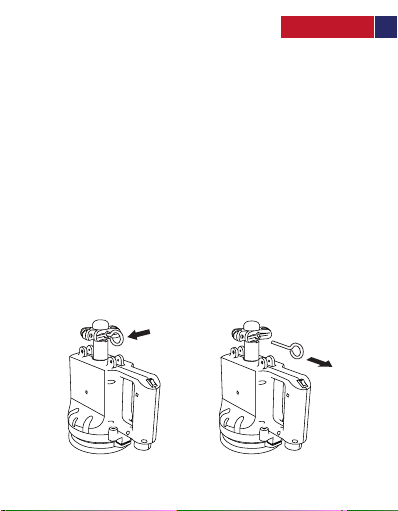
Features:
• Windproof Design: The strong suction cup coupled with a patented skeleton design ensures
that
the CarShade remains stuck onto your vehicle even on the windiest of days. You may also adjust
the windproof rope length to suit your vehicle.
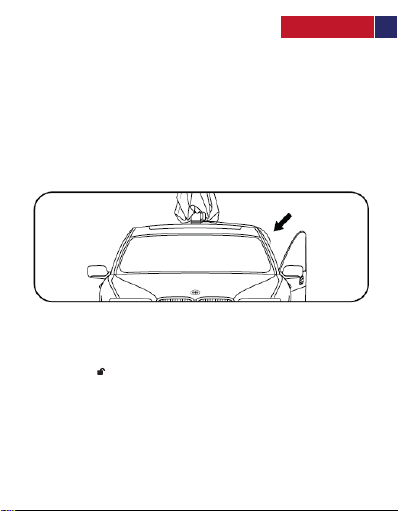
• Easy To Use: Easy to install with the one-touch wireless remote
• One Click Wireless Setup: Automatically fold and unfold with a remote control device. The
whole open process takes 8s, and total installation process takes the 30s
• Reduce Temperatures by 30Degrees: Air ventilation between the CarShade and thecar
proven
eective to block heat transmitted to the car in high temperatures.
• Anti-Theft Protection: The steel wire woven into the fasten ropes prevent theft of the CarShade.
• Ultra-Portable Design: 33in/85cm in length after folded up in a storage bag. 6.7kgs only,
with
no extra burden to your trunk.
• Universal For any Car: The 4.4m x 2.2m surface can protect any car from Dust, acid =rain
and
bird droppings.
Compatibility:
CarShade is compatible with all Cars and SUVs.