Proper SAPRW User manual
SAPRW
Designed for Life
Easy to use remote controlled PIR alarm, sounding a
loud alarm whenever movement is detected. Multiple
alarms can be linked to one remote.
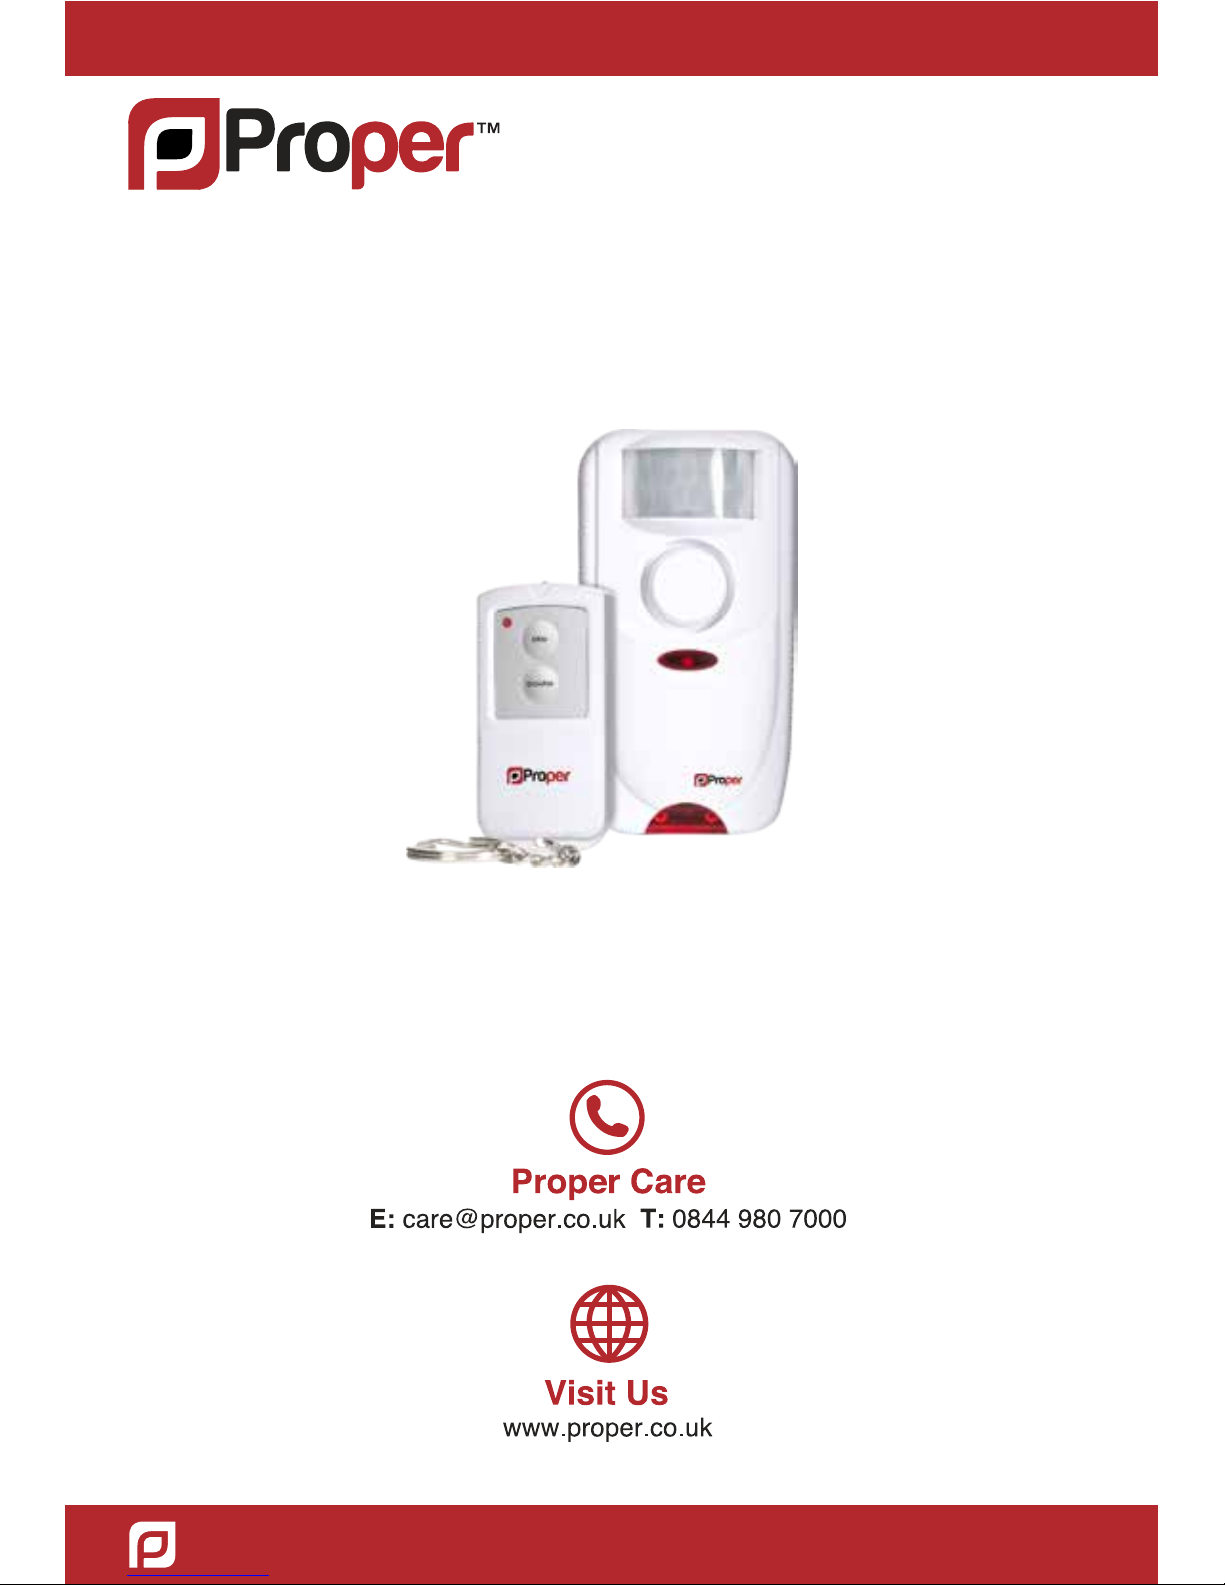
Motion Sensing
PIR Alarm

About the Alarm
Kit contents:
• 1 x PIR alarm
• 1 x Remote Control
• 1 x Ball-head joint mounting bracket
• 2 x Screws and Wall Plugs
• 1 x Instruction Leaflet
IMPORTANT – Read before installing
• Do not expose any part of the alarm unit to any sudden shocks
(such as being dropped or struck).
• Do not install the passive infrared (PIR) alarm unit within detection range of any device
which emit heat or cold, such as air conditioners, refrigerators, ovens, heaters,
microwaves or other electronic equipment which generates heat.
• Do not install the PIR sensor in direct sunlight.
• Use only alkaline batteries.
• Do not install outdoors.
• Test the alarm periodically (every 1 – 2 months) to ensure it is working properly.
• This alarm cannot offer complete protection for your home or business – it is simply an
alarm system.
Setting up the Alarm
Installing batteries
The remote controlled PIR Alarm requires 3 x AA alkaline batteries (not included). To install
batteries:
• Remove the screw at the base of the battery compartment and slide off cover.
• Insert 3 x AA alkaline batteries noting the polarity diagram inside the compartment.
• Replace the cover and screw closed.
Note: A slow flashing of the red light on the front of the alarm indicates that the batteries
are low, and need to be replaced.
The Remote Control requires 1 x CR2032 cell batteries (included).
To replace the battery:
• Slide off the back cover
• Carefully remove the clear plastic insulation tab from the batteries. If the batteries are
dislodged, replace them noting the polarity diagram inside the battery compartment.
• Slide the cover back onto the battery compartment.
IMPORTANT:
• Remove batteries before storing the alarm for long periods of time. Batteries corrode over
time and may cause permanent damage to the unit.
• Different types of batteries or new and old batteries should not be mixed.
• Depleted batteries should be removed from the unit and disposed of properly.

Linking the remote control to the alarm
Make sure you have inserted the batteries before proceeding.
• Remove the screw from the battery compartment cover and slide off the cover in the
direction of the open arrow.
• Press the LEARN button.
• Immediately point the remote control towards the front of the alarm unit and press ARM
button. The alarm will sound a single short tone, and the light will stop flashing to confirm
the remote has been linked to the alarm. The alarm unit will now respond to the remote.
• Replace the battery compartment cover on the main unit and secure screw. The alarm is
now in standby mode.
Selecting alarm or chime mode
The Remote Controlled PIR Alarm can operate as an intruder alarm or a visitor chime.
To select the mode:
Operating the alarm & chime
Arming the alarm
• In alarm mode (see Section 3) the alarm is armed by pressing the ARM button on the
Remote Control after which the red light on the front of the unit flashes.
• This indicates a 45 seconds delay which allows time to leave the protected area without
triggering the alarm.
• The unit will now sound for 30 seconds if motion is detected then check again for motion.
If motion is detected again, the siren will immediately sound.
Disarming the alarm
• When returning to the protected area, simply point the Remote Control towards the alarm
unit and press DISARM within 30 seconds to disarm the alarm.
• The unit will beep once if motion is detected.
• If the DISARM button on the Remote Control has not been pressed within 30 seconds, the
alarm will sound. Pressing the DISARM button on the Remote Control at any time after
the alarm has sounded will de-activate the unit.
• When the DISARM button is pressed, the unit will respond with a beep to indicate the unit
has been disarmed.
Activating and de-activating the chime
• When in chime mode (see above) the chime function is activated by pressing the ARM
button on the remote control.
• The unit will chime each time motion is detected.
• To de-activate the chime enter the DISARM button on the Remote Control and the unit
will respond with a beep to indicate the chime is de-activated.
Panic feature
• The alarm can be activated immediately, without a delay, by pressing the ARM and
DISARM buttons together on the Remote Control while pointing it at the alarm unit.
• Pressing the DISARM button on the Remote Control will deactivate the panic alarm.
• Select either alarm or chime mode by using the switch on the side of the remote control

Range of detection
The Keypad Controlled PIR Alarm has a 6m detection range, with 110° horizontal and 70°
vertical angles of detection. Any obstructions in the environment will reduce the sensors’
effectiveness.
Mounting the unit
The Remote Controlled PIR Alarm can be wall-mounted either straight onto the wall or with
the ball-head joint mounting bracket. The bracket gives greater flexibility in directing the
alarm to cover a specific area.
Mounting directly onto the wall
• Choose the desired location and secure a screw into the wall.
• The unit can then be mounted onto the screw head using the keyhole at the back of the
unit.
Mounting with the bracket
• Choose the desired location and secure the ball-head joint bracket to the wall, using the
screws and wall plugs provided.
• Slide the end of the bracket into the back of the unit and lock into place.
Care & maintenance
To clean the unit housing, use a soft damp cloth, and wipe dry. Do not use chemical agents
as this may damage and discolour the unit.
For queries about any of the products in our security range,
please contact the Proper Care team
Table of contents


