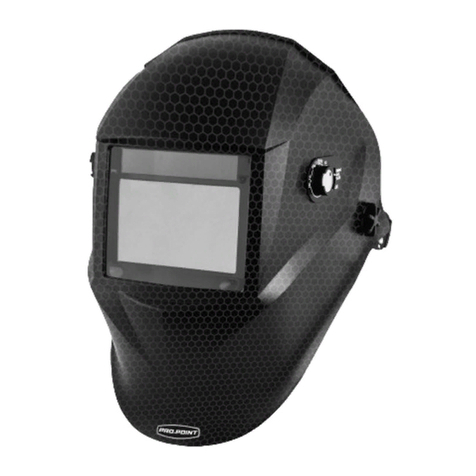
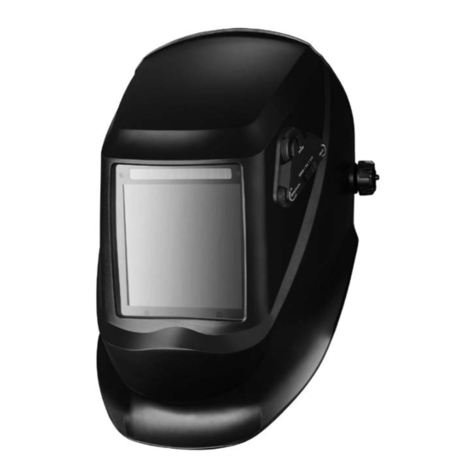
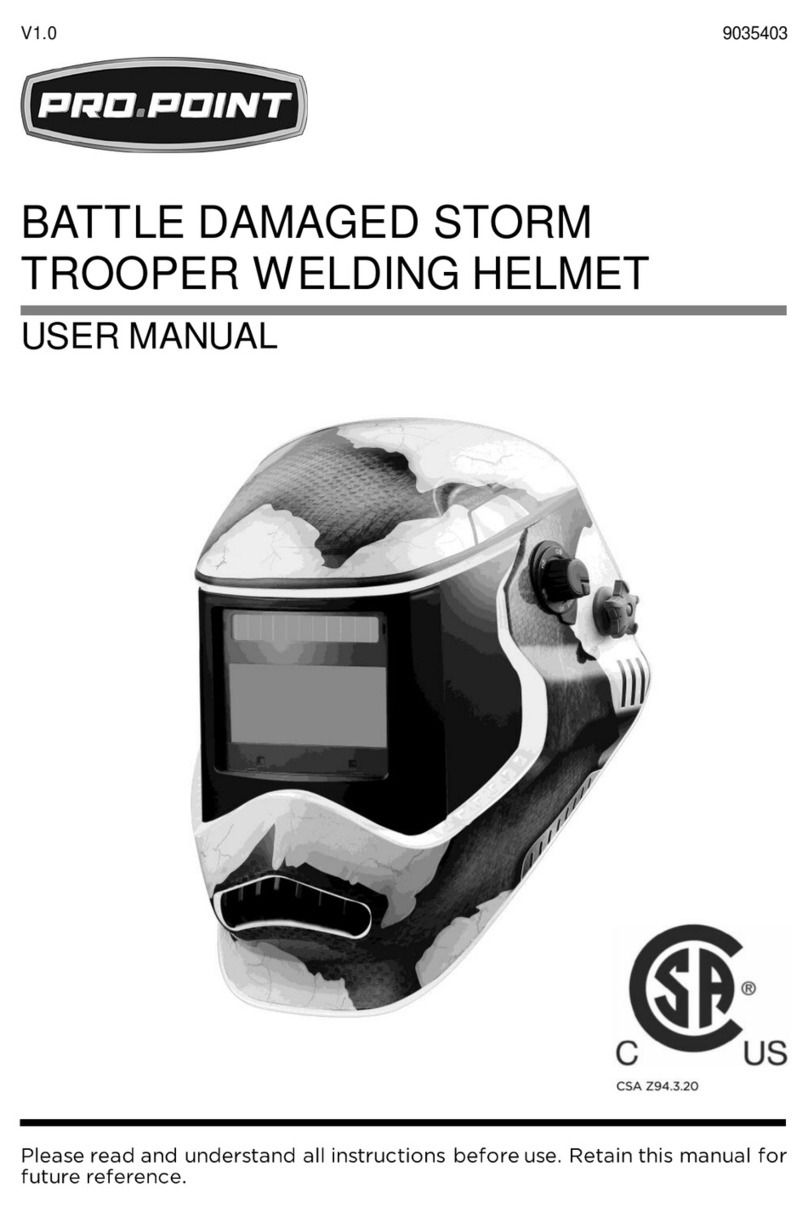
PROPOINT 8974230 User manual

V1.0 8974230
Please read and understand all instructions before use. Retain this
manual for future reference.
USER MANUAL
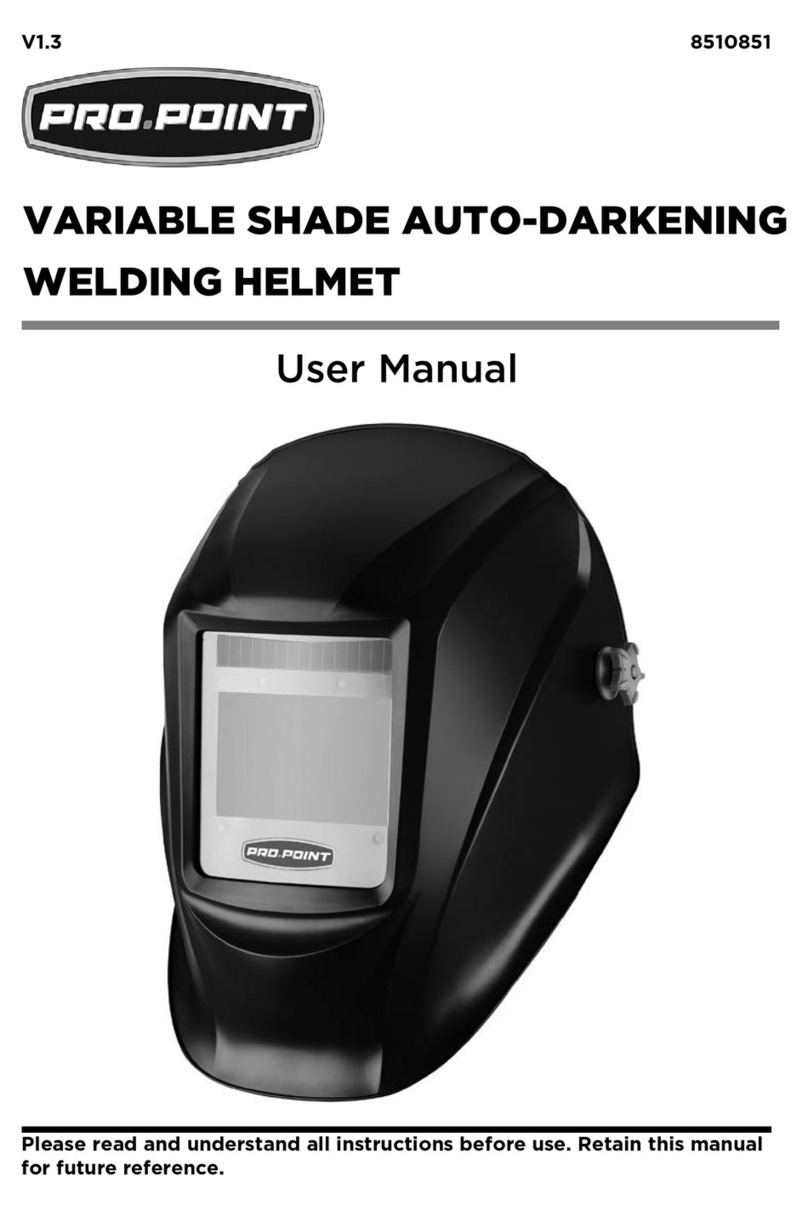
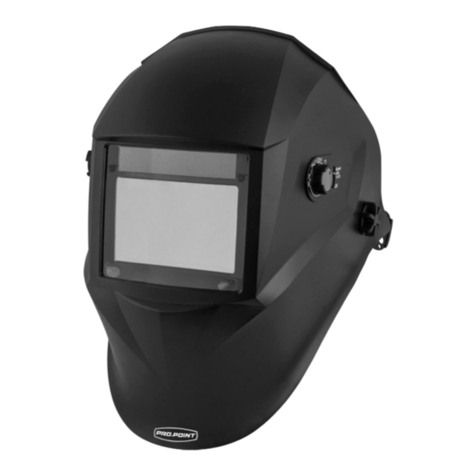
TROOPER AUTO-DARKENING
WELDING HELMET

8974230 TROOPER AUTO-DARKENING WELDING HELMET V1.0
2 For technical questions call 1-800-665-8685
SPECIFICATIONS
Viewing Area 3.86 x 1.69 in.
Lens Shade
5 to 8 / 9 to 13
Reaction Time 1/25,000 seconds
Optical Classification
1/1/1/2
Grind Mode Ye s
ADF Controls
External
Number of Arc Sensors 4
Material
Polypropylene
Colour/Finish Grey
Power Source
Solar cell and lithium battery
Battery Type CR2032
Battery Life
2,000 hrs
INTRODUCTION
The filter cartridge in the Variable Shade Auto-Darkening Welding
Helmet is designed for arc welding or cutting applications,
including hand welding, gas protected welding, argon arc welding
and plasma cutting.
The solar auto-darkening filter employs photoelectric sensors that
cause the liquid crystal to change from the bright state to dark
state as soon as it receives arc light. The state changes from dark
to bright shortly after the welding is finished. The delay is to
protect the eyes and face from harmful infrared or ultraviolet
radiation.
TROOPER AUTO-DARKENING
WELDING HELMET

V1.0 TROOPER AUTO-DARKENING WELDING HELMET 8974230
Visit www.princessauto.com for more information 3
SAFETY
WARNING! Read and understand all instructions before using
this tool. The operator must follow basic precautions to reduce
the risk of personal injury and/or damage to the equipment.
Keep this manual for safety warnings, precautions, operating or
inspection and maintenance instructions.
HAZARD DEFINITIONS
Please familiarize yourself with the hazard notices found in this
manual. A notice is an alert that there is a possibility of property
damage, injury or death if certain instructions are not followed.
DANGER! This notice indicates an immediate and specific
hazard that will result in severe personal injury or death if the
proper precautions are not taken.
WARNING! This notice indicates a specific hazard or unsafe
practice that could result in severe personal injury or death if
the proper precautions are not taken.
CAUTION! This notice indicates a potentially hazardous
situation that may result in minor or moderate injury if proper
practices are not taken.
NOTICE! This notice indicates that a specific hazard or unsafe
practice will result in equipment or property damage, but not
personal injury.
WORK AREA
1. Operate in a safe work environment. Keep your work area
clean, well-lit and free of distractions. Place lights so you
are not working in a shadow.
2. Keep anyone not wearing the appropriate safety
equipment away from the work area.
3. Store tools properly in a safe and dry location. Keep tools
out of the reach of children.

8974230 TROOPER AUTO-DARKENING WELDING HELMET V1.0
4 For technical questions call 1-800-665-8685
PERSONAL SAFETY
WARNING! Wear personal protective equipment approved by
the Canadian Standards Association (CSA) or American
National Standards Institute (ANSI).
PERSONAL PROTECTIVE EQUIPMENT
1. Always wear impact safety goggles that provide front and
side protection for the eyes. Eye protection equipment
should comply with CSA Z94.3-07 or ANSI Z87.1 standards
based on the type of work performed.
2. Wear the appropriate type of full-face shield in addition to
safety googles, as the work can create glare or infrared/
ultraviolet light.
3. Non-skid footwear is recommended to maintain footing
and balance in the work environment.
PERSONAL PRECAUTIONS
Control the tool, personal movement and the work
environment to avoid personal injury or damage to the tool.
1. Do not operate any tool when tired or under the influence
of drugs, alcohol or medications.
2. Avoid wearing clothes or jewelry that can become
entangled with the moving parts of a tool. Keep long hair
covered or bound.
SPECIFIC SAFETY PRECAUTIONS
WARNING! DO NOT let comfort or familiarity with product
(gained from repeated use) replace strict adherence to the
tool safety rules. If you use this tool unsafely or incorrectly,
you can suffer serious personal injury.
WARNING! The Auto-Darkening Welding Helmet does not
protect against severe impact hazards, explosions or
corrosive liquids. Machine guards or eye splash protection
must be used when these hazards are present.

V1.0 TROOPER AUTO-DARKENING WELDING HELMET 8974230
Visit www.princessauto.com for more information 5
WARNING! Using filter forms from any other manufacturer’s
helmet can seriously impaired the protection provided and
may result in serious personal injury.
1. Use the correct tool for the job. This tool was designed for
a specific function. Do not modify or alter this tool or use it
for an unintended purpose.
2. This auto-darkening welding helmet is not recommended
for overhead welding applications, laser welding or laser
cutting applications.
3. In the event of electronic failure, the filter remains dark to
protect against UV and IR radiation.
4. The auto-darkening welding filter should always be used
with the original outer cover lens. Never open or tamper
with the filter cartridge.
5. Ensure the front cover lens is mounted before use and
remove protective film.
6. Ensure that the lens is clean and there is no dirt or spatter
covering the 4 sensors at the front of the filter cartridge.
7. Inspect all parts for signs of wear or damage. Any
scratched or cracked parts should be replaced prior to use.
8. Never place the helmet on a hot surface.
9. Arc rays can burn both eyes and skin. Arc welding produces
intense visible and invisible (ultraviolet and infrared) rays.
Wear a welding helmet fitted with the proper shade to
protect your face and eyes when welding or watching.
10. Check whether welding or grinding mode is chosen
before use.
11. The reaction of the Filter’s liquid crystal will be slower if
the ambient temperature is low, but it will not affect protective
functions.

8974230 TROOPER AUTO-DARKENING WELDING HELMET V1.0
6 For technical questions call 1-800-665-8685
UNPACKING
WARNING! Do not operate the tool if any part is missing.
Replace the missing part before operating. Failure to do so
could result in a malfunction and personal injury.
Remove the parts and accessories from the packaging and inspect
for damage. Make sure that all items in the Identification Key are
included.
IDENTIFICATION KEY
A Side viewing plate,
right
B Front Plate
C Helmet Shell
D Front Cover Lens
E Solar Panel
F Fixed Plate
G Headgear Height
Adjusting Pin
H Decorative teeth
I Side viewing plate,
left
J Shade Adjustment
Knob
K UV/IR Filter
L Headgear Angle &
Distance Adjusting
Knobs
M Headgear Diameter
Adjusting Knob
N Shade knob
O LCD
P Self-test button
Q Low volume indicator
R Delay Control Knob
S 5-8 / 9-13 Shade Switch
T Sensitivity Control Knob
U CR 2032 Lithium battery
V Arc sensor
W Solar Panel
X UV/IR Filter

V1.0 TROOPER AUTO-DARKENING WELDING HELMET 8974230
Visit www.princessauto.com for more information 7
ASSEMBLY & INSTALLATION
Letter references in parenthesis (A) refer to the included
Identification Key. Dashed numbers in parenthesis (Fig. 1-1)
refer to a specific point in an illustration or image.
ADJUSTING THE FIT
The headband should be adjusted both in diameter and height.
The angle between face and helmet should also be adjusted
(recommended 10° to 12°).
1. Adjust the headband diameter with
the twist knob on the back (Fig. 1-1).
The knob is locked until pushed in.
Once unlocked, twist clockwise to
tighten and counterclockwise to
loosen.
2. Adjust the height by releasing the tab
and changing the top strap hole
(Fig. 1-2).
3. Adjust the helmet to get the desired viewing angle. Loosen
the knobs (Fig. 1-3) and adjust the viewing angle when the
helmet is down. Once the angle is correct, tighten the
knobs until snug. The helmet should still swing up, but it
should not drift downward when in place for welding.
4. To adjust the distance between the user’s face and ADF,
loosen the knobs on both sides of the helmet (Fig. 1-4) until
the headband can move back and forth freely, reposition
the headband at one of the 3 slots as desired. This should
be done one side at a time and both sides should be
located at the same position for proper auto-darkening
filter operation.
Fig. 1

8974230 TROOPER AUTO-DARKENING WELDING HELMET V1.0
8 For technical questions call 1-800-665-8685
OPERATION
BEFORE WELDING
1. Ensure that the internal and external protective films are
removed from the lenses.
2. Check that the batteries have sufficient power to operate the
helmet. When the battery power is low, the battery low volume
indicator LED (Q) will glow red. The filter cartridge lens may not
work correctly. Replace the batteries (see Maintenance – Battery
Replacement).
3. Check that the arc sensors are clean and not blocked by dust
or debris.
4. Check for head band tightness before each use.
SHADE NUMBER SELECTION
Manually set the shade range between 5 to 8 or 9 to 13 with the
shade switch (S). Further adjust the Shade Number with the control
knob (J). Adjust the welding helmet’s Shade Number to match the
type of welding. Consult the Welding Shade Guide to determine the
minimum shade for the amperage and welding method being
employed.
DELAY TIME
Delay time refers to the time the cartridge filter is set to change
from the dark to bright state after welding stops. The delay can
be adjusted (R) from 0.1 second up to a one-second delay.
SENSITIVITY
The sensitivity control (T) is set according to the welding process
and ambient light.
1. Low Setting - suitable for high amperage welding and
welding in areas with high levels of natural sunlight.
2. Medium Setting - suitable for most indoors and outdoors
welding.

V1.0 TROOPER AUTO-DARKENING WELDING HELMET 8974230
Visit www.princessauto.com for more information 9
3. High Setting - suitable for low amperage welding and
welding in areas with low light conditions, especially for
low amperage argon-arc welding.
SELF-TEST
1. Press the TEST button (P) to see if it switches to the dark
state.
2. Release the Test button to check that the filter returns to the
bright state.
GRINDING MODE
The welding helmet can also be used to protect the
face during grinding. Switching to Grind mode (Fig. 2)
will prevent the filter cartridge from darkening when
bright sparks are created.
CARE & MAINTENANCE
1. Maintain the tool with care. A tool in good condition is
efficient, easier to control and will have fewer problems.
2. Inspect the tool components periodically. Repair or replace
damaged or worn components. Only use identical
replacement parts when servicing.
WARNING! Only qualified service personnel should repair the
tool. An improperly repaired tool may present a hazard to the
user and/or others.
CHANGE EXTERNAL AND INTERNAL LENS
The external and internal lenses will wear out and need
replacement after a period of use due to exposure to the heat,
fumes and particulate matter generated during welding.
1. Remove the filter cartridge by pressing the two lock
switches at the bottom of the retaining frame inwards. Pull
the retaining frame free from the welding helmet.
2. Remove the inner lens by pulling it from the top recess.
Fig. 2

8974230 TROOPER AUTO-DARKENING WELDING HELMET V1.0
10 For technical questions call 1-800-665-8685
2.1 The new inner cover lens is installed after the
protective film is removed. Insert the lens’ leading edge
under the tab on one side of the cartridge. Bend the
lens in the middle and slide the other side under the
other tab and push into place.
3. Remove the external lens by pushing it out of welding
helmet.
3.1 Pull the lens free of the rubber gasket.
3.2 Remove the protective film from the new cover lens
and slip it into the gasket.
3.3 Insert the external lens back into the mask.
BATTERY REPLACEMENT
1. Rotate the battery cover plate (U) clockwise to remove.
2. Remove the old CR 2032 lithium battery and replace it with
the new battery.
3. Replace the cover and rotate counterclockwise to secure
the battery.
CLEANING
NOTICE! Do not use alcohol, gasoline or diluents to clean the
filter cartridge. Do not put place the filter cartridge into water
as this will damage the filter.
Clean the lens, helmet shell and headband with a soft cotton cloth
and mild soap. Replace the headband when required.

V1.0 TROOPER AUTO-DARKENING WELDING HELMET 8974230
Visit www.princessauto.com for more information 11
TROUBLESHOOTING
Visit a Princess Auto Ltd. location for a solution if the tool does
not function properly or parts are missing. If unable to do so,
have a qualified technician service the tool.
PROBLEM(S)
POSSIBLE CAUSE(S)
SUGGESTED SOLUTION(S)
Irregular
Darkening.
Headgear is set unevenly
so the distance between
the eyes and the lens is
different from the left to
the right side.
Adjust headgear so distance
between the lens and both
eyes are equal.
Filter does not
darken or
flickers.
Front cover lens is dirty or
smoke covered.
Clean or replace external lens.
Arc sensors may be dirty.
Remove external lens and
wipe the photo sensors clean
with soft lint free cloth.
Welding current is too low.
Adjust filter sensitivity to the
maximum.
Battery Voltage is too low.
Replace batteries.
Grind Mode Selected Select Weld Mode and adjust
Shade from 5-8/9 to 13
Sensors or Solar Panel
blocked
Make sure sensors or solar
panel are exposed to weld arc
without blocking
Set Sensitivity to LOW Adjust sensitivity to required
level
Poor vision.
Check the clear covers
lenses and the electronic
filter lens for dirt or grime.
Clean cover lenses and
electric filter lens.
Protective film was not
removed.
Remove protective film.
Ambient light is not
sufficient to see.
Adjust the work area lighting.
Shade Number is not set
correctly.
Reset Shade number.
Welding Cap
slips.
The headband is not
properly adjusted.
Adjust the Angle Adjustment
Knobs for a tighter fit.

8974230 TROOPER AUTO-DARKENING WELDING HELMET V1.0
12 For technical questions call 1-800-665-8685
APPENDIX A

V1.0 TROOPER AUTO-DARKENING WELDING HELMET 8974230
Visit www.princessauto.com for more information 13

8974230 TROOPER AUTO-DARKENING WELDING HELMET V1.0
14 For technical questions call 1-800-665-8685

V 1,0 8974230
Vous devez lire et comprendre toutes les instructions avant d'utiliser
l'appareil. Conservez ce manuel afin de pouvoir le consulter plus tard.
MANUEL D'UTILISATEUR
CASQUE DE SOUDEUR À
ASSOMBRISSEMENT
AUTOMATIQUE TROOPER

8974230 CASQUE DE SOUDEUR À ASSOMBRISSEMENT V 1,0
AUTOMATIQUE TROOPER
2 En cas de questions techniques, appelez le 1-800-665-8685
SPÉCIFICATIONS
Zone de visibilité (po) 3,86 x 1,69
Teinte de lentille
5 à 8 / 9 à 13
Temps de réaction 1/25 000 seconde
Classification optique
1/1/1/2
Mode de meulage Oui
Commandes du filtre à
assombrissement automatique
Externe
Nombre de capteurs d’arc 4
Matériau
Polypropylène
Couleur/fini Gris
Source d’énergie
Pile solaire et pile au lithium
Type de batterie CR2032
Durée utile de batterie 2 000 h
INTRODUCTION
La cartouche du filtre à l'intérieur du masque de soudeur à
assombrissement automatique à teinte variable est conçue pour le
soudage ou le découpage à l'arc, incluant le soudage manuel, le
soudage avec protection au gaz, le soudage à l'arc à l'argon et le
découpage au plasma.
Le filtre solaire à assombrissement automatique fait appel à des
capteurs photoélectriques qui font passer le cristal liquide d'une
couleur claire à une couleur foncée dès qu'il capte l'arc de lumière.
CASQUE DE SOUDEUR À
ASSOMBRISSEMENT
AUTOMATIQUE TROOPER

V 1,0 CASQUE DE SOUDEUR À ASSOMBRISSEMENT 8974230
AUTOMATIQUE TROOPER
Visitez www.princessauto.com pour plus d'informations 3
Celui-ci passe d'une couleur foncée à une couleur claire peu après
l'opération de soudage. Ce délai a pour but de protéger les yeux et
le visage contre les rayons infrarouges ou ultraviolets néfastes.
SÉCURITÉ
AVERTISSEMENT ! Veuillez lire et comprendre toutes les
instructions avant d'utiliser cet outil. L'utilisateur doit respecter
les précautions de base lorsqu'il utilise cet outil afin de réduire
le risque de blessure ou de dommage à l'équipement.
Conservez ce manuel qui contient les avertissements de
sécurité, les précautions, les instructions de fonctionnement ou
d'inspection et d'entretien.
DÉFINITIONS DE DANGER
Veuillez-vous familiariser avec les avis de danger qui sont
présentés dans ce manuel. Un avis est une alerte indiquant qu'il
existe un risque de dommage à la propriété, de blessure ou de
décès si on ne respecte pas certaines instructions.
DANGER ! Cet avis indique un risque immédiat et particulier
qui entraînera des blessures corporelles graves ou même la
mort si on omet de prendre les précautions nécessaires.
AVERTISSEMENT ! Cet avis indique un risque particulier ou
une pratique non sécuritaire qui pourrait entraîner des
blessures corporelles graves ou même la mort si on omet de
prendre les précautions nécessaires.
ATTENTION ! Cet avis indique une situation possiblement
dangereuse qui peut entraîner des blessures mineures ou
modérées si on ne procède pas de la façon recommandée.
AVIS ! Cet avis indique un risque particulier ou une pratique
non sécuritaire qui entraînera des dommages au niveau de
l'équipement ou des biens, mais non des blessures corporelles.

8974230 CASQUE DE SOUDEUR À ASSOMBRISSEMENT V 1,0
AUTOMATIQUE TROOPER
4 En cas de questions techniques, appelez le 1-800-665-8685
AIRE DE TRAVAIL
1. Travaillez dans un environnement de travail sécuritaire.
Gardez votre aire de travail propre, bien éclairée et
exempte de toute distraction. Placez les lampes de façon à
ne pas travailler dans l’ombre.
2. Assurez-vous que les personnes qui ne portent pas
l'équipement de sécurité approprié ne se trouvent pas à
proximité de l'aire de travail.
3. Rangez les outils correctement dans un lieu sécurisé et sec.
Gardez les outils hors de la portée des enfants.
SÉCURITÉ PERSONNELLE
AVERTISSEMENT ! Portez de l'équipement de protection
personnelle homologué par l'Association canadienne de
normalisation (CSA) ou l'American National Standards
Institute (ANSI).
ÉQUIPEMENT DE PROTECTION PERSONNELLE
1. Portez toujours des lunettes antiprojections qui offrent une
protection frontale et latérale pour les yeux. L'équipement de
protection des yeux devrait être conforme à la norme CSA
2. Portez un écran facial panoramique de type approprié avec
les lunettes de sécurité, puisque cette tâche peut provoquer
un éblouissement ou une lumière infrarouge/ultraviolette.
3. Les chaussures antidérapantes sont recommandées pour
maintenir la stabilité et l'équilibre au sein de l'environnement
de travail.
PRÉCAUTIONS PERSONNELLES
Gardez le contrôle de l'outil, de vos mouvements et de
l'environnement de travail pour éviter les blessures ou le bris
de l'outil.
1. N'utilisez pas l'outil si vous êtes fatigué ou sous l'effet de
drogues, d'alcool ou de médicaments.

V 1,0 CASQUE DE SOUDEUR À ASSOMBRISSEMENT 8974230
AUTOMATIQUE TROOPER
Visitez www.princessauto.com pour plus d'informations 5
2. Évitez de porter des vêtements ou des bijoux pouvant se
prendre dans les pièces mobiles d'un outil. Gardez les
cheveux longs recouverts ou attachés.
CONSIGNES DE SÉCURITÉ SPÉCIFIQUES
AVERTISSEMENT ! Ne permettez PAS au confort ou à votre
familiarisation avec l'outil (obtenus après un emploi répété) de
se substituer à une adhésion stricte aux règles de sécurité de
l'outil. Si vous utilisez cet outil de façon dangereuse ou
incorrecte, vous pouvez subir des blessures corporelles graves.
AVERTISSEMENT ! Le masque de soudeur à assombrissement
automatique ne protège pas contre les impacts élevés, les
explosions ou les liquides corrosifs. Utilisez un protecteur sur
l'appareil ou protégez-vous les yeux lorsque ces dangers sont
présents.
AVERTISSEMENT ! L'utilisation d'un filtre provenant du masque
d'un autre fabricant peut compromettre sérieusement la
protection offerte et entraîner des blessures graves.
1. Utilisez le bon outil pour la tâche à effectuer. Cet outil a été
conçu pour une utilisation spécifique. Évitez de modifier ou
d'altérer cet outil ou de l'utiliser à une fin autre que celle
pour laquelle il a été conçu.
2. Le masque de soudeur à assombrissement automatique
n'est pas recommandé pour les opérations de soudage en
hauteur, le soudage au laser ou le découpage au laser.
3. En cas de panne électronique, le filtre demeure foncé afin
de protéger contre les rayons ultraviolets et infrarouges.
4. On recommande de toujours utiliser le filtre de soudage à
assombrissement automatique avec les lentilles extérieures
originales du couvercle. N'ouvrez ni ne trafiquez jamais la
cartouche du filtre.
5. Assurez-vous que la lentille de couvercle avant est installée
avant de l'utiliser et retirez la pellicule protectrice.

8974230 CASQUE DE SOUDEUR À ASSOMBRISSEMENT V 1,0
AUTOMATIQUE TROOPER
6 En cas de questions techniques, appelez le 1-800-665-8685
6. Assurez-vous que la lentille est propre et qu'aucune saleté
ou éclaboussure ne recouvre les quatre capteurs sur l'avant
de la cartouche du filtre.
7. Inspectez toutes les pièces afin de détecter les signes d'usure
ou de dommages. Remplacez toute pièce égratignée ou
fissurée avant d'utiliser le masque.
8. Ne placez jamais le masque sur une surface chaude.
9. Les rayons de l'arc peuvent causer des brûlures à la peau et
aux yeux. Le soudage à l'arc produit des rayons intenses
(ultraviolets et infrarouges) qui sont visibles et invisibles.
Portez un masque de soudeur ajusté avec un filtre d'une teinte.
10. Vérifiez si le mode de soudage ou de meulage a été
sélectionné avant de l'utiliser
11. La réaction des cristaux liquides du filtre sera plus lente si
la température ambiante est faible, mais les fonctions de
protection n'en souffriront aucunement.
DÉBALLAGE
AVERTISSEMENT ! Ne faites pas fonctionner l'outil si des
pièces sont manquantes. Remplacez les pièces manquantes
avant l'utilisation. Le non-respect de cet avertissement peut
entraîner une défectuosité et des blessures graves.
Retirez les pièces et les accessoires de l'emballage et vérifiez
s'il y a des dommages. Assurez-vous que tous les articles dans
le guide d’identification sont compris.
Table of contents
Languages:
Other PROPOINT Welding Accessories manuals
Popular Welding Accessories manuals by other brands

Amada
Amada Miyachi PA-T0200A Operation manual

Rockford Systems
Rockford Systems Detect-A-Finger DAF-100 installation manual

AMERICAN WELDQUIP
AMERICAN WELDQUIP 238CA Installation and operations

Kemper
Kemper MaxiFil Clean operating instructions

REXROTH
REXROTH PSG series operating instructions

Metal Man
Metal Man FWTD owner's manual