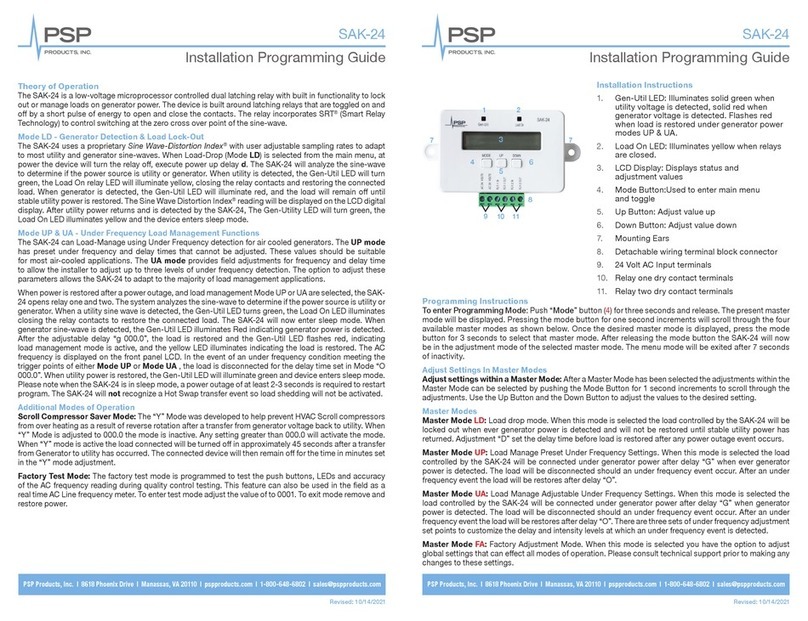
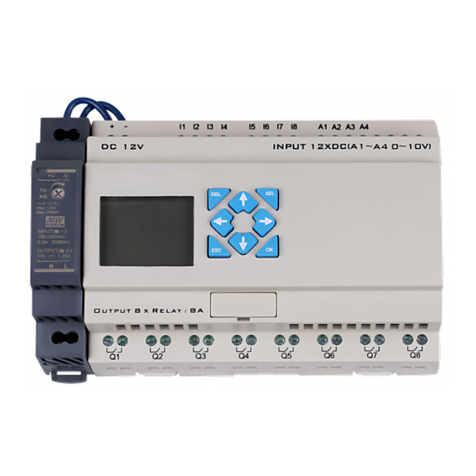
PSP LSC-04 Quick start guide

Note: All control voltage inputs are DC voltage and correct polarity must be observed or damage to the
controller may occur.
Load Shedding Control
Model LSC-04
4 Circuit Load Management Controller Wiring
Diagram and Programming Instructions
Current Transformers
PSP Producs Inc. - 8535 Phoenix Drive, Manassas, VA 20110
Scrolls Between Windows Push to enter field to adjust mode
Scroll to select field to adjust
Push to save adjustment
+
-
L1
Important: Observe CT polarity or
damage may occur to controller or CT.
L2
-
+
120 Volt AC
Input
24 Volt DC
Power Supply
Provided
+
-
I1
I2
Closed - Utility Mode
Open - Generator Mode
*See Note
I1
Closed - Normally Open
Open - Normally Closed
*See Note
I2
Relay Voltage
110/24Vac
Open Frame
Relay
100-200 Amp Latching Relays
HVAC
Control Wires
Contactor
Voltage
110/24Vac
* When CT’s are attached to generator out puts L1 & L2 directly input I1 is not required. When CT’s are connected to main panel or transfer switch out put I1 input is required to bypass load
shedding in utility mode. Contacts not supplied with LSC-04

Left Arrow Key- The left arrow key is used to scroll thru screens
1 to 6. The screen sequence will be repeated after screen 6. Note:
The right arrow key does not scroll in reverse.
Load Shedding Control
Model LSC-04
Screen 1 Screen 2 Screen 3
Screen 4
Screen 5 Screen 6
Screens 1 to 5 are used to adjust the Amperage and time delays in the load shedding program. Note that screen 4 “Gen
Actual Cur” is not adjustable and is reading the amperage interpreted by the CT input. Also note that screen 6
displays the real time state of the output relays on the controller. Screen 7 indicated the NO or NC Mode of operation.
The LSC-04-S is a standalone load shedding controller designed to work with any single phase generator and a broad
range of connected load types controlled by DRY CONTACTS. The controller can be set for 2 different configurations
as follows. Normally open Mode is selected when I2 = 0 this mode is designed to work with loads that use a normally
open state for control purposes like normally closed relays. The Normally Closed Mode is selected when I2 = 24 V
DC. This mode is designed to work with normally closed control circuits like low voltage HVAC control wires and
normally open contactors.
Operation: The internal program starts to run on power up. At startup all relays will revert to their active state, NO
Configuration will close and NC Configuration will open. All relays will remain in their active state for the
duration of the Delay Shed period set by DR01. After DR01 times out the program will look at the value of Gen
Full Load DR02 to determine the maximum amps available. A comparator circuit will look at the assigned
amperage rating of DR03 Relay1 and the Gen Actual Cur reading, (this will always be determined by the higher of
the 2 CT inputs). When capacity is available Relay1 will revert to the NORMAL STATE and turn the load on.
After the load is restored the program will pause for the number of seconds set by input setting DR0A Stabilize
Time. After the delay period the program will compare the Gen Actual Cur reading, with Gen Full Load DR02
and the amps assigned to RELAY2 DR04, if the comparator program determined capacity is available RELAY2
will revert to its normal state turning on load 2. This sequence is repeated for RELAY3 DR05 and RELAY4 DRO6
.Any time the Gen Actual Cur reading exceeds 90% of Gen Full Load DR02 All relays will revert to their active
state removing all four of the loads from the circuit. The program will then repeat the process restoring one load at a
time until additional capacity is no longer available.
Programming Screens
Theory Of Operation
Screen 7
Programming Instructions
Left Arrow Key- The left arrow key is used to scroll thru screens 1 to 7. The screen
sequence will be repeated after screen 7. Note: The right arrow key does not scroll in
reverse.
Entering The Programming Mode- The select key is used to
enter the programming mode on any screen. After pressing the
SEL key a flashing block cursor will appear.
Move Cursor to the desired adjustment - Use the up, down, left
and right keys to position the cursor on the digit to be adjusted.
Push The Select Key Again- Press the select key again to enter
the adjustment mode. The flashing block cursor will change to a
flashing under-score
Adjust Value with UP-Down Keys- Use the up, down keys to
adjust the value of the setting. You can scroll left and right to
adjust multiple digits in the same adjustment field.
Press The OK Key To Save- Use the OK Key to save the
adjustments made.
Press The ESC Key To Exit Programming Mode- Use ESC
Key to exit the programming mode to enable scrolling between
adjustment windows.

Generator Full Load DR02- Adjust to generators
maximum amperage output in whole amps.
DelayShed DR01 - Delay period in seconds from the
generator start up until the 1st load will be restored.
Relay #1 Current DR03- Adjust to the estimated
maximum amperage draw in whole amps for load # 1
Relay #2 Current DR04 - Adjust to the estimated
maximum amperage draw in whole amps for load #2
Actual Real-Time Amps- Generator amp load as
measured by the controllers highest reading on either CT
Relay #3 Current DR05-Adjust to the estimated
maximum amperage draw in whole amps for load # 3
Relay #4 Current DR06 - Adjust to the estimated
maximum amperage draw in whole amps for load # 4
Real Time State of relays 1-4 (Fixed reading, not
adjustable)
Stabilize Time: Adjust the time delay time in seconds
between the individual turn on of Relays 1-4
Generator Inrush Delay DR08- Adjust allowable In
Rush delay time before load shedding will occur
DelayShed DR09 - Adjustment to compensate for CT
Voltage variations and generator-CT match. Adjust for
accurate GEN Actual cur reading
Real Time State of I2 Input (Fixed reading, not
adjustable)
Programmable Field Descriptions
Technical Support Call 800-648-68021
Other PSP Controllers manuals
Popular Controllers manuals by other brands

Toshiba
Toshiba nv Series instruction manual

Conductix-Wampfler
Conductix-Wampfler L10 Series manual

Danfoss
Danfoss AME 130H installation guide

PolarPlus
PolarPlus QCS MPPT user manual

Festo
Festo CMMP-AS-***-M3 Series Description

nVent RAYCHEM
nVent RAYCHEM HWAT-ECO V5 Installation, operation and maintenance manual