manuals.online logo
Brands
  1. Home
  2. •
  3. Brands
  4. •
  5. Pulsar
  6. •
  7. Control Unit
  8. •
  9. Pulsar PC2 AWZ 518 User manual

Pulsar PC2 AWZ 518 User manual

Other Pulsar Control Unit manuals
Pulsar MPSB12 User manual

Pulsar

Pulsar MPSB12 User manual

Pulsar MSR 2012 User manual

Pulsar

Pulsar MSR 2012 User manual

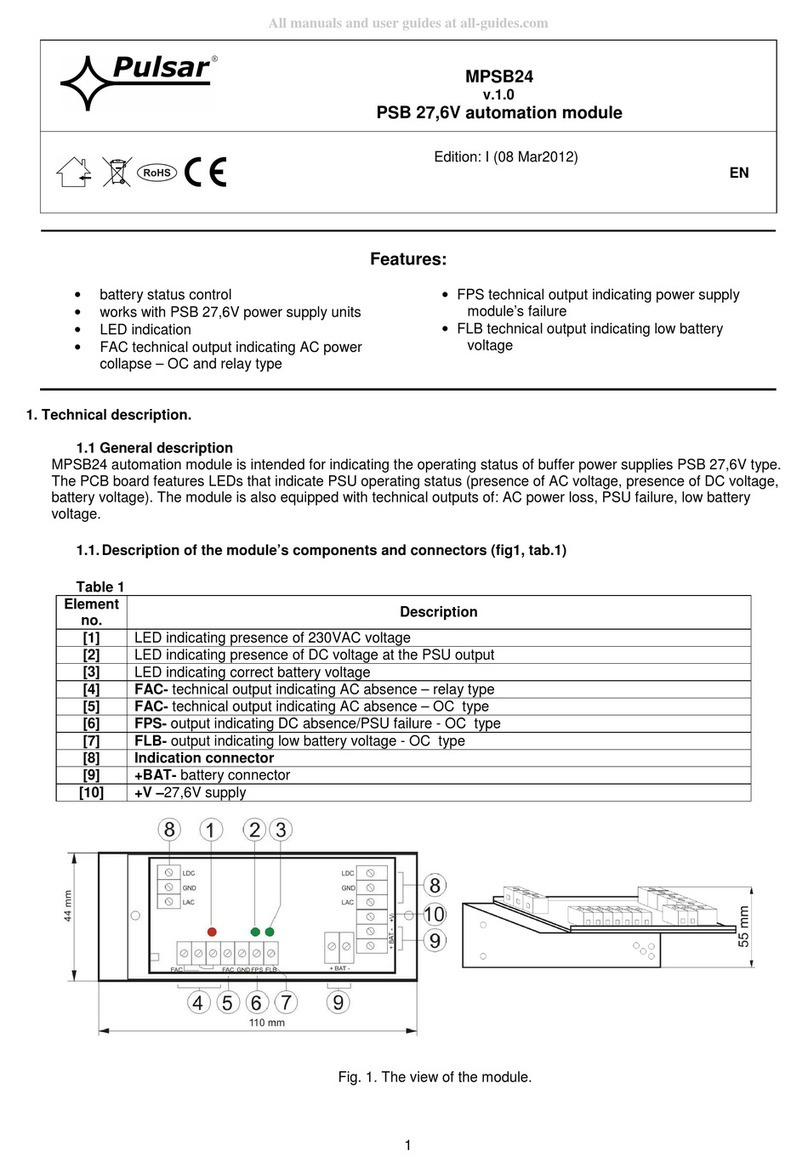
Pulsar MPSB24 User manual

Pulsar

Pulsar MPSB24 User manual

Pulsar MSRK 3012 User manual

Pulsar

Pulsar MSRK 3012 User manual

Pulsar MSRK 3024 User manual

Pulsar

Pulsar MSRK 3024 User manual

Pulsar MSR 1512 User manual

Pulsar

Pulsar MSR 1512 User manual

Pulsar MSEP412 User manual

Pulsar

Pulsar MSEP412 User manual

Pulsar MSEP412V User manual

Pulsar

Pulsar MSEP412V User manual

Pulsar MSRK Series User manual

Pulsar

Pulsar MSRK Series User manual

Pulsar AWZ525 User manual

Pulsar

Pulsar AWZ525 User manual

Pulsar AWZ 523 User manual

Pulsar

Pulsar AWZ 523 User manual

Pulsar EN54M Series User manual

Pulsar

Pulsar EN54M Series User manual

Pulsar Moen INS270A User manual

Pulsar

Pulsar Moen INS270A User manual

Pulsar MSRK 2024 User manual

Pulsar

Pulsar MSRK 2024 User manual

Pulsar MPSB48 User manual

Pulsar

Pulsar MPSB48 User manual

Pulsar MSR 1012 User manual

Pulsar

Pulsar MSR 1012 User manual

Pulsar MSRK 1024 User manual

Pulsar

Pulsar MSRK 1024 User manual
Pulsar AWZ 12V/0,5A/M User manual

Pulsar

Pulsar AWZ 12V/0,5A/M User manual

Pulsar MSRD 1024 User manual

Pulsar

Pulsar MSRD 1024 User manual
Pulsar AWZ516 User manual

Pulsar

Pulsar AWZ516 User manual
Popular Control Unit manuals by other brands

Seitz 14A80 user manual

Seitz

Seitz 14A80 user manual

Wilo RS485 Installation and operating instructions

Wilo

Wilo RS485 Installation and operating instructions

Becker CentralControl CC41 Commissioning Instruction

Becker

Becker CentralControl CC41 Commissioning Instruction

SICK CDB650 operating instructions

SICK

SICK CDB650 operating instructions

Panduit NetKey NKP5E88M Series installation instructions

Panduit

Panduit NetKey NKP5E88M Series installation instructions

MX Options Concentric Petite Fitting instructions

MX

MX Options Concentric Petite Fitting instructions

Clean Water Systems Fleck 2510 Installation & start?up guide

Clean Water Systems

Clean Water Systems Fleck 2510 Installation & start?up guide

Fairchild FSB44104A user guide

Fairchild

Fairchild FSB44104A user guide

LEGRAND Wattstopper LMIN-104 installation instructions

LEGRAND

LEGRAND Wattstopper LMIN-104 installation instructions

PMK ATT10BNCS instruction manual

PMK

PMK ATT10BNCS instruction manual

Tektronix TDS3FFT user manual

Tektronix

Tektronix TDS3FFT user manual

Woodward easYgen Technical manual

Woodward

Woodward easYgen Technical manual

Balluff BNI EIP-502-105-R015 user guide

Balluff

Balluff BNI EIP-502-105-R015 user guide

NXP Semiconductors TWR-LS1021A Getting started

NXP Semiconductors

NXP Semiconductors TWR-LS1021A Getting started

Advantech PCM-3117 Startup manual

Advantech

Advantech PCM-3117 Startup manual

Danfoss MCO 101 manual

Danfoss

Danfoss MCO 101 manual

Moons' Lin Engineering R701P user manual

Moons'

Moons' Lin Engineering R701P user manual

Aventics RV1 operating instructions

Aventics

Aventics RV1 operating instructions

manuals.online logo
manuals.online logoBrands
  • About & Mission
  • Contact us
  • Privacy Policy
  • Terms and Conditions

Copyright 2025 Manuals.Online. All Rights Reserved.

1
PC2
AWZ 518
v.1.0
Time module for AC control
04062009 EN
Edition: 1st from the 23rd May of 2008
Supercedes edition: ----------
1. Technical description.
1.1. General description.
PC2 AWZ 518) time module is used for control of AC supply state of object alarm systems (monitoring
transmitters, alarm centrals, DC power supply unit etc.). The module makes it possible to pass information about decay
of AC supply with the set delay time of T ( s/6 s/17m 7s/4h45m, +/-2%) and information about recovery of AC supply.
Recovery of AC voltage (transient) during counting of T delay time triggers counting reset (i.e. stop and return to the
normal state). The module has an AC1 input that shall be connected to a secondary wiring terminal of a transformer
supplying the device (the module shall be supplied by 12V/DC, i.e. the device to which the controlled transformer
terminal is connected). PC2 has two OC outputs (OC1, OC2) and a LED (L1) indicating the state of the device. Two Z1
and Z2 jumpers are used for configuration of the signalling delay time of AC supply decay.
1.2. The connection diagram of the module fig.1).
Fig.1. The connection diagram of the PC2 module (example).
2
1.3. Description of the elements and connectors of the PC2 module and their functions tab.1, tab.2, fig.2).
Table 1.
No.
[fig.2 Description of the element
[1]
Green LED L1 – signalling of the module state
• lights continuously: AC voltage at AC1 terminal, state H,
active supply of the VDC module
• flickers 1x/1s: AC voltage at the terminal, state L (no supply),
counting of the delay time
• does not light: the module counted time and changed the state of OC
outputs (optionally no 12V DC supply)
[2]
Z1, Z2 jumpers- configuration of the signalling delay time of AC decay
• Z1= , Z2= delay time T= 3s
• Z1= , Z2= delay time T= 1 min 5s
• Z1= , Z2= delay time T= 17 min 40s
• Z1= , Z2= delay time T= 4h 45 min
inserted jumper
removed jumper
[3] Connectors of the PC2 module
Table 2.
[3] Description of the module connectors
AC1 Input of AC controlled voltage (a secondary wiring terminal of a transformer)
+VDC
- VDC
DC supply input
(+VDC= +12V, -VDC= 0V, GND)
OC1*
OC output for signalling of AC state:
• normal state: L (0V, GND),
• active state: hi-Z (high impedance)
OC2*
OC output for signalling of AC state:
• normal state: hi-Z (high impedance)
• active state: L (0V, GND) of OC type
*
Normal state: AC voltage is active at AC1 terminal or counting of delay time after
decay of AC voltage
Active state: no AC voltage at AC1 terminal, finished counting of delay time
Fig.2. The view of the PC2 module.
3
1.3. Technical parameters:
- electrical parameters (tab. )
- mechanical parameters (tab.4)
Table 3.
Supply voltage 10V÷15V/DC (-5%/+5%)
Current consumption 5mA max.
Ranges of T delay settings s/65s/17m40s/4h45m (-2%/+2%)
AC1 input
0V- 0V AC (-2%/+2%)
state L ( ‘0’ logical)= 0V-1,5V AC
state H (‘1’ logical)= 5V- 0C AC
GND= terminal of ‘VDC-‘ supply
(voltage of secondary wiring of separation and power-
supply transformer)
Technical outputs:
- OC1 output
- OC2 output
OC type 50mA max.
• normal state: L (0V, GND),
• active state: hi-Z (high impedance)
• normal state: hi-Z (high impedance)
• active state: L (0V, GND)
Optical signalling Green LED L1
Operation conditions environment class II, -10°C ÷40°C
Table 4.
PCB dimensions 42 x 5 x 2 (WxLxH)
Fixation Mounting pins x 4 (PCB fi=4,2 mm)
or assembly belt
Connectors Ф0,41÷1,6 (AWG 26-14)
Net/gross weight 0/50 g
2. Installation.
2.1 Requirements.
The time module shall be mounted by the qualified installer having appropriate (required and necessary for a
given country) permissions and qualifications for connecting (operating) low-voltage installations. The unit shall be
mounted in closed rooms, according to the environment class II, of the normal air humidity (RH=90% max. without
condensation) and the temperature within the range from -10°C to +40°C. The module shall be connected only to power
sources having galvanic (transformer) separation from the network supply.
The unit shall be mounted in a metal casing (a cubicle, a terminal device) and in order to fulfill LVD and EMC
requirements the rules for power-supply, encasing and shielding shall be observed according to application.
2.2 Installation procedure.
1. Install a casing (a cubicle etc.) and lead cables through cable penetrations.
2. Install the PC2 time module on mounting pins or assembly belt (the pins shall be installed before a casing or a cubicle
is mounted).
. Supply DC voltage to +VDC, -VDC terminals retaining polarization.
4. Supply AC controlled voltage to AC1 terminal.
5. Connect the signal of AC decay, i.e. OC1 or OC2 (depending on purpose of application) to a signalling device (LED,
transmitter input, central input, indicator etc.).
6. Fix the signalling delay time of OC1 and OC2 outputs by means of Z1 and Z2 jumpers.
7. After the tests and operation control are performed, a casing (a cubicle etc.) shall be closed.
4
WEEE MARK
The waste electrical and electronic equipment do not mix with general household
waste. There are separate collection systems for waste electrical and electronic
equipment in accordance with legislation under the WEEE Directive and is effective
only with EU.
WARRANTY
24 months since the sale date, 6 months since the production date.
THE WARRANTY IS VALID ONLY after presenting the invoice of the sale to which the claim refers.
Pulsar K.Bogusz Sp.j.
Siedlec 150,
2-744 Łapczyca, Poland
Tel. (+48) 14-610-19-40, Fax. (+48) 14-610-19-50
e-mail: biuro@pulsar.pl, sales@pulsar.pl
http:// www.pulsar.pl