manuals.online logo
Brands
  1. Home
  2. •
  3. Brands
  4. •
  5. Pulsar
  6. •
  7. Enclosure
  8. •
  9. Pulsar AWO 359 User manual

Pulsar AWO 359 User manual

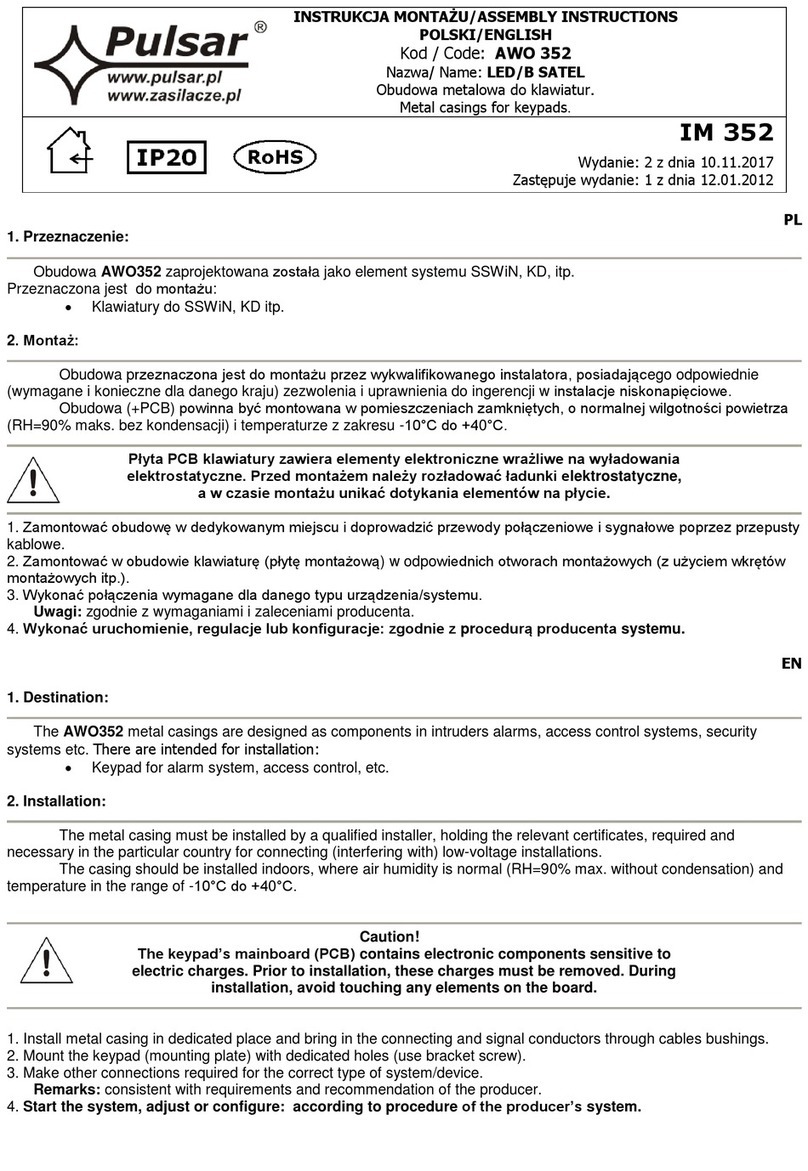
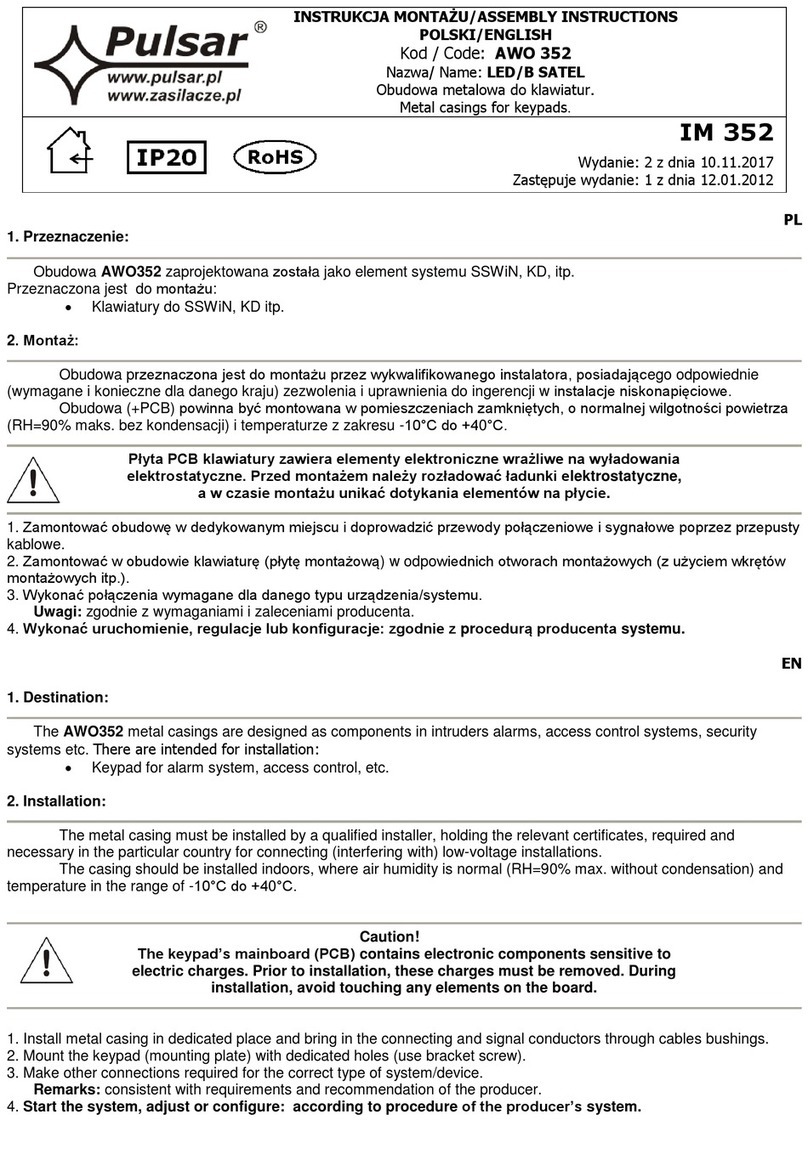
INSTRUKCJA MONTAŻU/ASSEMBLY INSTRUCTIONS
POLSKI/ENGLISH
Kod / Code: AWO 359
Nazwa/ Name: LED/B-M
Obudowa metalowa do klawiatur.
Metal casings for keypads.
IM 359
Wydanie: 2 z dnia 10.11.2017
Zastępuje wydanie: 1 z dnia 12.01.2012
PL
1. Przeznaczenie:
Obudowa AWO359 zaprojektowana została jako element systemu SSWiN, KD, itp.
Przeznaczona jest do montażu:
Klawiatury do SSWiN, KD itp.
2. Montaż:
Obudowa przeznaczona jest do montażu przez wykwalifikowanego instalatora, posiadającego odpowiednie
(wymagane i konieczne dla danego kraju) zezwolenia i uprawnienia do ingerencji w instalacje niskonapięciowe.
Obudowa (+PCB) powinna być montowana w pomieszczeniach zamkniętych, o normalnej wilgotności powietrza
(RH=90% maks. bez kondensacji) i temperaturze z zakresu -10°C do +40°C.
Płyta PCB klawiatury zawiera elementy elektroniczne wrażliwe na wyładowania
elektrostatyczne. Przed montażem należy rozładować ładunki elektrostatyczne,
a w czasie montażu unikać dotykania elementów na płycie.
1. Zamontować obudowę w dedykowanym miejscu i doprowadzić przewody połączeniowe i sygnałowe poprzez przepusty
kablowe.
2. Zamontować w obudowie klawiaturę (płytę montażową) w odpowiednich otworach montażowych ( z użyciem wkrętów
montażowych itp.).
3. Wykonać połączenia wymagane dla danego typu urządzenia/systemu.
Uwagi: zgodnie z wymaganiami i zaleceniami producenta.
4. Wykonać uruchomienie, regulacje lub konfiguracje: zgodnie z procedurą producenta systemu.
EN
1. Destination:
The AWO359 metal casings are designed as components in intruders alarms, access control systems, security
systems etc. There are intended for installation:
Keypad for alarm system, access control, etc.
2. Installation:
The metal casing must be installed by a qualified installer, holding the relevant certificates, required and
necessary in the particular country for connecting (interfering with) low-voltage installations.
The casing should be installed indoors, where air humidity is normal (RH=90% max. without condensation) and
temperature in the range of -10°C do +40°C.
Caution!
The keypad’s mainboard (PCB) contains electronic components sensitive to
electric charges. Prior to installation, these charges must be removed. During
installation, avoid touching any elements on the board.
1. Install metal casing in dedicated place and bring in the connecting and signal conductors through cables bushings.
2. Mount the keypad (mounting plate) with dedicated holes (use bracket screw).
3. Make other connections required for the correct type of system/device.
Remarks: consistent with requirements and recommendation of the producer.
4. Start the system, adjust or configure: according to procedure of the producer’s system.
2
PL/EN
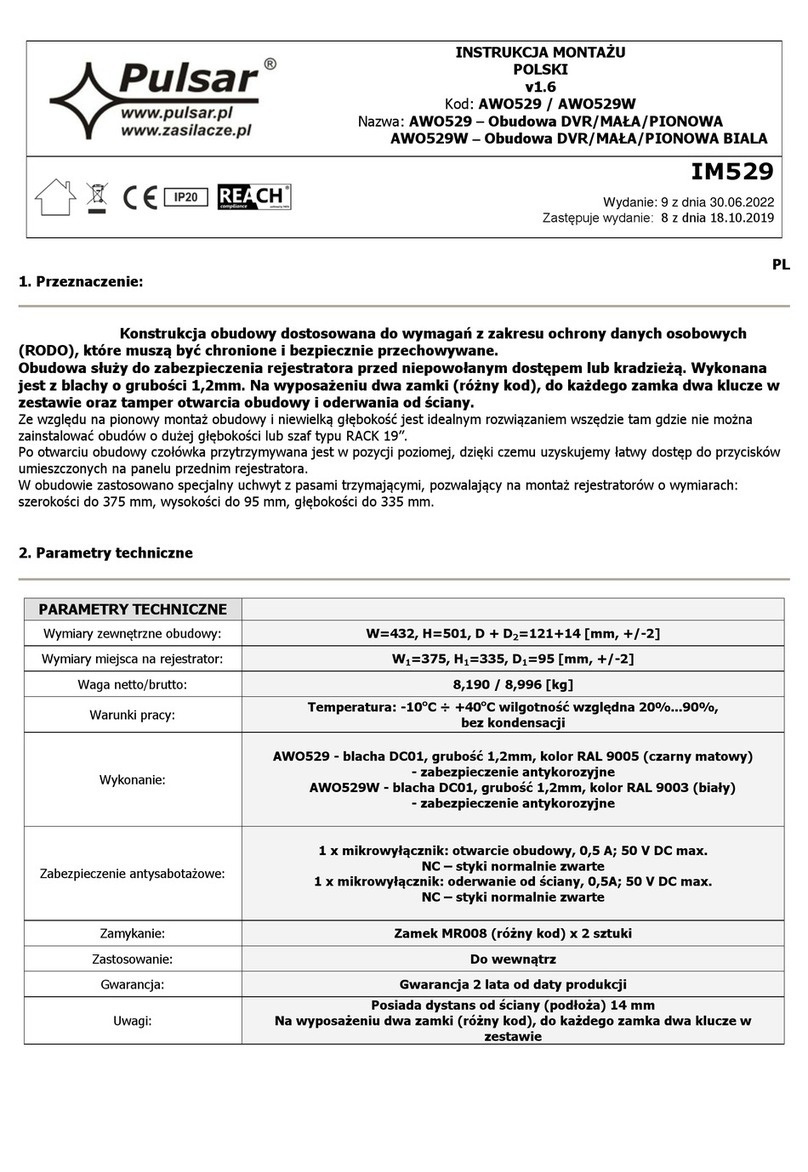
3. Parametry techniczne / Technical data:
PARAMETRY TECHNICZNE / TECHNICAL DATA
Zabezpieczenie antysabotażowe
Tamper protection
1x –otwarcie obudowy
1x –opening casing
Obciążalność wyjścia TAMPER- max
Output current TAMPER - max
500mA@50Vdc
Obudowa: IP
Casing: IP
IP 20
Temperatura pracy
Operating temperature
-10ºC÷40ºC
Wilgotność względna RH – max.
Relative humidity RH –max.
90 [%]
Wymiary zewnętrzne obudowy:
Wymiary zewnętrzne czołówki:
Wymiary montażowe klawiatury:
External dimensions of the enclosure:
External dimensions of the front panel:
Keyboard mounting dimensions:
W=140, H=135, D=42 [+/- 2mm]
W1=147, H1=140 [+/- 2mm]
W2=85, H2=130, D1=32 [+/- 2mm]
Wykonanie
Material description
Blacha DC01, grubość: 0,7mm
Zabezpieczenie antykorozyjne
Kolor: RAL 9003/
Sheet steel DC01, Thickness: 0,7mm, Protection
anticorrosion,
Color: RAL9003
Zastosowanie
Destination
Do wewnątrz/Indoor
Zamykanie
Closing
zamek- 2 klucze /
lockable - 2 keys
Waga netto
Net Weight
0,60 Kg
Waga brutto
Gross Weight
0,65 Kg
Uwagi/Gwarancja
Notes/Warranty
demontowalna płyta montażowa /
removable mounting plate
2 lata od daty produkcji
2 year from the production date
4. Klawiatury które można zamontować w tej obudowie / keypads which can be mounted in the casing.
SATEL:
CA-5 KLED-S, CA-6 KLED-S, CA -10 KLED-S, INTEGRA S, (CZ-EMM)
PARADOX:
LED 616
PYRONIX:
FP 12030 MX-ICON 9 (LCD)
Ogólne warunki gwarancji
Ogólne warunki gwarancji dostępne na stronie www.pulsar.pl
ZOBACZ
PRODUCENT / PRODUCER
Pulsar
Siedlec 150, 32-744 Łapczyca, Poland
Tel. (+48) 14-610-19-40, Fax. (+48) 14-610-19-50
e-mail: biur[email protected], sales@pulsar.pl
http:// www.pulsar.pl, www.zasilacze.pl

This manual suits for next models

1

Other Pulsar Enclosure manuals

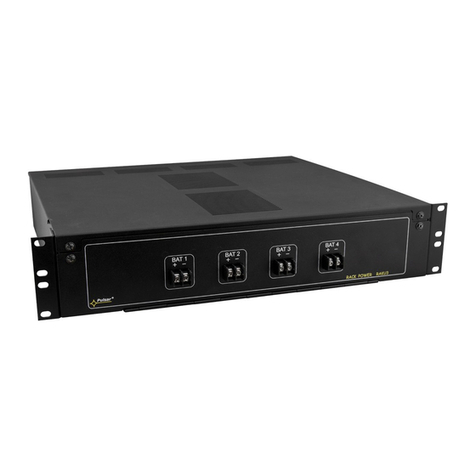
Pulsar AWO 360 User manual

Pulsar

Pulsar AWO 360 User manual

Pulsar AWO224 User manual

Pulsar

Pulsar AWO224 User manual

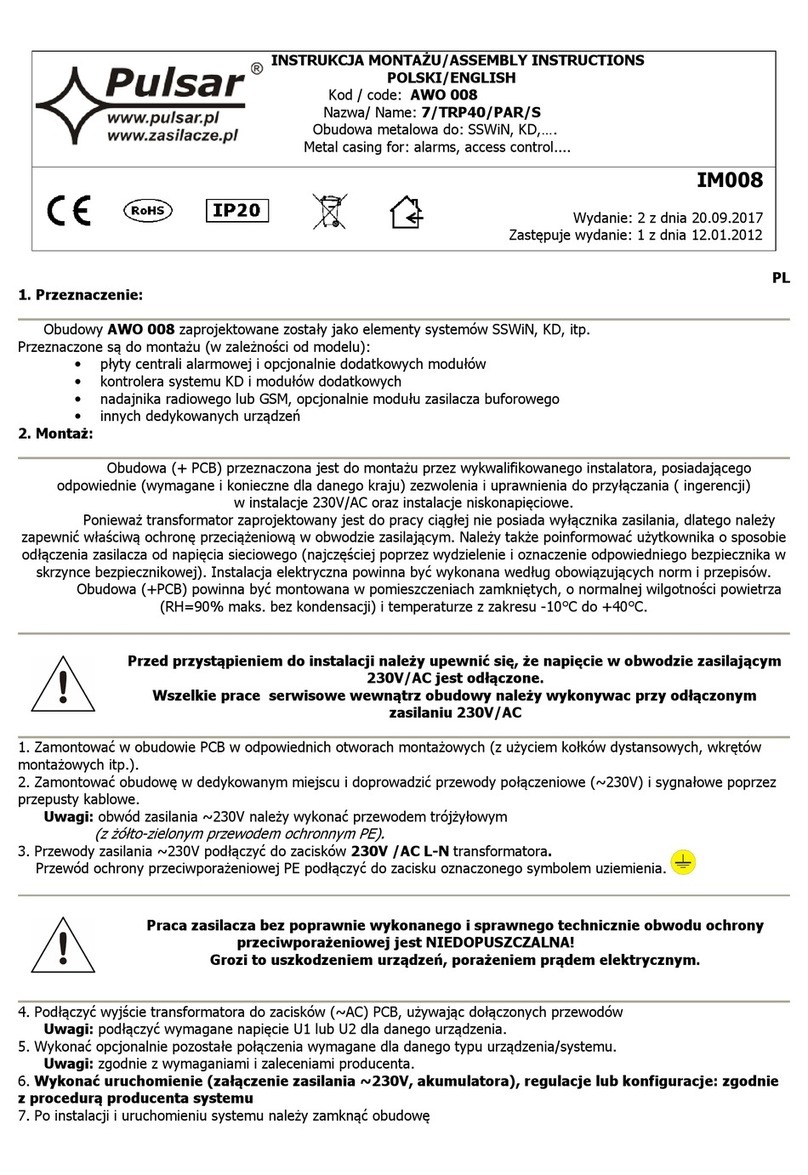
Pulsar AWO301PU User manual

Pulsar

Pulsar AWO301PU User manual

Pulsar AWO-270 User manual

Pulsar

Pulsar AWO-270 User manual

Pulsar RWD966GD User manual

Pulsar

Pulsar RWD966GD User manual

Pulsar AWO 220K User manual

Pulsar

Pulsar AWO 220K User manual

Pulsar AWO528 User manual

Pulsar

Pulsar AWO528 User manual

Pulsar AWO 220PU User manual

Pulsar

Pulsar AWO 220PU User manual

Pulsar 17/EIZ75/SATEL/G3 User manual

Pulsar

Pulsar 17/EIZ75/SATEL/G3 User manual

Pulsar AWO 257 User manual

Pulsar

Pulsar AWO 257 User manual

Pulsar RS4281 User manual

Pulsar

Pulsar RS4281 User manual

Pulsar 7/TRP20/SATEL User manual

Pulsar

Pulsar 7/TRP20/SATEL User manual

Pulsar RWD1266GD User manual

Pulsar

Pulsar RWD1266GD User manual

Pulsar ARADIN3 User manual

Pulsar

Pulsar ARADIN3 User manual

Pulsar AWO 350 User manual

Pulsar

Pulsar AWO 350 User manual

Pulsar RWA1264 User manual

Pulsar

Pulsar RWA1264 User manual

Pulsar AWO 229 User manual

Pulsar

Pulsar AWO 229 User manual

Pulsar ARAD-S2 User manual

Pulsar

Pulsar ARAD-S2 User manual

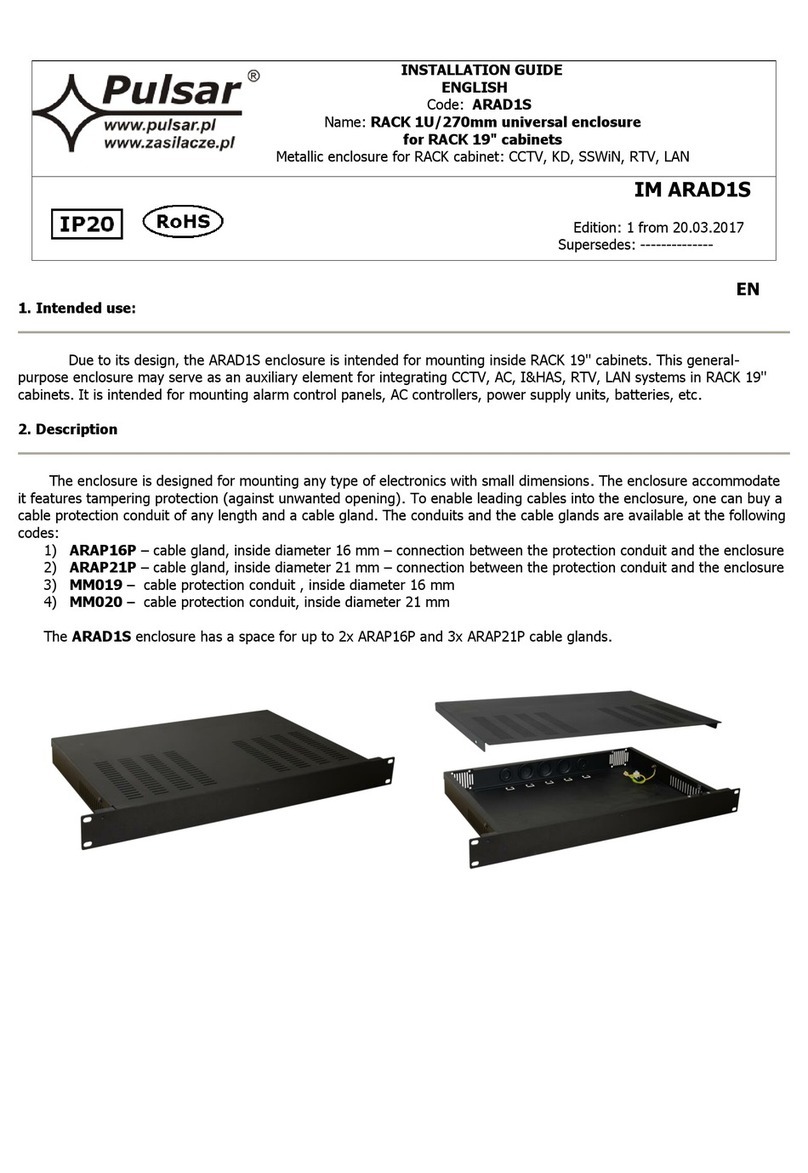
Pulsar ARAD1S User manual

Pulsar

Pulsar ARAD1S User manual

Pulsar AWO 452 User manual

Pulsar

Pulsar AWO 452 User manual

Pulsar AWO 417 User manual

Pulsar

Pulsar AWO 417 User manual

Pulsar AWO 200K User manual

Pulsar

Pulsar AWO 200K User manual

Pulsar 17/TRP40/RISCO User manual

Pulsar

Pulsar 17/TRP40/RISCO User manual

Pulsar ARAD2S User manual

Pulsar

Pulsar ARAD2S User manual

Popular Enclosure manuals by other brands

Conceptronic Grab'n'GO CHD3UL Version 2.0 Quick installation guide

Conceptronic

Conceptronic Grab'n'GO CHD3UL Version 2.0 Quick installation guide

Adaptec FC4100 Quick install guide

Adaptec

Adaptec FC4100 Quick install guide

Macally NSA2-S350U user manual

Macally

Macally NSA2-S350U user manual

hager FB LE Series Installation and operating manual

hager

hager FB LE Series Installation and operating manual

National Instruments NI 9921 installation guide

National Instruments

National Instruments NI 9921 installation guide

AMX Rough-In Box CB-TP15 installation guide

AMX

AMX Rough-In Box CB-TP15 installation guide

Azio E233U3 user manual

Azio

Azio E233U3 user manual

BE QUIET! PURE BASE 500DX user manual

BE QUIET!

BE QUIET! PURE BASE 500DX user manual

RaidSonic IB-288StU3Eb-Wh Specifications

RaidSonic

RaidSonic IB-288StU3Eb-Wh Specifications

Enerpac SLE-18 instruction sheet

Enerpac

Enerpac SLE-18 instruction sheet

Fantec mobiRAID X2U31 manual

Fantec

Fantec mobiRAID X2U31 manual

Advantech MIC-3056 user manual

Advantech

Advantech MIC-3056 user manual

Digitus DA-71112 Quick installation guide

Digitus

Digitus DA-71112 Quick installation guide

GAMDIAS Athena M1 Elite Quick installation guide

GAMDIAS

GAMDIAS Athena M1 Elite Quick installation guide

CRU Dataport DE200 SCSI install guide

CRU Dataport

CRU Dataport DE200 SCSI install guide

Toro 3200 Operator's manual

Toro

Toro 3200 Operator's manual

Cavalry EN-CAUG Assembly guide

Cavalry

Cavalry EN-CAUG Assembly guide

E2S GNExJ2 instruction manual

E2S

E2S GNExJ2 instruction manual

manuals.online logo
manuals.online logoBrands
  • About & Mission
  • Contact us
  • Privacy Policy
  • Terms and Conditions

Copyright 2025 Manuals.Online. All Rights Reserved.