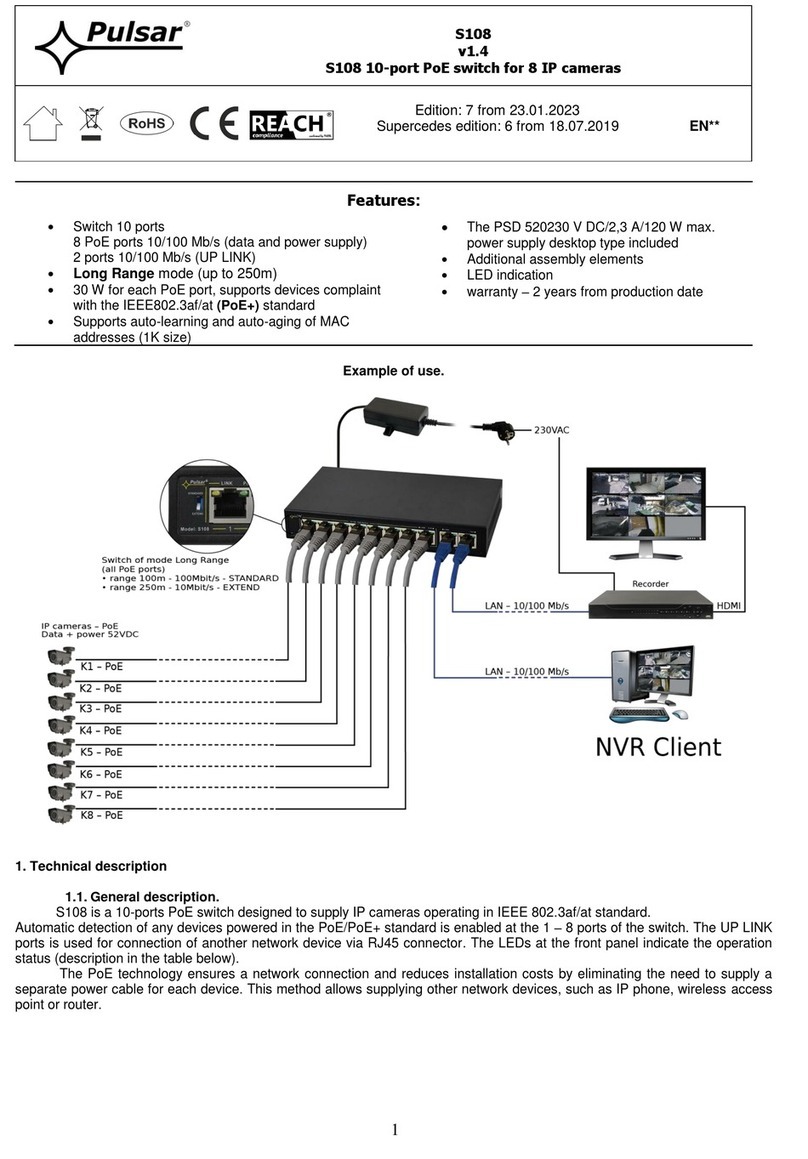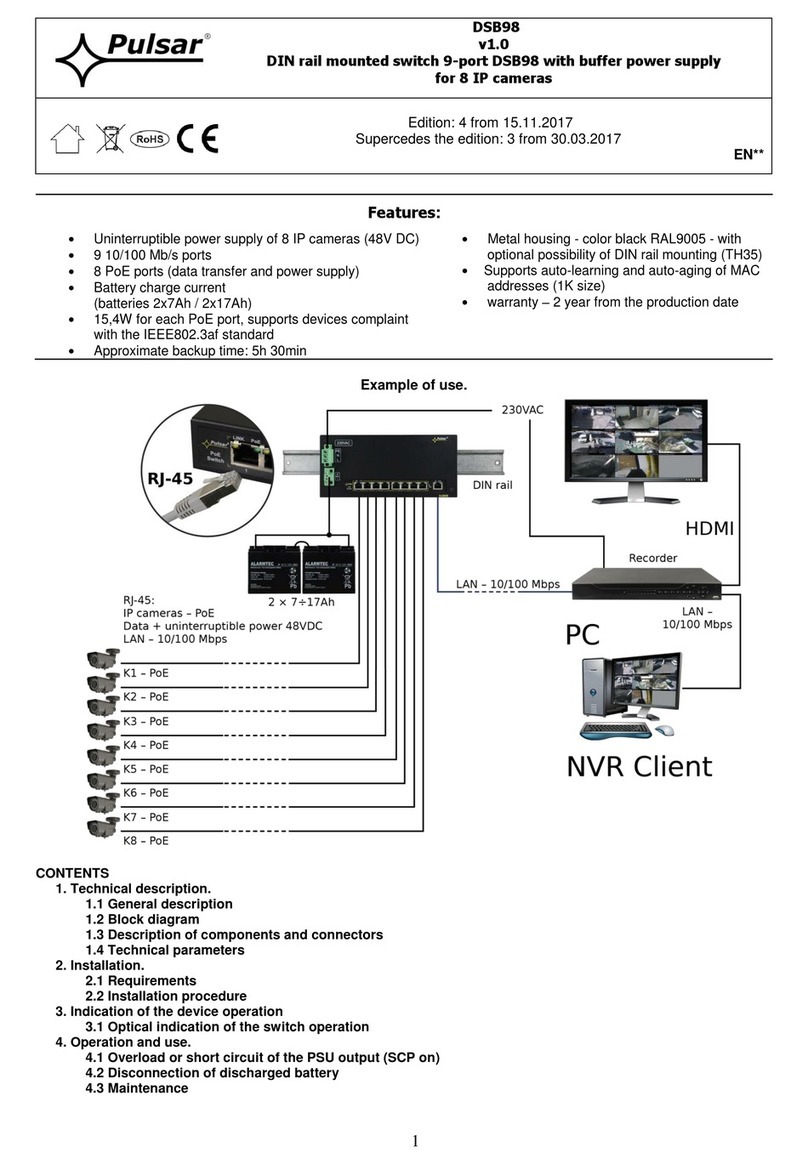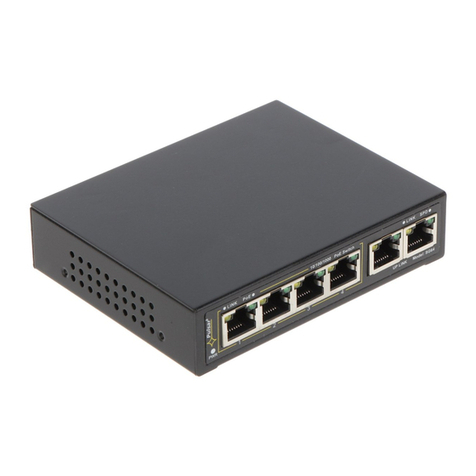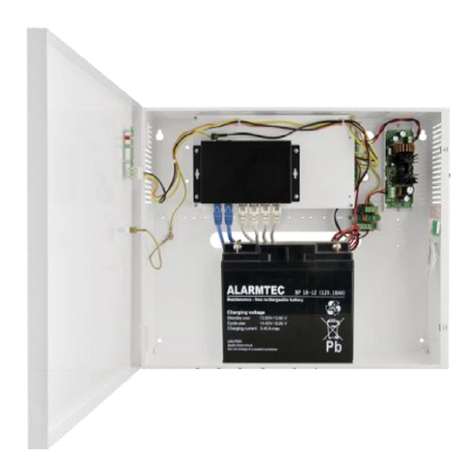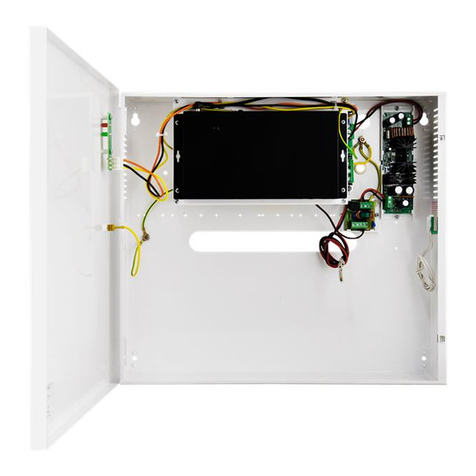
The given value of 30 W per port is the maximum value referring to a single output. The total power consumption
should not exceed 120 W. The increased demand for power is particularly evident in the case of cameras with heaters or
infrared illuminators - when launching these features, the power consumption increases rapidly, which may adversely affect the
operation of the switch. As the device is designed for a continuous operation and is not equipped with a power-switch, therefore
an appropriate overload protection shall be guaranteed in the power supply circuit. Moreover, the user shall be informed about
the method of unplugging (usually through assigning an appropriate fuse in the fuse-box). The electrical system shall follow
valid standards and regulations.
2.2. Long Range mode
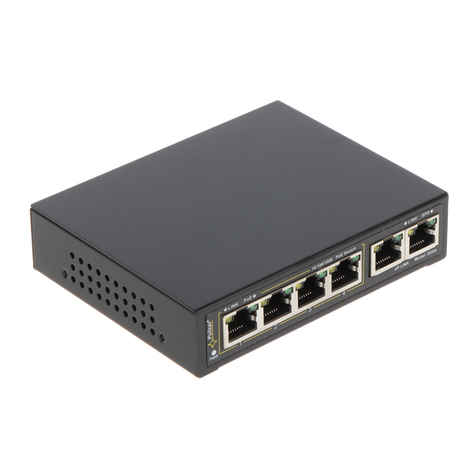
Switch enables operation in two modes: standard and extended range. When the Long Range switch is in STANDARD
position (see Fig. 5), PoE ports operate at 100 Mb / s up to 100 meters. After switching to EXTEND position, range is increased
to 250 meters and speed is reduced to 10 Mb / s. Additionally, VLAN function, which isolates the PoE ports between each other
(communication takes place between the UpLink ports and individual PoE), is activated. In both modes, the UpLink port speed
is 100 Mb / s.
Note: Changing the modes requires a power restart!
2.3. Installation procedure
Before installation, cut off the voltage in the 230 V power-supply circuit.
To switch power off, use an external switch, in which the distance between the contacts of all
poles in the disconnection state is not less than 3mm.
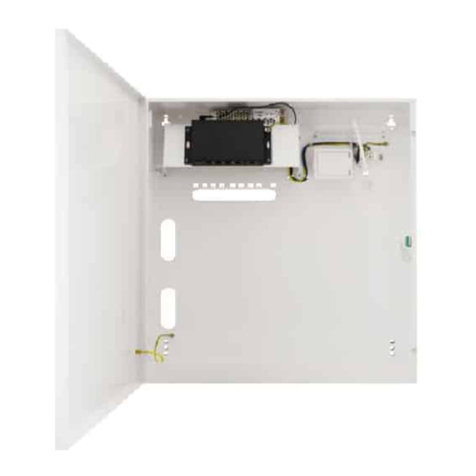
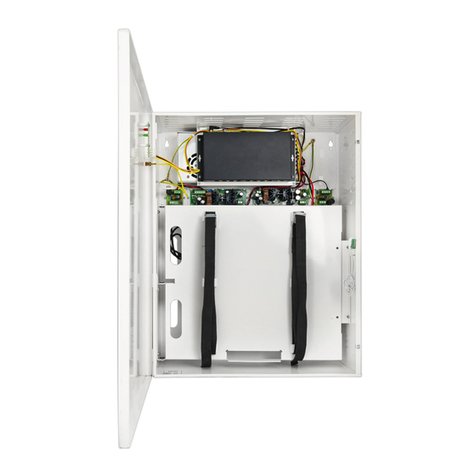
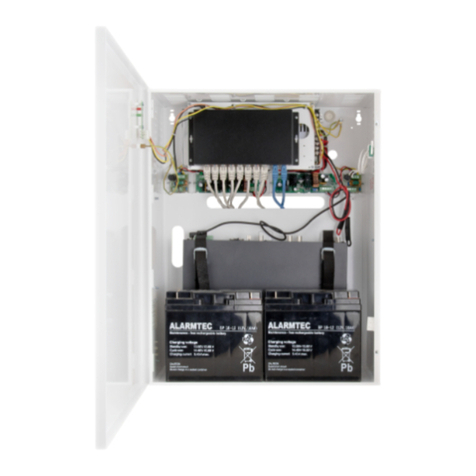
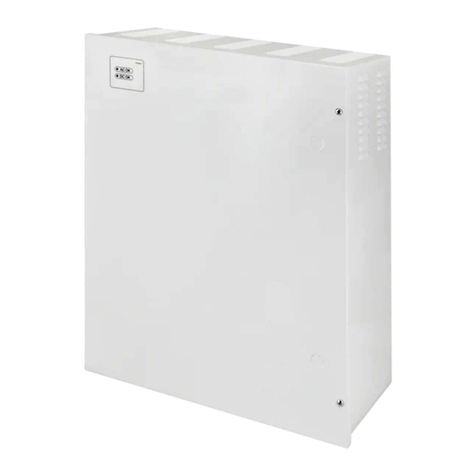
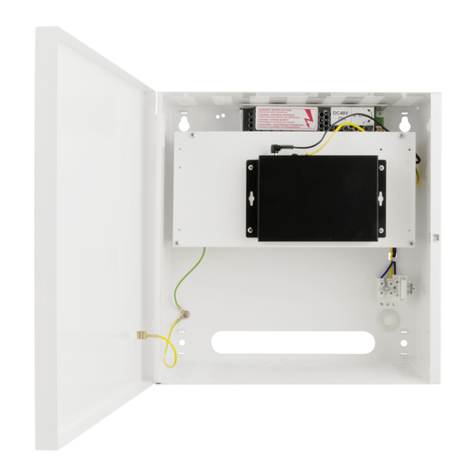
1. Mount the PSU in a selected location and connect the wires.
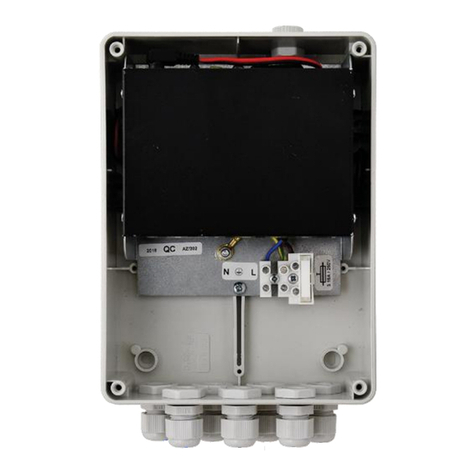
2. Connect the power cables (230 V) to L-N clips of the PSU.
The shock protection circuit shall be performed with a particular care, i.e. the yellow and green wire
coat of the power cable shall stick to one side of the terminal - marked with ‘ ‘symbol on the PSU
enclosure. Operation of the PSU without the properly made and fully operational shock protection
circuit is UNACCEPTABLE! It can cause a device failure or an electric shock.
3 Connect the ground wire to the terminal marked with the symbol (power supply module connector). Use a three-core
cable (with a yellow and green protection wire) to make the connection. Lead the cables to the appropriate clips
through the insulating bushing of the connection board.
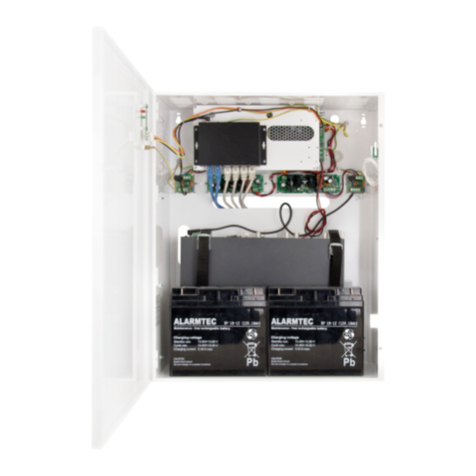
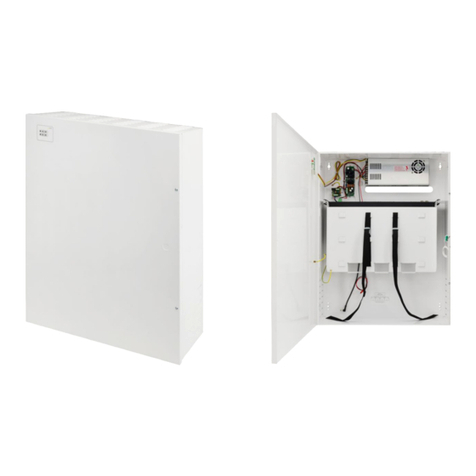
4. Connect the battery (mind the colours):
- battery output (+V): BAT+ cable / red,
- battery output (0V): BAT –cable / GND / black.
5. Connect the power (230 V).
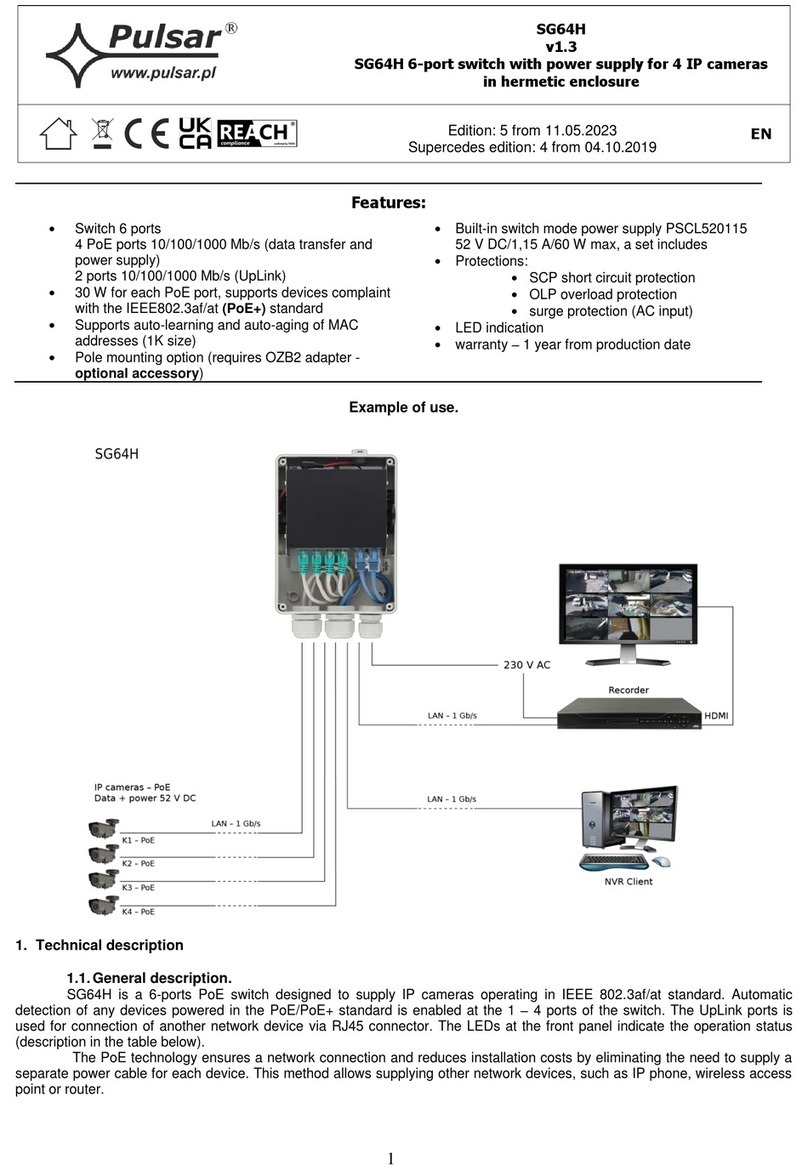
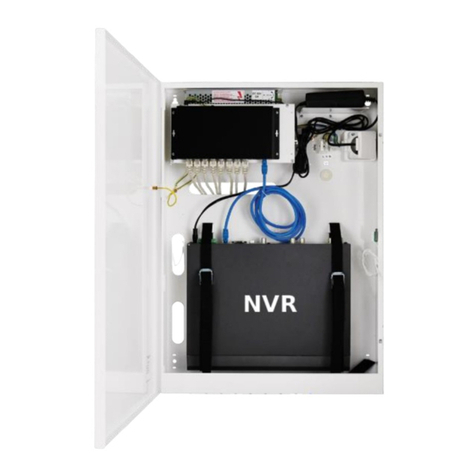
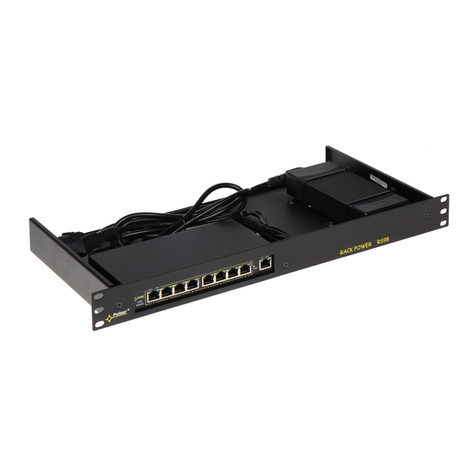
6. Connect the camera cables to the RJ45 connectors (PoE connectors) and connect the recorder to the network (the
UPLINK connector).
7. Connect the power supply of the DVR (by default, the device is equipped with a cable terminated with the DC 2,1/5,5
plug).
8. Check the optical indication of the switch operation.
9. After installing and checking proper working, the enclosure can be closed.
Connection schemes
