manuals.online logo
Brands
  1. Home
  2. •
  3. Brands
  4. •
  5. PULSE+
  6. •
  7. Bathroom Fixture
  8. •
  9. PULSE+ Aloha ShowerSpa 1080-W User manual

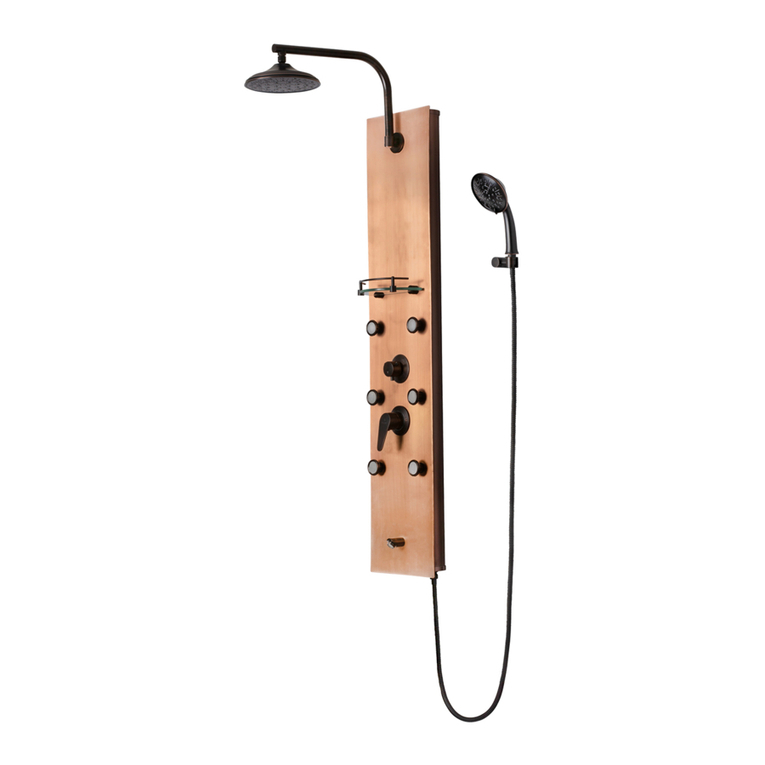
PULSE+ Aloha ShowerSpa 1080-W User manual

Aloha ShowerSpa
Model #1080-W
Owner's Manual
ALOHA
2
Aloha
ShowerSpa 1021-SSB
Please Read The Following Instructions
COMPLETELY Before Beginning!
Our goal is to ensure your installation goes smoothly and safely.
Please read these instructions carefully and follow recommenda-
tions for plumbing and mounting. After reading instructions,
if you determine you do not have the necessary skills
and/or tools, we recommend that a licensed plumbing
contractor complete the installation.
If you encounter any problems during installation
CALL TECHNICAL SUPPORT
TOLL FREE at 888-785-7320
Before returning your ShowerSpa to the store
You Will Need The Following Tools
Drill with 3/16" (5mm) tile/masonry bit, Adjustable wrench,
Hammer, Phillips screwdriver and Pencil
Parts Legend
1. Aloha Showerspa .................. 1
2. Shower Arm .......................... 1
3. Rubber Washer 6mm ............ 1
4. Showerhead .......................... 1
5. Top Cover .............................. 1
6. Brass Nut................................ 2
7. Rubber Washer 2mm ............ 3
8. 90° Fitting.............................. 2
9. Compression Nut................... 2
10. Rubber Washer w/ Screen .... 1
11. Retaining Washer ................. 1
12. Mounting Plate ..................... 1
13. 1-1/2" Brass NPT Nipple ........ 1
13A. 3/4" Brass NPT Nipple......... 2
14. Two Faced Tape..................... 2
15. Wall Anchor .......................... 6
16. 1" Nail .................................... 6
17. Hand Shower Mount ........... 1
18. Nut 4mm................................ 2
19. Non Slip Washer.................... 2
20. 1-3/8" Machine Screw........... 2
21. Hand Shower......................... 1
22. Hand Shower Hose ............... 1
A
B
A
C
3
Installation
1. Determine length of brass NPT nipple (13, 13A)
needed:
a. Place mark on existing shower arm at wall
surface. Unscrew shower arm from elbow in
wall.
b. Measure distance from mark on shower
arm to end of shower arm threads. Add 1⁄2
"
to this measurement, and then round to
nearest 1⁄2
".
Example 1: If measurement = 11⁄4
", add 1⁄2
" =
13⁄4
", rounded = 2" NPT nipple, this is the
length needed.
Example 2: If measurement = 15⁄8
", add 1⁄2
" =
21⁄8
", rounded = 2" NPT nipple, this is the
length needed.
IMPORTANT: If shower arm is located in wall
above tile/fiberglass wall surface you must
add distance from sheetrock to face of tile/
fiberglass shower wall to above measurement.
NOTE: If 1⁄2
" X 11⁄2
"nipple (13) provided is not
correct length based on above formula, you
can attach one or both 3⁄4
" nipple extensions
(13A) to obtain desired length or it may be
necessary to purchase required length 1⁄2
" NPT
brass nipple (available at most hardware stores
in 1⁄2
" incremental lengths).
4. Apply a generous amount of PTFE (plumber's)
tape to both ends of nipple (13, 13A).
IMPORTANT: Do not damage final ½" of nipple
threads protruding from wall.
5. Insert shower arm (2) into body of Aloha
Showerspa (1) and secure with nut (6). Insert
washer (7) into 90° fitting (8) on shower arm
supply line and securely tighten 90° fitting (8)
to shower arm ensuring no leaks. CAUTION: Do
Not Overtighten.
6. If using hole A for mounting continue to Step
10. If using hole B or C of mounting plate (12)
remove mounting plate from Splash.
7. Loosen compression nut (9) and remove
90° fitting (8). Cut supply line (23) at
predetermined mark depending on hole
choice. Important: Supply line must be cut
clean and square to ensure no leaks - take your
time, maybe even practice higher up on hose!
8. Slide compression nut (9) onto supply line (23).
9. Push supply line (23) over barbed portion of
90° fitting (8) until it bottoms against base of
threads.
10. Slide compression nut (9) onto 90° fitting (8)
and securely tighten.
11. Remove face of tape (14) from mounting plate
(12) and slide plate over nipple (13) through
predetermined hole A, B or C. Level plate
before adhering to wall.
12. Push retaining washer (11) over nipple (13)
securing mounting plate (12) to wall and/or
use nut (6).
13. Optional: secure mounting plate using
supplied wall fasteners. Drill 5mm (3/16in.)
wide X 25mm (1in.) deep holes using a
masonry/tile drill bit. CAUTION: live (active)
plumbing is behind wall! Insert mushroom
head anchors (15) through plate and carefully
hammer nail (16) flush to mushroom head
anchor.
14. Insert washer with screen (10) into 90° fitting
(8) and connect to nipple (13). Turn on water
and check for leaks. Once leak free carefully
slide Aloha (1) onto mounting plate (12) and
push down to secure.
15. Insert 6mm washer (3) into showerhead (4)
and attach to Aloha (1).
16. Insert washer (7) into each end of shower hose
(22) and secure hex head to Aloha (1) and cone
shape end to hand shower (21).
Pulse ShowerSpas, Inc. ~ 297 Anna St. ~ Watsonville, CA 95076 ~ 888.785.7320
info@pulseshowerspas.com ~ www.PulseShowerSpas.com ~ support@pulseshowerspas.com
10031A
Usage
Use the diverter valve to select what function you want to enjoy. If you want two functions
to operate at the same time, position the diverter selector between the two desired
functions. It is best to wipe dry the Aloha ShowerSpa after each use to maintain it in new
looking condition. Only use mild soap and water to clean the Aloha ShowerSpa. Never use
any abrasives or harsh chemicals as they will damage the finish and void the warranty.
Manufacturer’s Limited Warranty
PULSE ShowerSpas, Inc. warrants that all ShowerSpas are free from defect in workmanship
and/or materials for a period of three years from the date of purchase. This warranty
extends to the original purchaser only and is non-transferable.
This warranty does not cover, and PULSE ShowerSpas will not pay for any conditions,
malfunctions or damages resulting from (1) normal wear and tear, improper installation
(whether performed by a contractor, a service company or the consumer), improper
maintenance, misuse, abuse, negligence, accident or alteration; (2) the use of abrasive,
caustic or “no-rinse” cleaning agents; (3) the use of the product in any manner contrary to
the product instruction; (4) any condition in the home such as excessive water pressure or
corrosion.
Should any ShowerSpa be determined by PULSE ShowerSpas, Inc. to be defective in normal
residential use, at the option of PULSE ShowerSpas, Inc., such product shall either be
replaced or repaired and returned to the customer free of defects. The consumer shall give
notice of any defects to PULSE ShowerSpas, Inc. within 30 days of discovery of such defect.
Proof of purchase (original sales receipt) must be provided to PULSE ShowerSpas, Inc. with
all warranty claims.
PULSE ShowerSpas, Inc. is not responsible for any labor charges, removal charges,
installation or other consequential costs. In no event shall the liability of PULSE ShowerSpas,
Inc. exceed the purchase price of the ShowerSpa.
Some states/provinces do not allow limitations of how long an implied warranty lasts or the
exclusion or limitation of such damages, so these limitations and exclusions may not apply
to you. This warranty gives the consumer specific legal rights. You may also have other
rights that vary by state/province.
Follow manufacturers recommended installation. Use caution with children under ten years
of age. Do not use ShowerSpa as a support device. Do not use harsh chemicals or abrasives
when cleaning. Turn water supply off when servicing your ShowerSpa.

Other PULSE+ Bathroom Fixture manuals

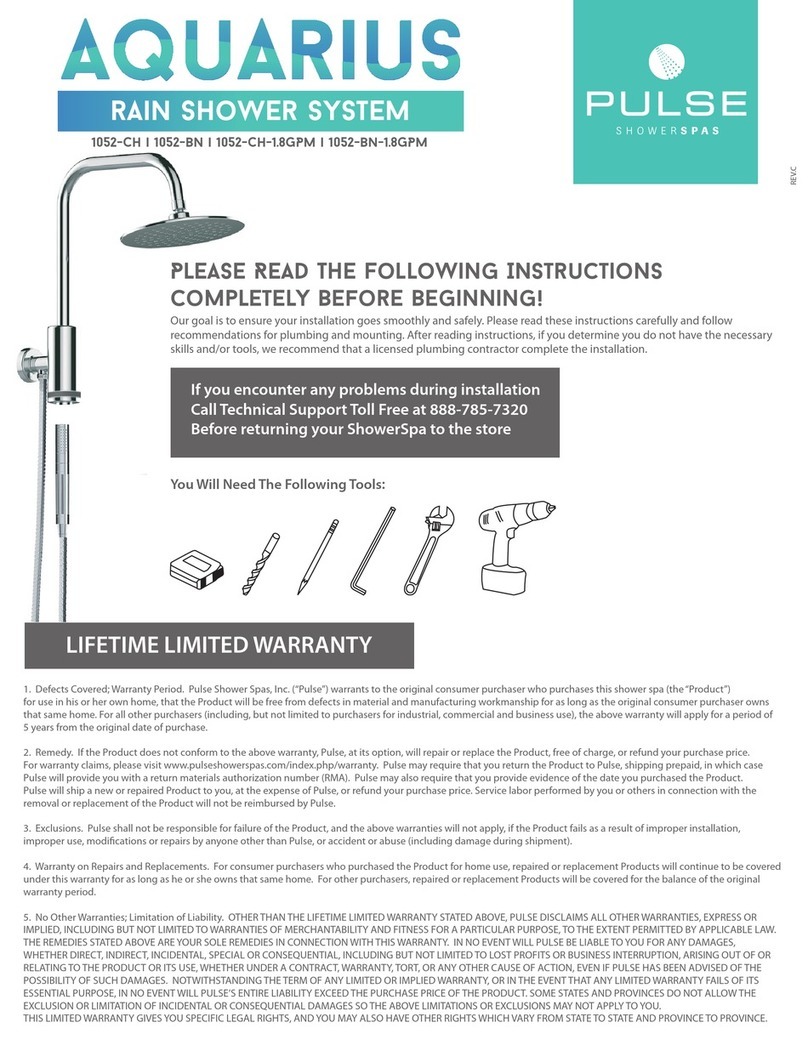
PULSE+ Aquarius Series User manual

PULSE+

PULSE+ Aquarius Series User manual

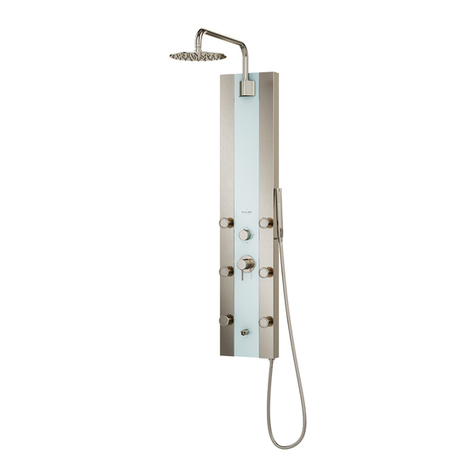
PULSE+ Tropicana ShowerSpa 1039W-BN User manual

PULSE+

PULSE+ Tropicana ShowerSpa 1039W-BN User manual

PULSE+ Aloha 1021-SSB User manual

PULSE+

PULSE+ Aloha 1021-SSB User manual

PULSE+ 7001-CH User manual

PULSE+

PULSE+ 7001-CH User manual

PULSE+ Splash ShowerSpa 1020-B User manual

PULSE+

PULSE+ Splash ShowerSpa 1020-B User manual

PULSE+ Kauai 1.8 1077-CH User manual

PULSE+

PULSE+ Kauai 1.8 1077-CH User manual

PULSE+ Sedona 1041 User manual

PULSE+

PULSE+ Sedona 1041 User manual

PULSE+ 1020S User manual

PULSE+

PULSE+ 1020S User manual

PULSE+ Lanikai 1028-BN-2.5GPM User manual

PULSE+

PULSE+ Lanikai 1028-BN-2.5GPM User manual

PULSE+ NI-0836V-GMB User manual

PULSE+

PULSE+ NI-0836V-GMB User manual

PULSE+ Lahaina 1030 User manual

PULSE+

PULSE+ Lahaina 1030 User manual

PULSE+ Kapalani User manual

PULSE+

PULSE+ Kapalani User manual

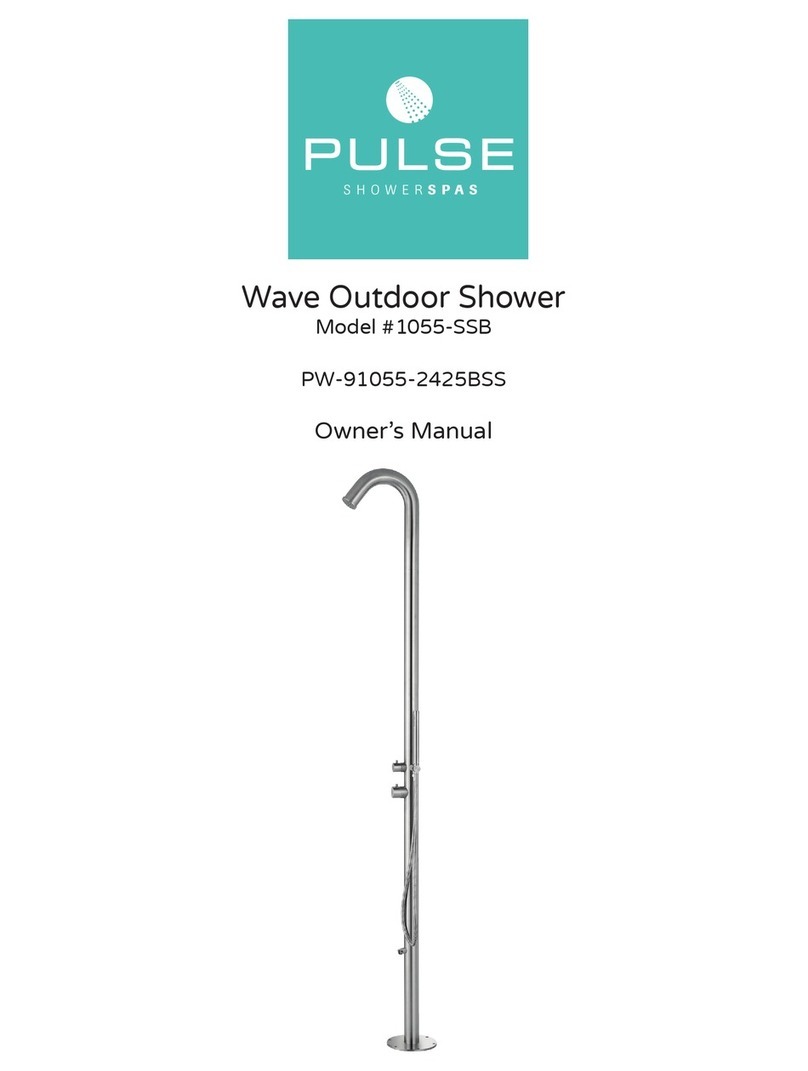
PULSE+ 1055-SSB User manual

PULSE+

PULSE+ 1055-SSB User manual

PULSE+ NI-12482-GMB User manual

PULSE+

PULSE+ NI-12482-GMB User manual

PULSE+ ShowerSpas NI-1212-MB User manual

PULSE+

PULSE+ ShowerSpas NI-1212-MB User manual

PULSE+ NI-12362-GMB User manual

PULSE+

PULSE+ NI-12362-GMB User manual

PULSE+ AquaRain 1019-CH User manual

PULSE+

PULSE+ AquaRain 1019-CH User manual

PULSE+ La Mesa ShowerSpa 7007 User manual

PULSE+

PULSE+ La Mesa ShowerSpa 7007 User manual

Popular Bathroom Fixture manuals by other brands

Signature Hardware Sarasota 948621 quick start guide

Signature Hardware

Signature Hardware Sarasota 948621 quick start guide

Triton ENVi GEENVF93 instructions

Triton

Triton ENVi GEENVF93 instructions

Sanipex BAGNODESIGN BDD-UNI-538 Series installation guide

Sanipex

Sanipex BAGNODESIGN BDD-UNI-538 Series installation guide

Fantini Rubinetti Young 3429000701 Care and maintenance

Fantini Rubinetti

Fantini Rubinetti Young 3429000701 Care and maintenance

Kohler K-1457T-G installation instructions

Kohler

Kohler K-1457T-G installation instructions

Vola 060 Fitting instructions

Vola

Vola 060 Fitting instructions

Hans Grohe Croma Showerpipe 160 1jet 26222009 Instructions for use

Hans Grohe

Hans Grohe Croma Showerpipe 160 1jet 26222009 Instructions for use

Symmons 3500WD-TRM installation guide

Symmons

Symmons 3500WD-TRM installation guide

Hans Grohe ShowerSelect S 15743003 Instructions for use/assembly instructions

Hans Grohe

Hans Grohe ShowerSelect S 15743003 Instructions for use/assembly instructions

Calflex CARIMALI RIGOLETTO MySlim 00-1805-CR Installation

Calflex

Calflex CARIMALI RIGOLETTO MySlim 00-1805-CR Installation

Columbia Products Sani-Lav 532F1 operating manual

Columbia Products

Columbia Products Sani-Lav 532F1 operating manual

noken TONO 100188374 N372769949 manual

noken

noken TONO 100188374 N372769949 manual

Gessi goccia 24976 manual

Gessi

Gessi goccia 24976 manual

American Standard Hampton 7220.702 installation instructions

American Standard

American Standard Hampton 7220.702 installation instructions

Mirolin Strada SQD Series installation guide

Mirolin

Mirolin Strada SQD Series installation guide

Moen Darcy Y1518 Series installation instructions

Moen

Moen Darcy Y1518 Series installation instructions

Blanke DIBA-LINE manual

Blanke

Blanke DIBA-LINE manual

Axor Exafill 58300 Series Instructions for use/assembly instructions

Axor

Axor Exafill 58300 Series Instructions for use/assembly instructions

manuals.online logo
manuals.online logoBrands
  • About & Mission
  • Contact us
  • Privacy Policy
  • Terms and Conditions

Copyright 2025 Manuals.Online. All Rights Reserved.