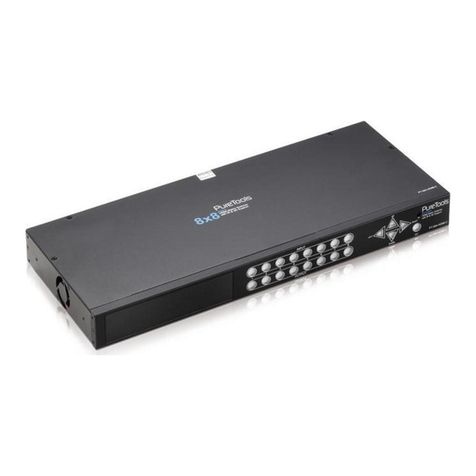
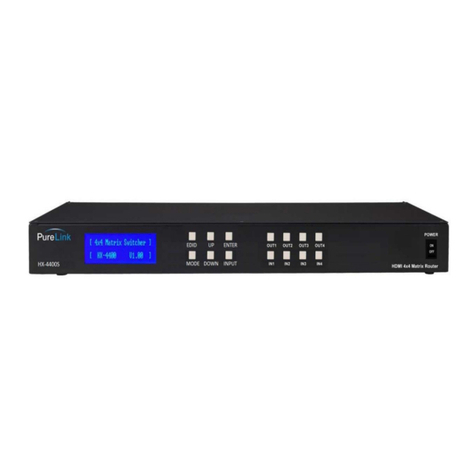
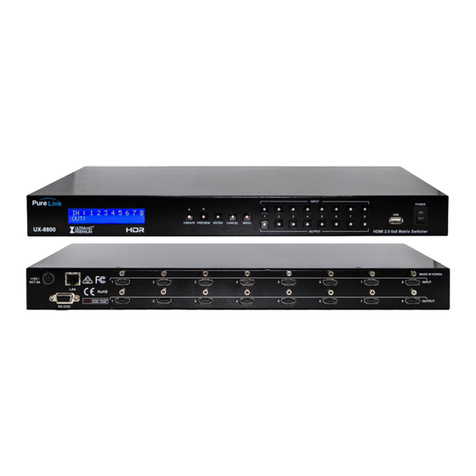
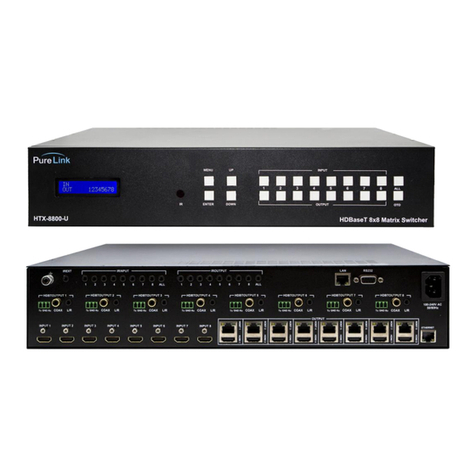
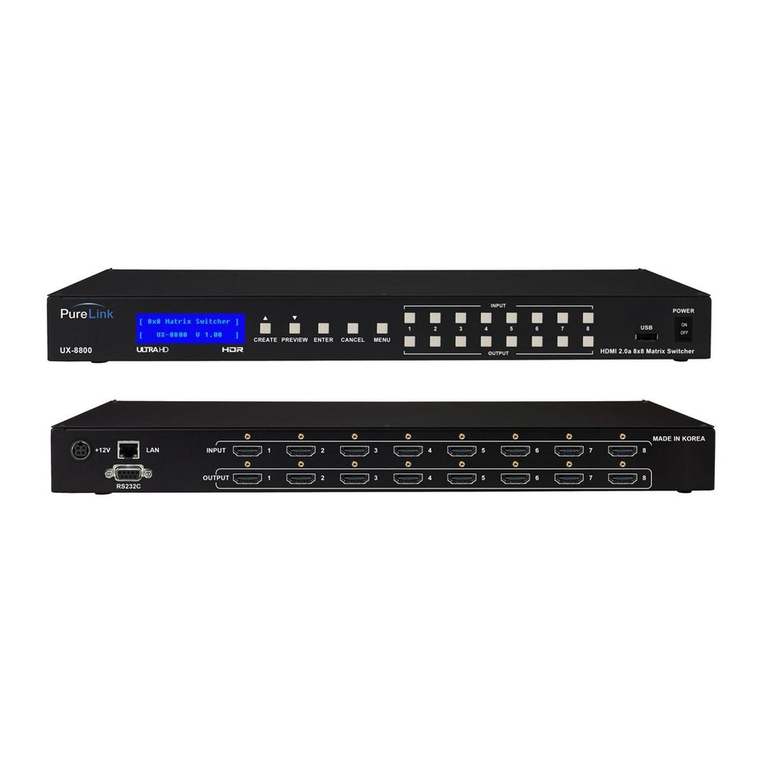
PureLink UX Series User manual

Troubleshooting Guide
UX Series
HDMI 2.0 Integrated Matrix Switcher
PureLinkTM
22-10 State Rt 208
Fair Lawn, NJ 07410 USA
Tel: +1.201.488.3232
Fax: +1.201.621.6118
E-mail: sales@purelinkav.com
www.purelinkav.com
For order support, please contact your local dealer.
For technical support, please contact us at support@purelinkav.com

PureLink by Dtrovision
2
TABLE OF CONTENTS
Chapter 1. Important Facts
1. UX Series Important Facts ------------------------------------------------ 3
2. Other Important Facts ------------------------------------------------ 3
Chapter 2. Basic Troubleshooting
1. Pre-Troubleshooting Steps ------------------------------------------------ 4
2. Symptoms ------------------------------------------------ 4
3. Probable Causes ------------------------------------------------ 4
4. Basic Troubleshooting Steps ------------------------------------------------ 4
Chapter 3. Firmware Upload
1. Symptoms ----------------------------------------------- 5
2. Probable Causes ----------------------------------------------- 5
3. Web UI Instructions ------------------------------------------------ 5
a. How to setup IPV4 ------------------------------------------------ 5
4. USB Instructions ------------------------------------------------ 11
Chapter 4. EDID Management
1. EDID Settings ------------------------------------------------
15
2. External EDID ------------------------------------------------- 15
a. Front of the UX ------------------------------------------------- 15
b. Web UI ------------------------------------------------- 17
3. Internal EDID ------------------------------------------------- 18
a. Front of the UX ------------------------------------------------- 18

PureLink by Dtrovision
3
b. Web UI ------------------------------------------------- 20
Chapter 1. Important Facts
1. UX series matrix important facts
* UX matrix supports HDMI 2.0, HDR, and HDCP 2.2.
* UX matrix supports resolution up to 4K@50/60Hz (4:4:4 pixel format).
* Default EDID on the UX matrix is 4K@60Hz (4:2:0 bitstream)
* UX matrix is not a scaling unit (1080p source will output 1080p despite the display being a 4K capable
display and 4K source many not display video/audio if the display is not capable of 4K.)
2. Other important facts
* There are three kinds of HDMI 2.0 support sources and devices by maximum supported resolution.
1. Maximum resolution up to 4K@60Hz (4:4:4).
2. Maximum resolution up to 4K@60Hz (4:2:0).
3. Maximum resolution up to 4K@30Hz (4:4:4).
Please refer to their manual.
* Some sources and displays may not support HDR. Please refer to their manual.
* If the display does not support certain audio format, there may be audio issues such as lip sync. Please
refer to their manual.
* HDbaseT does not support 4K@60Hz (4:4:4) -18 Gbps and only supports up to 4K@60Hz (4:2:0) - 10.2
Gbps.

PureLink by Dtrovision
4
Chapter 2. Basic Troubleshooting
1. Pre-Troubleshooting Steps
Power cycle the unit
Power cycle the unit by disconnecting / reconnecting the power supply
Check and take note of the Firmware Info
Swap known-working HDMI Cables to see if the issue persists.
Make sure the cables are within maximum distance
2. Symptoms
No Pictures
No Video Signal
Flickering / Blinking Pictures
Wrong Color Output (e.g Green, Pink, or Black Screen)
Audio, but no Video
Video, but no Audio
Displaying incorrect Resolution
3. Probable Causes
* Source does not support the resolution/or the function is turned off.
* Display does not support the resolution/or the function is turned off
* The cables are not connected properly or damaged
* The routing is incorrect
* EDID does not match
* Display does not support HDCP 2.2
4. Basic Troubleshooting Steps
* Pressing each input will show the status of the following:
1) Video timing
2) AV Link Mode ( Color space )
3) HDCP Status
4) EDID Timing (EDID currently used)
5) EDID M. Name (EDID currently saved)
6) E. Audio. Fmt (Audio Format)
* Pressing each output will show the status of the following
1) Out timing (video out timing)
2) Output mode (HDCP mode)
3) EDID timing
4) EDID M. name (EDID of the display)
5) E. Audio. fmt (audio format)
PureLink by Dtrovision
5
Chapter 3. Firmware Upload
1. Symptoms
Stuck in System Checking
Stuck in Blue Screen
Stuck in Firmware Upload
For example:
< PIC. Stuck in System Checking >
2. Probable Causes
Glitch within the firmware
Power Outages effecting the power supply
3. Web UI Instructions
1) Make sure to connect the UX and the PC to the same network via LAN cable. If a direct
connection is made, remember to have the correct IPV4 Settings properly setup for the PC.
a) How to Setup IPV4
1. Right-click your internet icon on the bottom right and Open Network & Internet Settings.
< PIC. Open Network & Internet settings >
2. Click Change Adapter Options.

PureLink by Dtrovision
6
< PIC. Change Adapter Options>
3. Double-click the ethernet cable connected to the PC.
< PIC. Windows Network Connections>
4. Go to Properties
< PIC. Ethernet Status - Properties>

PureLink by Dtrovision
7
5. Double-click the IPV4 to open its settings.
< PIC. IPV4 Settings>
6. Configure the IPV4 settings by selecting “Use the following IP address”and manually entering
the IP address, Subnet mask, and Default gateway. (Remember: the IPv4’s IP address must be
different from the UX’s IP address.)

PureLink by Dtrovision
8
< PIC. IPV4 Configuration Settings>
7. To check if the IP address is on the same network, go to the front of the UX and scroll down in
the Menu list and enter LAN Info.
< PIC. Menu –LAN Info>
8. Check and make sure the following IP address is on the same network as the PC.
< PIC. UX’s IPAddress>
9. Proceed to the next Web UI Instructions step to further validate the connection.
2) Go to the Web UI by entering the UX’s IP address into a URL and login using the following credentials.
*We recommend using Google Chrome.

PureLink by Dtrovision
9
3) Go to the Settings Tab and go to the bottom-right hand
side.
< PIC. Settings Tab>
4) Under the section for Firmware, next to the line for the Controller, click Update.
< PIC. Firmware –Update Selected>

PureLink by Dtrovision
10
5) Select and open the appropriate firmware file to load the firmware.
< PIC. Firmware Upload –In-Progress>
6) Once the firmware upload is complete, check the LCD Display on the UX to see if the firmware upload
is commencing.
< PIC. Firmware Upload - Complete>

PureLink by Dtrovision
11
< PIC. Front of the UX –Firmware Upload >
*You can attempt the firmware upload about 2 to 3 times
*The upload should take about 5 to 10 minutes.
6) If the issue persists, please continue to USB Instructions.
4. USB Instructions
1) Contact technical support for the latest firmware at (201)-488-3232 or email at
support@purelinkav.com.
2) Use a USB flash drive that is 8GB or less and Windows PC (Recommended)
3) Once the USB is connected to the PC, right-click on the flash drive and format the drive.
< PIC. USB Flash Drive –Format >

PureLink by Dtrovision
12
4) Make sure to use FAT32 format (“Quick Format Unchecked”)
< PIC. USB Flash Drive –FAT 32, Quick Format Unchecked >
5) Once the format is complete, download the firmware file to the USB flash drive.
*Only the firmware needs to be on the USB drive.
< PIC. USB Flash Drive - Folder >

PureLink by Dtrovision
13
6) Once the firmware is on the USB, please follow the steps below.
1. Turn off the UX.
< PIC. Front of the UX –Power Off >
2. Insert the USB to the USB port on the front.
< PIC. Front of the UX –USB Port >
3. Press and hold the cancel button.
< PIC. Front of the UX –Cancel Button >
4. While still holding the cancel button, power on the UX.
< PIC. Front of the UX –Holding Cancel while Power On >

PureLink by Dtrovision
14
5. Release the cancel button after 3 seconds
< PIC. Front of the UX –Releasing Cancel Button >
6. Confirm that the LCD display shows “Firmware Upload…”
< PIC. Front of the UX –Firmware Upload >
7) The UX will go into firmware upload mode.
*You can attempt the firmware upload about 2 to 3 times
*The upload should take about 5 to 10 minutes.
8) If the issue persists, please feel free to contact technical support.

PureLink by Dtrovision
15
Chapter 4. EDID Management
1. EDID settings
EDID stands for Extended Display Identification Data.
EDID is an industry standard for AV Source and Display devices which automatically communicates
manufacturer specification and data between devices.
This allows your AV source to send the best compatible signal data to your screen, TV, or projector
to ensure the best possible picture results.
EDID data includes manufacturer and specification data including:
• Brand
• Product Code
• Date of Manufacture
• Video Input Type
• Horizontal and Vertical Size
•Supported features
•Color characteristics
• Timing information
2. Saving External EDID
This function acquires the default EDID of the Display to the input of your selection.
a. Front of the UX
1) Select Menu
2) Go to the EDID Set and press enter
< PIC. EDID Set Function>

PureLink by Dtrovision
16
3) Select External EDID and Press Enter
< PIC. External EDID Function>
4) Select the desired output
< PIC. External EDID –Select Output>
5) Select an input to test with. (If there is no output connected, the display will show the following.)
< PIC. External EDID –Select Input 1>

PureLink by Dtrovision
17
6) Press Enter and check to see if the signal is passing.
(P means the signal is passing, F means the signal is not passing)
< PIC. External EDID –Signal Status>
7) If the signal does not pass, then move on to Saving Internal EDID.
b. Web UI
1) Make sure to connect the UX and the PC to the same network via LAN cable. If a direct
connection is made, remember to have the correct IPV4 Settings setup for the PC. (Refer to page 5)
2) Go to the Web UI via the UX’s IP address and login using the following credentials.
*We recommend using Google Chrome.
3) Go to the EDID tab
< PIC. EDID Tab in the Web UI>

PureLink by Dtrovision
18
4) Select an output port from the drop-down menu list.
< PIC. EDID Tab, drop-down list in the Web UI –Output port Selected>
5) Press Load to a selected input to find the best possible handshake between the input and output
source and make sure to watch the displays to see any issues persist. If so, move on to Saving Internal
EDID.
3. Saving Internal EDID
UX Matrix carries 16 pre-loaded EDID that can be saved to the inputs.
a. Front of the UX
1) Select Menu
2) Go to the EDID Set and press enter
3) Select Internal EDID and Press Enter
< PIC. Internal EDID Function>

PureLink by Dtrovision
19
4) Scroll up down for the desired resolution and select one or more desired
input
< PIC. Internal EDID –Input and Resolution Selection>
5) Press Enter and check to see if the signal is passing.
(P means the signal is passing, F means the signal is not passing)
< PIC. Internal EDID –Signal Status>
6) If the signal does not pass, then contact technical support via phone number (201)-488-3232 or
email at support@purelinkav.com.

PureLink by Dtrovision
20
b. Web UI
1) Make sure to connect the UX and the PC to the same network via LAN cable. If a direct
connection is made, remember to have the correct IPV4 Settings setup for the PC. (Refer to page 5)
2) Go to the Web UI via the UX’s IP address and login using the following credentials.
*We recommend using Google Chrome.
3) Go to the EDID tab
< PIC. EDID Tab in the Web UI>
4) Select a desired resolution from the drop-down menu list.
< PIC. EDID Tab, drop-down list in the Web UI –Resolution Selected>
5) Press Load to a selected input to save the Internal EDID and make sure to watch the displays to
see any issues persist. If so, then contact technical support via phone number (201)-488-3232 or email at
support@purelinkav.com.
Other manuals for UX Series
1
This manual suits for next models
1
Table of contents
Other PureLink Matrix Switcher manuals

PureLink
PureLink HTX III-4400 User manual

PureLink
PureLink PT-MA-HD88 User manual

PureLink
PureLink HTX Series User manual

PureLink
PureLink SX-8800 User manual

PureLink
PureLink PT-MA-HD44-QV User manual

PureLink
PureLink HTX-8800-U User manual

PureLink
PureLink HX-4400S User manual

PureLink
PureLink UX-8800 User manual

PureLink
PureLink PT-MA-HD44 User manual

PureLink
PureLink PT-MA-HD44DA User manual