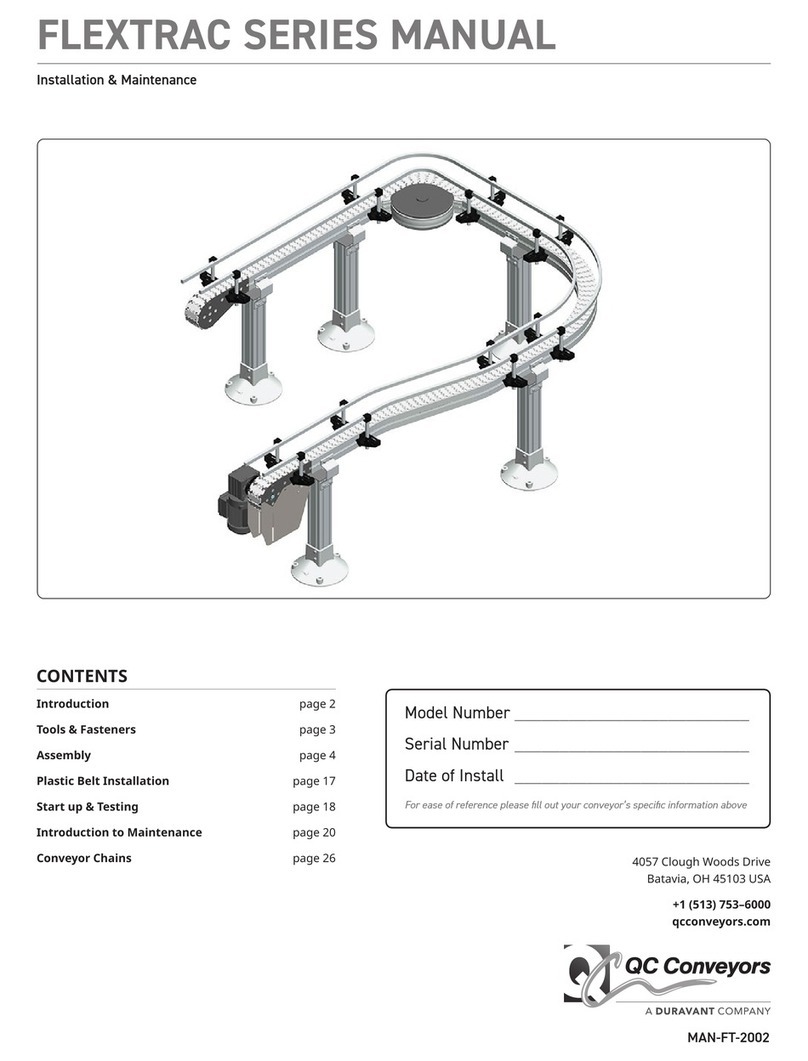
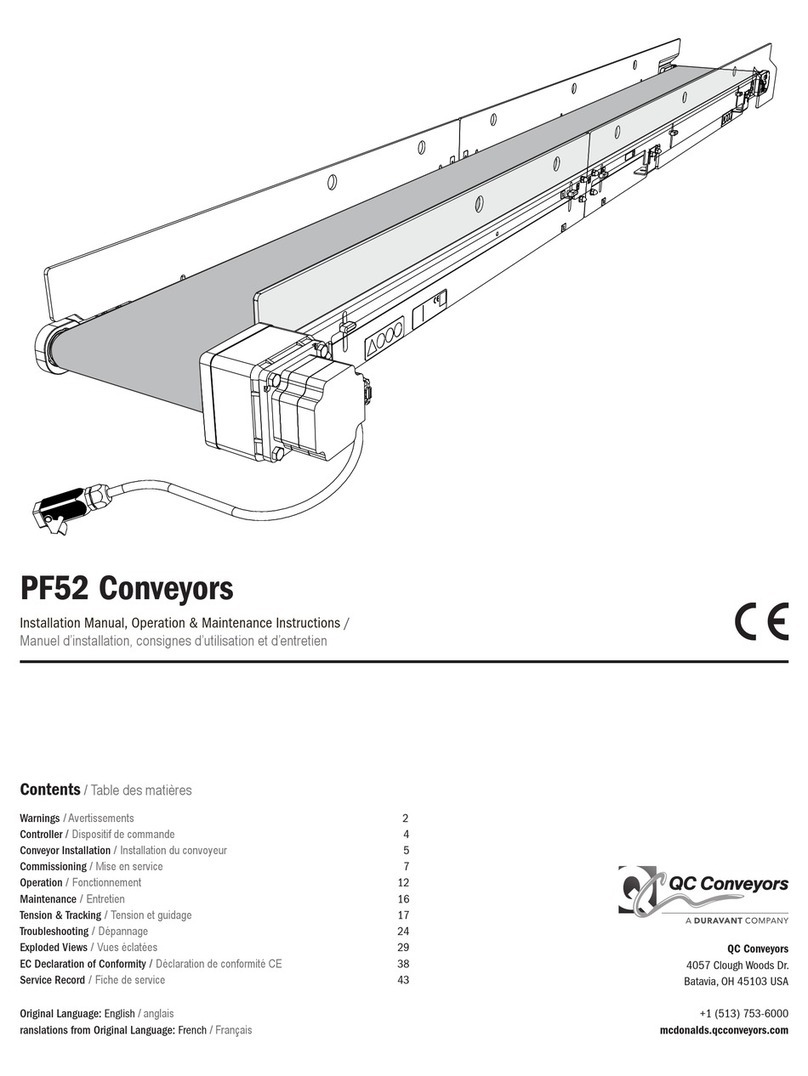
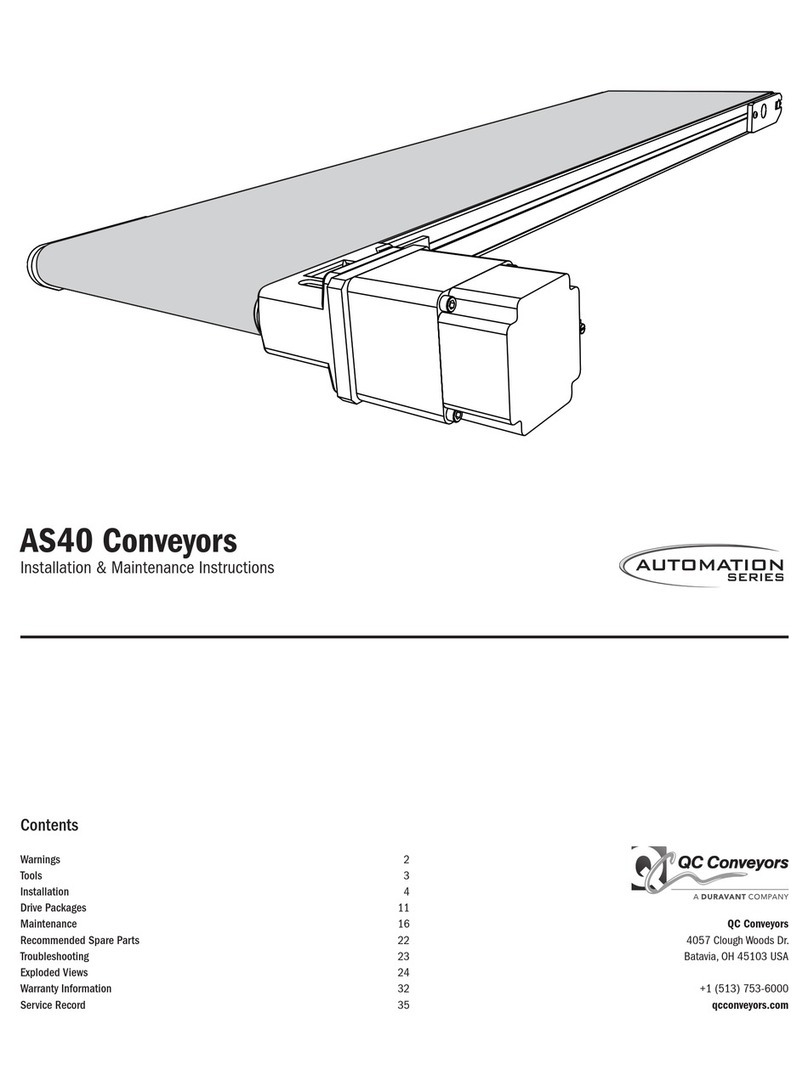
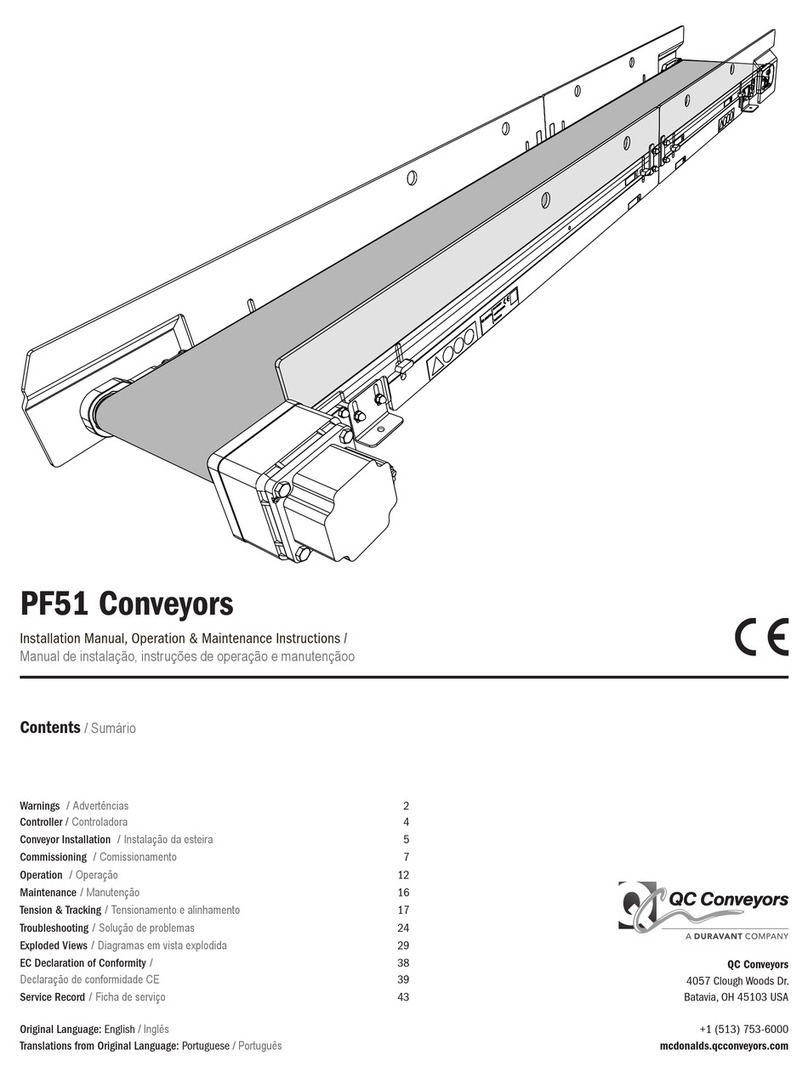
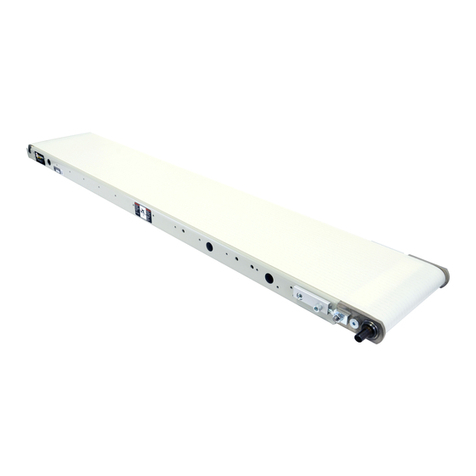
QC Conveyors AS40-CD Installation and operating instructions

AS40-CD Conveyors
Installation & Maintenance Instructions
QC Conveyors
4057 Clough Woods Dr.
Batavia, OH 45103 USA
+1 (513) 753-6000
qcconveyors.com
Contents
Warnings 2
Tools 3
Installation 4
Maintenance 11
Recommended Spare Parts 18
Troubleshooting 19
Exploded Views 20
Warranty Information 29
Service Record 32

2AS40-CD Conveyors | Installation & Maintenance Instructions
Warnings
When used improperly, conveyor
rollers can pinch or maim
Lock out power before servicing
conveyor
Do not use with guards removed Read this manual before operat-
ing
DANGER WARNING WARNING WARNING
Climbing, sitting, walking or riding
on conveyor at any time will cause
severe injury or death
Exposed moving parts can cause
severe injury; DISCONNECT
POWER before removing guard
Equipment may start without
warning - can cause severe injury.
KEEP AWAY
Servicing moving or energized
equipment can cause severe
injury LOCK OUT POWER

AS40-CD Conveyors | Installation & Maintenance Instructions 3
Tools
uRequired Tools
Set of Metric Wrenches (3mm-
13mm)
Tape Measure 10" Adjustable Wrench Screw Gun and T-30 Torx Bit
Aluminum cutting hack saw or
equivalent
Set of Metric allen wrenches
(3mm, 4mm & ball head 5mm)
Bubble level
uOptional Tools
3/8" Torque wrench QC Conveyors bearing removal
tool (part# 1A0077A)
Electric Chop Saw

4AS40-CD Conveyors | Installation & Maintenance Instructions
Installation
uCheck Your Shipment
Before opening the shipment, visually inspect the outside of the crate/box for shipping damage. Carefully unpack the crate/box, inspecting for component damage which
may have occurred inside the packing materials. Contact the carrier and QC Conveyors regarding any damage that may have occurred during shipment. Check the contents
of your shipment against the supplied packing slip and inform QC Conveyors of any discrepancies.
uGeneral Sequence of Installation
1Mount conveyor to stands or
compatible mounting brackets. 2Attach sides, guides or un-
derside idlers to conveyor and
adjust as needed.
3Install drive motor to mount-
ing package. (If not already
installed)
4Lag conveyor to floor / engage
caster locks and inspect
conveyor before use.
uAssistance
If you need assistance, please contact QC Conveyors customer service department Monday through Friday, 8am-5pm EST at (513) 753-6000. In addition, your local dis-
tributor has been trained at the factory and can provide support in many ways. You can also visit our website - qcconveyors.com - for additional information and technical
documents.

AS40-CD Conveyors | Installation & Maintenance Instructions 5
Stand Installation
Mounting Aluminum Stands to Conveyor
uMounting Aluminum Exact Width Stands
Stands should be placed as close to ends of conveyor as possible. Stands may be placed a maximum of 10’ apart for conveyors 6” wide or less with a load less than 20
lbs,; conveyors 8”-12” wide with a load less than 25 lbs.; conveyors 18”-24” wide. For all other conveyors, stands should be placed a maximum of 6’ apart.
1Remove the nuts holding the
stand attachment brackets to
the top of the stand and remove the
brackets.
2Insert drop in nuts into t-slot
on conveyor frame. 3Attach stand attachment
brackets to conveyor using a
5mm allen wrench.
For Conveyors 6” wide or less:
flange should point outboard;
spacer must be installed between
stand attachment bracket and
conveyor frame.
For conveyors more than 6” wide:
flange should point inboard; no
spacer is necessary
4Place stand attachment
brackets atop stands.
5Replace nuts and tighten.

6AS40-CD Conveyors | Installation & Maintenance Instructions
uStand Height Adjustment
1Loosen four screws in each
stand bracket using a 5mm
allen wrench.
2Adjust stand height by
turning bolt using a 3/4”
wrench. Turn clockwise to lower or
counter-clockwise to raise. Ensure
conveyor is level.
3Tighten jam nut against top
plate of stand. 4Tighten four screws in each
stand bracket using a 5mm
allen wrench.
uInstalling Cross Ties
For applications using a single cross tie, the cross tie should be installed between the cross bars of the stands. For applications using two cross ties, the cross ties should
be installed between the uprights of the stands.The installation process is the same for each.
4
x2
x
1Using a 5mm allen wrench,
loosen two socket head cap
screws in each cross tie adjustment
plate.
2Slide adjustable cross tie
pieces to fit between stands. 3Loosen triangular Quick Clamp
on each end of cross tie. 4Ensuring the socket head cap
screw is facing you, slide Quick
Clamp into tee slot at desired mount-
ing position.
4
x
5Using a 5mm allen wrench,
tighten Quick Clamp. 6Using a 5mm allen wrench,
tighten two socket head cap
screws in each cross tie adjustment
plate.
AS40-CD Conveyors | Installation & Maintenance Instructions 7
uMounting Angle Braces
1Insert drop in nut into inner
stand leg t-slot. 2Insert drop in nut into con-
veyor frame’s t-slot. 3Align angle brace over drop
in nut in stand. 4Insert socket head cap screw
through angle brace and into
drop in nut on stand (do not fully
tighten).
5Slide up and align angle
brace with drop in nut in
frame.
6Insert socket head cap screw
through angle brace and into
nut in conveyor frame.
7Tighten socket head cap
screw on frame. 8Tighten socket head cap
screw on stand.
9Check with bubble level to
ensure conveyor is level.
>Repeat for opposite side.
Injury is possible if the stands are not lagged to the oor, cross ties are not used, or angle braces are not present. Never place a conveyor in operation until all proper
mounts are installed and secured.
Warning: Moving conveyors with casters can create dynamic forces that could tip the conveyor. Use caution when moving a conveyor with casters.

8AS40-CD Conveyors | Installation & Maintenance Instructions
Mount Installation
Ensure mount placement on mounting surface allows clearance for drive package.
2
x
1Insert drop in nuts into t-slot.
>Proceed to correct mounting type.
uFlush Mount
2
x2
x2
x
1Line up mount to drop in nuts. 2Insert socket head cap
screws through mount and
into drop in nut.
3Tighten screws to secure
mount to frame. 4Insert screws (not provided)
into desired mounting surface
and tighten.
uRaised Mount
Mounts’ foot can be placed facing inward or outward depending on application.
1Line up mount to drop in nuts. 2Insert socket head cap
screws through mount and
into drop in nut.
3Tighten screws to secure
mount to frame. 4Insert screws (not provided)
into desired mounting surface
and tighten.

AS40-CD Conveyors | Installation & Maintenance Instructions 9
Side /Guide Installation
Guide brackets can not be placed over drive assembly mounting brackets.
uInstalling Fixed Side Rails
2
x
1Insert drop in nuts into t-slot
on frame. 2Align guide brackets with
drop in nuts. 3Insert socket head cap screw
through guide clamp and into
drop in nuts.
4insert two drop in nuts into
t-slot at tail end of frame.
2
x2
x
5Align clamping block to drop
in nuts. 6Insert screws through clamp-
ing block and into drop in
nuts.
7Loosen tracking block screws.
(Do not remove) 8Slide guide rail in between
clamps and frame until in
place.
2
x2
x
9Tighten screws in clamping
blocks. 10Tighten screws in guide
clamps. 11Retighten screws in track-
ing block.
If sides have seals, speed of conveyor should be no faster than 30 feet per minute.
Side seals are designed for use with MAA Standard Urethane Belts.

10 AS40-CD Conveyors | Installation & Maintenance Instructions
uInstalling Adjustable Guide Brackets
2
x
1Insert economy nuts into
t-slot of guiderail and slide
into position
2Loosely thread adjusting rod
into nuts. 3Place a cross block onto
each guiderail and set aside. 4Insert drop in nuts into t-slot
on frame.
2
x
2
x
5Align guide bracket, keeping
the larger hole up, with drop
in nuts and insert screws.
6Tighten socket head cap
screws. 7Insert a rod vertically through
the larger hole on top of
guide bracket.
8Secure rod from below with
socket head cap screw.
9Tighten cap screw. 10Slide guiderail assembly
over vertical rods on
frame.
11Adjust guides to desired
width and tighten rods. 12Tighten screw on cross
block to secure rod.
13Install guiderail and block
assembly over vertical
rods and adjust to desired height.
(Guide should NOT touch belt)

AS40-CD Conveyors | Installation & Maintenance Instructions 11
Maintenance
Belt Tracking
>For best results, make adjustments to only one side.
uBelt Tracking at Infeed and Outfeed Pulleys uBelt Tracking at Tail End
1Starting at infeed idler pulley,
rotate adjustment screw on
side where adjustment is needed.
2Let belt make several rota-
tions to ensure proper track-
ing. (
Proper tracking is achieved
when belt can make a full revolu-
tion without contacting either side
of frame.
)
1Rotate adjustment screw on
side where belt is riding too
close.
2Let belt make several rota-
tions to ensure proper track-
ing. (
Proper tracking is achieved
when belt can make a full revolu-
tion without contacting either side
of frame.
)
uBelt Tracking at Drive End
3
x
3
x
1Loosen three driver assembly
screws on each side of bear-
ing block.
2With conveyor running, rotate
square head tracking screw
toward drive pulley on side where
belt is riding too close.
3Let conveyor make several
rotations to ensure belt is
tracking properly.
4Retighten driver assembly
screws. (Three on each side)
The Drive End is tracked when the belt can make a full revolution without contacting either bearing plate.

12 AS40-CD Conveyors | Installation & Maintenance Instructions
Belt Change
uRemoval of Existing Belt
>Full width idlers must be removed before changing belt.
2
x
2
x
1Simultaneously push in
both buttons on tension
release tail to disengage locking
mechanism. (Frame end could have
sharp edges)
2Rotate tension release tail
assembly up and towards the
drive end.
3Loosen screws on mounts/
brackets on opposite side
of drive.
4Remove screws from stand
brackets or mounts. (If stand
brackets are not used, proceed to
step 7)
2
x4
x2
x
5Loosen screws on stand. (Do
not remove)6Slide stand bracket down for
clearance. 7Remove four screws holding
guard from frame on drive
pulley side.
8Remove two screws holding
guard on opposite side above
motor.
9Remove guard. 10Loosen both adjustment
screws on drive pulley
side to allow clearance for idler
pulley removal.
11Slide idler pulley out of
slot and set aside. 12Loosen both adjustment
screws on motor side
to allow clearance for idler pulley
removal.

AS40-CD Conveyors | Installation & Maintenance Instructions 13
uRemoval of Existing Belt (continued)
13Slide idler pulley out of
slot and set aside. 14Slide belt off idler end of
conveyor. 15Loop belt off of tension
release tail end of
conveyor.

14 AS40-CD Conveyors | Installation & Maintenance Instructions
uInstallation of New Belt
1Loop belt over tension release
tail end. 2Slide belt onto idler end of
conveyor. 3Slide idler pulley into slot
above motor, pushing the
belt up and into position. (Ensure
recess in shaft is pointed away from
mounting package)
4Tighten adjustment screws
until pulley creates tension
on belt and marks are aligned.
2
x
5Slide other idler pulley into
opposite slot above drive
pulley, pushing the belt up and into
position. (Ensure recess in shaft
is pointed away from mounting
package)
6Tighten adjustment screws
until pulley creates tension on
belt and marks are aligned.
7Replace guard. 8Replace and tighten both
screws holding guard above
motor.
4
x
2
x2
x
9Replace and tighten four
screws holding guard on
opposite side.
10Slide mounting brackets
into place. 11Insert screws through
bracket and into drop in
nuts in frame.
12Tighten screws holding
bracket to conveyor frame.

AS40-CD Conveyors | Installation & Maintenance Instructions 15
uInstallation of New Belt (continued)
2
x
13Tighten screws holding
bracket to stand. 14Press down on tension
release tail until it “locks”
into place and creates tension
on belt.
>Re-install any full width idlers that where removed prior to belt change.
>Belt is now ready to be tracked and tensioned. See proper sections of this manual for instructions.
Motor Positioning
6
x6
x
1Loosen (do not remove) 6
screws (3 per side) on motor
mount plates.
2Slide center drive assembly
into position. (Keep in mind
stand placement and underside
idler placement)
3Tighten 6 screws (3 per side)
on motor mounting plates.

16 AS40-CD Conveyors | Installation & Maintenance Instructions
Belt Tensioning
uBelt Tension at Tail End uBelt Tension at Drive Pulleys
1Adjust the set screws on
the tail assembly so the tail
pulley assembly moves away from
the conveyor frame. (Extend both
screws the same amount).
1Ensure marks on pulley are
lined up with marks on drive
mounting plate. If not proceed to
step two.
2Rotate set screws at both
ends of pulley to align marks
on pulley with marks on drive
mounting plate.
uBelt Tension at Drive End
3
x3
x
1Loosen six driver assembly
screws in bearing blocks
about half a turn. (Three on each
side)
2Extend the square head
tracking screws on both sides
of the conveyor until desired tension
is achieved. (Extend both screws
the same amount)
3Retighten six driver assembly
screws to lock assembly into
position. (Three on each side)
>After tensioning, belt may need to be tracked. Refer to Belt Tracking section of this manual.
If after following these steps, additional belt tension is needed, it is recommended that a new belt be installed.

AS40-CD Conveyors | Installation & Maintenance Instructions 17
Care and Cleaning
uBelt Care / Cleaning
1Inspect Belt for any fraying or
tears and replace if needed. 2Spray cleaning solution on a
clean rag. 3Wipe belt with rag. 4Cycle conveyor to reveal op-
posite side of belt.
5Wipe belt with rag.
>For best results, repeat steps until entire belt has been cleaned.

18 AS40-CD Conveyors | Installation & Maintenance Instructions
uTail Pulley Replacement
1Press both tension release
buttons and lift up simultane-
ously.
2Lift idler pulley out of slot. 3Remove idler pulley from
conveyor. 4Replace with new idler pulley.
5Making sure to keep dog
point of set screw facing
down, insert idler pulley back into
slot.
6Press tail pulley down until
it “snaps“ into the locked
position.
>Re-tensioning and tracking of belt may be necessary. (Refer to tracking and tensioning sections of this manual.)
Recommended Spare Parts
uParts List
Part # Description
1A0039B00WW Tail Pulley Assembly
AC6-WW-LLL-MAE White Urethane Belt (MVE for V-Guided)
1A0102C Fixed End Bearing Housing LH
1A0103C Fixed End Bearing Housing RH
1D0317A Fixed End Bearing
1D0057A Center Drive Bearing
1A0033A00WW Underside Idler Roller 8"- 24" Full Width
1A0036A Underside Idler 2"- 6" Wide Stub Roller
C-0117-090 Drive Timing Belt (≤ 50 Sprocket teeth)
C-0117-100 Drive Timing Belt (≥ 52 sprocket teeth)
1A0043A00WW Center Idler Pulley Assembly
1D0048A00WW Center Drive Pulley
>Use the two digit width of the conveyor for “WW“.
Use the width and 3-digit length of the conveyor for “LLL“.
>To order parts, please visit QCconveyors.com/serial or call us at +1 (513) 753-6000.

AS40-CD Conveyors | Installation & Maintenance Instructions 19
If you are unable to remedy the problem with these corrective actions, please contact QC Conveyors Customer Service at (513) 753-6000. Failure to correct the problem may
lead to abnormal use of the conveyor, thereby voiding the warranty.
Troubleshooting
Symptom Possible Cause Corrective Action
Belt is slipping or stops under load Demand is more than the conveyor is rated for
Lubrication between drive pulley and belt
Belt is not tensioned properly
Verify conveyor capacity
Clean bottom of belt and drive pulley
Refer to section on tensioning the belt (page 26)
Belt does not move without load Timing belt under drive guard is not connected
Belt is not tensioned properly
Contact factory
Refer to section on tensioning the belt (page 26)
Belt will not track at drive end Accumulation or belt wear
Improper tension
Refer to Belt Tracking section of this manual (page 23)
Refer to Belt Tensioning section of this manual (page 26)
Belt will not track at tail end Irregular product loading or belt wear
Improper tension
Refer to Belt Tracking section of this manual (page 23)
Refer to Belt Tensioning section of this manual (page 26)
Belt will not track at center idlers
Belt is brittle, delaminating or is discolored Belt is being attacked by chemicals or excessive heat
Belt life has expired
Urethane belts can discolor when exposed to UV light
Contact factory to discuss belt application
Replace belt
No corrective action
Motor is hot Motor can run with a skin temperature of 221ºF
Motor is not protected with overload protection and is
drawing too much current.
No corrective action
Install overload protection on motor
Speed reducer is getting hot Speed reducer can run with skin temperature of 225ºF No corrective action
Speed reducer is leaking oil Speed reducer’s life has expired
Installation was performed incorrectly and input seal
was damaged
Replace speed reducer
Bearing noise Bearings are damaged or failing Refer to Bearing Replacement section of this manual
(page 28)
Belt is traveling reverse of desired direction Motor or speed reducer not wired properly Check wiring and correct per wiring instructions
Conveyor belt has prematurely worn out Correct belt not selected for application Contact factory to discuss belt application
>

20 AS40-CD Conveyors | Installation & Maintenance Instructions
Exploded Views / BoM’s
u2"-12" Wide Center Drive Automation Series Conveyor
5
2
3
4
1
6
# Part # Description
1 1A0044C00WW ASSY CENTER DRIVE FIXED END IDLER
2 1A0039B00WW ASSY TAIL V-GUIDED
3 1A0038A00WW ASSY TENSION RELEASE TAIL
4 1D0012ALLLL SLIDER BED ALUMINUM EXTRUSION 2" WIDE
1D0013ALLLL SLIDER BED ALUMINUM EXTRUSION 3" WIDE
1D0014ALLLL SLIDER BED ALUMINUM EXTRUSION 4" WIDE
1D0015ALLLL SLIDER BED ALUMINUM EXTRUSION 5" WIDE
1D0016ALLLL SLIDER BED ALUMINUM EXTRUSION 6" WIDE
1D0017ALLLL SLIDER BED ALUMINUM EXTRUSION 8" WIDE
1D0060ALLLL SLIDER BED ALUMINUM EXTRUSION 10" WIDE
1D0061ALLLL SLIDER BED ALUMINUM EXTRUSION 12" WIDE
5 AC6-WW-LLL-MAE BELT AUTOMATION SERIES CENTER DRIVE STANDARD
AC6-WW-LLL-MVE BELT AUTOMATION SERIES CENTER DRIVE V-GUIDED
6 1A0073A00WW ASSY CENTER DRIVE PACKAGE
This manual suits for next models
1
Table of contents
Other QC Conveyors Accessories manuals

QC Conveyors
QC Conveyors PF52 Instruction manual

QC Conveyors
QC Conveyors PF52 Instruction Manual

QC Conveyors
QC Conveyors PF51 Instruction Manual

QC Conveyors
QC Conveyors PF52 Instruction manual

QC Conveyors
QC Conveyors FLEXTRAC Series User manual

QC Conveyors
QC Conveyors Automation Series Installation and operating instructions

QC Conveyors
QC Conveyors INDUSTRIAL Series Installation and operating instructions