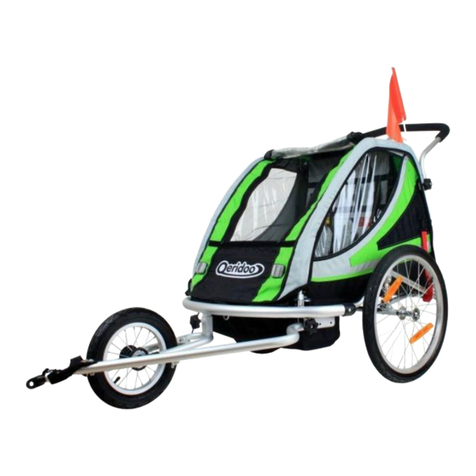
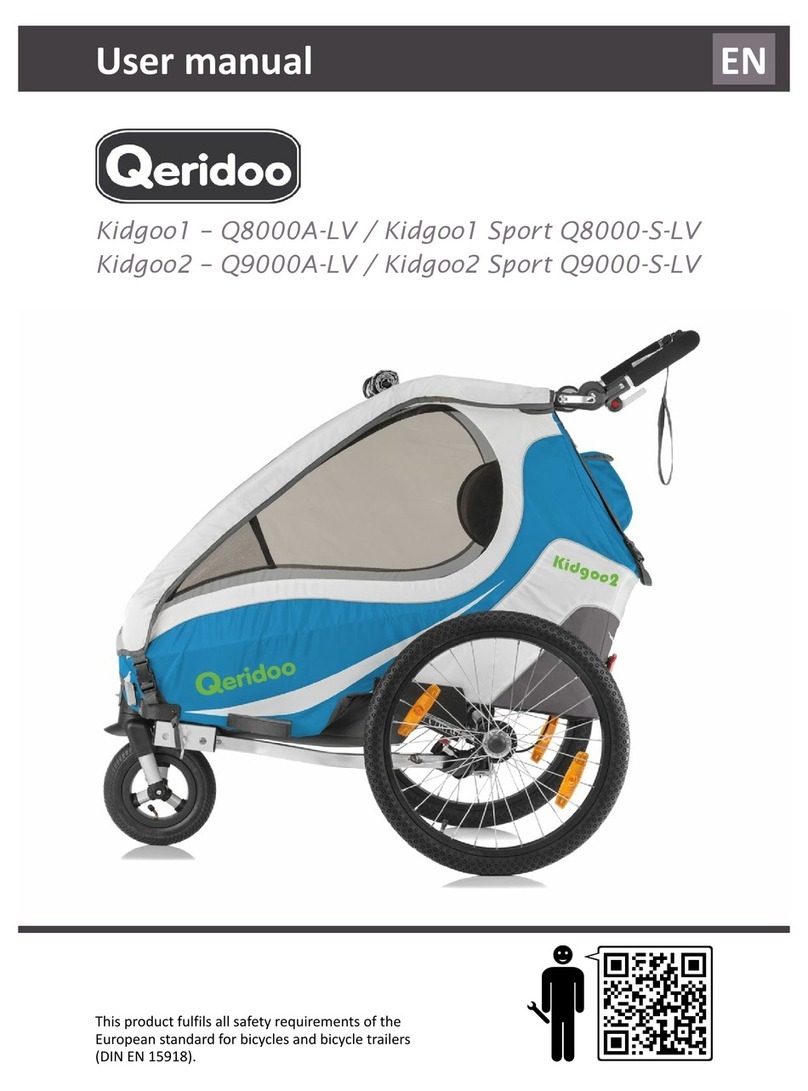
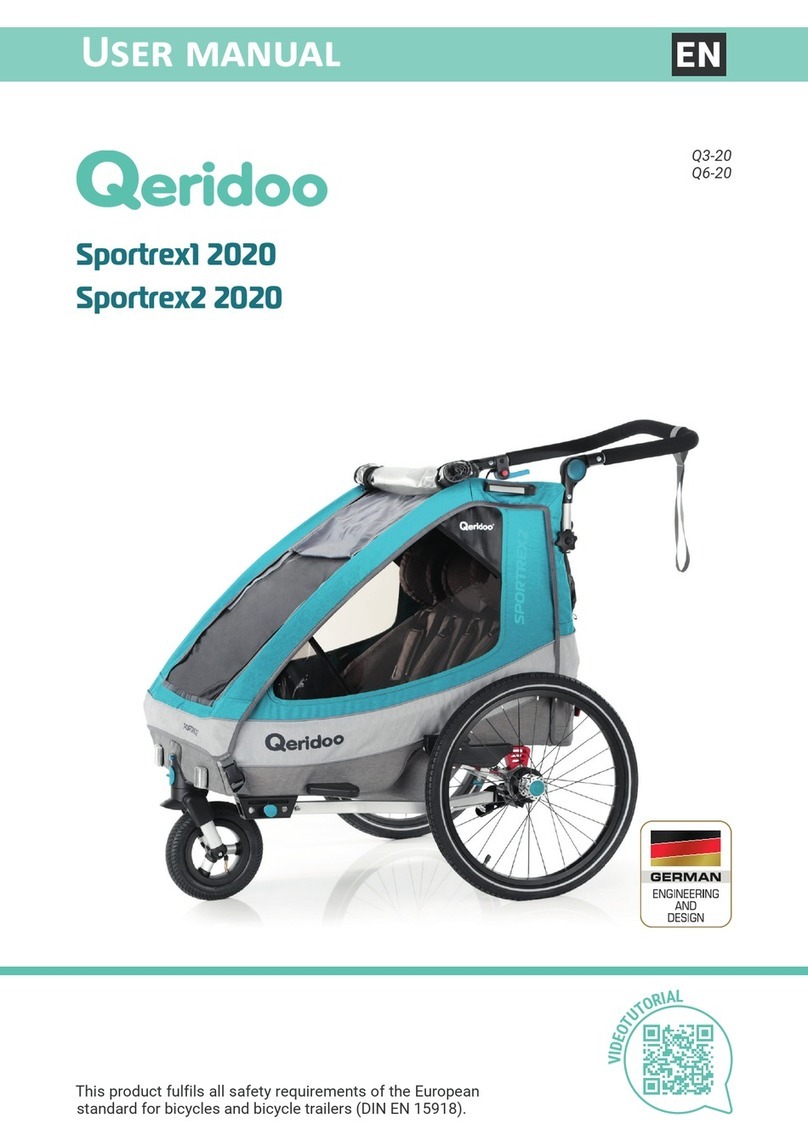
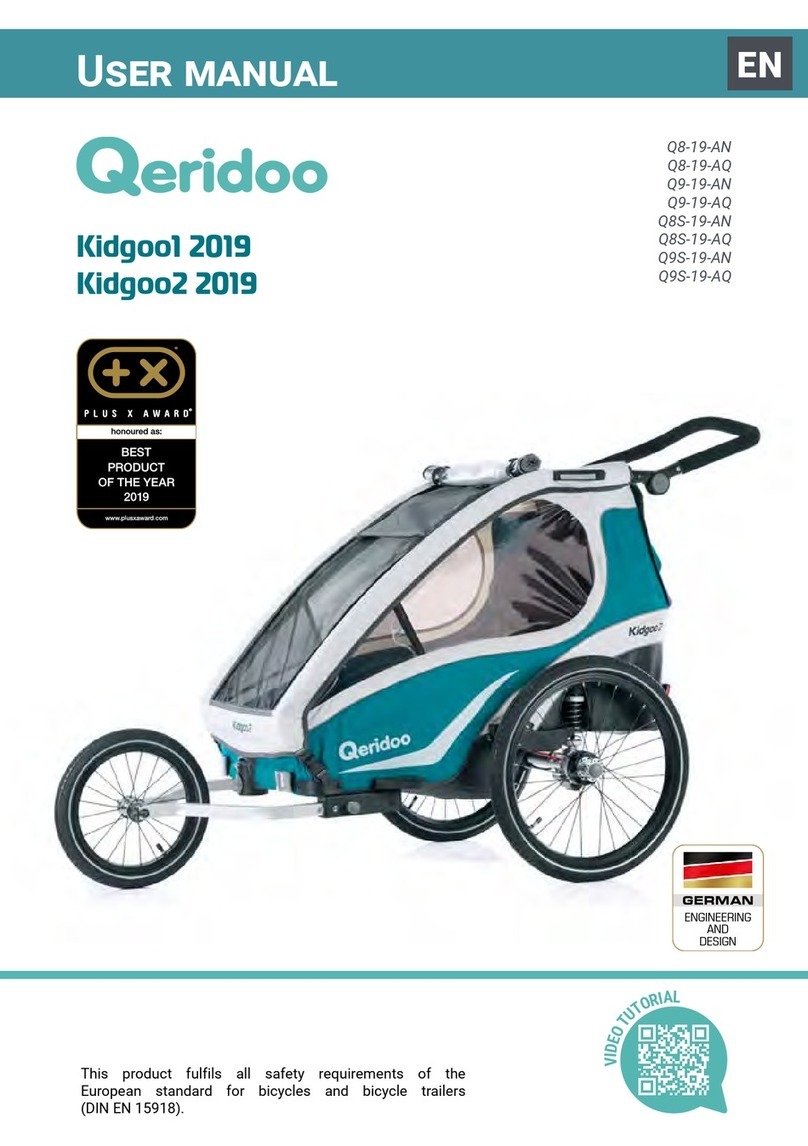
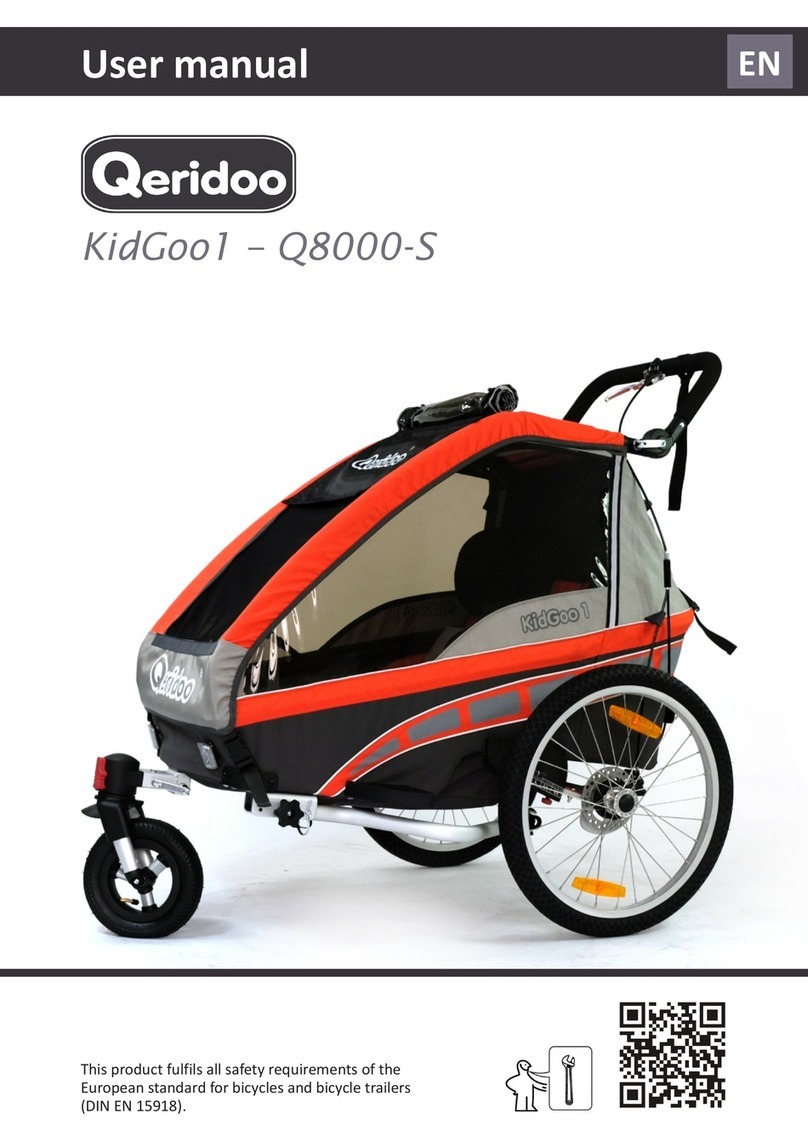
QERIDOO KidGoo2 - Q9000-S User manual

User manual
This product fulfils all safety requirements of the
European standard for bicycles and bicycle trailers
(DIN EN 15918).
EN
KidGoo2 – Q9000-S

2– 05|2016 – Subject to change. KidGoo2 – Q9000-S
Certificates
The KidGoo2 has been tested and approved in accordance with the European Safety Standard
EN 15918. It also fulfils all emissions limit values laid down in accordance with Part 3 of the toy
safety standard EN 71.
Documentation
The statements in this documentation are not to be interpreted as an assurance of
particular product properties. Despite the greatest care being taken to avoid technical
inaccuracies or omissions, the possibility of these arising cannot be entirely excluded.
When necessary, individual items of information can be changed quickly and without
special notification.
This documentation can be ordered from Qeridoo GmbH in other languages, or is available for
download on our website if already available.
Visit us at: www.qeridoo.com
Copyright
All rights to the documentation remain with Qeridoo GmbH.
Texts, values and illustrations may not be reproduced, distributed, used for competitive purposes
or passed on to others. If other product names are used in this documentation, these must
normally be regarded as registered trademarks of the respective manufacturer.

Introduction 4
Proper use 4
Performance limits 4
Notes on the user manual 5
Safety instructions 6
Users 6
Conditions of use 6
Passengers 7
Towing vehicle (Trailer mode) 7
Maintenance and storage 7
Cycling with a trailer 8
Additional lanes 8
Additional weight 8
Defensive riding 8
Product overview 9
Scope of delivery 9
Components and control elements 10
Side view 10
Rear view 11
Accessories 12
Assembly 14
Unfolding the cabin 14
Installing wheel axle and push handle 14
Securing the wheel axle 15
Covering leaf suspensions 15
Fitting the wheel guard 16
Mounting the push handle 16
Relocating brake cable 17
Inserting the wheels 17
Tightening the backrest 18
Inserting the pennant 18
Optional assembly steps 19
Installing the buggy wheel 19
Mounting the tow bar 19
Mounting the coupler onto a bicycle 20
Installing optional accessories 21
Adaptor for baby seat of Class 0+ 21
Utilisation 24
Operating the brake 24
Braking during the journey 24
Using the parking brake 24
Adjusting the brake 24
Adjusting the push handle 25
Setting the mode 26
Adjusting the buggy wheel 26
Folding the tow bar in or out 27
Using the pennant 27
Folding up the push handle 27
Attaching the hand strap 27
Putting on the 5-point safety harness 27
Securing the load 28
Loading the baggage 28
Adjusting the safety harnesses 28
Embarking the child 29
Fastening in a child 29
Checking the weight distribution and tow
bar load 30
Connecting the trailer to a bicycle 31
Using the comfort functions 32
Using the climate functions 32
Adjusting the suspension 33
Storage 34
Care and maintenance 35
Care 35
After every use 35
After use in harsh weather conditions 35
When not in use 35
Maintenance intervals 36
Before every ride 36
Monthly (or every 200 km) 36
Semi-annually (or every 500 km) 37
Every three years (or every 3000 km) 37
Appendix 38
Technical data 38
Warranty terms 39
Support information 39
Spare parts 40
KidGoo2 – Q9000-S Subject to change. – 05|2016 – 3
Contents

4– 05|2016 – Subject to change. KidGoo2 – Q9000-S
Introduction
Proper use
The KidGoo2 was designed as a bicycle trailer and comes with an additional buggy and walker
function. For Trailer mode, use a tow bar with coupler to connect the trailer to a suitable towing
vehicle (bicycle or motorised pedelec with a maximum speed of 25 km/h). With the buggy wheel
attached, the KidGoo2 can be used as a child carrier in Buggy mode. In Walker mode you can use
it when jogging or walking.
The KidGoo2 is for private transport only, carrying up to 2 children on paved routes. You can also
carry baggage in the compartments intended for that purpose, provided that you observe the
permissible weight limits and stow the baggage securely so that the load is evenly distributed.
During the journey, each child must be secured in the seat by a safety harness. If you are carrying
only one child, you must alter the harness arrangement as per the instructions in the chapter
“Adjusting the safety harnesses” on page 28 so that the child is seated securely in the centre.
To safely transport a baby, use the separately available adaptor and install a baby seat of the
class 0+.
The KidGoo2 fulfils all safety requirements of the European standard for bicycles and bicycle
trailers (DIN EN 15918). Use as a bicycle trailer is permitted in darkness or in conditions of poor
visibility only if a rear light conforming to the road traffic regulations has been retrofitted to the
back of the trailer.
It must not be used on unsurfaced ground, to transport baggage in the passenger compartment,
to carry animals or for commercial use. It is essential to observe the limit values specified in the
chapter “Performance limits” on page 4 and to check them before every journey. In all cases,
the rider of the combination or the person using it in Buggy or Walker mode is responsible for
the proper use and roadworthiness of the KidGoo2.
Performance limits
The KidGoo2 can only be safely used if you observe and adhere to the following performance
limits in every mode:
Requirements for passengers
Weights
Permissible total weight
(KidGoo2 + children + luggage)
60 kg
Maximum weight per child 22 kg
Age
Minimum age (without baby seat)
The child must be able to sit up independently. For children
aged up to 18 months, we recommend using a comfort insert,
see “Accessories” on page 12.
12 months
Minimum age (with baby seat) 1 month
Maximum age 6 years
Size
Maximum height 117 cm
Requirements for baggage
Storage space (behind the seat) 5 kg
Pouch for small items (under the push handle) 2 kg

KidGoo2 – Q9000-S Subject to change. – 05|2016 – 5
Introduction
The following additional restrictions apply to Trailer mode:
Requirements for the tow bar
Permissible tow bar load range (on the coupler pocket) 3 – 8 kg
Requirements for the towing vehicle
Vehicle type Bicycle (also recumbent bicycle), pedelec
(supported for up to 25 km/h)
Maximum permissible speed 25 km/h; in curves max. 7 km/h (walking
pace)
Rear wheel size 20" – 29"
Notes on the user manual
This user manual provides you with information about all technical and safety aspects that you
require for mounting, using and maintaining the KidGoo2.
fRead the user manual in full.
fUtilise the user manual to provide instruction for all users.
fAlways keep the user manual close to the KidGoo2.
The following typographical elements are employed in the user manual to indicate the possible
danger sources or special information:
Danger!
Identifies notices pertaining to the Danger risk level. Indicates possible dangers that
can result in injury if the instructions are not followed.
Caution!
Identifies notices pertaining to the Caution risk level. Indicates possible dangers that
can result in material damage if the instructions are not followed.
Tip!
Identifies important information pertaining to the current subject. Indicates
alternative actions, other information sources or helpful tips.
All stated positions (left, right, front, back, top, bottom etc.) refer to the perspective of a viewer
standing behind the push handle and looking in the direction of travel. The tow bar is therefore in
front, the push handle behind.
In this user manual, the word user refers to the person transporting children with the KidGoo2
and making the necessary adjustments on the vehicle.

6– 05|2016 – Subject to change. KidGoo2 – Q9000-S
Safety instructions
Danger!
Read the safely instructions below carefully.
The safety and accident prevention regulations valid in your region and statutory rules
such as the road traffic regulations also apply, and take precedence in cases where
there is doubt.
Make sure that the KidGoo2 is used only by suitable persons, as defined below. Users
must have read and understood this user manual in full.
Caution!
The KidGoo2 is not a toy and must not be misused as such. This means that it is not
permissible to attach the KidGoo2 to a child’s bicycle.
Users
Users are defined as the following persons:
–Any person carrying out assembly work on the vehicle or changing the settings.
–The rider of the towing vehicle in Trailer mode.
–The operator in Buggy or Walker mode.
The user must be at least 16 years old and mentally mature enough to operate the KidGoo2
and transport children.
In Buggy mode, operation by a younger person is allowed if he/she is supervised by a person
who meets the requirements stated above.
The user is at all times responsible for the proper use and roadworthiness of the KidGoo2.
Conditions of use
The KidGoo2 must not be used for commercial or competitive purposes.
Before every journey, check that the KidGoo2 is in a proper and technically faultless condition.
Perform a visual inspection and in particular pay attention to the instructions and checklists in
the chapter “Maintenance intervals” on page 36.
Also inform yourself about country-specific rules and traffic regulations if you are making trips
across borders or if you want to take the KidGoo2 with you on trips abroad.
Before every journey, make sure that the requirements for the particular mode have been
fulfilled. In particular, pay attention to the table and the instructions in the chapter “Setting
the mode” on page 26.
In Trailer mode, a rear light conforming to the road traffic regulations must be retrofitted to
the back of the trailer for journeys in darkness or conditions of poor visibility.
Before every journey, close the inner part of the 2-in-1 canopy so that the integrated insect
net protects the children from insects and small stones. When in traffic, the weather canopy
should also be closed and the ventilation window open to provide protection against exhaust
fumes.

KidGoo2 – Q9000-S Subject to change. – 05|2016 – 7
Safety instructions
Passengers
The KidGoo2 can carry up to two children aged between 1 month and 6 years. Special
accessories must be used in order to secure children who are under 12 months old or who
cannot sit upright independently, see “Accessories” on page 12.
So that they have sufficient headroom in all situations, the children must not be taller
than 117 cm.
Each child must be properly fastened in with a 5-point safety harness.
The children must wear bicycle helmets for every journey. This is also recommended for the
bicycle rider in Trailer mode in order to set a good example.
Before each journey, explain to the children that they must behave appropriately. Undoing
safety harnesses, excessive rocking or leaning out must be strictly forbidden.
Make sure that the cabin is well ventilated and make sure that the children are wearing clothes
appropriate for the weather conditions and the cabin’s inside temperature.
Never leave children unsupervised in the KidGoo2 and make sure that they feel comfortable.
Make regular stops during longer journeys to give the children the opportunity to get out and
move around. Make sure that they drink sufficient liquids.
Towing vehicle (Trailer mode)
As the towing vehicle, it is not permitted to use vehicles that must be registered such
as motorised e-bikes for speeds up to 45 km/h (known as S-pedelecs) or vehicles with a
combustion engine.
The bicycle or the pedelec (motorised for speeds up to 25 km/h) must be technically sound
and suitable for towing loads up to 60 kg. For details, read the towing vehicle’s manual or
consult a specialist dealer for a suitable inspection to be carried out.
Before every journey, test the function of the bicycle’s brakes, brake linings and tyres and
inspect them for wear. Check that the coupler is secure.
For carrying passengers, the bicycle should be equipped with a rear-view mirror. Working lights
conforming to the road traffic regulations are mandatory for journeys in darkness or conditions
of poor visibility.
Maintenance and storage
Follow all instructions relating to the care and maintenance of the KidGoo2 and observe the
specified maintenance intervals, see “Care and maintenance” on page 35.
Install and use only original accessories and spare parts manufactured or recommended by
Qeridoo. Using other products relieves the manufacturer of liability.
Only carry out structural modifications or extensions to the vehicle which are necessary for
the use of the approved accessories in accordance with the assembly instructions. Any further
manipulation that is not expressly approved by the manufacturer in writing relieves the
manufacturer of liability in the event of accidents and defects.
Follow the instructions in the chapter “Storage” on page 34 for storing the KidGoo2 properly
when it is not in use.
8– 05|2016 – Subject to change. KidGoo2 – Q9000-S
Safety instructions
Cycling with a trailer
The way in which the bicycle moves changes significantly when it is pulling a trailer, and this is
particularly noticeable when braking and cornering. With regard to this, pay attention to the
following:
Practice cycling with the trailer before going out onto the road.
Do not carry children until you have familiarised yourself with the different riding behaviour on
suitable terrain.
Think of the children’s safety whenever you ride. Always adapt your way of riding and your
speed to local conditions, and never forget that you are towing a trailer.
Additional lanes
The two wheels of the KidGoo2 run outside the familiar cycling lane. On all routes, particularly
when there are obstacles and potholes, remember that you will always need 3 suitable lanes
for safe riding.
The KidGoo2 is 85 cm wide. Maintain a sufficient distance from obstacles and avoid routes that
are too narrow. Always negotiate narrow points and bends slowly.
Combined, the bicycle and trailer are at least 2.5 m long in total. Negotiate curves with wider
radii than usual and bear in mind the additional lane required for the inner wheel of the
KidGoo2.
Additional weight
When fully loaded, the KidGoo2 weighs up to 60 kg that in addition to its own weight and that
of the rider, the bicycle must pull, brake and keep on track:
–Jerky pulling and braking puts high loads on the coupler and tow bar, and thereby increases
wear.
–All stopping distances are much longer when braking, and the stress on the brake linings
is correspondingly greater. The stopping distance is further increased on wet surfaces and
downhill slopes.
–During braking, especially on bends, the trailer can swing out or push the bicycle’s rear
wheel to the side and reduce its traction.
–High centrifugal force on bends can result in the trailer tipping over.
Do not exceed the maximum permitted speed of 25 km/h and avoid riding at an angle.
Negotiate bends no faster than at walking pace (max. 7 km/h) in order to prevent excessive
centrifugal forces.
Defensive riding
Always ride defensively and with foresight.
Brake in good time before reaching bends, junctions, obstacles etc.
Always negotiate curbs and uneven surfaces slowly. Keep away from steps, escalators and very
steep stretches.

KidGoo2 – Q9000-S Subject to change. – 05|2016 – 9
Product overview
Scope of delivery
The scope of delivery includes some functional units of the KidGoo2 already preassembled.
fUnpack all supplied parts and place these on a clean surface.
fCheck the contents of the package against the list provided.
Caution!
Contact our Service department immediately if any parts are missing or if you find that
the packaging or product is damaged, see “Support information” on page 39.
fRemove the packaging material and all protective caps, and dispose of them in accordance
with the environmental guidelines that apply in your region.
fRead the chapter “Assembly” on page 19 before you assemble parts.
1Cabin with seats, back pad and 5-point
safety harnesses
2Wheel guard (2x)
3Push handle with hand strap and brake
lever
4Wheel axle with disc brake system and
adjustable suspension
5Brake cable
6Pennant with 2-part pennant staff and
centre piece
72 head rests
8Sun visor
9Tow bar with coupler and retaining strap
10 2 leaf suspension covers with imprinted
adjustment scale
11 Buggy wheel (in 2 parts with quick-release
clamp)
12 2 wheels (20" with push-in axle and
2 spoke reflectors on each)

10 – 05|2016 – Subject to change. KidGoo2 – Q9000-S
Components and control elements
Side view
1Cabin (frame made from aluminium tubes
with weatherproof fabric cover)
2Side window (right, incl. ventilation
window)
3Canopy with insect, rain and sun cover;
window film can be rolled up; removable
sun visor
4Seat with 5-point safety harnesses, head
rests and back pad
5Reflective seams in the fabric cover
6Brake cable branch, adjustable
720" wheel with push-in axle, air valve
(Schrader valve) and spoke reflector
(orange)
8Rubber cap for push-in axle release when
mounting the wheels
9Wheel axle with disc brake system and
adjustable suspension
10 Wheel guard for deflecting obstacles
11 Tow bar for Trailer mode (folded in)
12 Tow bar holder on the cabin frame with
cotter pin fastening
13 Harness fastener of canopy
14 Buggy wheel for three-wheel use in Buggy
or Walker mode
15 Mode switch:
Buggy mode: Wheel turnable
Walker mode: Wheel running straight
Trailer mode: Buggy wheel removed
16 Wheel mount on the cabin frame
17 Front reflector, white
Product overview

KidGoo2 – Q9000-S Subject to change. – 05|2016 – 11
Product overview
Components and control elements
Rear view
1Pushbutton for adjusting the height of the
push handle (both sides)
2Push handle with safety function as
roll-bar
3Hand strap for Buggy and Walker mode
4Brake lever, lockable
5Quick-release clamp for securing the push
handle (2x)
6Ventilation window, can be rolled up
7Storage space cover with two pouches
for small items (max. 2 kg baggage)
8Harness to open the storage space cover
9Loop to fasten the brake cable (2 in total)
10 Storage space with inside pocket,
accessible from the outside (max. 5 kg
baggage)
11 Rear reflector, red
12 Wheel axle
13 Coupler pocket with cotter pin fastening
and impact damper, also retaining strap
for securing the tow bar on the bicycle
frame
14 Disk brake system
15 Reflective seams in the fabric cover
16 Brake cable to disc brakes on the wheel
axle
17 Pennant pouch for holding the pennant
staff (inside)

12 – 05|2016 – Subject to change. KidGoo2 – Q9000-S
Product overview
Accessories
Using the accessories listed here, you can extend your KidGoo2 and optimally adapt it to suit your
needs and the age of your children:
Coupler
Art. no.: K-587K
Rear light, battery operated
Art. no.: FK589
Jogger air wheel with hand brake
Art. no.: 8956-14
Jogger air wheel without brake
Art. no.: 7776-14
Adaptor for baby seat (Class 0+)
Art. no.: AD-800
Baby seat (Class 0+)
Art. no.: 1298
Baby seat
Art. no.: 12578
Baby seat, variable-length
Art. no.: BS.04.013.00

KidGoo2 – Q9000-S Subject to change. – 05|2016 – 13
Comfort insert
Art. no.: S-58697
Seat cushion
Art. no.: SI-5555
Rain cover
Art. no.: JR-8-1
Folding garage
Art. no.: 035689
You can find our current list of dealers on the Internet at:
http://qeridoo.com/index.php/en/haendlersuche-english
Product overview

14 – 05|2016 – Subject to change. KidGoo2 – Q9000-S
Assembly
Below you can read all the information that you will need to assemble your KidGoo2 properly.
fMake sure that you have sufficient space to assemble it.
Also pay attention to the door width at the place of installation: The KidGoo2 is 85 cm wide
with the wheel guards fitted.
fHave a size 4 hex key and a medium-sized Phillips screwdriver to hand (not supplied).
fPerform each of the instructions step by step.
fIf necessary, follow the QR code to call up a video about
assembly and operation on the Internet. Using the
Jumbo 1 Kid as an example, the video shows a few functions
that also apply to the KidGoo2:
Danger!
Never perform assembly work if there are children in the cabin. Keep children away
from the vehicle during assembly.
When handling moving components, make sure that your hands or fingers do not get
trapped.
Unfolding the cabin
fPlace the collapsed cabin in the assembly area.
fPosition yourself behind the cabin.
fPull both sides of the rear cabin frame all the way up.
fOpen the storage space cover.
fPull the lower horizontal bar backwards evenly until
the two red locks on the left and right engage audibly.
Installing wheel axle and push handle
Caution!
In the as-delivered state, the wheel axle and the push handle are connected via the
brake cable. To avoid damaging it, you should place the push handle on the floor
behind the cabin when assembling the wheel axle.

KidGoo2 – Q9000-S Subject to change. – 05|2016 – 15
Assembly
fTilt back the cabin and place it on its reverse side. This makes the lower cabin frame accessible
for assembly.
Securing the wheel axle
The wheel axle is equipped with a disc brake system and adjustable leaf suspensions. The
suspension effect of the two red leaf suspension plates can be adjusted by moving a clamp, see
“Adjusting the suspension” on page 33.
Screw the wheel axle with leaf suspensions into the wedge-shaped leaf suspension mount of the
cabin frame. You will need 4 hexagon socket screws (M7) as well as the 8 appropriate washers
and 4 spring lock washers from the screw set.
fPlace 2 washers and 1 spring lock washer on each
screw. The spring lock washer must be placed
between the two washers.
fAdjust the leaf suspension plates using the clamps so
that their holes are placed on top of each other.
fThe knurled screws of the clamps point downwards
(away from the cabin) when assembling the axle.
fHold the wheel axle with the leaf suspensions against
the wedge-shaped leaf suspension mount.
fScrew the four screws prepared with washers and
spring lock washers through the leaf suspension into
the leaf suspension mount.
fTighten the screws using a hex key (tightening torque
max. 4 – 5 Nm).
Covering leaf suspensions
The leaf suspensions are equipped with a cover to protect against contusion. An imprinted scale
aids the adjustment of the suspension effect.
The cover is screwed to the cabin frame using 3 screws each. You will need the 6 Phillips screws
from the screw set.
fHold the cover against the cabin frame so that the
imprinted scale labels the adjustment track of the leaf
suspension clamp.
fMount the cover to the cabin frame using three
screws.
fEnsure that the screws are only tightened enough
using a Phillips screwdriver, so that the cover does not
get damaged.
fMount the second cover in the same way.

16 – 05|2016 – Subject to change. KidGoo2 – Q9000-S
Assembly
Fitting the wheel guard
The wheel guard on both sides of the cabin prevents the wheels from getting stuck on pillars or
similar obstacles.
fPrepare the wheel guard by removing the two prefitted screws from the holes.
fHold the wheel guard close to the wheel against the cabin frame so that the following
conditions are fulfilled:
–The holes on the wheel guard face the holes in the cabin frame tube.
–The curved outside of the wheel guard widens towards the wheel.
fOpen the canopy and insert the 2 screws from the
inside through the tube of the cabin frame.
fPosition the wheel guard on the outside onto the
screws with the holes so that the bent exterior side of
the wheel guard gets broader towards the wheel.
fLoosely screw the self-locking nuts onto the threads. When doing this, make sure that the
circular side of the nut is not against the thread.
fUse a size 4 hex key to alternately tighten both screw connections (tightening torque max.
4 Nm).
fMount the second wheel guard in the same way for the other wheel.
Mounting the push handle
The push handle has multiple height settings and is used for pushing, pulling and manoeuvring
your KidGoo2. And if it becomes necessary, it performs an important safety function as a roll-bar.
The push handle is attached at the top of the cabin frame using 2 quick-release clamps.
fPosition the cabin upright.
fUnfold the push handle completely. To do this, keep the light grey pushbuttons pressed on
both sides, see “Adjusting the push handle” on page 25.
fLoosen the two pre-assembled quick-release clamps
and remove them.
fHook the upper loops of the canopy into the tube
ends at the cabin roof.
fInsert the two ends of the push handle into the tube
ends at the cabin roof.
Caution!
Avoid twisting the brake cable. It should be possible to lay it towards the wheel axle
after assembly of the push handle.

KidGoo2 – Q9000-S Subject to change. – 05|2016 – 17
fPlace the quick-release screws from the outside
through the holes of the following parts to secure the
connection:
–Reinforcement plate (outside of the push handle)
–Push handle
–Tube ends of the cabin roof
fPlace the nut onto the thread and tighten until the quick-release clamp can only be closed with
a bit of force.
fClose the quick-release clamp.
Danger!
Make sure that the push handle is also mounted for every journey in Trailer mode.
Only then does the cabin have a roll-bar.
Relocating brake cable
You can operate the disc brake system using the lockable
brake lever in the middle of the push handle. The brake
cable is laid along the storage space towards the two disc
brakes at the wheel axle. Two loops which are designed
as Velcro fasteners are used as attachments.
fGuide the brake cable through the two loops and close
the Velcro fasteners.
Inserting the wheels
fPlace the cabin on one side to allow the wheel to be inserted more easily.
fInsert one wheel into the wheel axle:
–Hold the wheel so that you can press your thumb
onto the rubber cap on the outside of the wheel
hub.
–Press on the rubber cap and keep it pressed in
order to open the push-in axle fastening.
–Insert the wheel’s push-in axle as far as it will go
into the axle retainer.
–Release the rubber cap to secure the push-in axle.
fPull on the wheel to check that the wheel is locked in
the axle retainer.
fTurn the cabin onto its other side and insert the
second wheel in the same way.
Assembly

18 – 05|2016 – Subject to change. KidGoo2 – Q9000-S
Danger!
After mounting the wheels, secure the KidGoo2 whenever you park it so as to prevent
it from rolling away, see “Using the parking brake” on page 24.
fCheck whether there is sufficient air in the wheels (recommended air pressure: 1.7 – 2.4 bar).
If necessary, use an air pump for car valves to top up with air.
Tightening the backrest
The stable backrest is an important safety element. The straps under the bench seat and behind
the cabin must always be tightened for a secure hold.
fPut the cabin into the upright position and open the
cover.
fCheck the tension of the 4 harnesses under the bench
seat and tighten them.
fSecure the straps using the buckles:
–In each case, thread the end of the strap into the
buckle as shown.
–It is essential to check that the two buckles are
secure.
fOpen the cover of the storage space and check the
tension of the 5 harnesses behind the backrest.
fPull the harnesses that are tensioned around the
upper crossbar so that a clearance of approx. 4 – 8 cm
remains between the crossbar and the backrest.
Inserting the pennant
Danger!
The pennant must always be mounted in Trailer mode. Otherwise the very low
KidGoo2 is too easily not seen by other road users.
For safety reasons, we recommend putting the pennant into the pennant pouch so
that it is easily visible before every journey, including in Buggy or Walker mode.
fUsing the connecting piece, insert the pennant staff
into the extension rod.
fInsert the extended pennant staff into the pennant
pouch on the inner left side.
fUnroll the pennant so that it can fly clearly visible on
the pennant staff.
Assembly

KidGoo2 – Q9000-S Subject to change. – 05|2016 – 19
Assembly
Optional assembly steps
Installing the buggy wheel
You need the buggy wheel for Buggy and Walker mode. It consists of two components:
The wheel suspension is fitted to the wheel mount of the cabin frame by means of a quick-
release clamp.
The wheel itself is inserted into the wheel suspension and is mounted so that it can rotate
through 360°. The mode switch at the front enables you to optionally remove or lock the
wheel, see “Adjusting the buggy wheel” on page 26.
fTilt back the cabin and place it on its reverse side. This
makes the lower cabin frame accessible for assembly.
fRelease the quick-release clamp of the wheel
suspension.
fPush the wheel suspension as far as it will go into the
cabin frame’s wheel mount.
fSecure the connection with the quick-release clamp.
fCheck whether there is sufficient air in the buggy wheel (maximum air pressure: 2 bar).
If necessary, use an air pump for car valves to top up with air.
Mounting the tow bar
You only require the tow bar in Trailer mode. It is used to hook up the KidGoo2 behind a bicycle
equipped with a suitable coupler, see “Connecting the trailer to a bicycle” on page 31.
The tow bar is screwed into the tow bar mount with a screw and a star grip nut and can be folded
into two different positions:
Attachment position: The tow bar is facing forwards.
Standby position: The tow bar is facing to the rear and is carried under the cabin floor.
In both positions, the tow bar is also secured with a cotter pin.
fTilt back the cabin and place it on its reverse side. This makes the tow bar mount on the lower
cabin frame accessible for assembly.
fLoosen the star grip nut and remove the washer, the spring lock washer and the screw from
the tow bar mount.
fRemove the retaining cotter pin from the tow bar.
fHold the tow bar on the tow bar mount so that the
following conditions are fulfilled:
–The curve of the tow bar faces inwards.
–The holes in the tow bar mount and tow bar are
precisely aligned with each other.
fInsert the screw from the inside through the holes in
the tow bar mount and tow bar.
fPlace the spring lock washer and the washer on the outside onto the screw and screw the star
grip nut loosely into the thread.

20 – 05|2016 – Subject to change. KidGoo2 – Q9000-S
Assembly
fFold the tow bar into the desired position.
fLock the tow bar in the front or rear hole of the tow
bar mount by pushing through the cotter pin and
folding closed the securing bracket.
fTighten the star grip nut in order to securely connect
the tow bar to the cabin.
Tip!
You do not have to remove the tow bar after use. Instead, simply fold it under the
cabin floor, see “Folding the tow bar in or out” on page 27.
Mounting the coupler onto a bicycle
Danger!
Make sure that your bicycle is suitable for towing a bicycle trailer, see “Performance
limits” on page 4. Since it may in some cases be necessary to change the rear
wheel axle, it is best to consult your specialist dealer or the bicycle manufacturer in
order to do this.
Caution!
Secure the bicycle to prevent it from toppling over, and make sure that the rear wheel
cannot drop out of the axle mount after the screw connection has been undone. Use
for example an assembly stand, or turn the bicycle upside down so that you can place
it on its saddle and handlebars.
In the as-delivered state, the supplied coupler is in the coupler pocket of the tow bar:
fUndo the cotter pin fastening and remove the coupler.
fNext, insert the cotter pin fastening back into the
coupler pocket of the tow bar.
fPrepare the bicycle for mounting the coupler by
undoing the screw connection of the rear wheel axle:
–Quick-release axle: Open the bracket of the quick-release axle and unscrew the cap nut on
the other side of the rear wheel axle.
–Full axle: Unscrew the nut on the left side of the rear wheel axle.
fMount the coupler on the rear wheel axle:
–Place the large hole of the coupler onto the left
side of the rear wheel axle so that the coupler is
facing outwards.
–Screw on the dedicated nut and tighten it slightly.
Table of contents
Other QERIDOO Bicycle Accessories manuals

QERIDOO
QERIDOO Kidgoo1 2018 User manual

QERIDOO
QERIDOO Sportex User manual

QERIDOO
QERIDOO Q8000-S User manual

QERIDOO
QERIDOO TrailerQuick User manual

QERIDOO
QERIDOO Kidgoo1 Sport User manual

QERIDOO
QERIDOO Sportrex User manual

QERIDOO
QERIDOO Speedkid1 2020 User manual

QERIDOO
QERIDOO Sportrex1 2019 User manual

QERIDOO
QERIDOO Sportrex1 2020 User manual

QERIDOO
QERIDOO Joggerrad User manual

QERIDOO
QERIDOO Speedkid2 Q200-L User manual

QERIDOO
QERIDOO Kidgoo1 2018 User manual

QERIDOO
QERIDOO Speedkid2 2018 User manual

QERIDOO
QERIDOO Kidgoo1 2019 User manual

QERIDOO
QERIDOO Kidgoo Pro User manual

QERIDOO
QERIDOO Kidgoo1 2020 User manual

QERIDOO
QERIDOO Kidgoo User manual

QERIDOO
QERIDOO Speedkid1 User manual