QFX SB-2032BT User manual

SOUND BARWITH BLUETOOTH RECEIVER
MODEL NO.: SB-2032BT

1
CONTENTS
Safety information-------------------------------------------------------------------------------------------------2,3
Welcome---------------------------------------------------------------------------------------------------------------4
Setup--------------------------------------------------------------------------------------------------------------------5
Your2.0SpeakerBar-------------------------------------------------------------------------------------------------6
RemoteControl--------------------------------------------------------------------------------------------------------7
USB,Bluetooth---------------------------------------------------------------------------------------------------------8
FMRadio----------------------------------------------------------------------------------------------------------------9
ClockandSleepTimer/Alarm------------------------------------------------------------------------------------10
-----------------------------------------------------------------11
----------------------------------------------------------------------12,13
Troubleshooting/Maintenance/Technicalspecifications-------------------------------------------------14
Operatingandconnectinganexternaldevice
MountingtheSpeakerBarontoawall
14
1.Do not useharsh or abrasivecleaning agents orsolvents.
2.Do not attemptto disassemble yourproduct.
3.Do not paintyour product.
4.Do not drop,throw or tryto bend yourproduct.
5.Do not exposeyour product toopen flames.
Maintenance
Troubleshooting
Check that itis NOT setto mute.
Problem
No power
No sound
from bluetooth
first connection
Function
disturbed
The remote
control won' t
work
No sound
What to do
Check that the power isswitched on atthe wall.
Check if thepower cord isproperly connected to thepower outlet.
Check that the volume control isNOT at minimum setting.
Check if youhave entered password or not. Itneeds to start with
password 0000"".
If none of the above solutions work ,then switch off and
unplug your Speaker system ,leaving it for 2 minutes and
then switching it back on again.
Inspect or replace the battery.
Make sure there areno obstacles obscuringthe front ofthe
Speaker.
Technical specifications
Size
Output power
Standby power consumption
Input sensitivity
S/N(A weight)
Frequency Response
L/ R seperation(1khz)
L/ R balance(stereo)
Supported file formats
20W+20W
810(L)x113.5(H)x61(D)mm
1W
800mV
60dB
50Hz~20KHz
40dB
1.5dB
MP3.WMA
*Specifications are subjectto change withoutprior notice.
FM 87.5-108MHz

2
SAFETY INFORMATION
IMPORTANTSAFETY INSTRUCTIONS- READ CAREFULLY BEFOREUSE.
!!
Keep theseinstructions
Do notuse thisunit nearwater.
Clean onlywith aslightly dampcloth.
Do not blockany ventilation openings.
Install inaccordance withthe suppliedinstruction manual.
Protect thepower cord frombeing walked onor pinched, particularlyat plugs,
and the pointwhere it exitsfrom the unit.
Do notallow thepower cordto overhangthe edgeof atable.
Unplug thisunit whenunused forlong periodsof time.
This symbol indicatesthat thereare important operatingmaintenance
instructions in theliterature accompanying thisunit.
This symbol indicatesthat dangerous voltageconstituting a risk
of electric shockis present withinthis unit.
WARNING! TO REDUCETHE RISKOF FIREOR ELECTRICALSHOCK,
DO NOTEXPOSE THISUNIT TORAIN OR MOISTURE.THE UNIT
MUST NOTBE EXPOSEDTO DRIPPINGAND SPLASHINGAND NO
OBJECTS FILLED WITHLIQUIDS SHOULD BEPLACED ONTOP OFIT.
!!
NOTE: Nonaked flamessuch ascandles shouldbe placednear or
underneath the unit.
IMPORTANTSAFETY INSTRUCTION(Continued)
This unit hasbeen produced accordingto all currentsafety regulations.
The following safetytips should safeguardusers against carelessuse and the
dangers connected withsuch use.
Although this appliance has been carefully manufactured and rigorously
checked priorleaving the factory,as withall electrical appliancesit is
possible forproblems to develop. Ifyou notice smoke, anexcessive build up
of heat orany otherunexpected phenomena, youshould disconnect the
plug from the mains powersocket immediately.
Ensure that the unit is sufficiently ventilated! Never place next to or
underneath curtains!
Youshould use
2 pieces ofshort screws 2 pcs plastictubes
2/. Mountingon thedry wall
1. Use theTAPEMEASURE to decidehow high you'dlike to hangthe Speaker Bar
on the wall.The SOUNDBar must behung within 5feet of anAC poweroutlet
for the attachedAC powercord to reach.
2. Mark theposition of themounting screws onthe wall usinga pencil.
3. Line theLEVEL upon both ofyour mark surethey are level.
If they're not,adjust the marksas needed tomake them level.
4. Drill ahole by apowerful electric drill.
5. Use ahammer gently nail2 plastic tubsinto the holes.
6. Drill throughthe screws directlyinto the holes.
7. Use theLEVEL tocheck that themounting screws arelevel.
8. Put theSOUND Bar ontothe mounting brackets,and make surethere is afirm
and stable connectionbefore letting goof the SoundBar.
9. Finally, use theLEVEL toconfirm that theSound Bar islevel.
(1) (2)
13

The mains plug or appliance coupler is used as the disconnect device,
the disconnect device shall remain readily operable.
This set should only be connected to a mains power supply whichmatches
that stated on the label on the rear of it-do notattempt to connect it to any
other type of supply.
The socket-outlet must be installed near the equipment and easilyaccessible.
'
Toprevent overload, don t share the same mains supply socket with too
many other items of equipment.
Apparatus with Class1 construction shallbe connected toa mains socket
outlet with aprotective earthing connection.
Keep away fromrodents. Rodents enjoybiting into electricflexes.
Always hold theplug when pullingout the plugfrom the mainssupply socket.
Do not pullon the flex,the flex canbecome overloaded andcause a short
circuit.
Set up theunit so thatno one isable to tripover the flex.
Do not placeheavy items onthe flex, whichmay damage it.
Takenote that theflex cannot bereached and pulledby young children,
avoiding injury.
Do not setup the unitnear to heatsources. Thecasing and theflex could be
damaged by theimpact of heat.
Avoid placingthe unit onany surfaces thatmay be subjectto vibrations or
shocks.
When you leaveyour home forlong periods oftime, unplug theAC power
cable for safetyreasons.
The unit becomeswarm when inoperation. Do notplace any coversor
blankets on theunit in orderto prevent overheating.The ventilationholes
are not tobe blocked. Donot set upnear radiators. Donot place indirect
sunshine. When placingon a shelfleave 5cm(2 )free space aroundthe
whole unit.
Do not allowwater or moistureto enter theunit. Do NOTuse in wetor moist
areas such asBathrooms, steamy kitchensor near swimmingpools.
Do not usethis unit whenmoisture condensation mayoccur.
Any repairs mustbe carried outby qualified personnelonly.
Liquids spilt intothe unit cancause serious damage.Switch the setOFF and
disconnect the mainspower supply, then consulta qualified serviceperson
before attempting touse the unitagain.
Do NOTremove the safetycovers. Thereare no useableor serviceable parts
inside. You may invalidatethe warranty. Qualified personnelmust only service
this apperatus.
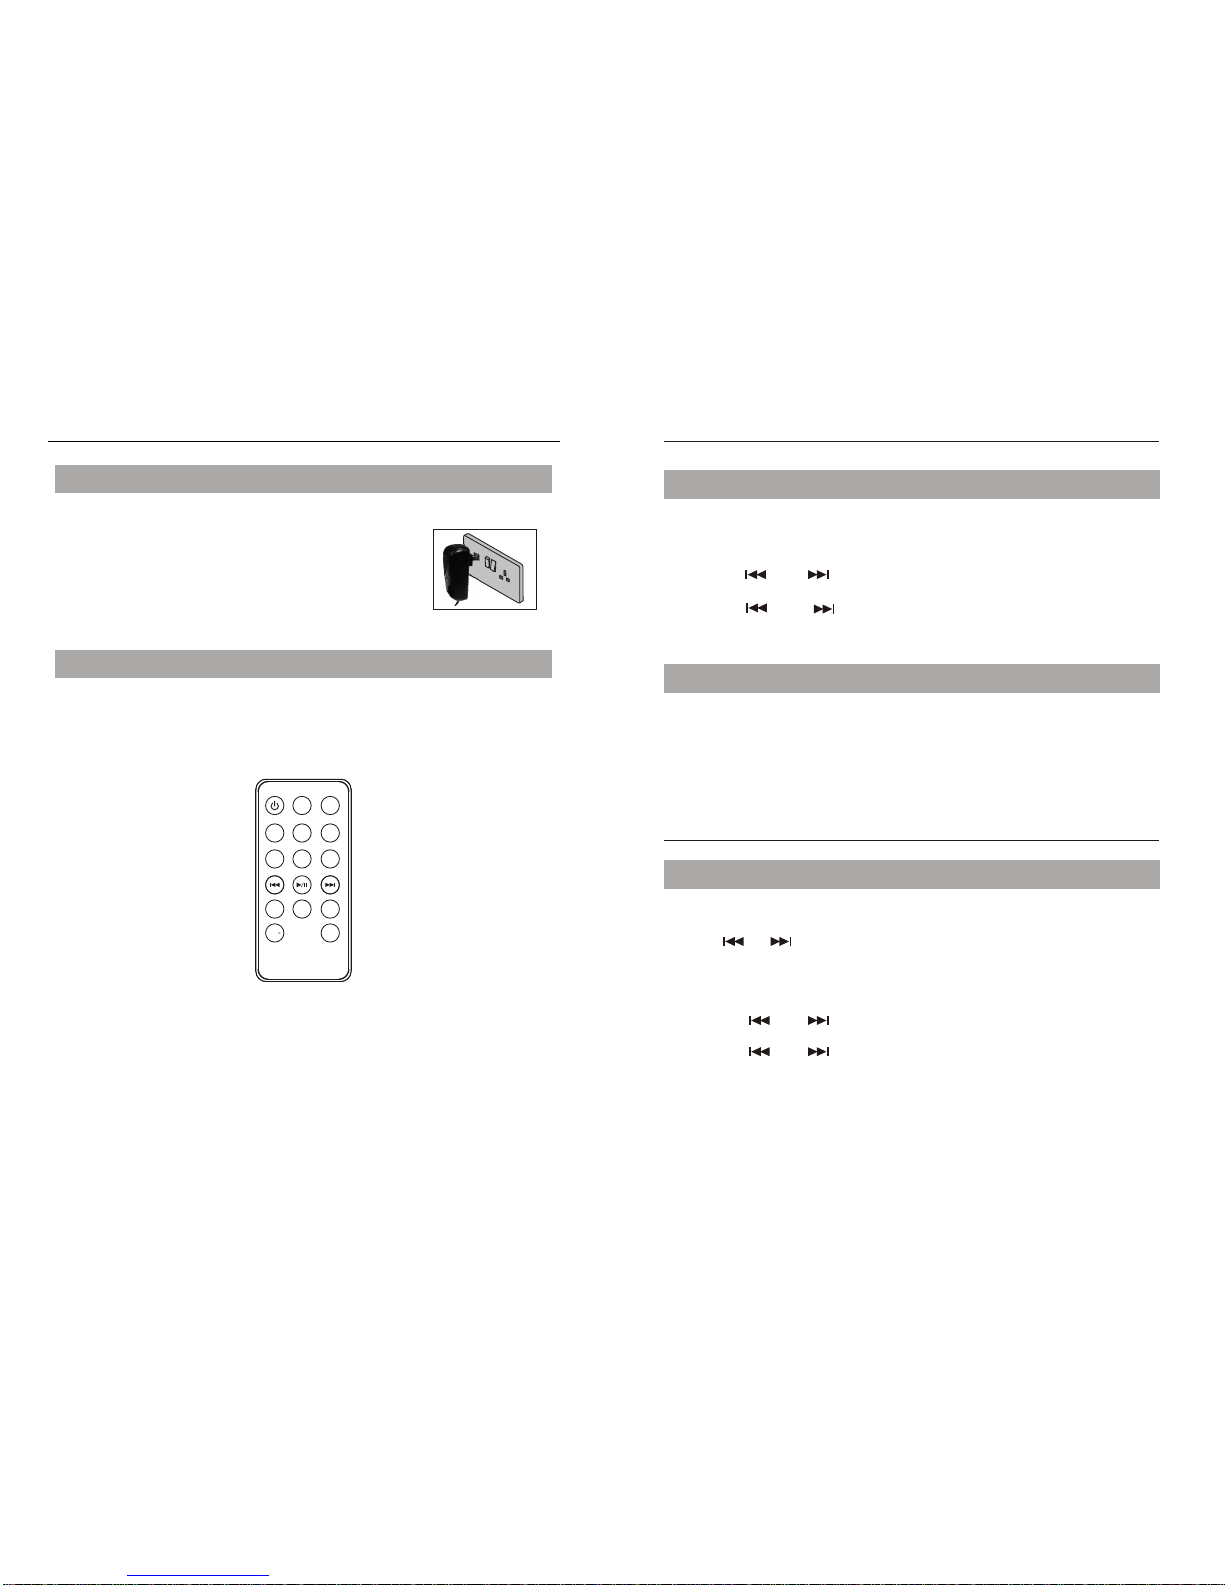
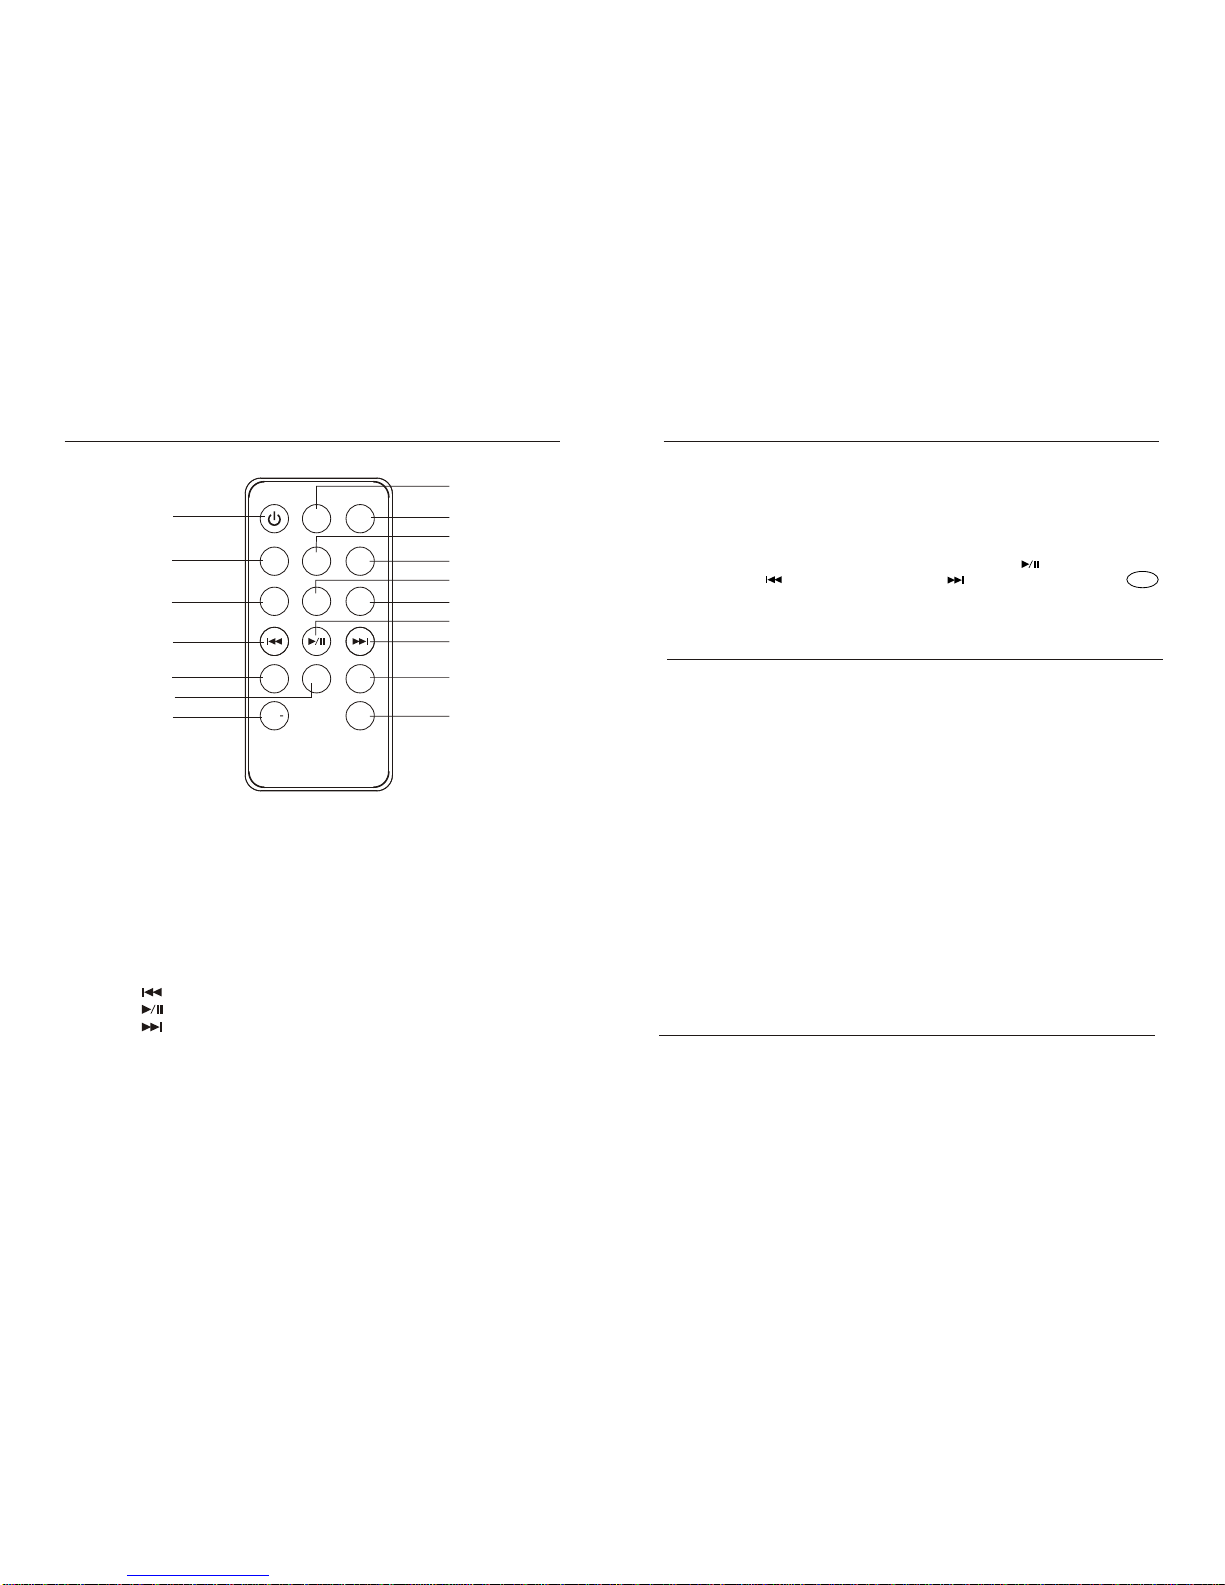
Takegood care ofthe remote control,do not drop.
Never place hotobjects or openflame sources onor close tothe unit.
High temperatures canmelt plastic andlead to fires.
Toclean use asoft dry cloth.Do NOTuse solvents orpetrol based fluids.
For stubborn stains,you may usea damp clothwith dilute detergent.
312
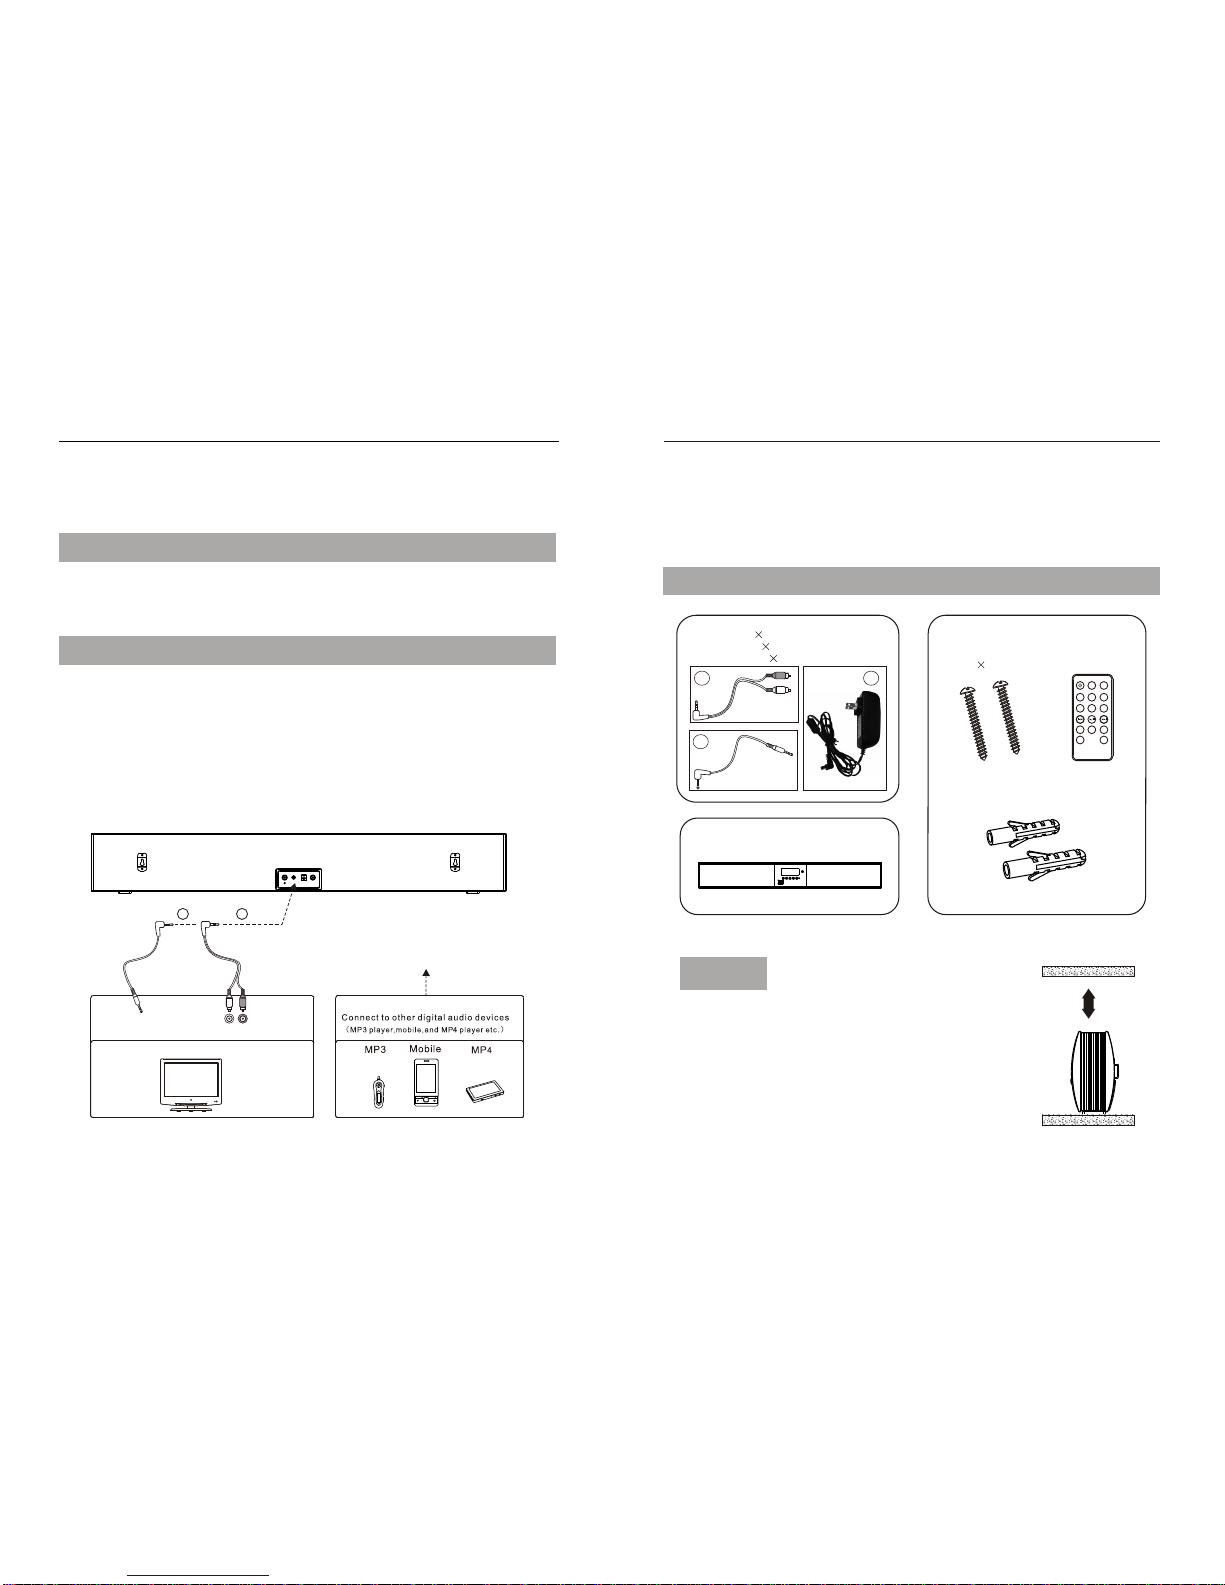
We recommendhaving this speakerprofessionally mounted. Byusing the includedwall
mounting accessories, thesound bar canbe mounted ontoa wall.
Mounting theSpeaker Baronto awall
You willneed
Level
Manual or Electricdrill
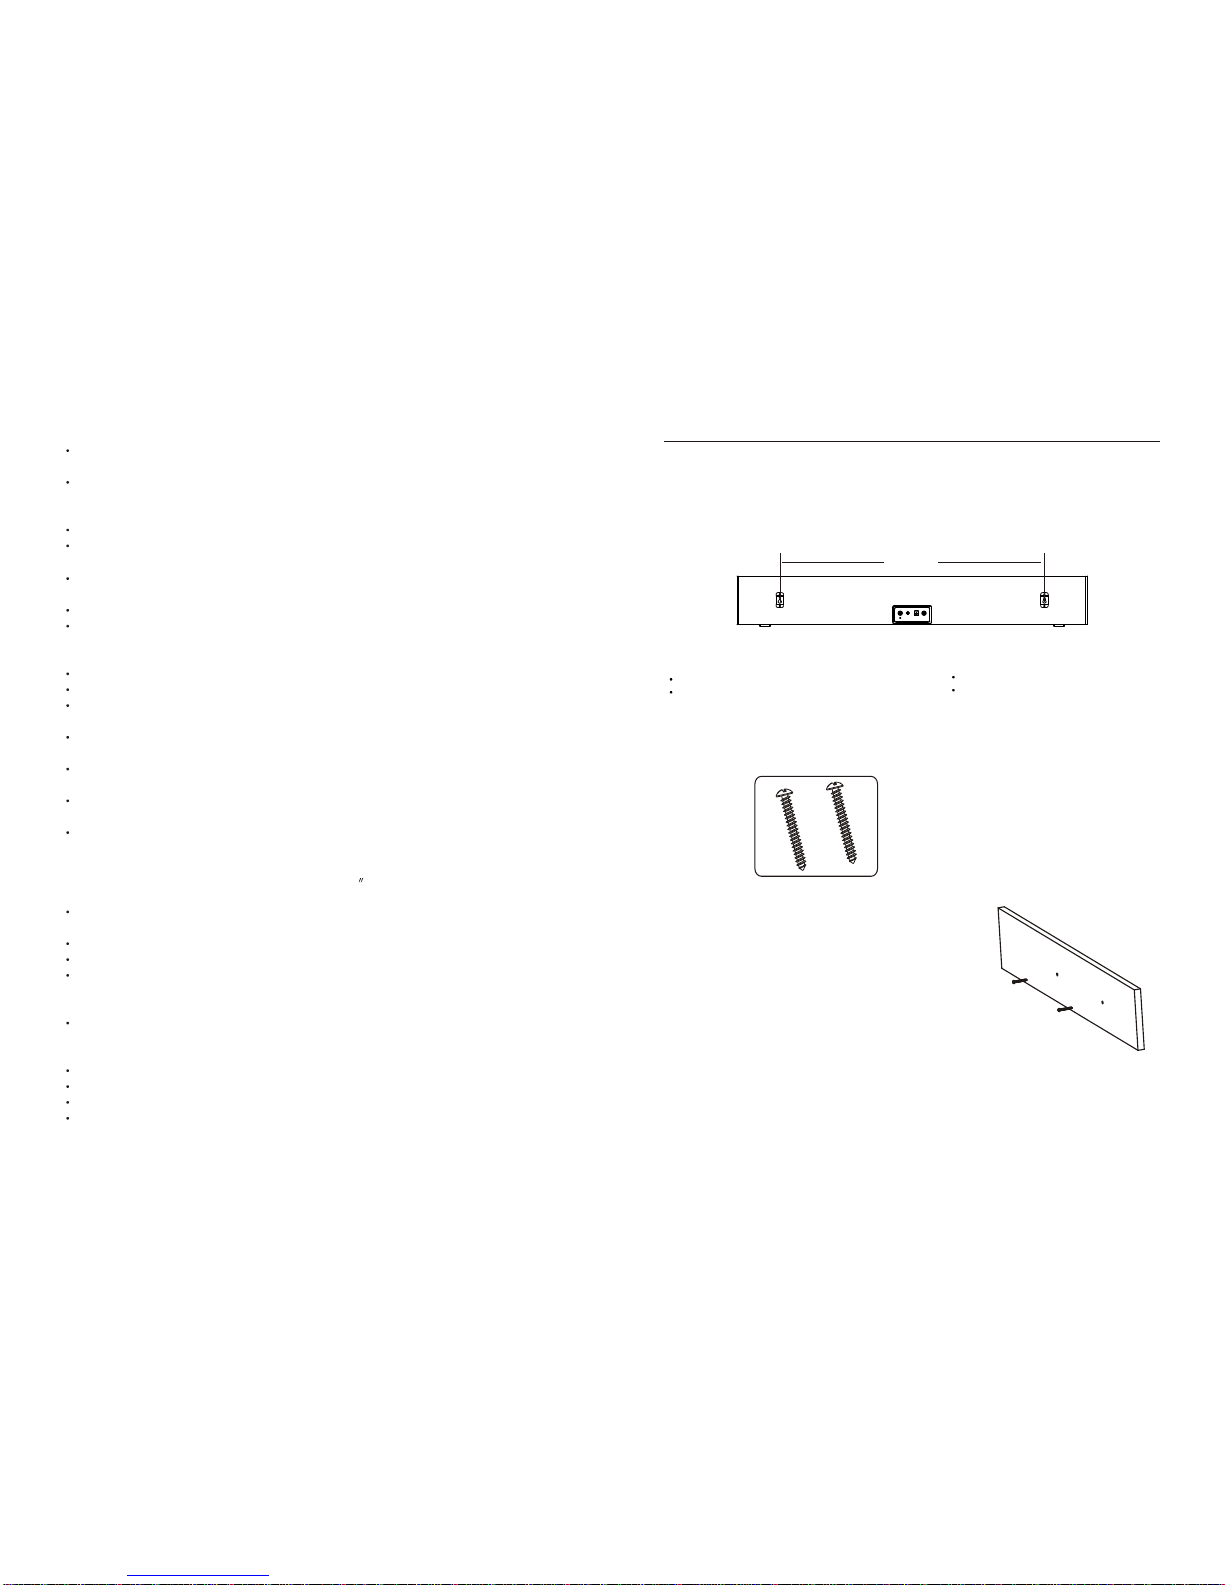
Distance BetweenTwoBrackets
1/. Mountingon thewooden wall
You shoulduse
600mm
Pencil
TapeMeasure
1. Use theTAPEMEASURE to decidehow high you'd
like to hangthe SOUND Baron the
wall. TheSOUND Bar mustbe hung within5 feet of
an ACpower outlet forthe attachedAC power cord
to reach.
2. Mark theposition of themounting screws onthe wall
using a pencil.
3. Line theLEVEL upon both ofyour mark surethey are
level. If they'renot, adjust themarks as neededto
make them level.
4. Afteryou've double checkedyour marks, drillthrough the screwsdirectly
into the marksthat you havemade on thewall.
5. Use theLEVEL tocheck that themounting screws arelevel.
6. Put theSound Bar ontothe mounting brackets,and make surethere is afirm and
stable connection beforeletting go ofthe Sound Bar.
7. Finally, use theLEVEL toconfirm that theSound Bar islevel.
2 pcs shortscrews

4
2-3 inches
Welcome
Congratulations onpurchasing thisbluetooth soundbar.The SpeakerBar
allows youto playTV audiocontent froman attachedtelevision, andfrom
your bluetoothenabled mobilephone, PCor Tablet.
Please readthe warningsection carefullybefore usingyour SpeakerBar.
Youshould have
Ventilation
When placingthe SpeakerBar onan entertainmentcenter,
bookshelf,or anytype ofenclosed space,be sureto allowat
least 2-3inches ofspace aroundthe SpeakerBar for
ventilation. Ifthe SpeakerBar isenclosed ina tightspace,
without ventilation,heat generatedfrom theSpeaker Bar
could producea potentialheat hazard.
Note:
11
Make sure youmatch up theRed (R)and White(L)Audio connectors,either RCAcable or
line in/out cableonly.
Operating and connecting an external device
Youcan also connectan external deviceto your SpeakerBar through theAUX/LINE in
jack in therear panel ofthe sound barTo play theexternal device youwill need toselect
AUX SOURCE usingthe SOURCE button.
Once the deviceis connected youcan control playbackas you wouldusually.
Press the VOLUME+ and -buttons on thesound bar toincrease or reducethe volume.
Press the MUTEbutton to turnthe sound off, press itagain to returnto the previous
volume level.
Youcan connect externaldevices (MP3 player,CD player ,TVetc) to theSpeaker Bar in
several ways.
Using aRCA audio cable
Using a3.5mm line-incable
1
TV
Audio output
Left(white) Right(red)
MEMUMEMU
Headphone
BLUETOOTH
2
2.0CH Speaker Bar
RCACABLE 1
LINE in Cable 1
AC/DC adapter 1
2
13
Remote control
Wall mount fittings
screw 2pcs
plastic tubes x 2pcs
VOL+
STANDBY
3D
SOURCE
MUTE
EQ
SLEEP
ALARMCLOCK
MEM UP
REPEAT
DOWN
VOL

5
Setting upyour SpeakerBar
Insert theAC adapter pluginto aappropriate wallsocket
and turn onpower to theout let.
The remotecontrol battery
1. Itincludes one pieceof 2025 battery.
2. Remove thetransparent sheet.
3. Replacethe remotecontrol batterywhen itno longeroperates or
the rangeis reducedconsiderably .
Set up
VOL+
STANDBY
3D
SOURCE
MUTE
EQ
SLEEP
ALARMCLOCK
MEM UP
REPEAT
DOWN
VOL
10
Clock andSleep Timer
Setting theSleep Timer
1. Press theSTANDBYbutton to turnthe power on.
2. Press theSLEEP button repeatedly toset the sleeptimer.
3. Afterthe set sleeptime has expired,the sound barwill automatically poweroff.
Setting theClock
1. Press theSTANDBYbutton to turnthe power off.
2. Press theCLOCK button on theremote control.
3. Thetime on thedisplay will beginblinking.
4. Press the and buttons on theremote control toadjust the hour.
5. Press theCLOCK button again onthe remote controlto go tominute adjustment.
6. Press the and buttons onthe remote controlto adjust theminute.
7. PressCLOCK button again toconfirm the setting.
Alarm
Setting theAlarm
1. Press theSTANDBYbutton to turnthe power on.
2. Press SOURCEbutton twice onthe remote controland select theFM Mode.
Press or buttonsto select thedesired radio frequency.
3. Adjustthe volume tothe desired level.
4. Press theSTANDBYbutton on theremote control toswitch offthe power.
5. Press theALARM buttonon the remotecontrol.
6. Thetime on thedisplay will beginblinking.
7. Press the and
8
11.Afterthe set timehas expired the ALARM will ring thepreset radio station.
buttons on theremote control toadjust the hour.
. Press theALARM button again onthe remote controlto go tominute adjustment.
9. Press the and buttons onthe remote controlto adjust theminute.
10. PressALARM button again toconfirm the setting.

Your 2.0Speaker Bar
Features Defined
10
6
STANDBY PLAY MODE VOL+VOL
1
2
3
4
5
7
8
9
AUX IN DC 18V
FM
11 12 13
1. LCDdisplay
2. STANDBY button: Pressto turnthe speakerbar offor on.
3. USBjack :To insertmemory sticker
4. PLAY button: Pressto play music.
5. MODE button :Press toselect the inputsource.Each press
will source throughthe following selectionAUX-FM-BT-USB.
6. REMOTESENSOR :Ensure thisarea isnot coveredor blocked
by any object.
7. BluetoothLED indicator: Itis lightingwhen BTmode isselected.
8. VOL+ :Press toincrease thevolume.
9. VOL- :Press toreduce the volume
10. Mounting bracket.
11.
12.AUX/LINE injack :To inserteither RCAcable orLINE incable
13. DCjack in.
FM antennaport.
FM Radio
Adjust the FMWire Antenna(included) to getthe best receptionsignal.
1. Press theSTANDBYbutton to turnthe bar speakeron.
2. Press theSOURCE button to switchto FM radiomode.
3. Press the or buttons on theremote to tunethe FM radio.
Listening toa SavedRadio Station
1. Press theSTANDBYbutton to turnthe bar speakeron.
2. Press theSOURCE button to switchto FM radiomode.
3. Press theMEM buttons on theremote to cyclethrough saved radiostations.
Saving aRadio Station
1. Follow theinstructions for tuningthe FM radio.
2. Aftertuning to thedesired station, pressthe MEM button.
3. Press theUP or DOWN buttons on theremote to selecta preset.
4. Press theMEM button to savethe current radiostation to theselected preset.
Up to 20stations can besaved to thebar speakers memory.
FM Antenna
Tuningthe FMRadio
69
10
USB

78
1. Playing thefiles form theconnected USB device.Connect a USBflash or otherUSB
storage device (upto 16GB) tothe USB jackor insert desiredmedia (up to16GB)
Memory stick withadaptor/SD and MMCcard). You can playmusic in MP3format.
2. Press theSTANDBYbutton.
3. Press theSOURCE button onthe remote controlor on theunit to selectUSB function.
NOTE :The time takenfor thecontents ofthe desired mediato be readvaries
according to thememory size.
4. Play andPause the desiredsong track usingthe navigation onthe remote
control. Press goback to pervious. Press tojump to nexttrack. Press
to repeat thetrack.
REPEAT
USB OPERATION
VOL+
STANDBY
3D
SOURCE
MUTE
EQ
SLEEP
ALARMCLOCK
MEM UP
REPEAT
DOWN
VOL
1
4
7
10
13
14
16
2
3
5
6
8
9
11
12
15
17
Remote Control
1. STANDBYbutton: Pressto turnthe speakerbar offor on.
2. EQ button: Press toselect FLAT,ROCK, JAZZ, POPand
CLASSIC.
3. MUTE button: Pressto mutethe volume.
4. CLOCK: Pressto setthe time.
5. ALARM: Pressto setthe alarm.
6. SLEEP: Pressrepeatedly toset thesleep timer.
7. MEM: Pressto cyclethrough savedradio stations
8. UP: Pressto navigate upradio stations.
9. REPEAT: Pressto repeat asingle or alltrack.
10. :Press togo to previous track.
11. : Pressto play orpause music.
12. :Press togo to nexttrack.
13. SOURCE: Pressto selectthe inputsource.Each presswill
source through thefollowing selectionAUX-FM-BT-USB.
14. DOWN: Pressto navigate downradio stations.
15. 3D: Press toswitch on oroff 3Deffect.
16. VOL-: Pressto reducethe volume.
17. VOL +: Pressto increasethe volume.
1. Switch onthe sound bar. Press theSOURCE button andselect BTfunction.
2. TheBT blueLED will flash3 seconds andthen stop for30 seconds. Itis now searching
for the lastpaired device.
3. If thereis no devicesearched, blue LEDwill flash again.At thistime, you canpair with
other new deviceyou prefer.Turn ona device suchas an iPod,iPhone, Tablets or
Mobiles etc withbluetooth transmitters. Whena device isconnected and pairedwith
the sound bar, it willshow the nameof SB-2032BT . Enter password 0000 to
connect or pairwith.
4. If theinitial set upconnection is succesful,the next timethe speaker isturned on ,the
speaker will automaticallypair to thelast device itwas connected with.
5. If thereis no bluetoothtransmitter device found,the BTblue LED willcontinue to flash
non stop.Press SOURCEbutton on remotecontrol to selectUSB,AUX or FM.
"" ""
Bluetooth SETUP
NOTE:
1. TheBluetooth speaker onlyconnects to deviceat a time.Turn off the Bluetooth
speaker in orderto pair thedevice with anotherBluetooth device.
2. Themaximum transmission betweenthe Bluetooth speakerand a deviceis 10 meters
or 32 feet.
3. Interferece mayoccur during playbackwhen using theBluetooth funtion nearother
wireless devices. Ifplayback through Bluetoothis problematic, movethe Bluetooth
speaker and theplayback device toa differentlocation, or usethe 3.5mm audiocable
jack instead ofthe Bluetooth function.
For an NFC-enabledBluetooth product, youcan achieve rapidpairing connectivity.
With an NFC-enableddevice, please openthe NFC functionand touch NFCsensitive
region of thesound bar,you can quicklyconnect Bluetooth pairing;
In the connectedstate, use NFC-enabled device nearthe NFC sensitivearea of sound
bar, youcan disconnect Bluetooth.
In the off state, usedevice near NFCsensitive area ofsound bar,you can connect
Bluetooth again.
NFC OPERATION
Table of contents
Other QFX Speakers System manuals